How to Fix Corrupt Bootres.dll File on Windows 10?
Dynamic Link Libraries (DLLs) are the libraries that exist to be external parts of different applications running on Windows or any other Operating System. The point of being an external part could be understood with a simple justification that applications are not complete by just themselves. Applications store different codes in these DLLs which are needed for execution of the associated applications. Therefore, if DLLs get corrupted then associated applications may not work.
Bootres.dll is a critical Operating System file of size 90 KB which plays an important role in ensuring proper computer boot execution as it is part of the Boot Resource Library, approximately located in the Windows folder.
When bootres.dll gets corrupted, the computer may fail to boot and the user may receive an error notification: ‘Boot critical file \resources\custom\bootres.dll is corrupt’ as shown in the picture.
What Causes Bootres.dll File to Get Corrupt?
There can be many reasons for the bootres.dll file to get corrupt but after reviewing detailed users’ feedback, we conclude that the root cause may be improper sequences in SrtTrail.txt. This cause was identified when Windows Recovery Environment Command Prompt led to check this particular file, SrtTrail.txt and later gave the same error. Thus, verifying the root cause to be improper sequences.
Solution 1: Run Automatic Repair using System File Checker
The most optimal option is to run through the system’s automatic repair. This will enable windows to fix the root causes automatically. Steps to this solution are as follows:
- Start your windows in Window’s Safe Mode.
- Click Start and type cmd in the search field. Start this file with admin privileges.
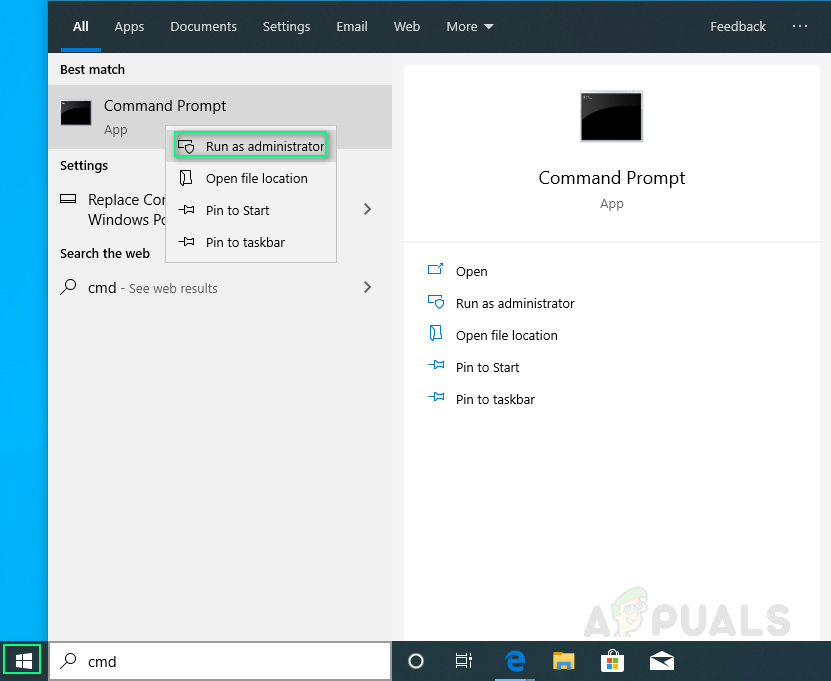
Running cmd as Administrator - Type the following and hit Enter.
sfc /scannow
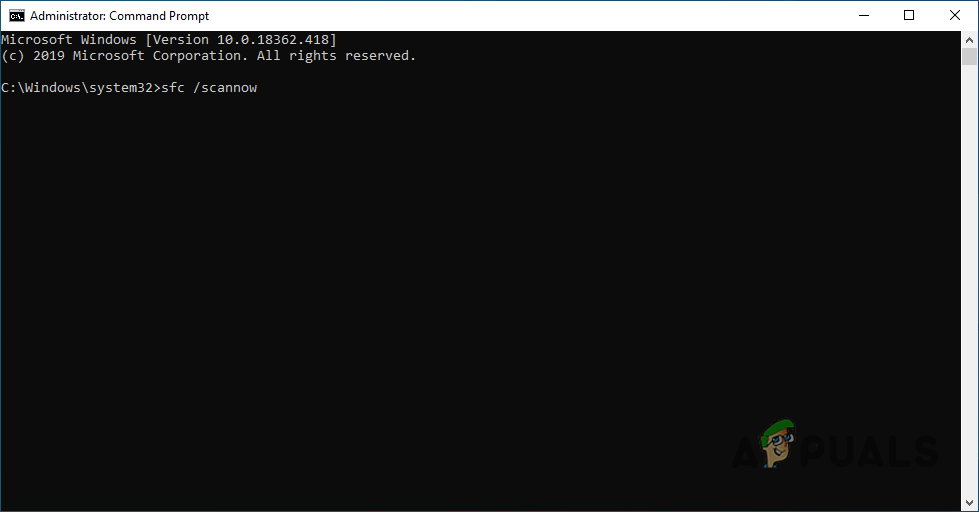
SFC Scan Command - The system will take some time to process. As soon as the processing gets done, you could get one of the following results:
Windows Resource Protection did not find any integrity violations.

Windows Resource Protection found corrupt files and successfully repaired them.

Windows Resource Protection found corrupt files but was unable to fix some of them.
After this, try running the system in normal mode and your issue should now be fixed. If it is not, do not worry and proceed with other solutions.
Solution 2: Using DISM tool
Sometimes, repairing the system image using DISM or Deployment Imaging and Service Management tool can fix this issue, feedback from multiple users. This tool helps to fix various corrupted files related to the system image. Follow these steps:
- Click Start, type cmd and run as administrator.
- Type this in cmd and hit Enter.
Dism /Online /Cleanup-Image /RestoreHealth
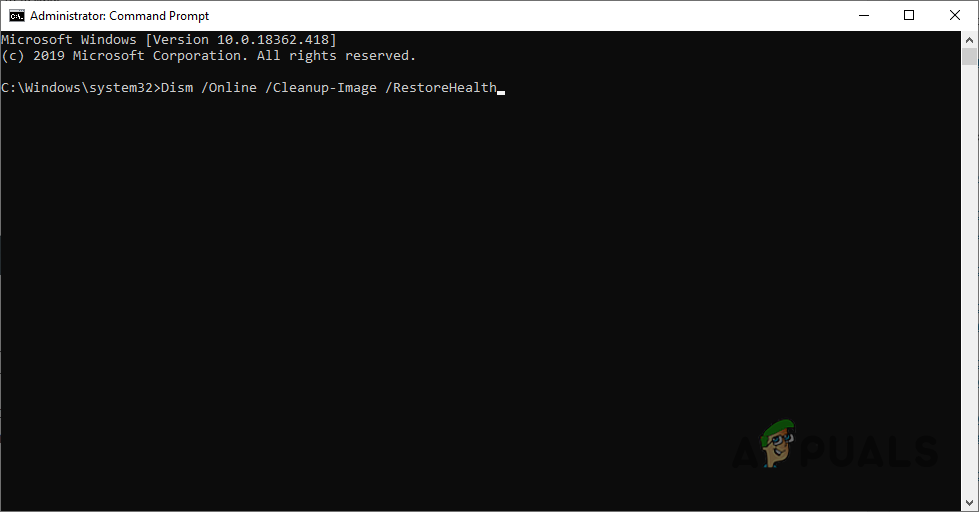
DISM Command
The process will take time, therefore, do not close Command Prompt. This command will enable Windows to restore its good health by checking for component store corruption. The scan usually takes up to 15 minutes. Restart your computer after process completion.
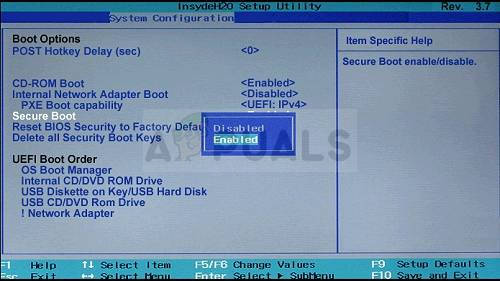
Solution 3: Changing Secure Boot Value
This course of action has fixed problems for many users. All you need to do is change secure boot value from BIOS (enable/disable). Follow these steps:
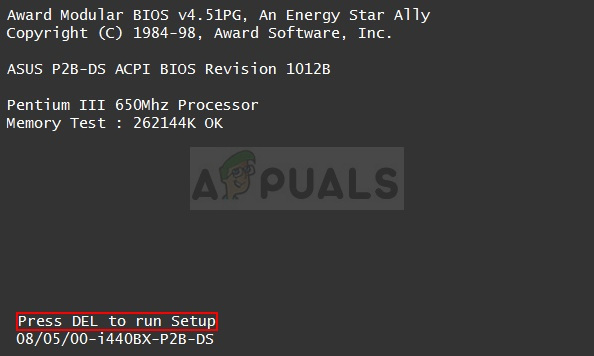
- Turn your PC on again and try to enter BIOS settings by pressing the BIOS key as the system is about to start. The BIOS key is typically displayed on the boot screen, saying “Press ___ to enter Setup.” or something similar to that. There are other keys as well. The usual BIOS keys are F1, F2, Del, etc.
- Use the right arrow key to choose the Security menu when the BIOS settings window opens, use the down arrow key to select the Secure Boot Configuration option, and press Enter.
- Before you can use this menu, a warning will appear. Press F10 to continue to the Secure Boot Configuration menu. The Secure Boot Configuration menu should open so use the down arrow key to select Secure Boot and use the right arrow key to modify the setting to Disable/Enable.
- Navigate to the Exit section and choose to Exit Saving Changes. This will proceed with the computer’s boot. Check to see if the problem persists.
Solution 4: Run ChkDsk Utility
Sometimes, this error may arise due to hard disk damage. To make sure that your hard disk is fine and working properly, ChkDsk Utility is used. Follow these steps:
- Boot PC to the Advanced Options menu by following this thread.
- Click on Command Prompt.
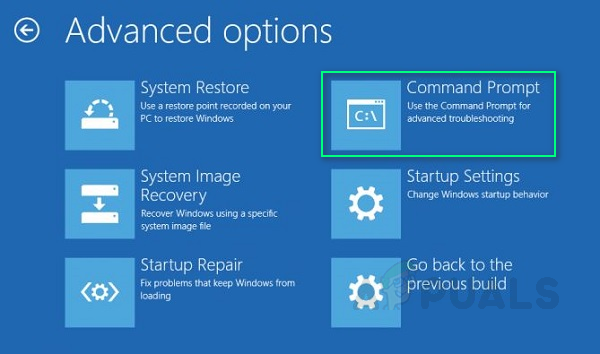
Advanced Windows Options - Type the following and hit Enter.
chkdsk C: /f /x /r
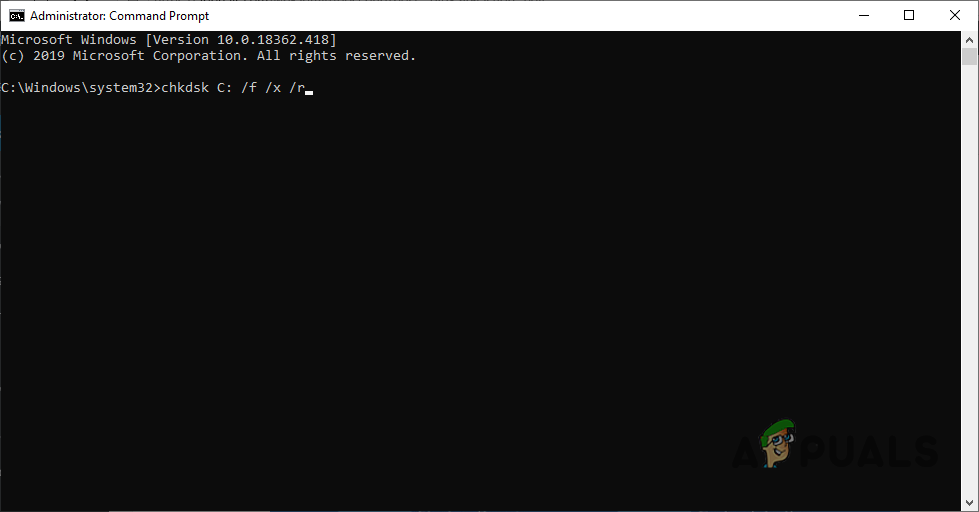
Chkdsk Command Note that letter C here indicates that Windows is installed in drive C of the hard disk. If you have it installed in some other drive, then mention that specific drive letter. If the hard drive is reported being damaged by the ChkDsk Utility then you need to change your system hard disk and this will solve the problem.
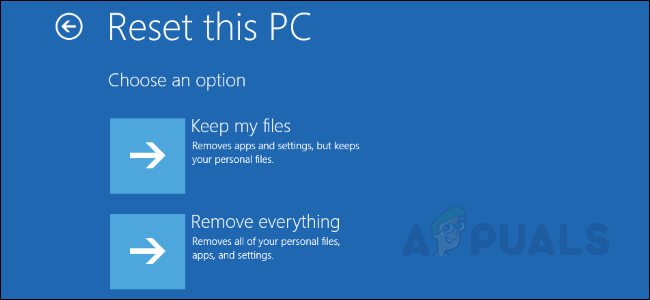
Solution 5: Resetting your PC
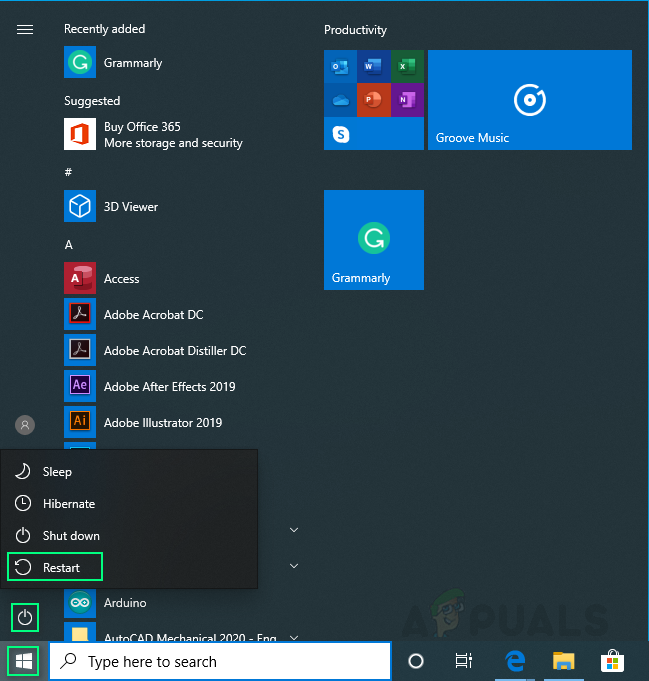
If none of the above works then the problem is arbitrary which means any program or system file might be causing this issue. Thus, reset your PC to a fresh new start will fix this issue. However, it will come with the cost of losing system settings and programs installed.
Follow this thread to reset your PC.