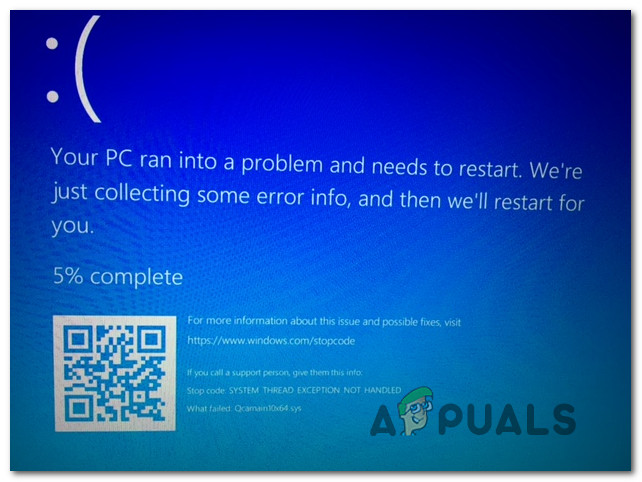
How to Fix BSOD due to ‘Qcamain10x64.sys’
Several users are encountering occasional BSOD (Blue Screen Of Death) critical errors while using their computer. Most affected users are reporting that the BSODs seem to be random with no apparent trigger. The issue is confirmed to occur on Windows 7, Windows 8.1 and Windows 10. Upon investigating Event Viewer for clues on why this error is occurring; most affected users discovered that Qcamain10x64.sys was somehow responsible for the crash.
What is causing the BSOD Qcamain10x64.sys crashes?
We investigated this particular issue by looking at various user reports and the repair strategies that are commonly being used to resolve this particular BSOD crash. As it turns out, there are several different culprits that might end up causing these types of crashes:
- Bad Windows Security Update – There’s one particular Windows Security update released at the end of 2017 that is known to trigger this type of BSOD. If you installed the update but didn’t install the hotfix for it, you should be able to resolve the issue by installing every pending Windows update that is available.
- Corrupted / Outdated Wireless LAN Driver – Qualcomm Atheros Extensible Wireless LAN device driver and Killer Wireless 1535 are two drivers confirmed to cause this issue (there might be others). If this scenario is applicable, you should be able to resolve the issue by either updating the driver or uninstalling it (allowing WU to install a healthy version)
If you’re currently struggling to fix BSOD Qcamain10x64.sys crashes, this article will provide you with a couple of potential troubleshooting guides. Down below, you’ll find several different methods that users in a similar situation have successfully used to resolve the issue. Each of the potential fixes featured below is confirmed to work by at least one affected user.
To ensure that you remain as efficient as possible, follow the methods in the order that they are presented and discard the steps that aren’t applicable to your scenario. Eventually, you should stumble upon a fix that will resolve the issue regardless of the culprit that’s causing it.
Method 1: Install every pending Windows 10 update (if applicable)
As it turns out, this particular issue can also be caused by a bad Windows Security Update that is known to cause system instability on Windows 10 computers. Microsoft has since released a hotfix for it, but if you are unfortunate enough to have this update installed without the hotfix, you’ll receive constant BSODs pointing towards the Qcamain10x64.sys file.
Several affected users have reported that they managed to resolve the issue by installing every pending update until the hotfix was installed. If this issue is being caused by a bad Windows Security driver in your case, the steps below will resolve the issue for you.
Here’s a quick guide on installing every pending Windows Update on Windows 10:
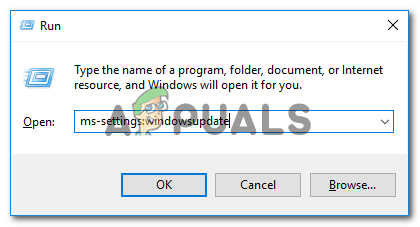
- Press Windows key + R to open up a Run dialog box. Then, type ‘ms-settings:windowsupdate’ and press Enter to open up the Windows Update tab of the Settings app.
Opening the Windows Update screen - Once you’re inside the Windows Update screen, click on Check for updates to initiate the scan for new updates.
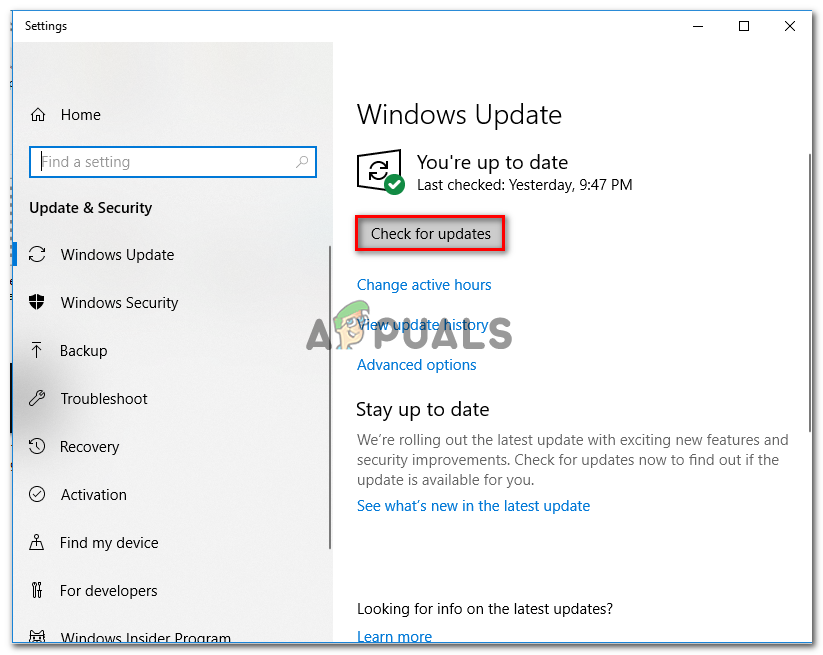
Installing every pending Windows update - Follow the on-screen prompts to install every pending Windows update. If you’re prompted to restart before every update is installed do so, but make sure to return to the Windows Update screen and complete the rest of the updates.
- Once every pending update is installed, do one final restart and see if the BSOD crashes related to Qcamain10x64.sys are now resolved.
If you’re still encountering this issue or your computer was already up to date, move down to the next method below.
Method 2: Updating / Reinstalling the Wireless LAN driver
By far, the most common culprit that might end up producing BSODs pointing towards Qcamain10x64.sys is a problematic wireless LAN driver. Qualcomm Atheros Extensible Wireless LAN device driver and Killer Wireless 1535 are the most common reported drivers known to cause this issue, but there are certainly more.
If the BSOD crash is caused by a wireless driver, you have two potential fixes that have been confirmed by several users that were also encountering this issue. You either try to update the driver to the latest version or you uninstall it completely, switch to a cable connection and allow Windows Update to install a replacement at the next startup.
Here’s a quick guide on fixing BSODs caused by qcamain10x64.sys if the issue is being caused by a wireless driver:
- Make sure you’re connected to the Internet via ethernet cable so that Windows can search & download updated driver software.
- Press Windows key + R to open up a Run dialog box. Then, type “devmgmt.msc” inside the text box and press Enter to open up Device Manager.

Running Device Manager - Once you’re inside Device Manager, scroll through the list of devices and expand the drop-down menu associated with Network Adapters.
- Next, right-click on the Wireless Network Adapter driver and choose Properties from the newly appeared context menu.
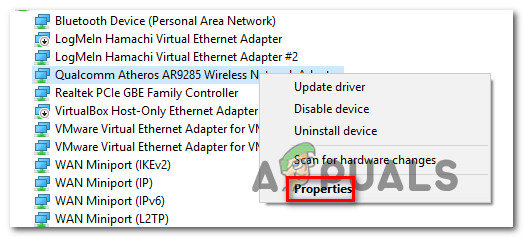
Accessing the Properties screen of the Wireless driver - Once you’re inside the Properties screen of the Wireless Network Adapter driver, select the Driver tab and click on Update Driver.
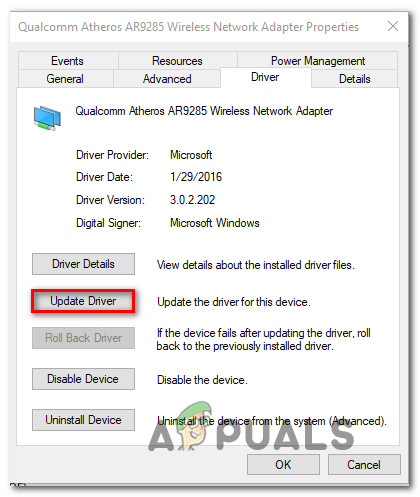
Updating the Wireless Network Adapter driver - At the next screen, click on Search automatically for updated driver software to force Windows Update (WU) to search for an updated driver version.
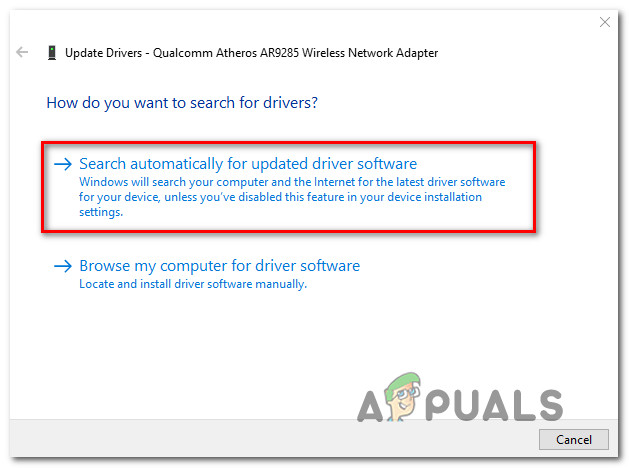
Forcing WU to search for updated driver software - Wait until the scan is finished and follow the on-screen instructions to install the updated version if applicable. Restart your computer at the end of this process and see if the issue has been resolved at the next startup.
- If you’re still experiencing the same type of BSOD crashes even after the driver is updated, follow steps 1 to 4 again, but this time click on Uninstall Device.
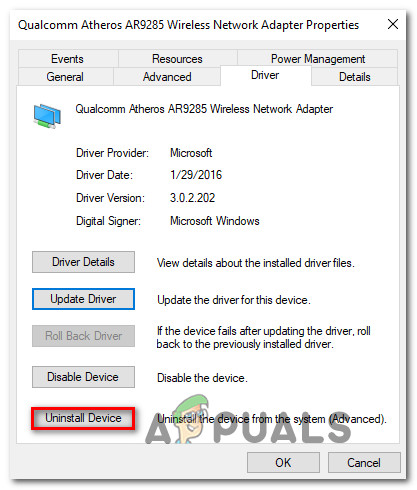
Uninstalling the Wireless network adapter driver - After the driver is uninstalled, restart your computer once again to allow Windows to install a replacement at the next startup.
If this issue didn’t allow you to resolve the issue, move down to the next method below.


Indian people are the best for computer stuff