How to Fix the BlInitializeLibrary Failed Error (0xc00000bb) on Windows?
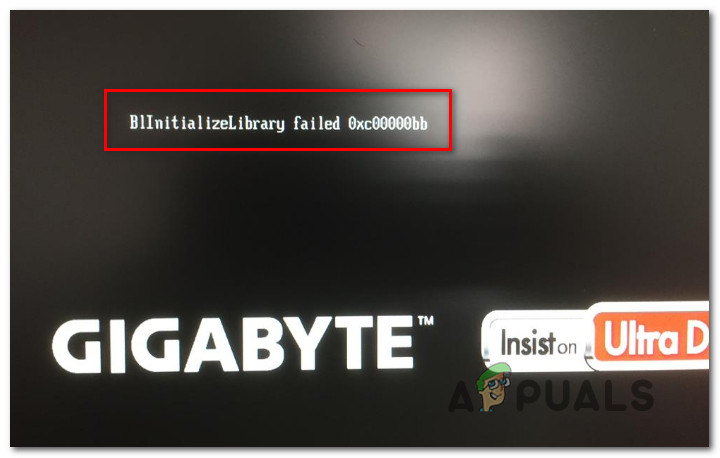
The error “BlinitializeLibrary failed 0xc00000bb” usually happens when Windows can’t start up, freezing at the first screen or blocking access to the operating system entirely. This error occurs during the boot process, stopping Windows from continuing. The error code 0xc00000bb means there’s a problem with the system’s boot initialization library, often due to issues with firmware, boot settings, or memory management.
The most common cause is an incorrect BIOS configuration, especially when “Secure Boot” is turned on. Other possible causes include problems with the Master Boot Record (MBR), bad boot configuration data (BCD), or fragmented system memory.
In this guide, we’ll look at different ways to solve this error.
1. Disable Secure Boot
Sometimes, security features like Secure Boot can prevent your system from starting smoothly. Secure Boot may mistakenly identify legitimate hardware upgrades or BIOS updates as threats. Disabling it in the BIOS can help the system boot normally by bypassing these strict security checks.
- As soon as your computer starts to boot up, start pressing the Setup key during the initial startup screen. The setup key depends on your motherboard manufacturer, but it should be visible on the initial screen.
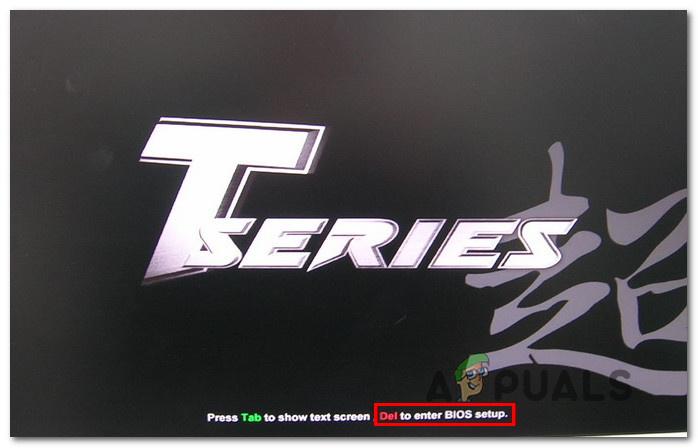
Pressing the Setup key to enter BIOS settings Note: If you can’t see the Setup key (BIOS setup) on the initial screen, search online for “setup key + *motherboard manufacturer*”
- When you’re inside your BIOS settings, make your way to the Security tab and look for a feature called Secure Boot. Once you see it, set it to Disabled.
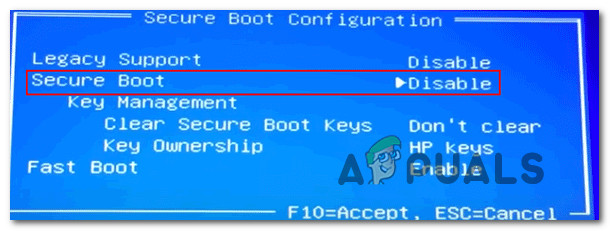
Disabling Secure Boot Note: Keep in mind that the BIOS menu and the exact location of the Secure Boot feature will vary across different manufacturers. Expect to find the Secure Boot option under System Configuration, Boot, or Authentication depending on your motherboard manufacturer.
- Once you manage to disable Secure Boot, save your configuration and exit your BIOS settings. Your computer will then restart.
- At the next boot sequence, see if your computer is now able to complete the process successfully without encountering the “blinitializelibrary failed 0xc00000bb” error.
2. Fix the boot sequence
Correcting the boot sequence helps your system locate the necessary files and configuration needed for startup. If the sequence is broken or misconfigured, your computer may struggle to find the correct drive or boot files, halting the startup process. By re-establishing this sequence, you ensure that the system follows the correct path to initiate and load the operating system efficiently. This step addresses the root of common boot issues, allowing your system to operate normally.
- Insert the installation media and press any key to boot from it. At the Windows installation screen, select Repair your computer.
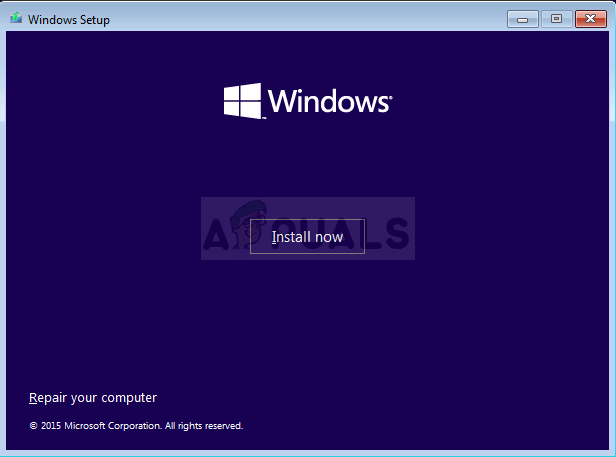
Choose Repair your computer - In the Advanced Options menu, click Troubleshoot, then select Command Prompt.
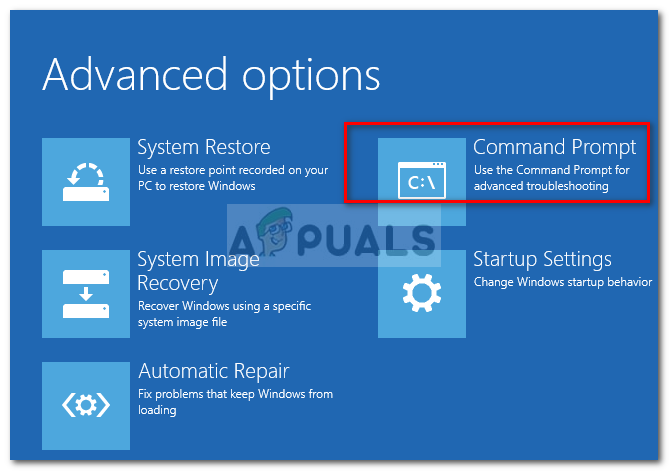
Choosing Command Prompt from Advanced Options - Enter the following commands in the Command Prompt, pressing Enter after each:
bootrec.exe
bootrec.exe /fixmbr
bootrec.exe /fixboot
bootrec.exe /scanos
bootrec.exe /rebuildbcd
- After completing the commands, restart your computer to check if the boot sequence is now complete.
3. Tweak Memory Management keys in Safe Mode
When your system has trouble retaining boot sequence data during shutdown, adjusting memory management settings can help. Disabling the ClearPageFileAtShutdown function in Safe Mode stops Windows from erasing the Page File, which holds important boot information. This change helps the system keep crucial memory data, improving its ability to boot properly without losing key configuration details.
- Restart your computer, hold the Shift key, and click “Restart” to enter the Recovery Environment.
- In the Recovery Menu, select Troubleshoot > Advanced Options > Startup Settings, and click Restart.
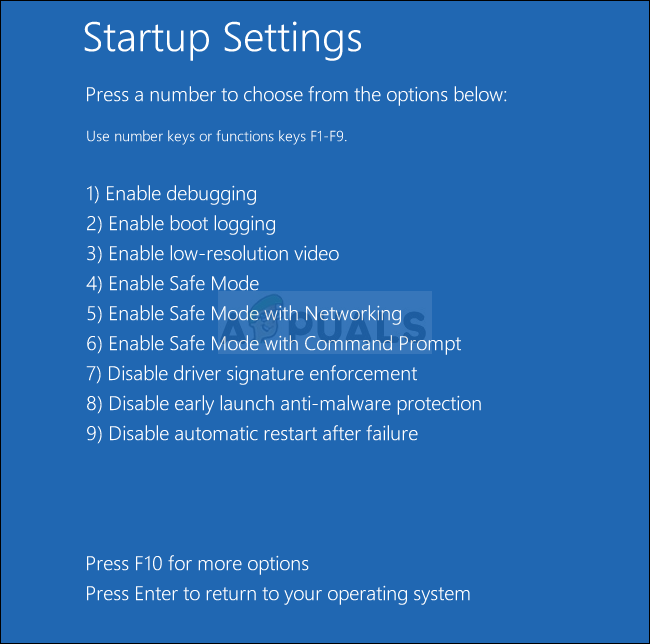
Press 4 or F4 to boot into Safe Mode - Press 4 or F4 to boot into Safe Mode.
- Press Windows key + R, type “regedit”, and press Enter to open Registry Editor.

Running the Registry Editor Note: If prompted by UAC (User Account Control), click Yes to allow changes.
- Navigate to:
Computer\HKEY_LOCAL_MACHINE\SYSTEM\CurrentControlSet\Control\Session Manager\Memory Management
- Double-click on ClearPageFileAtShutdown, set the Base to Hexadecimal, and the Value data to 1. Click OK to save.
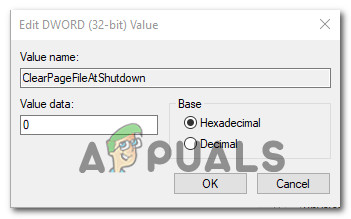
Setting the value data of ClearPageFileAtShutdown to 1 - Restart your computer. If successful, repeat steps 4-6 and change ClearPageFileAtShutdown back to 0. Save the changes.
4. Enable Above 4G Decoding
If you’re using your PC rig for mining purposes and using two or more GPU cards, chances are you’re encountering the ‘bl initialize library failed 0xc0000bb‘ error because 4G decoding is not enabled on your motherboard BIOS or UEFI settings.
Several affected users who were also mining cryptocurrencies have reported that the issue was resolved after they enabled 4G decoding or Above 4G Decoding. Of course, the exact location of this option highly depends on your motherboard manufacturer, but typically you can find it inside the Peripherals tab.

NOTE: On EVGA motherboards, this feature is called EVGA Support instead of 4G support.
5. Perform a Repair Install
If none of the solutions work, a repair install can help by reinstalling Windows without deleting your files or applications. This process replaces corrupted system files, addressing deeper boot issues and restoring your PC without major data loss.
If you want to conduct a repair install, you can follow this step-by-step guide (here).


Hello, I am having this error in my Surface 4 PRO. I just can see the Windows Logo and cannot get to the UEFI Settings.