How to Fix Battlefield 1 Crashing on Windows?
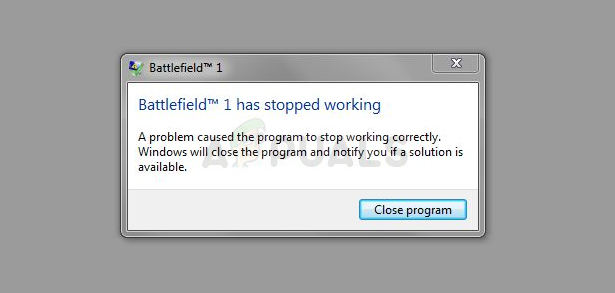
Battlefield 1 is the fifteenth installment in the Battlefield franchise and it was released on October 2016. It became a huge success but many users fail to enjoy the game fully due to constant crashes which often appear without an error message. This makes the game hard to enjoy.
However, since many users struggled with the same problem, it sparked huge threads on different forums where many methods were discovered. We decided to include the most helpful ones in this article for you to check out. There are many different methods to check out and we hope at least one will be helpful!
What Causes the Battlefield 1 Crashing Issue?
There are plenty of different causes of this problem and there are probably many more which haven’t been posted online. There are many several-hundred-page-long threads which deal with this problem and we decided to include the most common ones in the shortlist presented below:
- Windows not updated – There was a bug with a certain version of Windows 10 and many users were able to resolve the problem simply by updating Windows to the latest version.
- Faulty graphics driver – The cause can be the graphics driver you have installed and you may need to install the latest one or to roll back to the one you had before, depending on your scenario.
- BIOS issues – Certain settings in BIOS such as XMP or SMT can cause the problem to appear and you should disable these options. Also, if the version of BIOS on your computer is old, make sure you update it.
- Origin issues – Origin might require administrator permissions in order to run properly so make sure you provide them. Also, if Origin is running in-game, it can cause the game to crash.
- DirectX 12 not supported – DirectX 12 is still not supported on each setup and switching to DirectX 11 managed to resolve the problem for many players.
- Anisotropic filtering – A weird bug regarding players with NVIDIA graphics cards forced them to disable Anisotropic filtering for the game in order to prevent crashing.
Solution 1: Update Windows to the Latest Version
The latest versions of Windows 10 seem to have resolved this problem for good as long as it wasn’t caused by some third-party services or programs. Even though the problem was often caused by a new Windows Update, Windows has released fixes afterward in order to get rid of the problem. Battlefield 1 crashes have disappeared after installing the latest version of Windows for many users and we hope it will work for you as well!
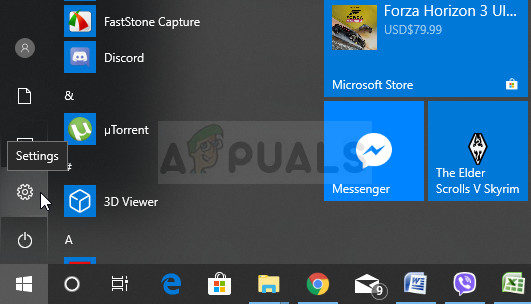
- Use the Windows Key + I key combination in order to open Settings on your Windows PC. Alternatively, you can search for “Settings” by using the search bar located at the taskbar or clear the cog icon.
- Locate and open the “Update & security” section in the Settings Stay in the Windows Update tab and click on the Check for updates button under the Update status in order to check whether there is a new version of Windows available.
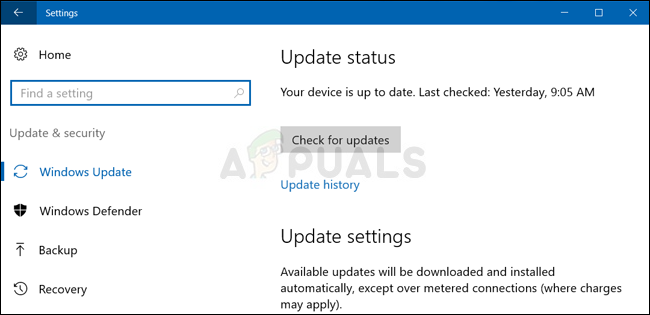
- If there is one, Windows should install the update immediately and you will be prompted to restart your computer afterward.
Solution 2: Update or Roll Back the Graphics Card Driver
If the crashes started to occur after you have updated your graphics driver one way or another; a rollback might be good enough until a new, more secure driver is released. You should also update the graphics device you are using to play the game if a new driver is available as new releases often tend to fix crashing issues!
- First of all, you will need to uninstall the driver you currently have installed on your PC.
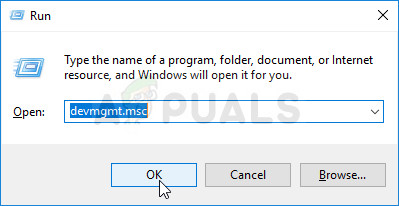
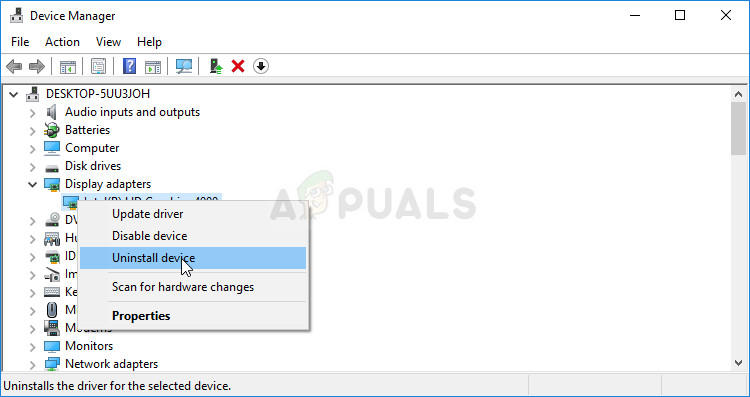
- Type “Device Manager” into the search field next to the Start menu button to open the device manager window. You can also use the Windows Key + R key combination in order to open the Run dialog box. Type devmgmt.msc in the box and click OK or Enter key.
- Expand the “Display Adapters” section. This will display all display adapters that the computer has installed at the moment.
Update the Driver:
- Right-click the display adapter you want to uninstall and select “Uninstall device“. This will remove the adapter from the list and uninstall the graphics device.
- Click “OK” when prompted to uninstall the device.
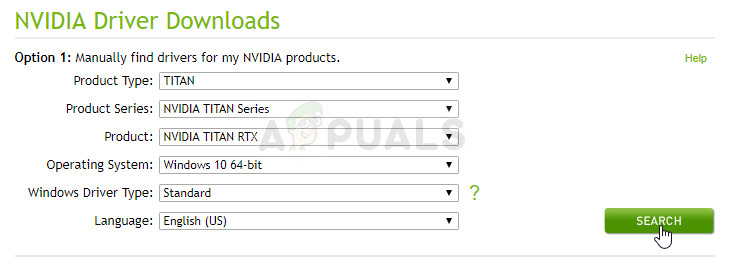
- Navigate to your graphics card manufacturer’s page in order to see the list of available drivers for your operating system. Choose the latest one, download it, and run it from the Downloads
- Follow the instructions on-screen in order to install the driver. Restart the computer and check to see if the problem has disappeared.
Rolling Back the Driver:
- Right-click the graphics adapter you want to uninstall and select Properties. After the Properties window opens, navigate to the Driver tab and locate the Roll Back Driver
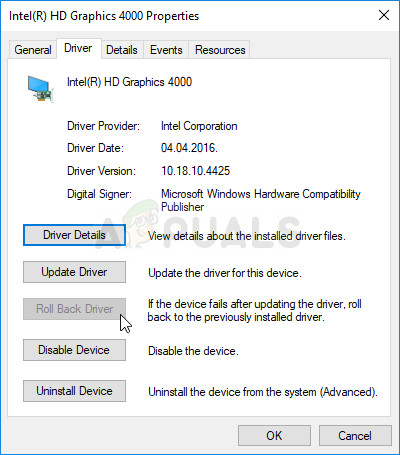
- If the option is grayed out, it means that the device wasn’t updated recently as it has no backup files remembering the old driver. This also means that the recent driver update is probably not the cause of your problem.
- If the option is available to click on, do so and follow the instructions on-screen to proceed with the process. Restart the computer and check to see if the crashing still occurs while playing Battlefield 1.
Solution 3: Disable XMP and/or SMT in BIOS
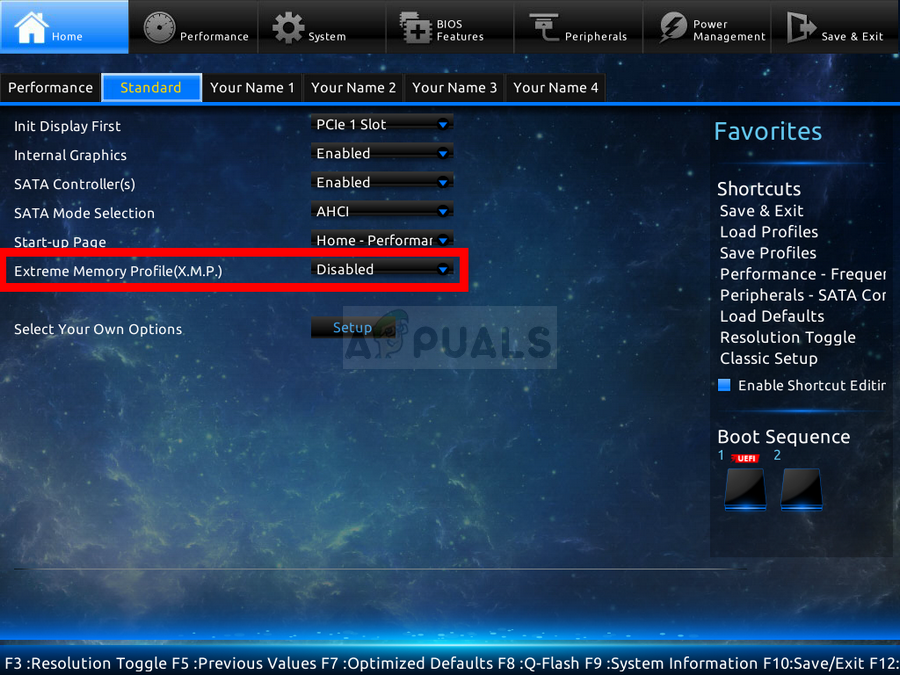
XMP (Extreme Memory Profiles) and SMT (Simultaneous Multi-Threading) are advanced BIOS options which offer to extract better performance from your RAM memory and your processor respectively. However, many users reported that disabling one or both of these options can prevent Battlefield 1 from crashing and we highly recommend you disable them by following the steps below.
- Restart your computer by going to Start Menu >> Power Button >> Restart.
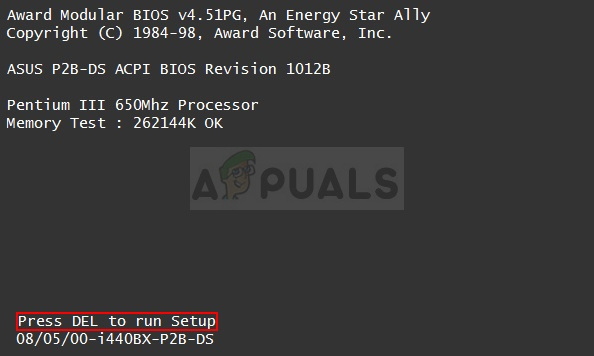
- Try to enter BIOS settings on your computer by pressing the BIOS setup key while the system boots.
- The BIOS key is typically displayed on the boot screen, saying “Press ___ to enter Setup.” Common BIOS keys are F1, F2, Del, Esc, and F10 so make sure you click it fast enough or you will have to restart your computer again.
- The XMP option which you will need to change is located under various tabs in the BIOS tools on different computers made by different manufacturers and there is no rule to where the setting should be located.
- It’s usually located under the Advanced, M.I.T >> Advanced Frequency Settings, or various Tweaker or Overclock tabs which may be available. No matter where it is, the name of the option is XMP Profile.
- Once you locate the correct option, change it to Disabled.
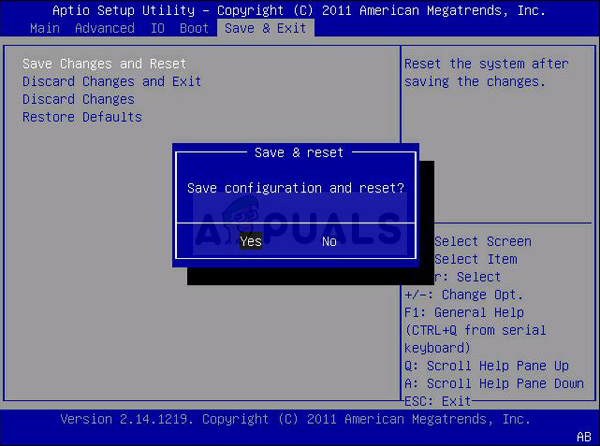
- Navigate to the Exit section and choose to Exit Saving Changes. This will proceed with the boot. Make sure you try to see if the Battlefield 1 game is running properly now.
Solution 4: Update BIOS to the Latest Version
Updating BIOS may be an odd way of resolving the problem but users have reported that it has helped them. Note that the process differs from one manufacturer to another so make sure you take that into account.
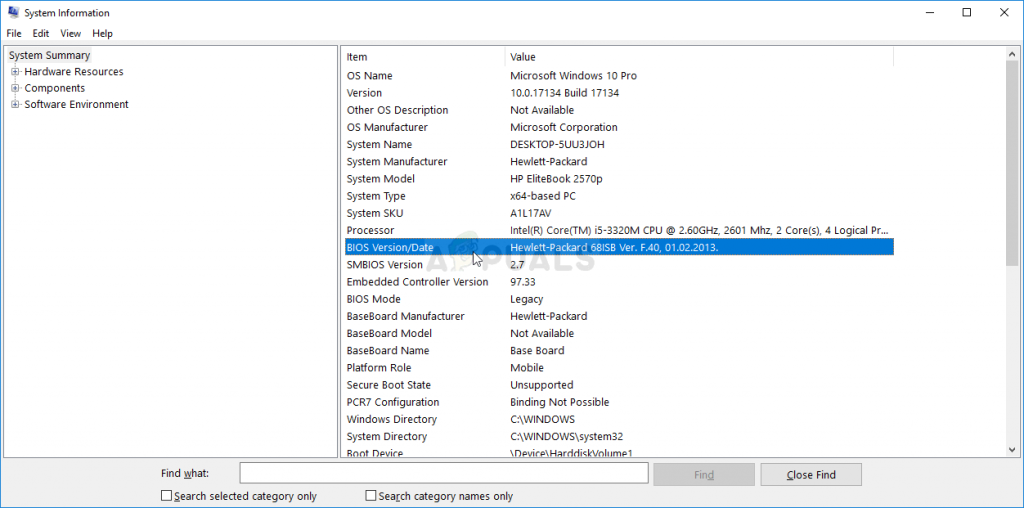
- Find out the current version of BIOS utility you have installed on your computer by typing “msinfo” in the search bar or the Start menu.
- Locate the BIOS version data just under your Processor model and copy or rewrite anything to a text file on your computer or a piece of paper.
- Find out whether your computer was bundled, pre-built or assembled This is very important because you don’t want to use BIOS made for just one component of your PC when it won’t apply to your other devices and you will overwrite BIOS with a wrong one, leading to major errors and system problems.
- Prepare your computer for the BIOS update. If you are updating your laptop, make sure its battery is fully charged and plug it in the wall just in case. If you are updating a computer, it’s advisable to use an Uninterruptible Power Supply (UPS) to make sure your computer doesn’t shut down during the update because of a power outage.
- Follow the instructions we prepared for various desktop and laptop manufacturers such as Lenovo, Gateway, HP, Dell, and MSI.
Solution 5: Decrease the Affinity of the Battlefield Process in Task Manager
Users have reported that changing the affinity of Battlefield 1 executable to use not use all CPU cores was able to resolve the problem completely. Settings the affinity orders your operating system to utilize only the cores you have selected to run a certain program. This method is easy to try out so make sure you try it out before giving up!
- Use the Ctrl + Shift + Esc key combination by pressing the keys at the same time to open the Task Manager utility. The game needs to be open in the background for this method to work.
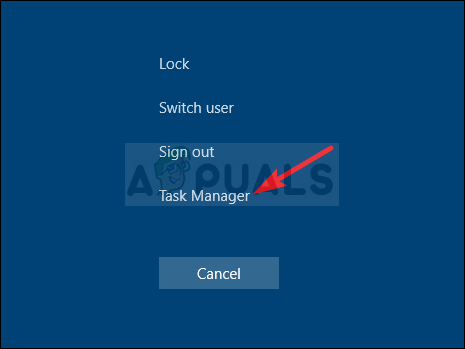
- Alternatively, you can use the Ctrl + Alt + Del key combination and select Task Manager from the popup blue screen which will appear with several options. You can also search for it in the Start menu.
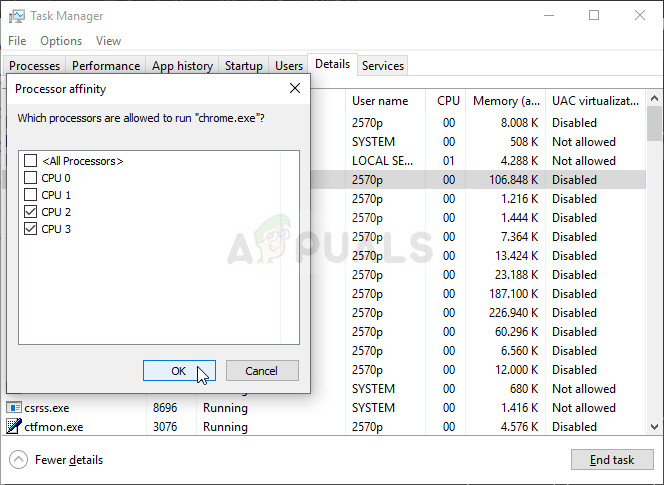
- Click on More details in order to expand Task Manager. Navigate to the Details tab and search for the BF1.exe entry under the Name column. Right-click on this entry and click the Set affinity option.
- In the Processor affinity window, make sure you only uncheck one or two cores of your processor (one of the entries named CPU 0, CPU 1, etc.) and click the OK
- Restart your computer in order to apply the changes and try running Battlefield 1 again in order to see if the crashing persists!
Solution 6: Run Origin as an Administrator and Disable Origin In-Game
Running anything with administrator permissions is sure to provide some help for plenty of errors and this one is no different. Simply running the Origin client as an administrator may be enough for you to stop seeing the annoying error once and for all.
- Locate the Origin shortcut or executable on your computer and open its properties it by right-clicking its entry either on the Desktop or the Start menu or the Search results window and choose Properties from the pop-up context menu.
- Navigate to the Compatibility tab in the Properties window and check the box next to the Run this program as an administrator option before saving the changes by clicking OK or Apply.

- Make sure you confirm any dialogs which may appear which should prompt you to confirm the choice with admin privileges and Origin should launch with admin privileges from the next startup. Open it by double-clicking its icon, click the Origin option from the menu bar and choose Application Settings from the menu which will appear.
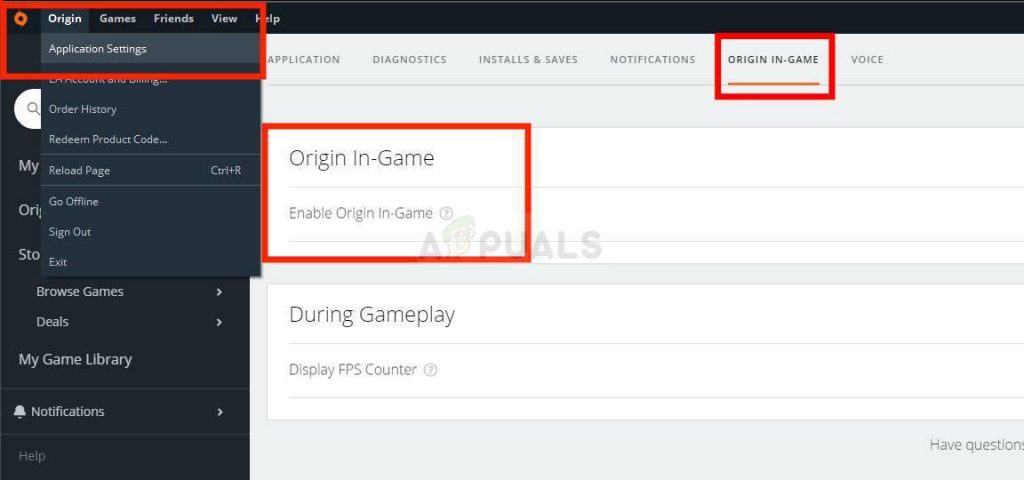
- Navigate to the Origin In-Game tab and change the slider under it to Off. Reopen Battlefield 1 and check to see if the crashing problem persists!
Solution 7: Clear Your Origin Cache
Clearing the Origin cache can often help fix common issues and this simple method was enough to resolve the problem for many users. They claim Battlefield 1 stopped crashing after clearing the Origin cache and we recommend you try it out!
- Navigate to the following location on your computer by opening the Windows Explorer and clicking on This PC:
C:\Users\YOURUSERNAME\AppData\Roaming\Origin
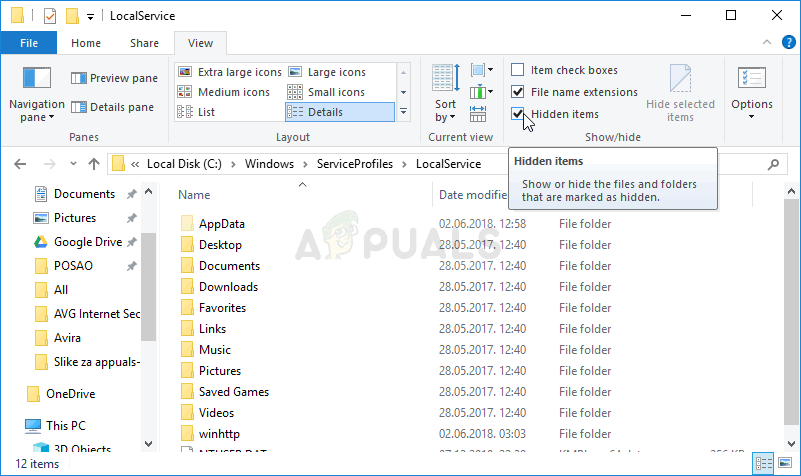
- If you are unable to see the AppData folder, you may need to turn on the option which enables you to view hidden files and folders. Click on the “View” tab on File Explorer’s menu and click on the “Hidden items” checkbox in the Show/hide section. File Explorer will show the hidden files and will remember this option until you change it again.
- Delete the Origin folder in the Roaming folder. If you receive a message saying that some files couldn’t have been deleted because they were in use, try exiting Origin and ending its process in Task Manager. Head back to the AppData folder, open the Local folder, and delete the Origin folder inside.
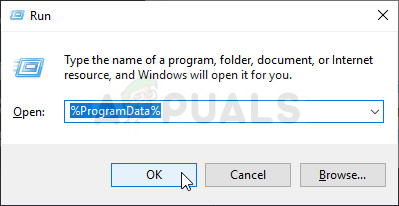
- Either click the Start button or the search button next to it and type “Run” or use the Windows Key + R key combination in order to bring up the Run dialog box. Type in “%ProgramData%” and click Enter.
- Locate the Discord folder in the folder which opens, open it, and select all files and folders inside except the LocalContent folder. Right-click the selection and choose Delete from the context menu which will appear
- Check to see if the Discord error still appears after restarting your computer!
Solution 8: Switch to DirectX 11
DirectX 12 is still not fully supported on all setups and we recommend you try disabling it for the game. The option to switch between DirectX 11 and 12 was once available inside the in-game video settings but the option was disabled in later updates. Still, it’s possible to disable it by editing a configuration file!
- Navigate to the folder’s location in the File Explorer simply by opening a folder and clicking Documents from the left navigation pane or by searching for this entry in the Start menu. Anyway, in Documents, navigate to Battlefield 1 >> settings.
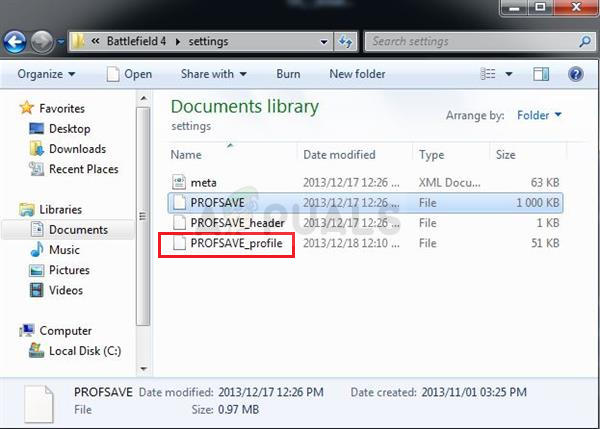
- Right-click the file called named ‘PROFSAVE_profile’ and choose to open it with Notepad.
- Use the Ctrl + F key combination or click Edit at the top menu and select the Find option from the dropdown menu in order to open the Search box.
- Type “Dx12Enabled” in the box and change the value next to it from 1 to 0. Use the Ctrl + S key combination in order to save the changes or click File >> Save and exit Notepad.
- Try running the game again in order to check if the Battlefield 1 crashing problem still appears!
Solution 9: Turn off Anisotropic Filtering (NVIDIA users)
This method is mostly dependent on your setup and it will work for some users while not making a difference for others. Still, changing these settings won’t affect your playing experience greatly and you have nothing to lose by trying the steps presented below!
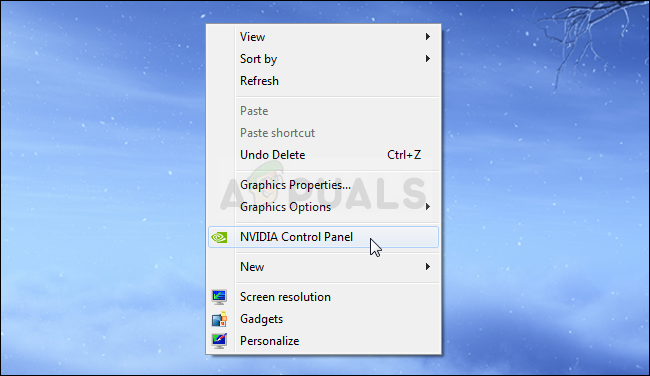
- Right-click your desktop at the blank side without icons and select the NVIDIA Control Panel entry from the context menu which will appear. You can also double-click the NVIDIA icon in the system tray if you see it. NVIDIA Control Panel can also be located in the Control Panel by switching to the Large icons view and locating it.
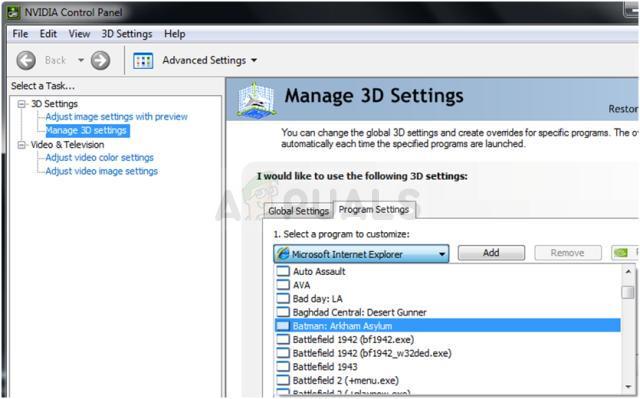
- Under the 3D settings section at the left navigation pane, click on Manage 3D settings at the left navigation side and navigate to the Program Settings
- Click on Add and make sure you browse your PC for the executable which is used to launch Battlefield 1 (BF1.exe). It’s located in the folder where you decided to install the game.
- Under the Specify the settings for this program section, scroll down until you see the Anisotropic filtering Click under the Settings column and switch it to Off.
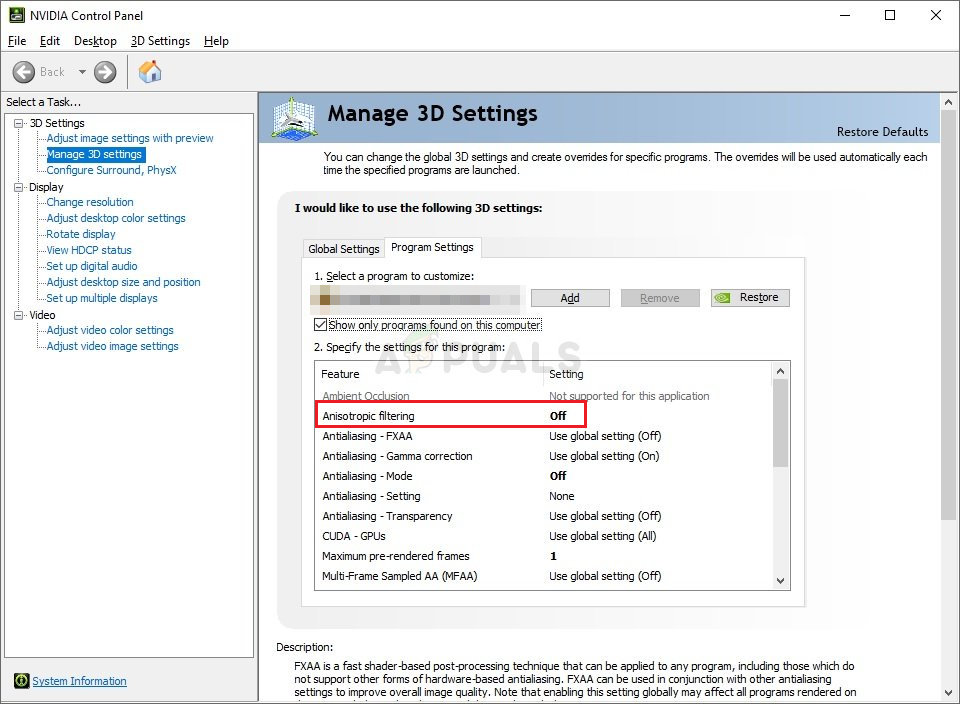
- Apply the changes you have made and reopen Battlefield 1 to see whether the white crashing problem persists!


