How to Fix Battle.net not Opening Error on Windows?
Battle.net is a desktop application developed by Blizzard which is used to install, update, and launch all games developed by blizzard. Many more features are accessible via the app. However, there are quite a few different problems regarding the app which deter users from it.

The app sometimes simply fails to open on Windows and users are unable to play any of their Blizzard games. Users were able to come up with quite a few different ways to resolve this problem and we made sure to include all methods which worked for them in this article.
What Causes Battle.net not to Open on Windows?
There aren’t many clear causes that make Battle.net misbehave and fail to open and resolving the problem often consists of trying out several methods that reset something regarding the app. Check out the list we have prepared below:
- Cache has gotten too big – When cache files over-accumulate, it’s good to delete them all and check to see if the problem has disappeared. It’s an easy way to both resolve the problem and to make the app operate faster and better.
- Lacking admin permissions – In certain cases, the app requires admin elevation in order to run properly and you should provide. Moreover, it sometimes helps to run it in compatibility mode for older versions of Windows.
- Other programs are to blame – It’s possible that other problems installed on your computer or services which are currently running are preventing Battle.net from operating properly. It’s often your antivirus or a program you might have installed recently.
Solution 1: Delete the Battle.net Cache Folder
Deleting a certain folder might reset certain settings used by the client. Sometimes these files are not altered even when the file has been uninstalled so it’s up to you to delete the contents of this folder in order to repair the client.
First of all, you will need to close the Battle.net app and kill all processes related to it (Agent, Blizzard Battle.net desktop app, and game processes).
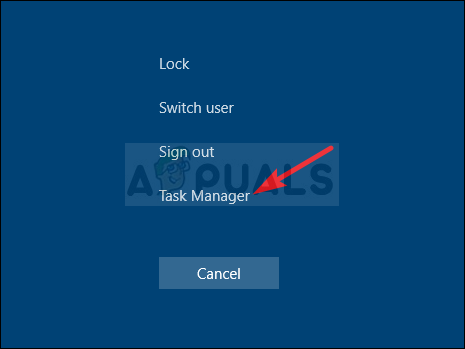
- Use the Ctrl + Shift + Esc key combination in order to open the Task Manager. Alternatively, you can use the Ctrl + Alt + Del key combination and select Task Manager from the blue full screen which opens
- Click on More details in order to expand Task Manager and search for all Battle.net-related entries displayed on the list in the Processes tab of Task Manager. They should be located right under Background processes. Click on each one and choose End Task.
After that, it’s time to delete the contents of the Battle.net folder in ProgramData.
- Open your File Explorer and try navigating to this location from either My Computer or This PC:
C:\ProgramData
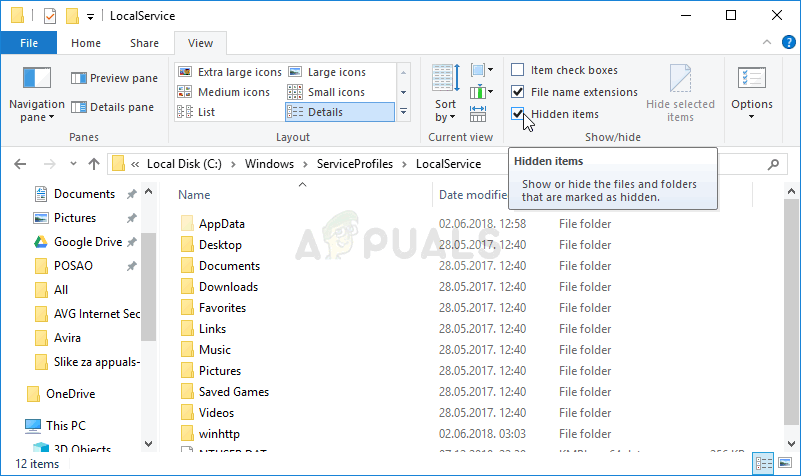
- If you are unable to see the ProgramData folder, it’s because the hidden files are disabled from being seen on your system and you will need to enable the view of them.
- Click on the View entry on File Explorer’s menu bar and click on the Hidden items checkbox in the Show/hide File Explorer will now be able to show the ProgramData folder so double-click to open it.
- Locate a folder named Battle.net, right-click on it and choose Delete. Confirm the dialog box and reopen the Battle.net app to see if the opening issue persists.
Solution 2: Run the App in Compatibility Mode with Admin Permissions
This interesting solution to the problem was suggested by a user who contacted the Blizzard support and they suggested the steps below. It’s currently unknown why this specific method is so successful but it’s quite easy to try it out and you generally have nothing to lose. Good luck and follow the instructions closely!
- Navigate to the main Battle.net installation folder which depends on what you chose during the installation. The default location is C:\Program Files (x86)\Battle.net.
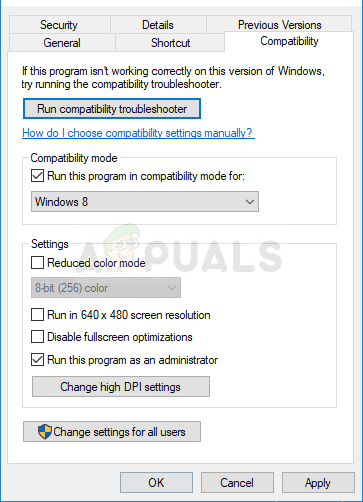
- Locate the net Launcher.exe file and change its properties by right-clicking its entry either on the Desktop, the Start menu or the Search results window and choose Properties. Navigate to the Compatibility tab in the Properties window and check the box next to the Run this program as an administrator.
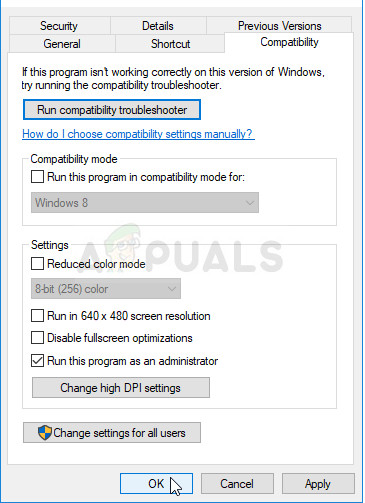
- Under the Compatibility mode section, check the box next to the Run this program in compatibility mode for option and choose Windows 8 from the drop-down list before accepting the changes.
- Make sure you confirm any dialogs which may appear for you to confirm with admin privileges and net should launch with admin privileges from now on. Open it by double-clicking its icon and try to see if opens successfully.
Solution 3: Clean Booting your Computer
There are various other programs and services which can affect the normal operation of Battle.net. In most cases, the cause is the antivirus you have installed and you can try disabling it to see if Battle.net manages to open. However, to make sure nothing can interfere with the app, we recommend you perform a clean boot which will disable all non-Microsoft programs and services from starting up. After you determine the culprit, you can return back to normal mode.
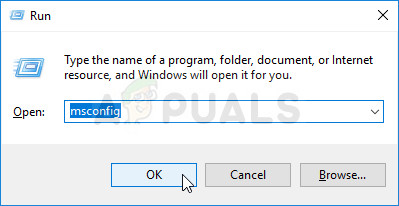
- Use the Windows + R key combination on your keyboard. In the Run dialog box type MSCONFIG and click OK.
- Click the Boot tab and uncheck the Safe Boot option (if checked).
- Under the General tab in the same window, click to select the Selective startup option, and then click to clear the Load startup items checkbox to make sure it’s not checked.
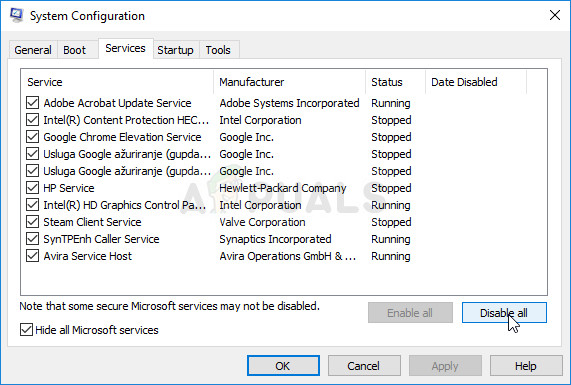
- Under the Services tab, click to select the Hide all Microsoft services checkbox, and then click Disable all.
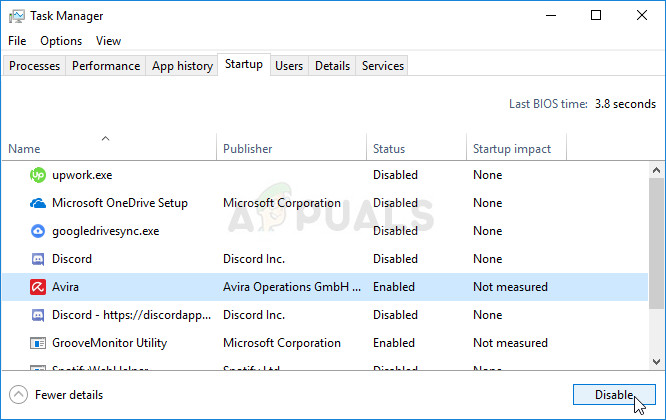
- On the Startup tab, click Open Task Manager. In the Task Manager window under the Startup tab, right-click on each startup item which is enabled and select Disable.
- After this, you will need to perform some of the most boring processes and that is enabling the Startup items one by one and restarting your computer. After that, you need to check whether the problem appears again. You will need to repeat the same process even for the Services which you have disabled in Step 4.
- Once you locate the problematic startup item or service, you can undertake action in order to solve the problem. If it is a program, you can reinstall it or repair If it is a service, you can disable it, etc.
Solution 4: Reinstall the Application
It appears that the problem is related to the version of Battle.net installed on your computer. Performing the steps below will ensure you have the latest version installed and the problem should cease to appear when trying to open Battle.net to enjoy your Blizzard games!
- Click the Start menu button and open Control Panel by typing its name with Start menu open. On the other hand, you can click on the gear icon in order to open Settings if you are using Windows 10.
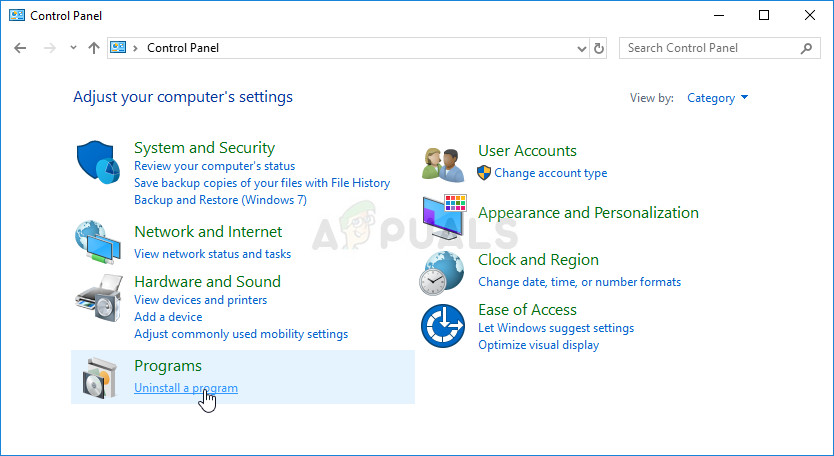
- In Control Panel, select to View as – Category at the top right corner and click on Uninstall a Program under the Programs section.
- If you are using the Settings app, clicking on Apps should immediately open a list of all installed programs on your PC.
- Locate Battle.net in Control Panel or Settings and click on Uninstall.
- Its uninstall wizard should open so follow the instructions to uninstall it.

- Click Finish when the uninstaller completes the process and restart your computer to see whether login issues will still appear. Make sure you download the latest version from this link. Run the executable and follow the instructions on-screen in order to install it.
Solution 5: Enabling Secondary Logon Service
The Secondary Logon Service is used to avoid multiple log-in attempts when using Battle.net. However, there are numerous instances where this service is disabled and is not being used by the computer. In this solution, we will navigate to the services of the computer and enable it manually and see if this makes any difference. You can always revert the changes if this doesn’t work.
- Press Windows + R, type “services.msc” in the dialogue box, and press Enter.
- Once in services, search for the following service, right-click on it and select Properties.
Secondary Logon Service
- Now, set its type tp Automatic and start the service.
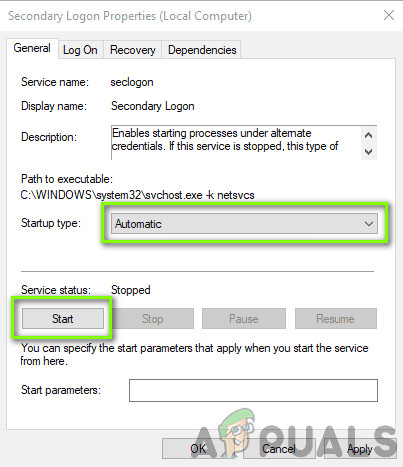
Enabling Secondary Logon Service - Exit the services and restart your computer and check if the issue is resolved.
Solution 6: Disabling Windows Firewall
Another thing to try is disabling Windows Firewall completely. Windows Firewall is the primary application that monitors the network traffic going to and fro from your applications and your computer. However, there are instances where the firewall blocks the traffic from Battle.net as a false positive. Hence you should try disabling your Windows Firewall and see if this makes a difference in your case.


