How to Fix Backup Error 0x807800C5 on Windows?
Windows 10 users trying to back up system images of their computers to NAS (Network-Attached Storage) have often reported seeing the backup fail and an error message that states the following appear:
“There was a failure in preparing the backup image of one of the volumes in the backup set. Details: The I/O operation has been aborted because of either a thread exit or an application request.”
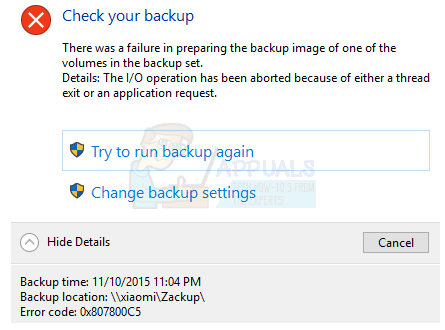
When a user encounters this error message and clicks on ‘Show Details‘ in the dialog containing the error message, the error code for the problem is revealed as 0x807800C5. This issue only occurs when attempting to back up a system image of a Windows 10 computer to NAS. In other words, the backup succeeds when a system image is being backed up to a drive (internal or external) that is physically and directly connected to the computer. Additionally, users affected by this issue can almost always successfully back up one system image of their Windows 10 computer to NAS. It is when they attempt to do so a second time that the process fails and they encounter the error message.
The cause of this issue is the fact that Windows only allows one system image to be backed up to NAS, and Windows 10 (unlike older versions of the OS) is incapable of overwriting or deleting the first system image, ultimately causing the second image backup to fail. That being the case, you can resolve this issue by simply renaming the original backed up system image so that Windows is able to successfully create the new system image. In order to do so, you need to:
- Gain access to the NAS to which you are trying to back up your computer’s system image, or gain access to the NAS shell. You will not be able to apply this solution unless you have access to the NAS or NAS shell. This is because you cannot rename the original system image if you don’t have access to where it is stored in the first place.
- Locate the original system image.
- Rename the original system image from
__nas_backup_WindowsImageBackup_host-name
to
__nas_backup_WindowsImageBackup_host-name.bak.
- Return to your computer.
- Run Windows 10 Image Backup and try backing up a system image of your computer to the NAS, and you should be able to do so successfully without running into the error message again.
Hi. I got the same issue, but after renaming the folder and running the backup again it almost complets, but at the end of backing up 67 Gb it stops with the 0x807800C5 error code. Can I solve this by selecting manually the folders to be backed up? Thanks.