How to Enable Telnet in Windows?
The Telnet client is a tool that is used to test network connectivity and help manage it. The tool is used quite often by developers and administrators. It was integrated into Windows 10 and can be used on it through the command prompt. However, the tool has been disabled on the operating system by default. It was probably disabled to conserve resource usage because the average consumer has no use for the tool at all.
In this article, we will teach you the easiest methods to enable the application on Windows 10. Make sure to follow the steps carefully in order to avoid conflict.
How to Enable Telnet in Windows 10?
The Telnet client is included in Windows 10 as a new feature but it is disabled by default. It is quite common for Windows to disable certain features that the average consumer doesn’t use to reduce resource usage. There are many methods to enable the client but we will be focusing on two of the easiest ones in this article.
Method 1: Through PowerShell
The Telnet feature can easily be updated through Powershell using a simple command line. In order to enable the feature through PowerShell:
- Press “Windows” + “R” to open the Run prompt.
- Type in “Powershell” and press “Shift” + “Ctrl” + “Enter” to provide administrative privileges.
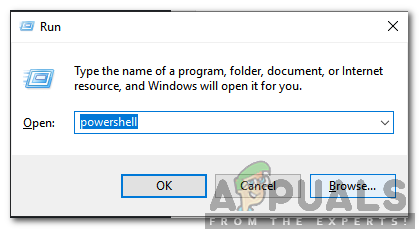
Typing in “Powershell” and pressing “Shift” + “Alt” + “Enter” - Type in the following command and press “Enter“.
dism /online /Enable-Feature /FeatureName:TelnetClient
Enabling Telnet - Wait for the command to be processed and the feature will be enabled.
Method 2: Through Control Panel
If the above process doesn’t work for you, you can try a different approach as the feature can also be enabled through the Control Panel. For that:
- Press “Windows” + “R” buttons simultaneously to open the Run prompt.
- Type in “Control Panel” and press “Enter“.
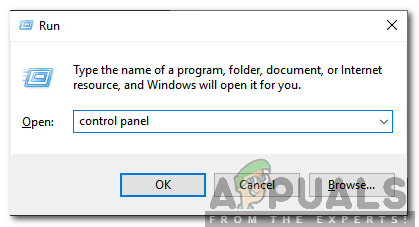
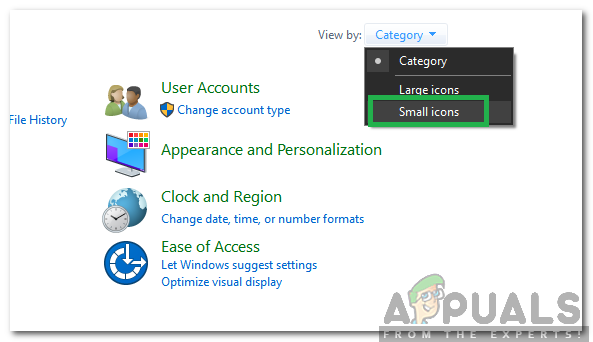
Typing in Control Panel and pressing Enter - Click on the “View By” option and select “Small Icons“.
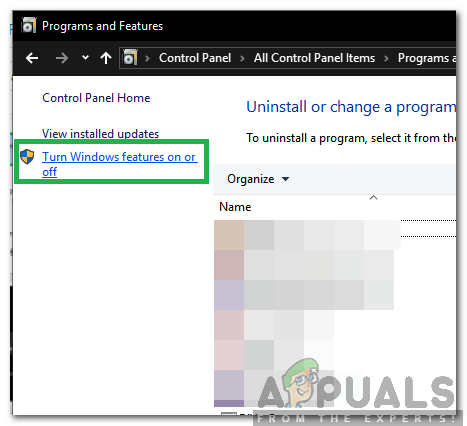
Clicking on “View By” and select “Small Icons” - Click on the “Windows Features” option and select “Turn Windows Features ON or OFF” option in the left pane.
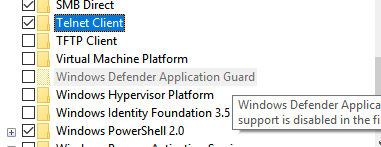
Clicking on the “Turn WIndows Features ON or OFF” option - Scroll down and check the “Telnet Client” option.
- Click on “OK” to enable the client.
Checking if the Client has been Enabled:
After performing one of the two methods listed above the Telnet client has probably been enabled. In order to verify that:
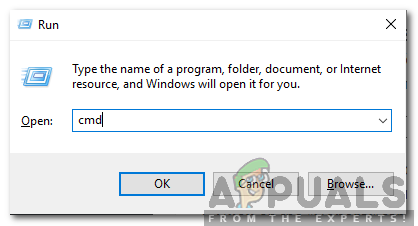
- Press “Windows” + “R” buttons simultaneously to open the “Run” prompt.
- Type in “cmd” and press “Shift” + “Ctrl” + “Enter” to provide administrative privileges.
Typing cmd in the Run Prompt and pressing Shift + Alt + Enter to open an elevated Command Prompt - Type in “Telnet” and press “Enter”
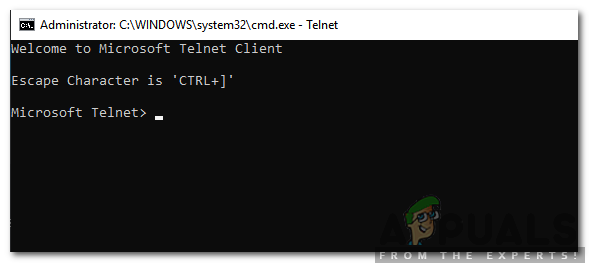
Typing in “Telnet” and pressing enter - Check to see if the command works.