How to Detect a Memory Leak in Ubuntu
There are several reasons a memory leak might occur on Ubuntu, but fortunately, it’s obvious when they do occur. Buggy code is often the biggest reason, since programmers might not have had the opportunity to check to ensure that memory that’s no longer needed gets released. If you’ve been installing unstable packages or compiling code from source, then you might be dealing with memory leaks for this reason. You’ll probably start noticing them because software application packages start to complain about being out of memory when you have more than enough physical RAM installed.
If you’re concerned about a memory leak, try typing free repeatedly into a terminal. If you suddenly start to see RAM use quickly growing, then you’ve already detected a memory leak. Should you receive an error that reads something like bash: Not enough Memory while doing this and you have nothing but a terminal or even just a virtual console open, then you’re almost unquestionably dealing with one. Some memory leaks can be a bit subtler, but Ubuntu and it’s various spin-offs feature tools and packages that can help you detect these.
Detecting Memory Leaks in Ubuntu
Since the tools used for detecting memory leaks are primarily based around the CLI prompt, it doesn’t matter which version of Ubuntu you run them on. These should work fine inside of a Unity terminal in regular Ubuntu, from a virtual console in Ubuntu Server, from an lxterm in Lubuntu, a Konsole in Kubuntu or even inside of Xfce in Xubuntu. Try performing a simple task like sudo -s and type your password to begin.
This should get you a root shell if performed correctly, but may cause a memory error if you’re working with a leak that’s already gone too far. If you’re indeed able to access a root shell, then try typing echo 3 > /proc/sys/m/drop_caches, push the enter key and then type exit. Try running free or free -m again to see if that’s helped to release memory.
Some programmers argue that there’s no point in forcing the Kernel to drop out its caches, since they should be flushed and thus reclaimed as soon as additional physical memory is needed. However, while force flushing these caches will hurt system performance keep in mind that this is merely a test. Once you’ve rebooted the system, the Linux Kernel should once again assemble the memory caches the way that they were in the first place.
A few people have suggested adding the line sync; sudo echo 3 > /proc/sys/vm/drop_caches to a script that cron runs consistently, but this defeats the purpose of memory caching in the first place. Free memory itself is merely unused RAM, and that means that data has to be loaded from much slower electromechanical or NAND storage devices. No matter how fast these devices are, they’re not as fast as RAM is, which means that while you should fix memory leaks, you shouldn’t actually tamper with the cache system once you have it set to the optimal setting.
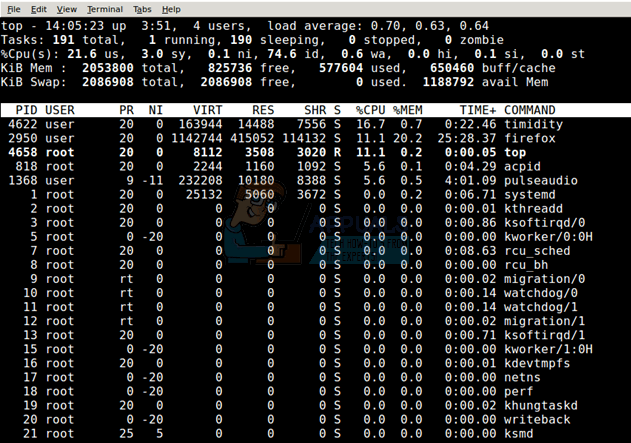
If you’ve decided you indeed have a consistent memory leak that happens periodically while using your machine and it can’t be narrowed down specifically, but you still have CLI access, then try running the top command. This should give you a list of running processes.

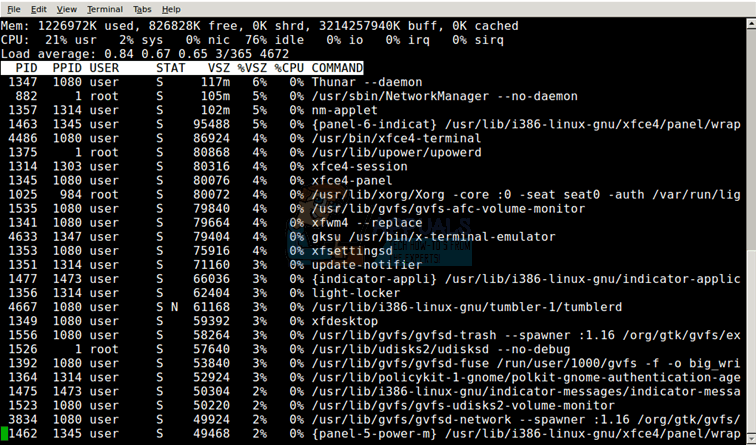
Should Ubuntu give you an unusual error about top then try issuing busybox top instead in order to access an even simpler version of this program. Once you have a list, look at the %MEM or similar column to see which applications are assigned the most memory. While you could note the PID and issue a kill command to the exact number of the PID, this will merely force the application to close. The memory they use might still not be released after you do this, though it’s of course worth a shot.

If you find an application that’s using a large amount of memory, push q to quit and then try kill #### with the PID number from the previous screen. System processes should not be killed this way, nor should anything that you have unsaved work in. Think of this similarly to killing something with the Ctrl+Alt+Del task list, which you can also use for this same process.
When you’ve found a program that this is consistently happening to, then you can configure it to prevent the behavior in the future. Each individual program, of course, will need a different recourse, which is beyond the task of merely detecting memory leaks.
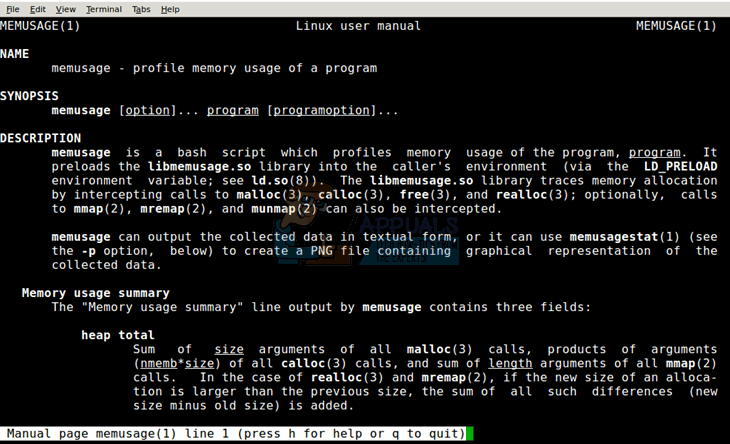
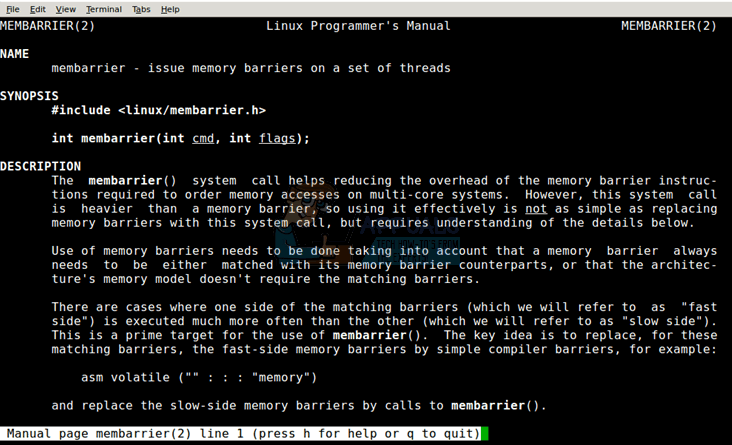
Should you not be merely troubleshooting applications, but also actually working with code then there are a few other recourses you have. Ubuntu and its derivatives offer you the membarrier, memusage and memusagestat C routines for programming.

Simply use man membarrier, man memusage or man memusagestat to view the Linux Programmer’s Manual pages on these important routines. If there are upgrades in future versions of the libraries as new versions of Ubuntu come out, then the changes will always be outlined here.

If you need graphical content, then memusagestat even offers the option to save a graphical representation of memory use to a PNG file. This makes it an attractive feature for authors of utilities as well, since it can be used to make applications that regularly check for memory leaks.

You may also wish to install memprof, which is a tool for profiling memory usage in order to aid you in finding memory leaks. It generates a profile regarding how much memory each function in a program you’re writing allocates. It can also scan existing memory to find blocks, which have been allocated, but no longer feature genuine references. It does this by pre-loading a library in order to override the standard C library’s memory allocation features.
If you plan to use this, then make sure to remove the include memprof line from the beginning of your code before releasing it. This is used to make sure you have no leaks, but it shouldn’t become a dependency if you package your code and release it in a repository.