How to Create a Clipping Mask in Adobe Photoshop
Clipping mask is an amazing tool that can be used to use an image to take the shape of a text and a shape that has been added in a previous layer. Adobe Photoshop has a very easy way of adding a clipping mask to an image. If you follow the following steps, you would be able to add it easily.
- There are two ways to open an image in Adobe Photoshop. You either open Photoshop to a blank/new file. For a new file,you will have to add all the details for size and color scheme. The second way to open an image in Photoshop is to drag and drop an image from any folder on your computer and drop it in Photoshop.

Creating a new file 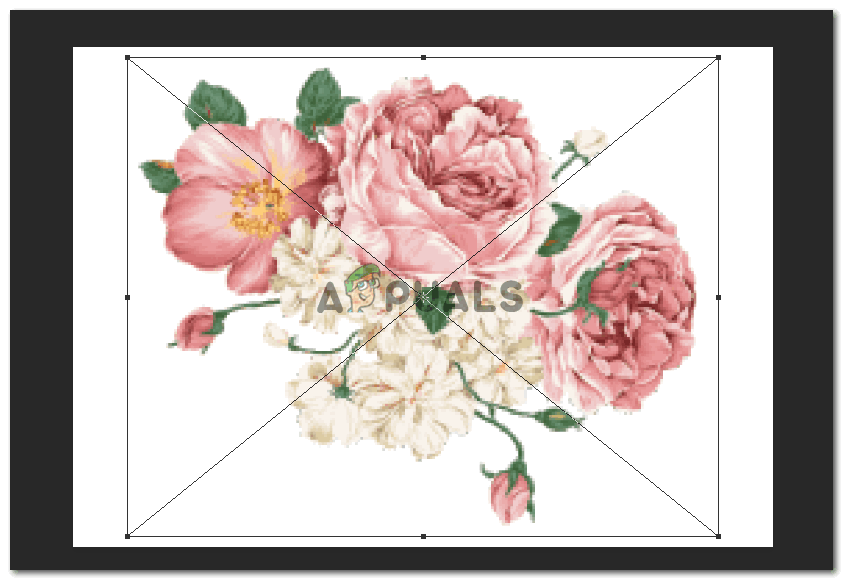
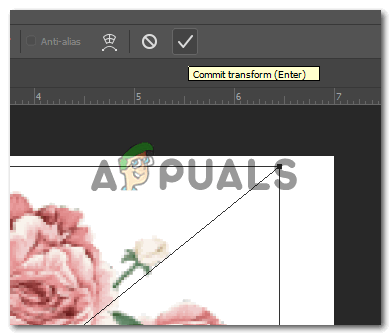
Add an image. You can add any image to create a clipping mask. - Adjust the size of the image according to your choice and click the tick icon to secure the changes you made to the shape.Make sure that the size of the image is larger than the text so that when you create a clipping mask, the whole text gets clipped.
Enlarge the image according to the size of your canvas. You can adjust the placement of the image according to the text as well depending on which part of the image you want to make visible in the text. - I am going write text on the shape, for which I will choose the Text tool. You don’t always have to write down on an image to create a clipping mask. You can also use a shape or a cut out of an image to create a clipping mask.
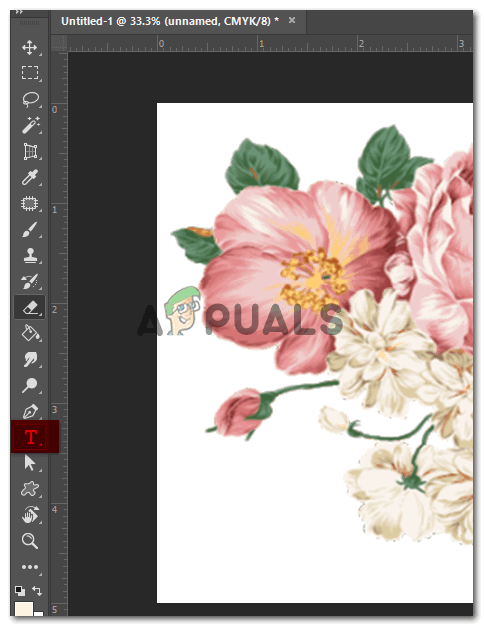
I selected the text tool to add text to my image. I want to write my own name to create a clipping mask for this example. - When I click on the image with the text tool, this line will appear.
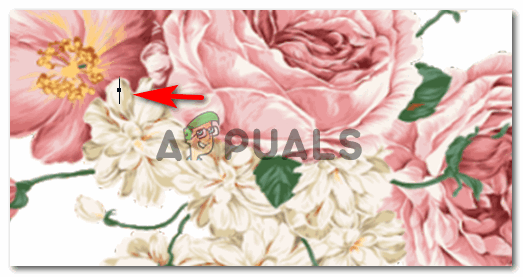
This line appears to show you where you can start adding the text. - I will write down the text and alter it according to my requirements. I made it big enough so that the image would be visible through the strokes of the text. You can change the text font and size from the toolbar. If you want text to be clipped, you need to make sure that the lines of the text are bold enough for the image to be visible. If the lines are too thin, the image will barely show in these lines.
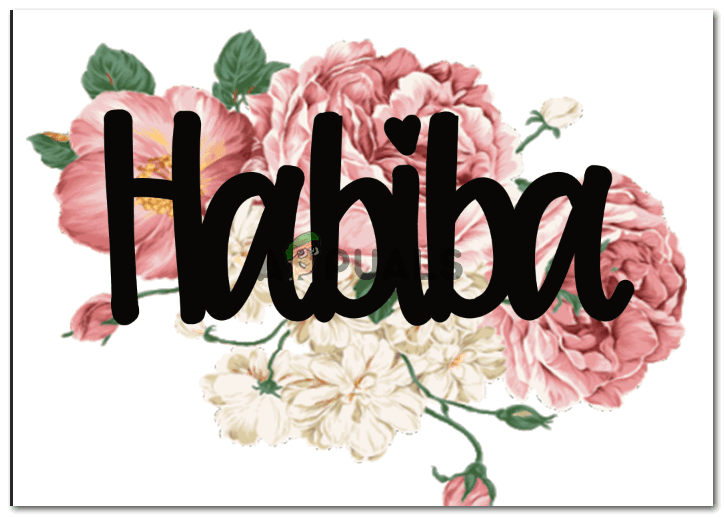
I chose a font that is thick and looks nice when enlarged. 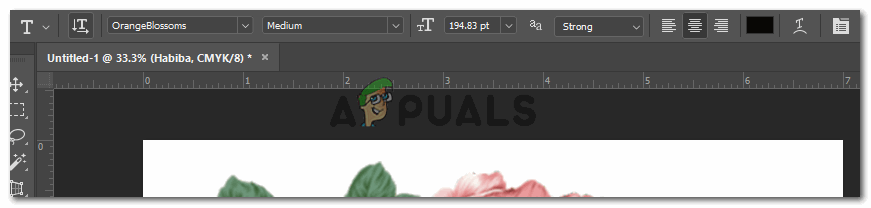
This is the tool bar for text tool. You can edit your texts size, thickness, font and everything related to your text formatting here. - Now since I wrote after adding the image, my layer for the text will appear after the image. I need to change this because to create a clipping mask, I need the text behind the image. For this, I will have to bring the text layer before the image layer.
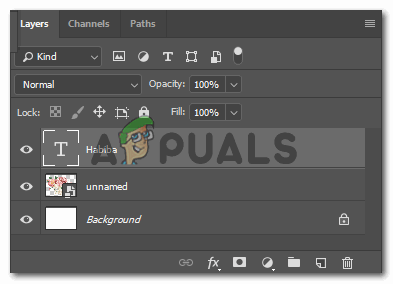
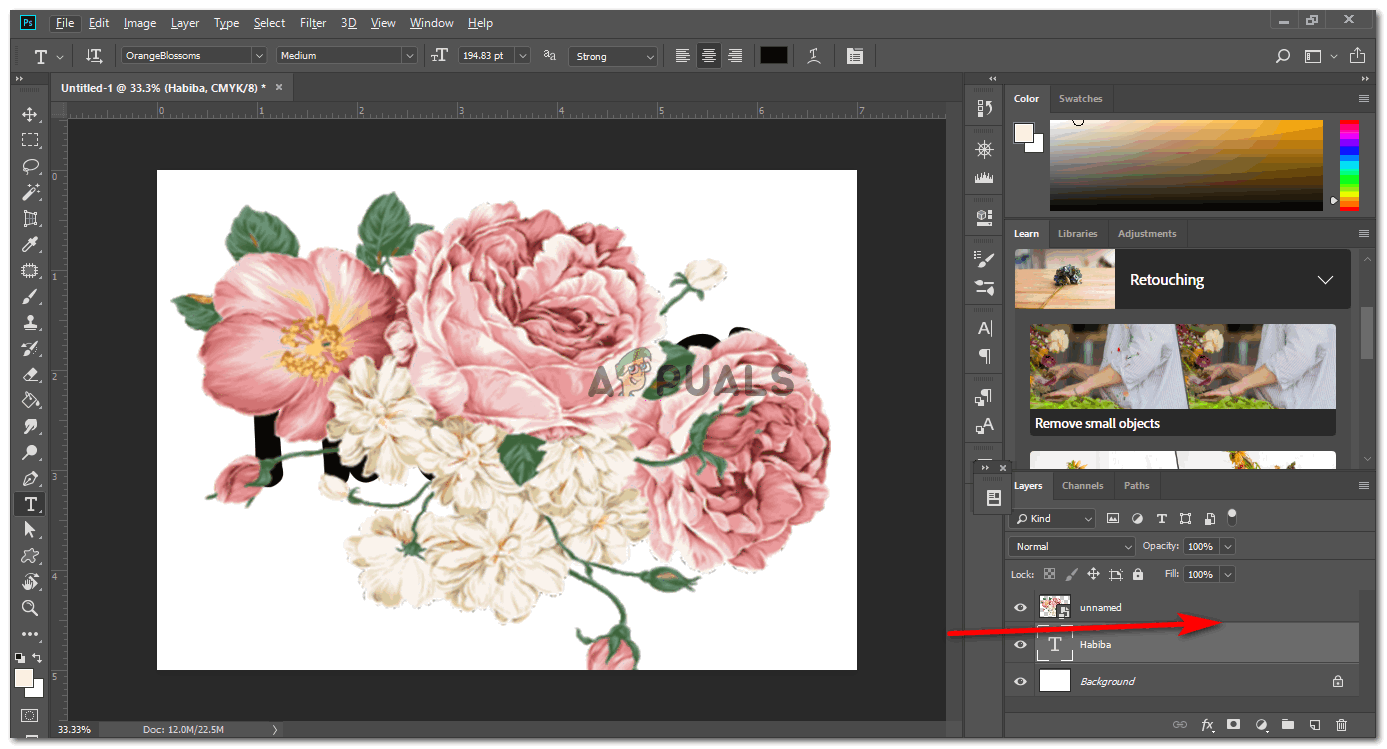
bring the text layer down. Bring it below the image layer. I will drag the text layer below the image layer simply with selecting the layer and dragging it down.
- To create a clipping mask, there are two ways. One is to select the layer below, which is the text layer in this case and press alt. Now slowly when you bring your cursor to the line as show in the picture below, a downward facing arrow with a square box will appear. As soon as that appears, you click. This will create your clipping mask.
After selecting the text layer and pressing the key ‘alt’, just bring the cursor on the line between the two layers for the cursor to change and then click ONCE the cursor changes 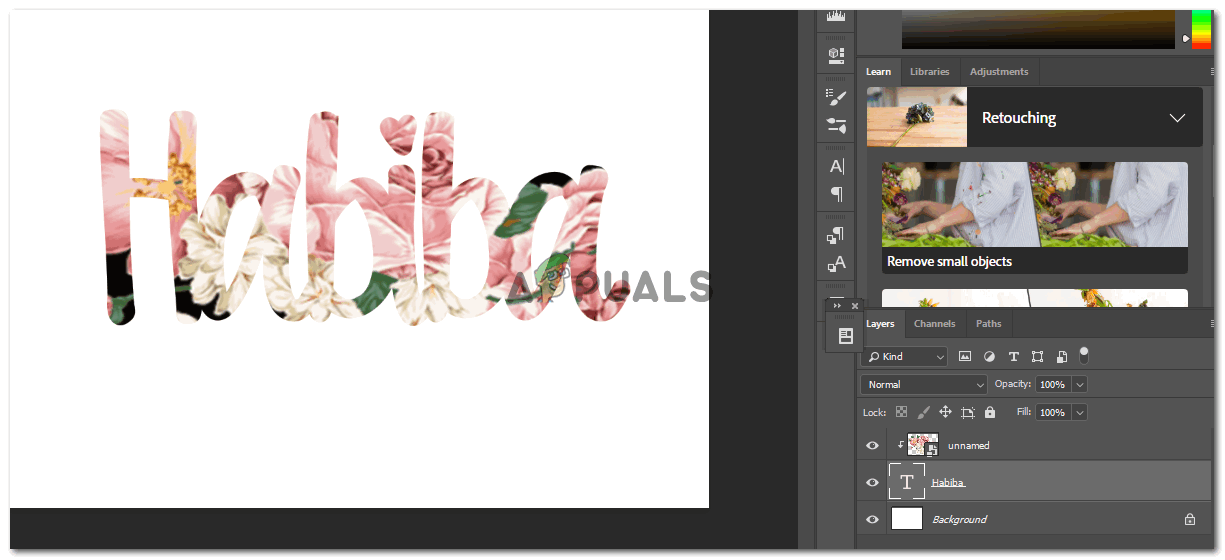
Your text has been clipped from method one here. - With the help of selection tool, you can move your text around the image to fix the image in which ever angle you like.
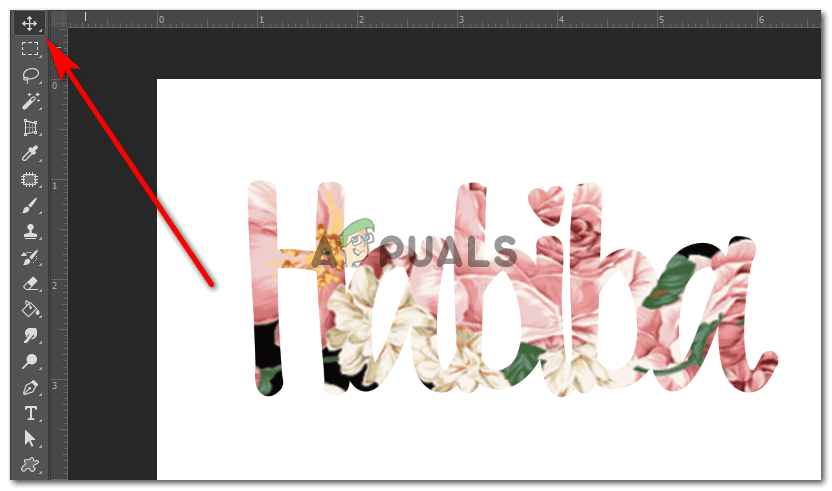
Use the selection tool to move your clipped text around. The basic purpose here is to make sure that the image showing from the text is perfectly visible like the way you want it. When you move the text around, you can place it where you feel the image appears best in the text.
- Second method of creating a clipping mask is to simply place an image layer above the text layer. Right click on the image layer, and select the option for ‘Create Clipping Mask’.
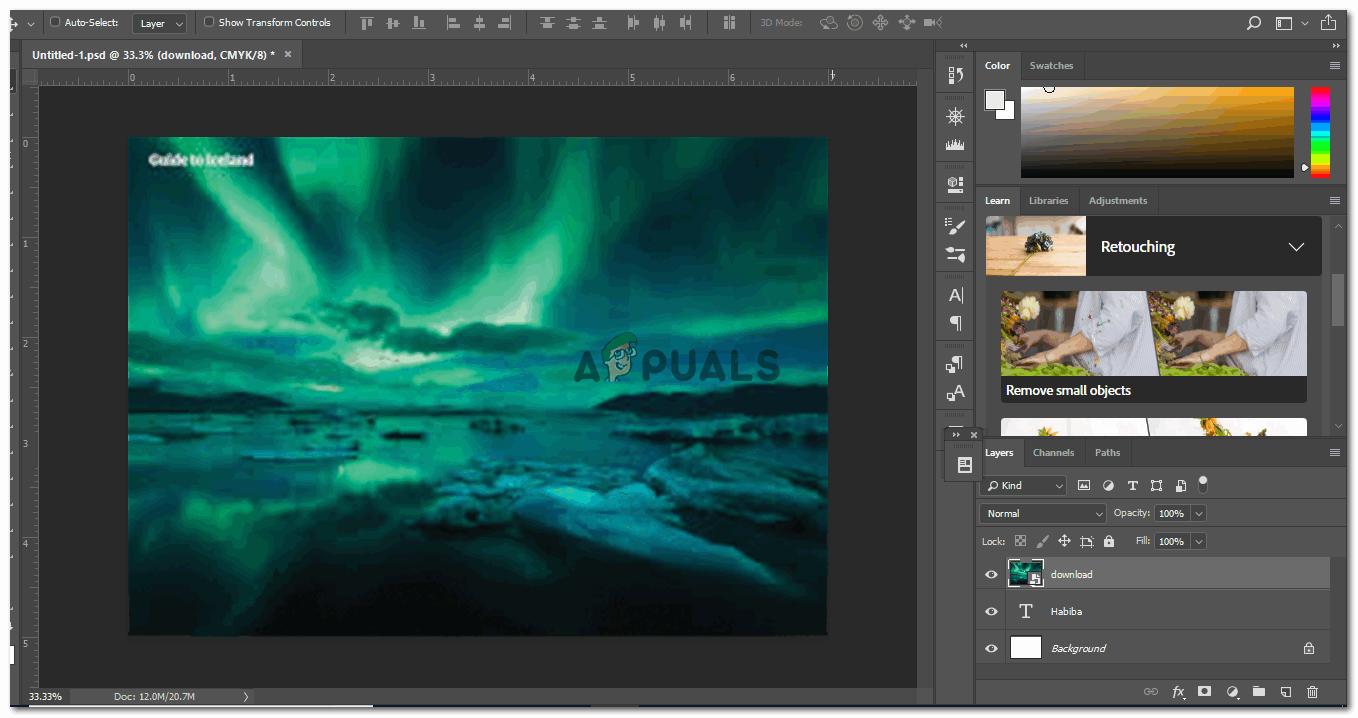
Working with a new image here. 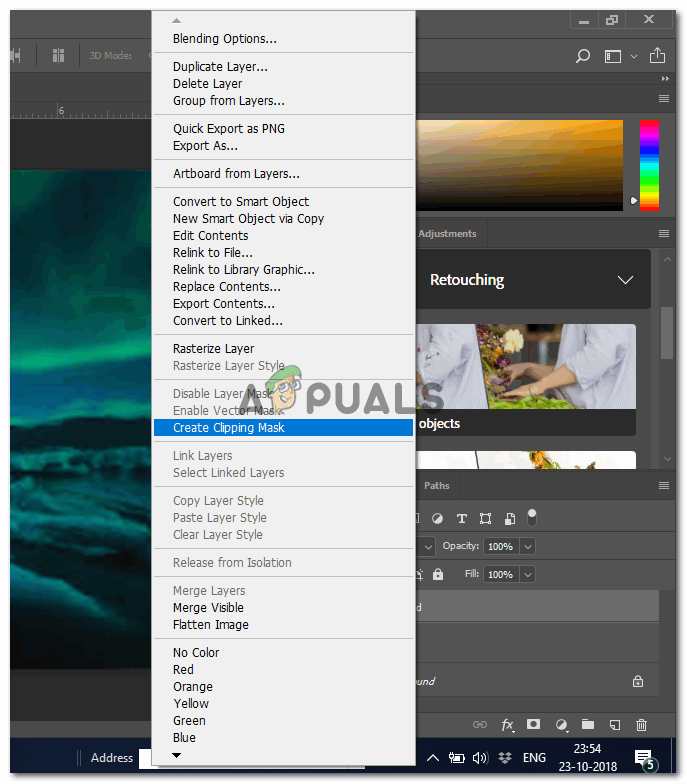
Right clicking on the image layer will show you all these options to choose from. Locate the option for ‘create clipping mask’ and click on it. 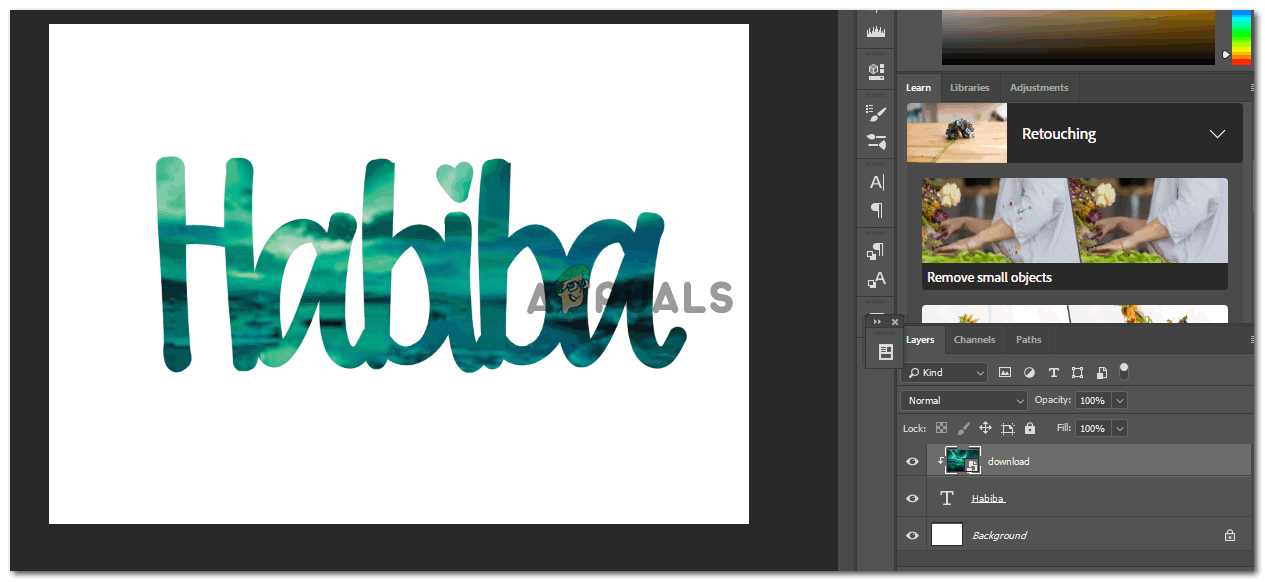
Your new clipping mask has been created. You can also add a background color to this work by going on the background layer and using the paint bucket tool from the left to fill the color of your choice.


