How to Change Recycle Bin Icon
Recycle bin, if you don’t know already, is contains all the deleted files of your system. The recycle bin’s icon is usually present on the Desktop. Since recycle bin contains the deleted items, it changes its icon to an empty dustbin whenever it is empty. On the other hand, it changes its icon to something that looks like there are papers in the dustbin whenever there are items in the recycle bin. These changes are a good way of showing whether the recycle bin is empty or not. And it changes these icons automatically. But, in some cases, you will notice that your recycle bin icon isn’t changing. If the icon is an empty dustbin, which means there isn’t any item in the recycle bin, it should change if you delete a certain item because the deleted item will be sent to the recycle bin. However, in this problem, your recycle bin icon won’t change and it will remain an empty dustbin. This can be troublesome because it shows the wrong information to the user i.e. the recycle bin doesn’t contain any items when it actually does. The item will change upon manually refreshing the desktop though. But it won’t refresh automatically.
This problem happens because of a bug in the Windows Vista. Most of the users experienced this problem after setting their custom icons for the Recycle bin. This can also happen in case you accidentally deleted the Recycle Bin icon (either empty icon or full icon) and restored it. This problem can also be caused by using the Reset to Default button located in the Desktop Icon Settings window.
Tip
- Keep in mind that Removable devices do not use recycle bin for their deleted items. Anything deleted from these drives is permanently deleted. So, if you are looking for deleted items from a removable device then those items won’t be in there.
- If you don’t know already, a temporary solution for changing the Recycle Bin’s icon is to simply press F5 while you are on the Desktop screen. This manual Desktop refresh has known to update the Recycle Bin icon
Method 1: Edit Desktop Icon Key in Registry Editor
This method is for people who started experiencing this problem after using their custom icons as the Recycle Bin icons. If you are one of those people then you have to make some changes in the registry keys. Follow the steps given below
- Before you start, you have to change the Recycle Bin icon to your custom icon. Follow the steps given below to change the icon
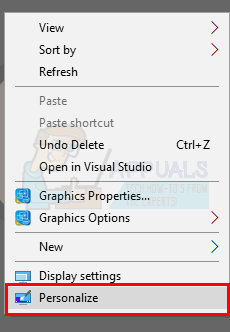
- Right click on an empty space on Desktop and select Personalize
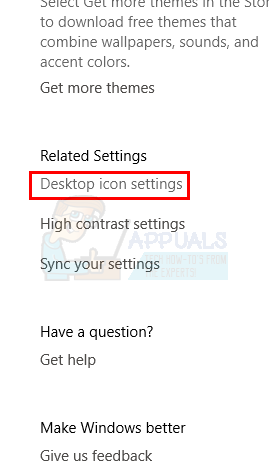
- Click Change desktop If you are using Windows 10 then click Themes from the left pane and then select Desktop icon settings from the right side
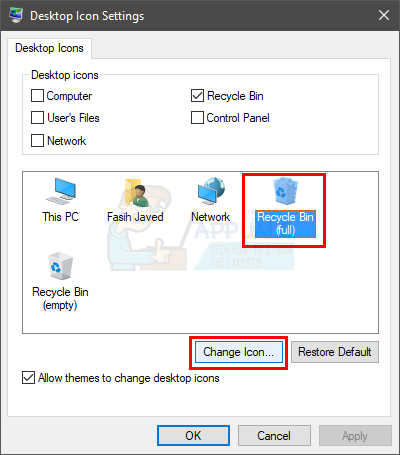
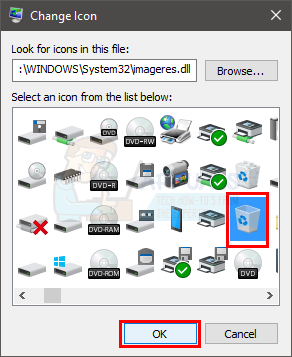
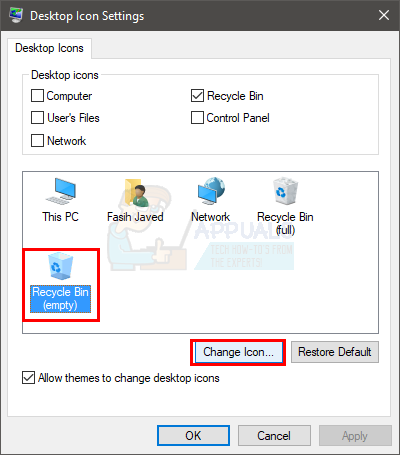
- Select Recycle Bin (full) icon and click Change icon
- Select your custom Recycle Bin icon (for full Recycle Bin) and click ok
- Select Recycle Bin (empty) icon and click Change icon
- Select custom Recycle Bin icon (for empty Recycle Bin) and click ok
- Click Apply then select Ok
- Hold Windows key and press R
- Type regedit and press Enter
- Now, navigate to this address HKEY_CURRENT_USER/Software/Microsoft/Windows/CurrentVersion/Explorer/CLSID/{645FF040-5081-101B-9F08-00AA002F954E}/DefaultIcon. If you don’t know how to navigate there, then follow the steps given below
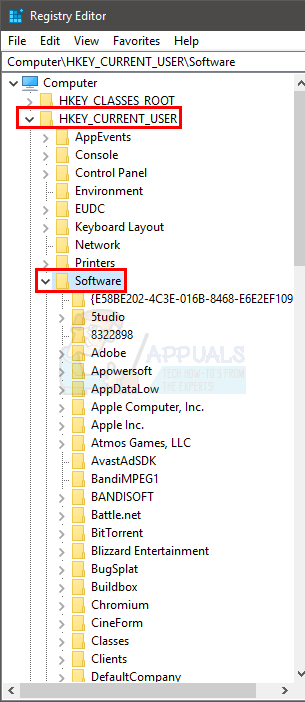
- Locate and double click HKEY_CURRENT_USER from the left pane
- Locate and double click Software from the left pane
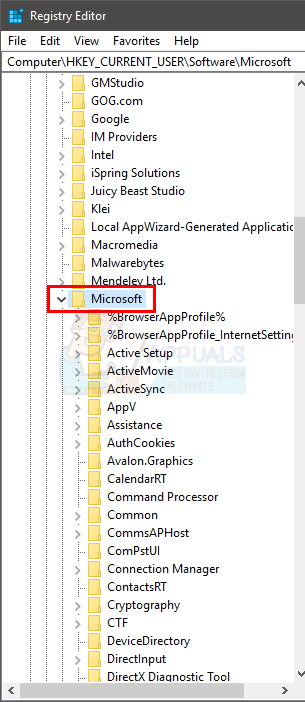
- Locate and double click Microsoft from the left pane
- Locate and double click Windows from the left pane
- Locate and double click CurrentVersion from the left pane
- Locate and double click Explorer from the left pane
- Locate and double click CLSID from the left pane
- Locate and double click {645FF040-5081-101B-9F08-00AA002F954E} from the left pane

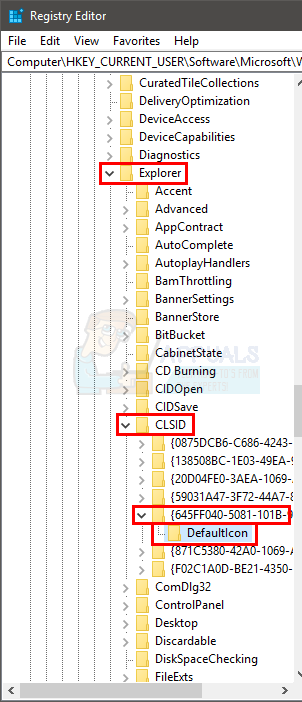
- Locate and select DefaultIcon from the left pane
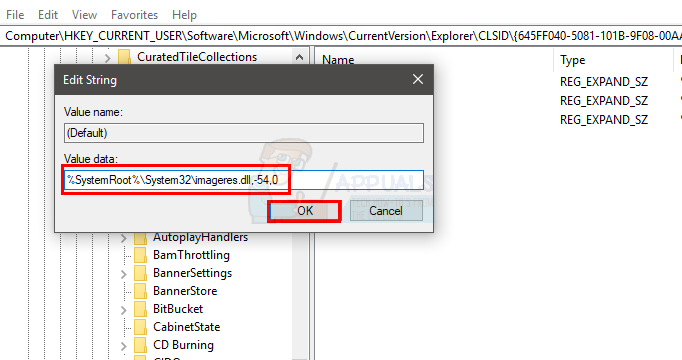
- Double click the Default named entry from the right pane
- You should be able to see the contents of its Value data section. It should be something like %USERPROFILE%\Icons\youriconname.ico. Replace the value with %USERPROFILE%\Icons\youriconname.ico,0 and click Ok. Basically, you have to put “,0” (without quotes) at the end of the value. Note: This value should be the full path of your custom icon that you want to use as the default icon for recycle bin.
- Now, double click the entry named empty. Its Value data section should contain an address to a picture. This address should point to the icon that you want your recycle bin to have when it’s empty. So, you should copy the value from the Value data section of Default entry (from step 6) and paste the value in the Value data section of this entry. At the end, your empty and Default entries should have the same value. Once you have pasted the value in the click Ok
- Double click the entry named full (from the right pane). Its Value data section should have the address of the icon that should appear when your recycle bin isn’t empty. So, put the address of any picture
- Close the Registry editor and reboot
That’s it. Your custom icons should work fine now.
Note: If you change the recycle bin icons (again) then you will have to perform these steps again (change the value of the registry key to point to the address of the new icons).
Method 2: Set Recycle Bin Icons Again
This isn’t the ultimate solution but it has worked for the majority of users. Apparently, setting the Recycle Bin icons in reverse order (empty icon for full recycle bin and vice versa) and then changing the icons back to their normal order fixes the issue. So, follow the steps given below to apply this solution
- Right click on an empty space on Desktop and select Personalize
- Click Change desktop If you are using Windows 10 then click Themes from the left pane and then select Desktop icon settings from the right side
- Select Recycle Bin (full) icon and click Change icon
- Select the Recycle Bin (empty) icon and click ok
- Select Recycle Bin (empty) icon and click Change icon
- Select the Recycle Bin (full) icon and click ok

- Click Apply then select Ok
- Now, we need to select the right icons for the recycle bin
- Click Change desktop icons if you aren’t already on the desktop icon changing window
- Select Recycle Bin (full) icon and click Change icon
- Select the Recycle Bin (full) icon and click ok
- Select Recycle Bin (empty) icon and click Change icon
- Select the Recycle Bin (empty) icon and click ok
- Click Apply then select Ok
Now check if the problem is solved or not.


