How to Calibrate Monitor on Windows 10
People are using computers and notebooks every day for different purposes, including playing games, watching movies or finishing some projects. If you are graphics or video designer or if you are working on projects which require taking care of color details, you will need a high-quality monitor.
These days you can purchase monitors from different vendors which support high resolutions, including 720p, 1080p, 4K, and 8K. If your computer and notebook support more graphics output ports you can add two or more monitors.
Many users didn’t hear something known as monitor or display calibration. Proper calibration of your monitor will increase color quality and will provide best results for editing and viewing images and videos. On another side, you will have a better user experience.
In this article, we will show you how to calibrate your monitor on Windows 10. As always, I’m recommending you to read the technical documentation of your monitor or notebook. Please download technical documentation from the official vendor’s website.
There are two methods how you can calibrate your monitor. The first method includes calibration monitor by using native Windows tools, and the second method includes calibration monitor by using additional software developed by the vendor of your monitor or notebook.
We will show you how to calibrate monitor Samsung S24D59L by using integrated tool into Windows, and how to calibrate the monitor on notebook Dell Vostro 5568. So, let’s start.
Calibrate monitor by using native Windows tool
In this part of the article, we will show you how to calibrate PC’s monitor Samsung S24D59L. In this example, we are using Windows 10 and native tool and integrated tool for display calibration. The same method is compatible with all PC’s monitors and notebooks.
- Hold Windows logo and press I to open Settings tool
- Choose System and then Display tab
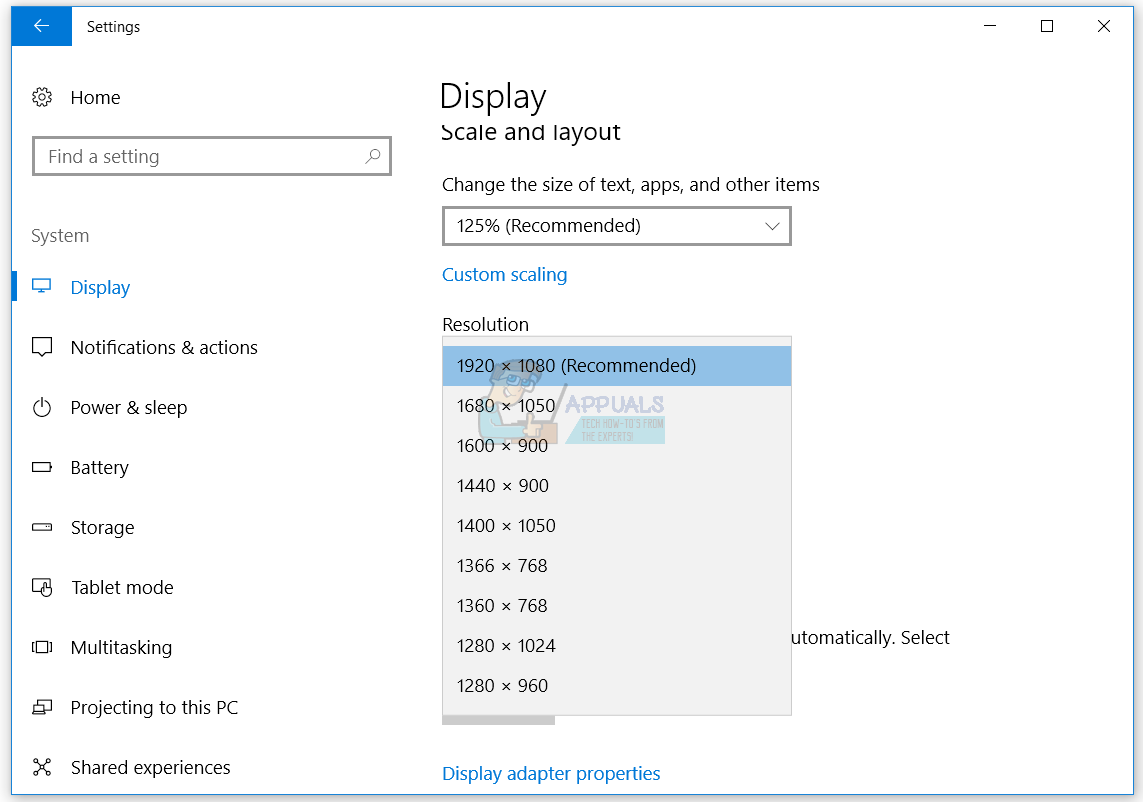
- Change resolution to the best supported by your monitor and graphics card
- Scroll down and click Display Adapter properties
- Choose Color Management tab
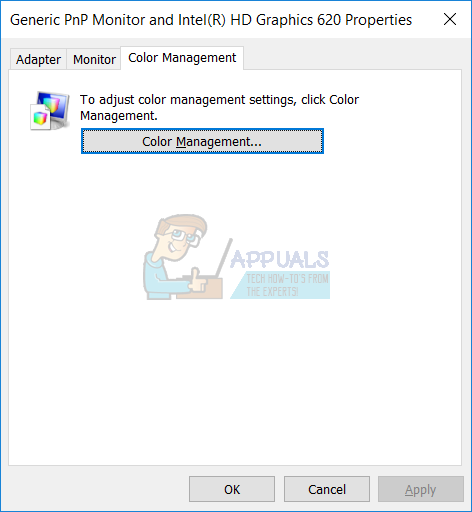
- Click Color Management…
- Choose Advanced tab
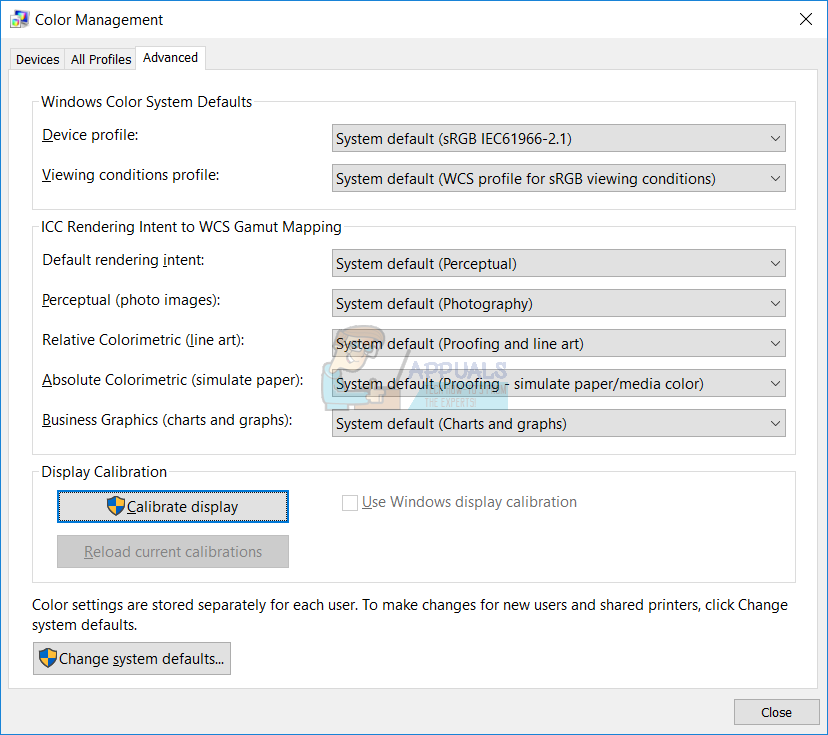
- Click Calibrate display to start Display Color Calibration

- Click Next
- Under Set color basic settings click Next
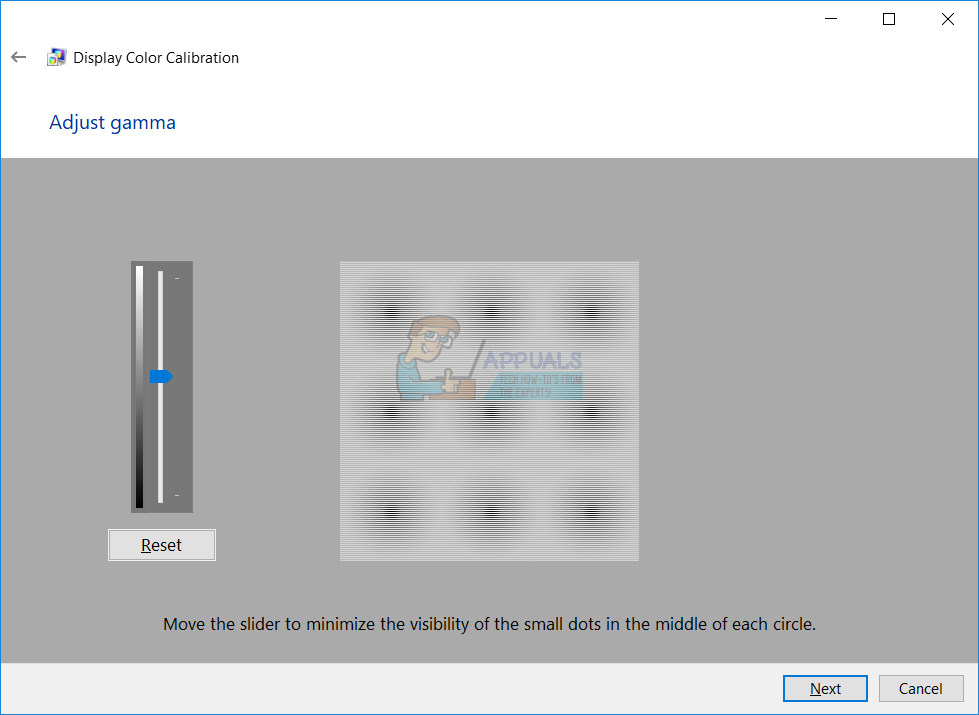
- Under How to adjust gamma click Next
- Adjust gamma per your own user experience. Move the slider to minimize the visibility of the small dots in the middle of each circle and then click Next
- Under Find the brightness and contrast controls for your display click Next
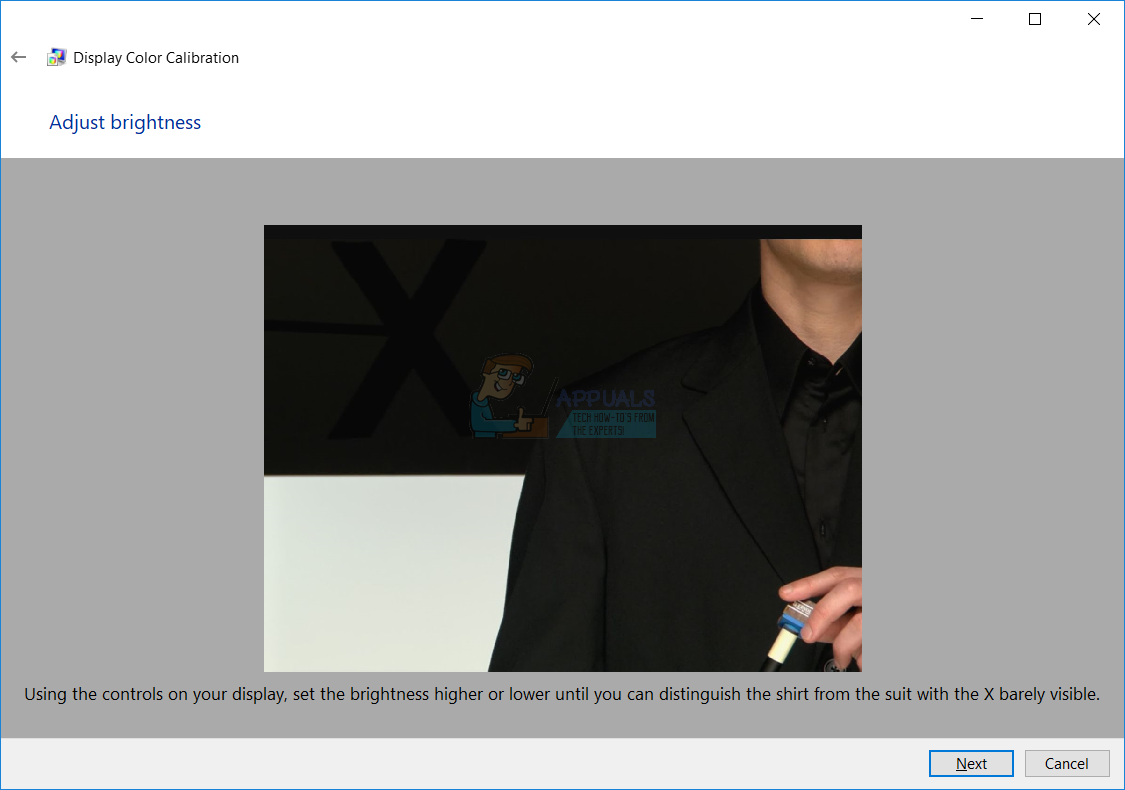
- Under How to adjust brightness click Next. The brightness adjustment determines how dark colors and shadows appear on your display.
- Under Adjust brightness, by using the controls on your display, set the brightness higher or lower until you can distinguish the shirt from the suit with the X barely visible and then click Next.
- Under How to adjust the contrast click Next
- Under Adjust contrast, by using the contrast control on your display, set the contrast as high as possible without losing the ability to see the wrinkles as a shirt and then click Next.

- Under How to adjust color balance click Next
- Under Adjust color balance move the red, green, and blue sliders to remove any color cast from the gray bars and then click Next.

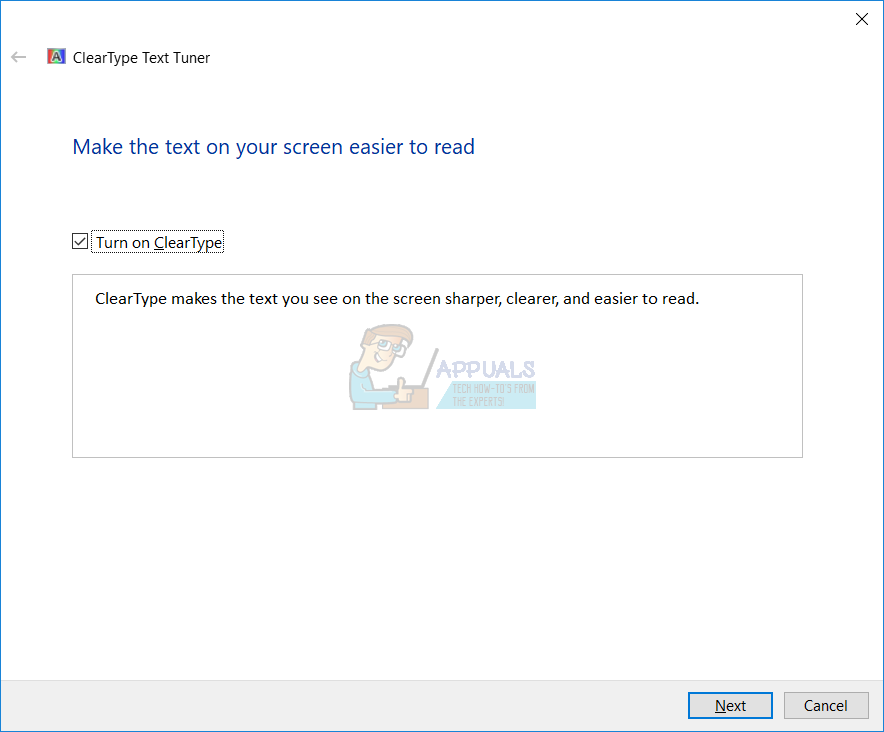
- Select ClearType and click Finish
- Under ClearType Text Tuner select Turn on ClearType and click Next
- Windows will check is your monitor set to its native resolution. Please click Next.
- In the next 5 steps, you will need to select text sample that looks best to you. After each other, you will need to click Next
- Click Finish. You have finished tunning the text on your monitor.
- Under Color Management choose Devices tab where you can check the last calibration profile results
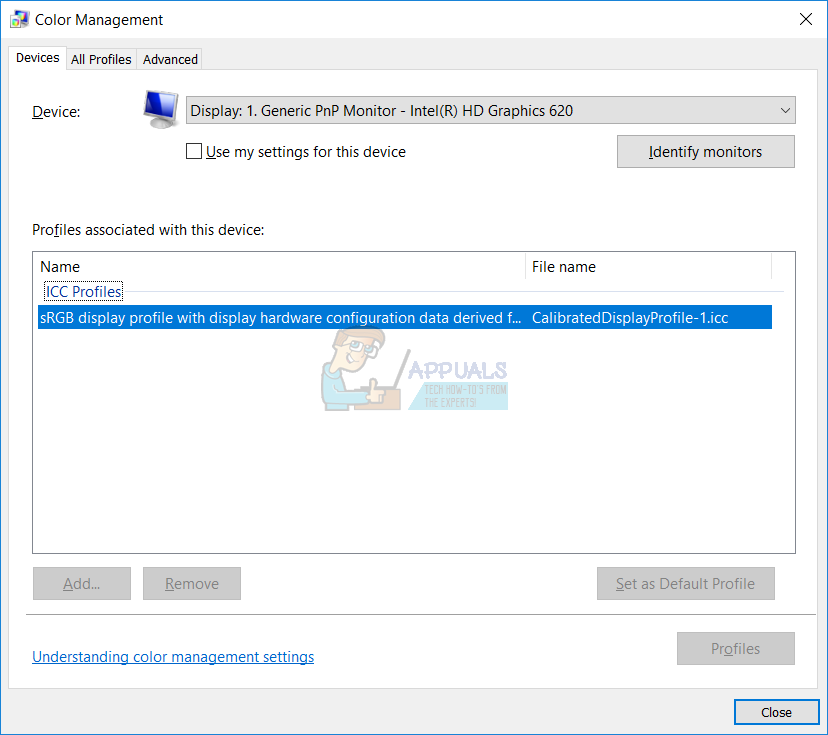
- Click Close
- Close Settings
Congratulations. You have finished PC’s monitor calibration.
Calibrate monitor by using additional software
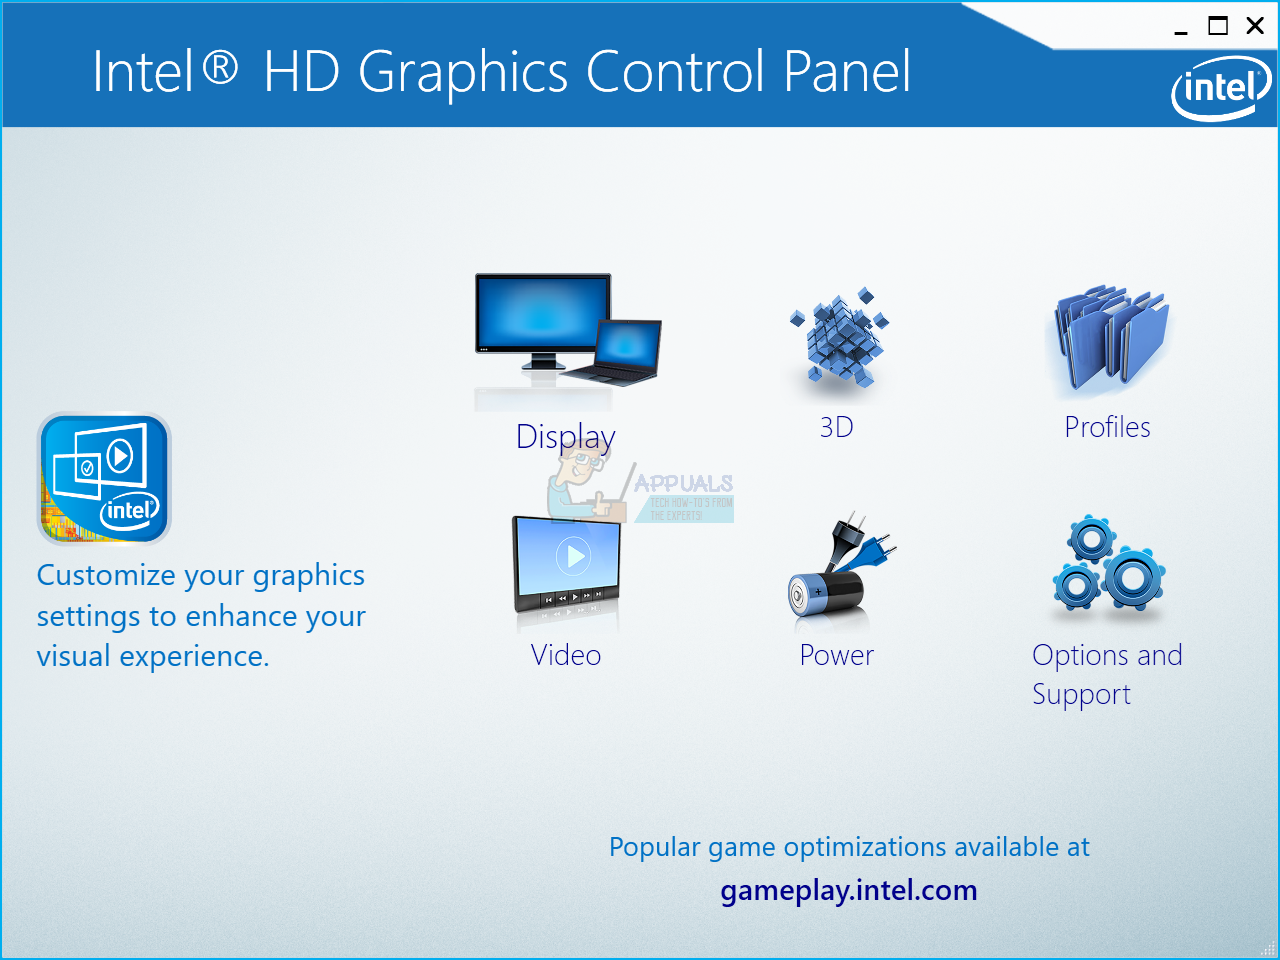
In the second example, we will show you how to calibrate monitor by using additional software on notebook Dell Vostro 5568. This laptop has integrated Intel HD graphics card and we will use Intel HD Graphics Control Panel. If you are using another graphics card, please use graphic’s card tool. The same method is compatible with all PC’s monitors and notebooks.
- Right-click on the Desktop and choose Intel Graphics Settings
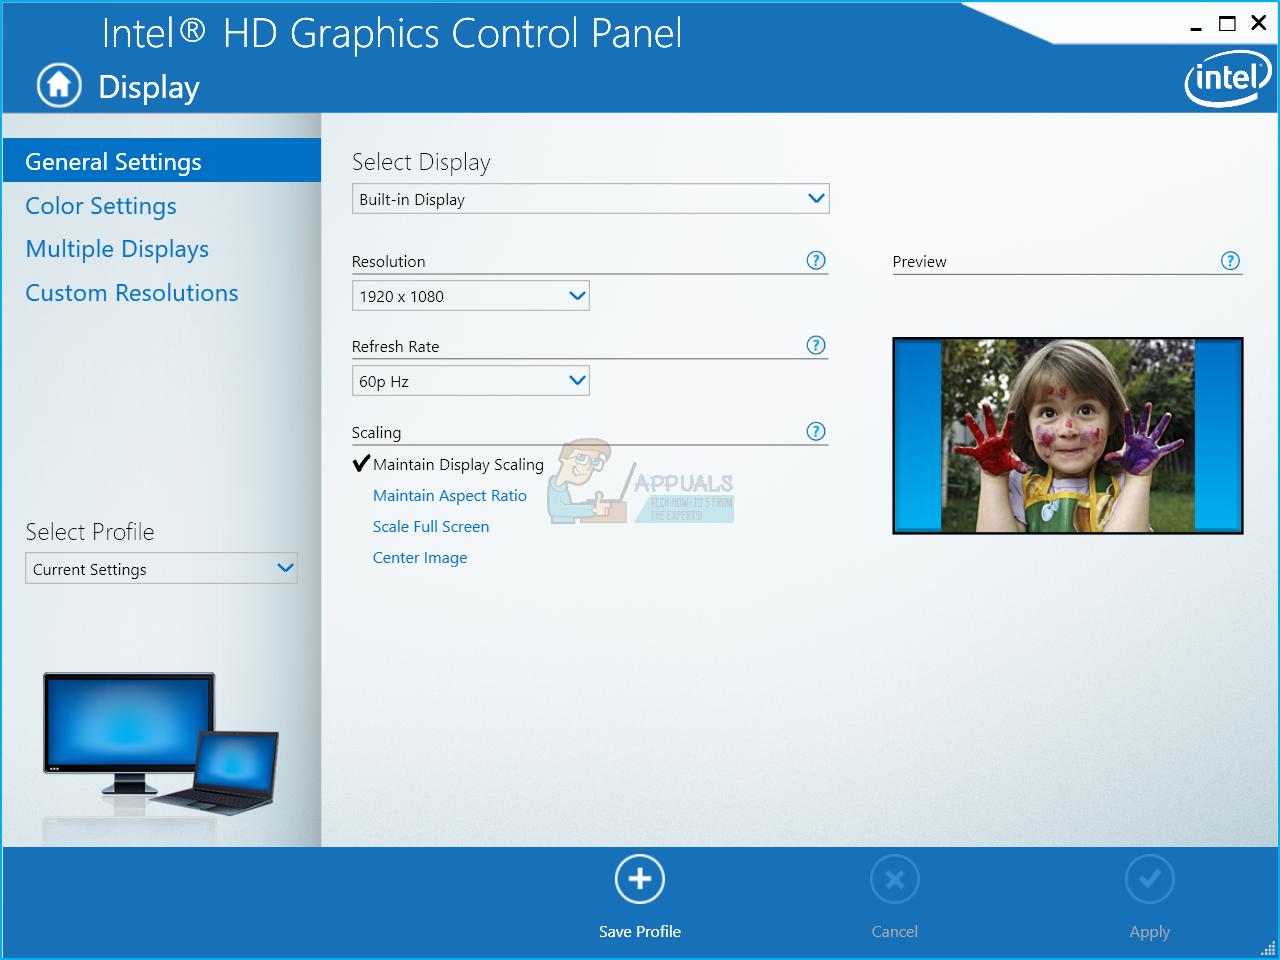
- Choose Display
- Under General Settings you can change resolution and Refresh rate. The settings depend on your monitor. We are just showing you what you can do by using third party software.
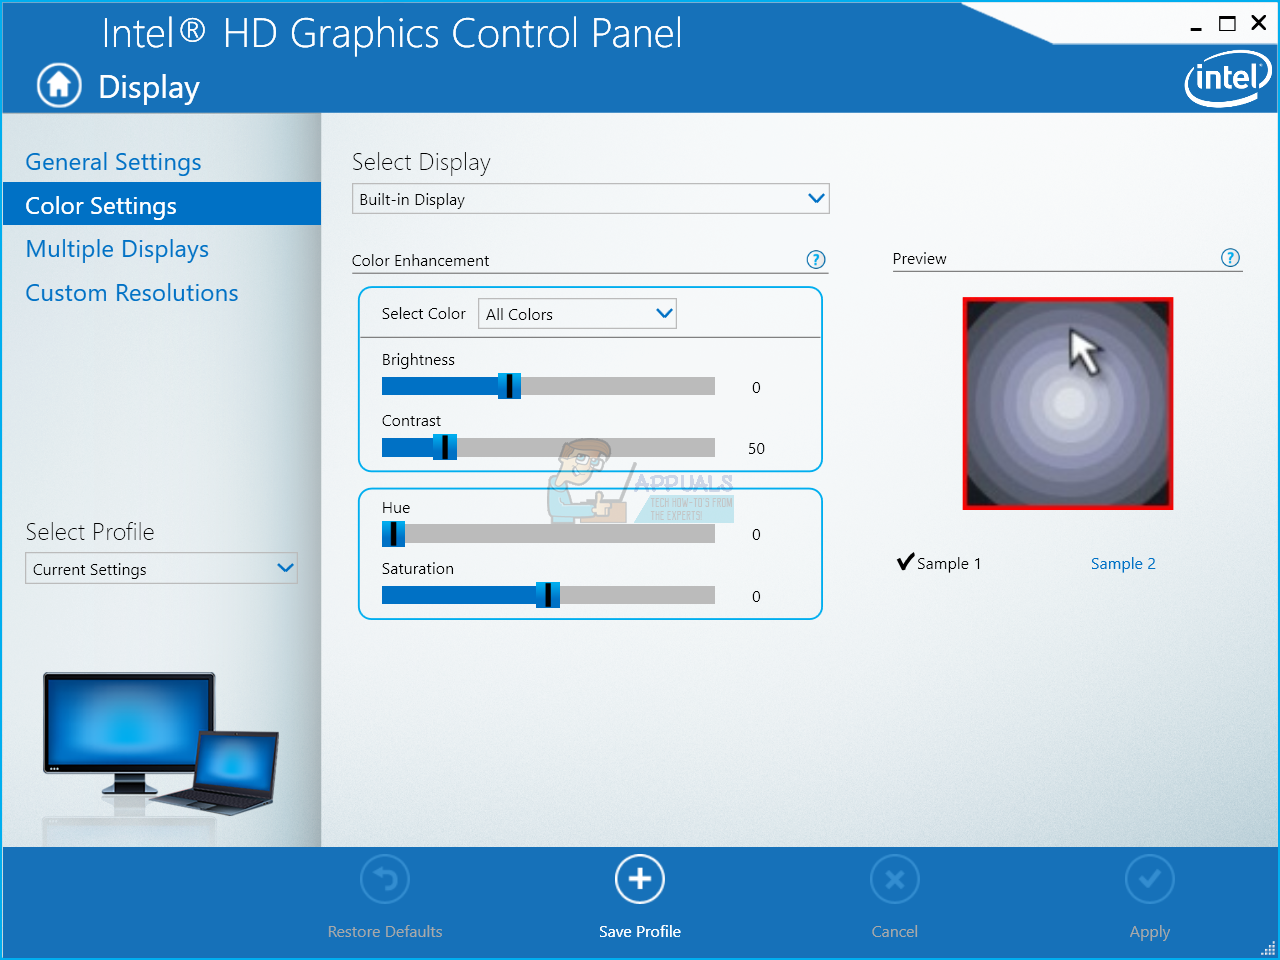
- Choose Color Settings
- Change color settings and click Apply. You can change different settings including brightness, contrast, hue, and saturation.
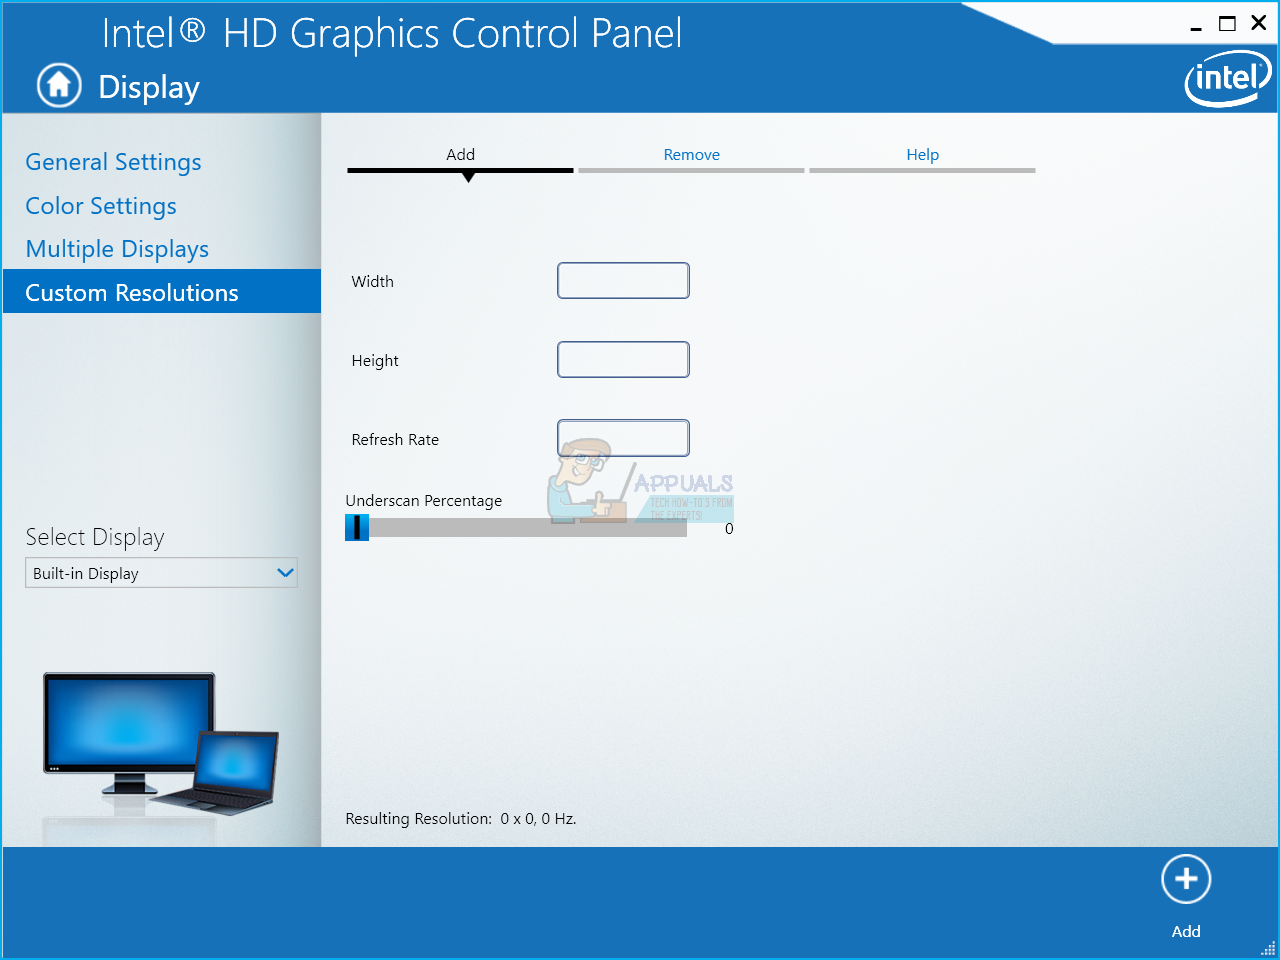
- You can use custom resolution by clicking on Custom Resolution
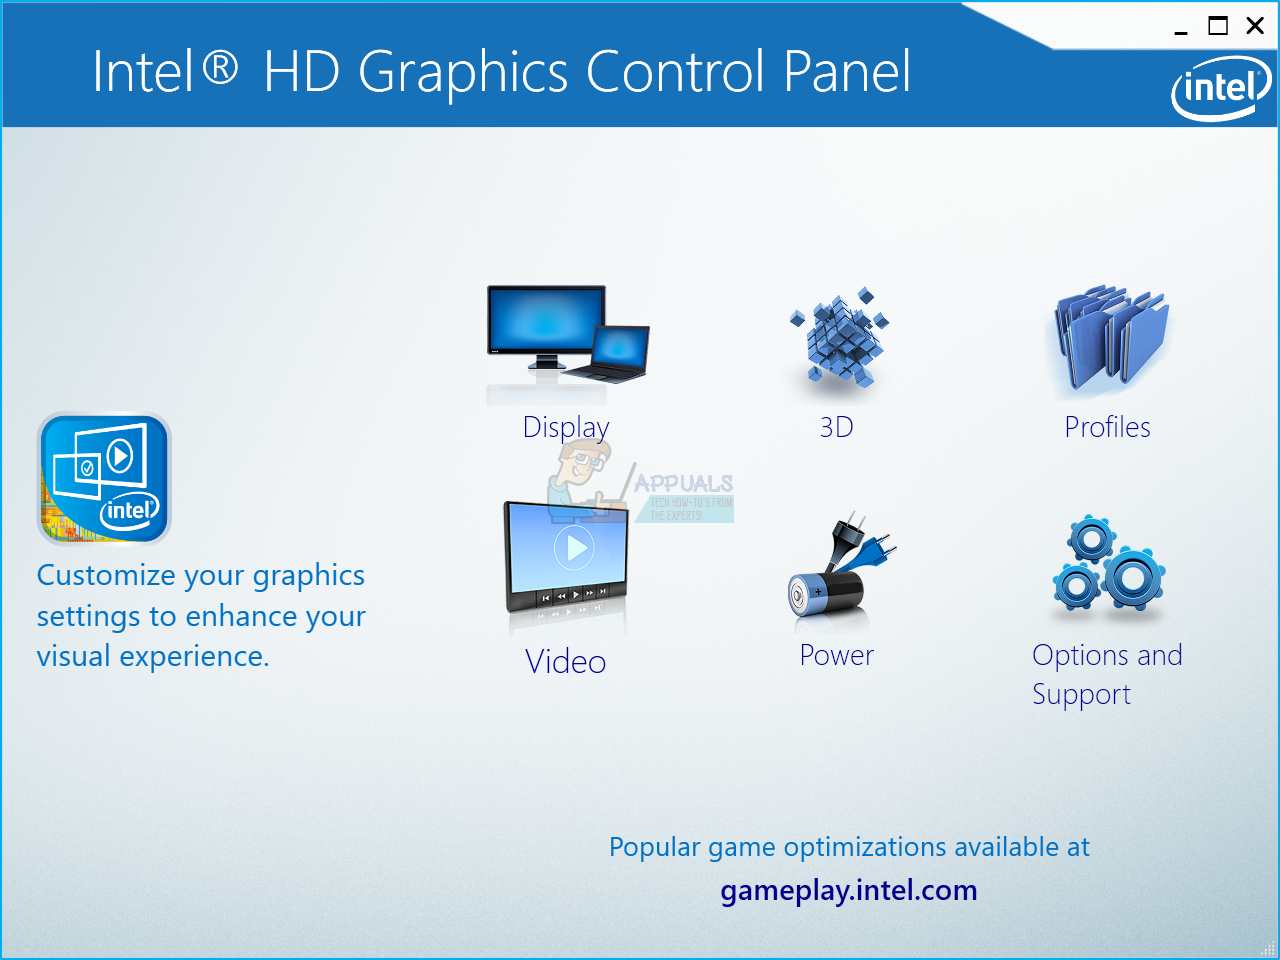
- At the top left side click Home button to open Home screen
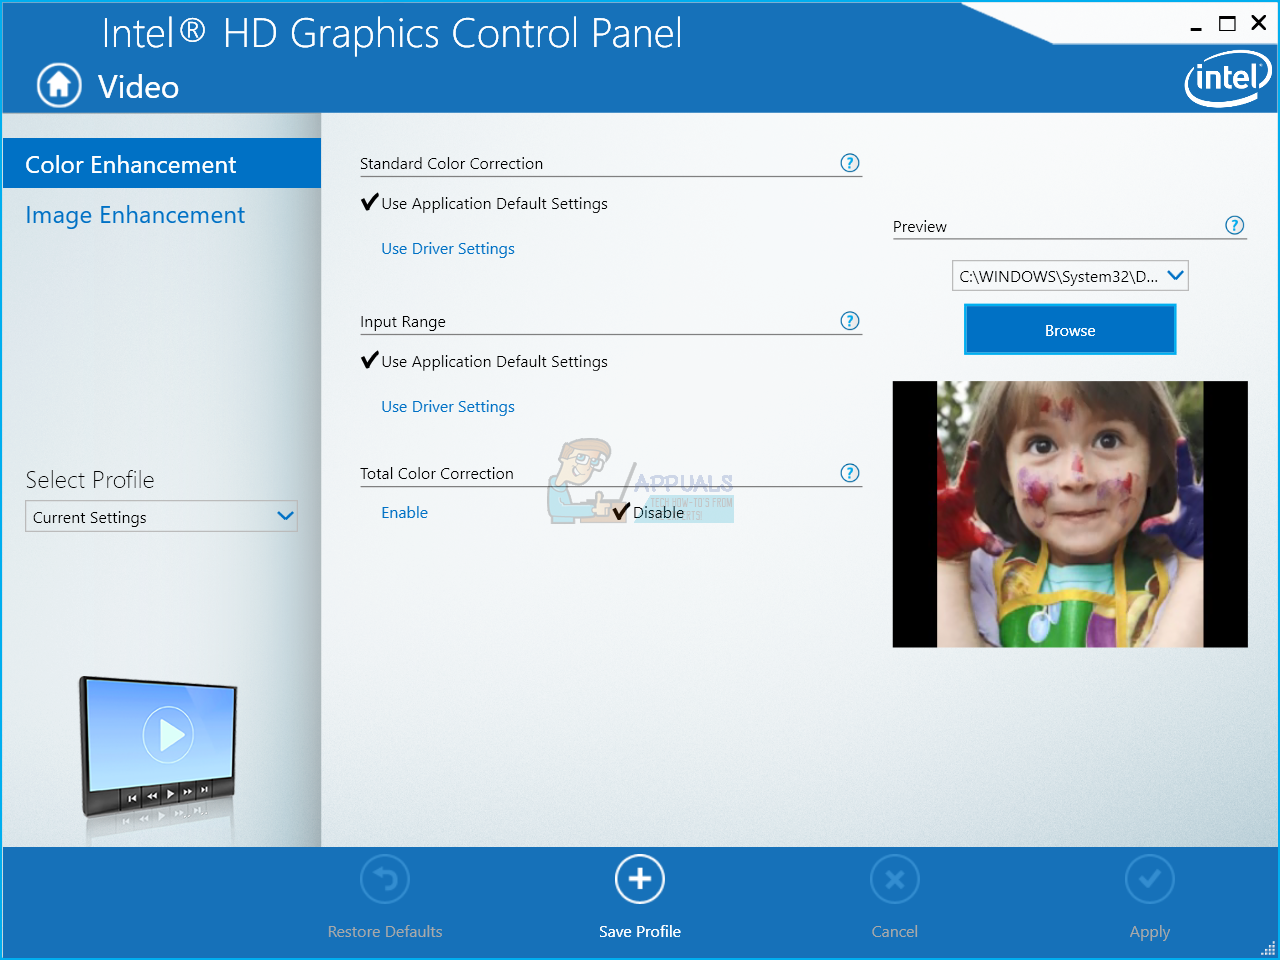
- Choose Video to configure video options to enhance your visual experience
- Under Color Enhancement you can configure color correction and input range
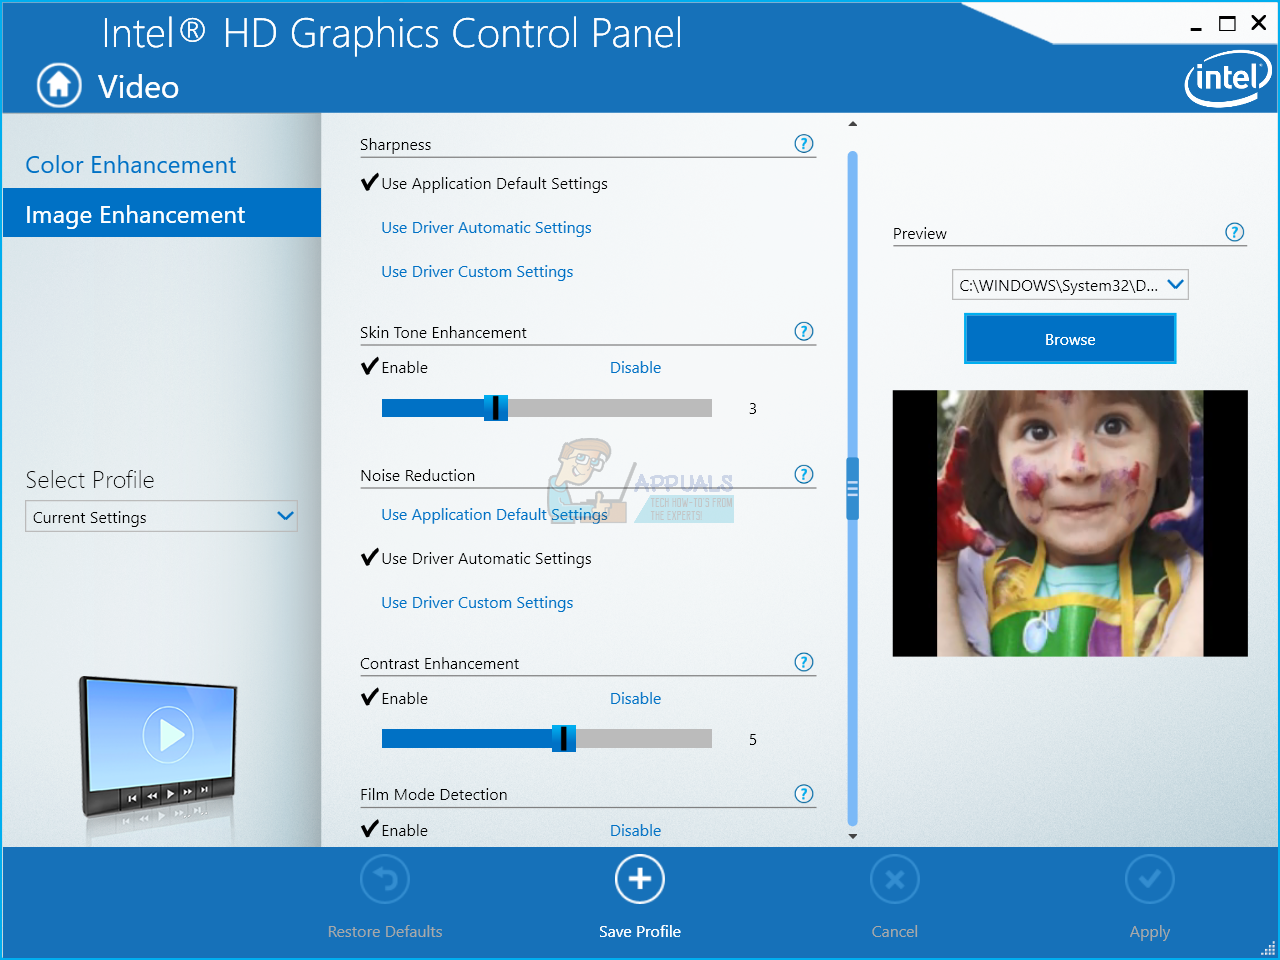
- Under Image Enhancement, you can configure sharpness, skin tone, noise reduction, contrast and film mode detection.
- Save your settings
- Close Intel HD Graphics Control Panel
Congratulations. You have finished customizing your graphics settings, including monitor calibration and video enhancing.