How to Build An Airplay Server On Raspberry Pi
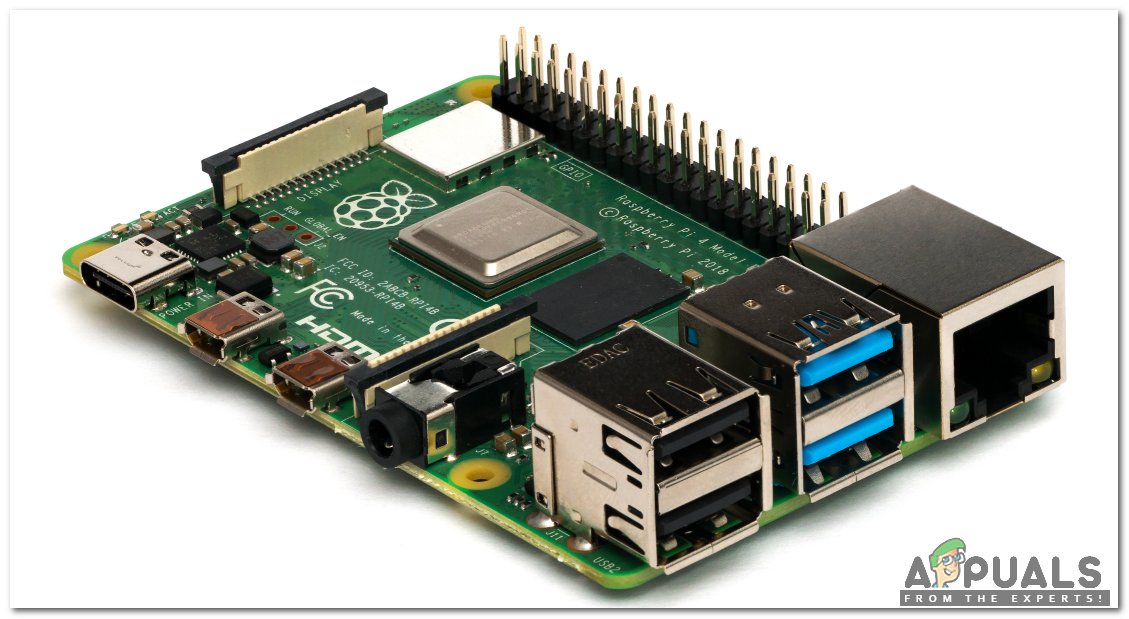
Raspberry Pi is an economical, atm card-sized machine that plugs into a television or computer monitor. Latest Raspberry Pi models have usually three to four Universal Serial Bus (USB) ports, one ethernet port, and one High Definition Multimedia Interface (HDMI). It can do all that you would anticipate that a work station should do, like playing a superior quality video, making spreadsheets, FM radio station and gaming, etc. With Apple having officially ended its line of AirPort routers, including the AirPlay-empowered AirPort Express, utilizing a Raspberry Pi to fill the gap has turned into a considerably additionally engaging alternative.
Nowadays, people face numerous problems in setting up Raspberry Pi and especially making a server on Pi is a very hectic task, so, we devised a setup process of Raspberry, especially for beginners.
How To Setup Raspberry Pi And Configure Airplay Server On It?
Now, let’s move towards setting up Pi and doing operations mentioned as under in order to design an airplay server on it.
Step 1: Selecting the Raspberry Pi Model
Several models of raspberry pi are available in the market. Except for raspberry pi zero, any model can be preferred. This is because on Pi zero setting up a network is a very tiring job. The latest models like 3A+, 3B+ or 4 can be purchased. The new Raspberry Pi 3 is the quickest and most dominant gadget the Raspberry Pi Foundation has released to date. It accompanies a 1.2GHz quad-center ARM Cortex-A53 and 1GB LPDDR2 RAM.

Step 2: Choosing An Operating System:
Firstly, we will need an SD card with an appropriate operating system. When picking the OS, nowadays there are various alternatives, from “conventional” Raspbian to devoted media working frameworks, and even Windows 10 IoT. There is no need for lots of applications hence, we should leave the Central Processing Unit (CPU) and Random Access Memory (RAM) as much as we can for the media streaming application. One problem is that Arch Linux is recommended for people who have quite a lot of Linux knowledge. They’re very front line and we’re bound to keep running into issues when introducing third-party applications and libraries. Thus, if this is your first establishment of an Airplay gadget, we suggest picking Raspbian Lite. It’s command-line driven, and can without much of a stretch designed to keep running in “headless” mode, i.e. accessed entirely remotely over the system with no requirement for a console or screen.
Step 3: Installing Raspbian Lite And Enabling Secure Shell (SSH):
After installing Raspbian Lite and enabling SSH we will move towards configuring the Airplay Server.
You can download Raspbian from Here
1). Install Dependencies: Most importantly, we’ll have to introduce a few conditions so we can assemble the Airplay server application. Run the following :
sudo apt-get update
sudo apt-get install autoconf automake avahi-daemon build-essential git libasound2-dev libavahi-client-dev libconfig-dev libdaemon-dev libpopt-dev libssl-dev libtool xmltoman

2). Build & Install (shairport-sync): shairport-sync transforms your Linux machine into an Apple Airplay server. Perhaps the best thing about it is that it runs totally on the command line, and keeping in mind that it has a million arrangement alternatives, it’s shockingly simple to get working out of the box. Firstly, download its library from Github as follows:
git clone https://github.com/mikebrady/shairport-sync.git

Now, explore the shairport-sync directory and configure the build:-
cd shairport-sync
autoreconf -i -f
./configure --with-alsa --with-avahi --with-ssl=openssl --with-systemd --with-metadata

Finally, build and install the application:
make
sudo make install

After completing all the mentioned steps above we should have a working installation of shairport-sync.
Step 4: Configuring The Audio Output
We are now ready to test the Airplay Audio. For that, some hardware components are required. The required hardware components are listed below :
(Headphones, active speakers from a desktop pc, hi-fi amplifier with a cable that converts 3.5mm jack to a pair of RCA phono plugs).
Now, we need to configure the audio path on raspberry pi. It’s commonly set to “auto” however you have to drive it to go to the 3.5mm jack. Run raspi-config:-
sudo raspi-config

Select “7. Advanced Options”, then “A4. Audio”, then choose Option 1 “Force 3.5mm (‘headphone’) jack”. This will constrain the sound way to the 3.5mm earphone jack.
Step 5: Set The Volume
The volume will, in general, be extremely low, so transform it to max using the following command :
amixer sset PCM,0 100%

The volume setting is somewhat hard to utilize in light of the fact that it’s designed in dB (decibels), which in case you’re not a specialist are extremely unintuitive. Lowering the volume with the amixer command and desired percentage is not recommended because if you lower the percentage it becomes barely audible for the listener.
Step 6: Test Airplay to the Raspberry Pi
Now start shairport-sync with the following command :
sudo service shairport-sync start

Now, we will have to start air playing to it so grab an iPhone that supports Airplay, and ensure that Raspberry Pi and the iPhone are on the same network. Begin playing some music, and from the Airplay icon select “raspberry pi” and after that “Done”.

Step7: Configure shairport-sync to Start Automatically
Starting media player services is no doubt a very tiring job so we want shairport-sync to run as soon as Pi is booted. For enabling the service to launch automatically we will use the command :
sudo systemctl enable shairport-sync

After writing the command for enabling shairport-sync the output should be as follows :
Created symlink /etc/systemd/system/multi-user.target.wants/shairport-sync.service → /lib/systemd/system/shairport-sync.service. 
Now that we’ve created an Airplay server all we need to do is Reboot Pi by using the command “sudo reboot” and we have the option to Airplay to the raspberry pi every time we boot it up.
Step 8: Prevent Wifi Dropouts
At most of the occasions, Raspberry will go to the power-saving mode which can cause serious audio glitching when using Airplay. Hence, to avoid this problem we will add the following command in the command prompt :
sudo nano /etc/network/interfaces 
After that scroll to the end of the file and add the following lines :
# Disable wifi power management
wireless-power off

After disabling wifi power management reboot the Raspberry Pi by using the command mentioned above and enjoy the latest tracks!


I have been trying to make an airplay server on Raspberry Pi since a month but i could’nt find much help on internet. Today i found this article and im so glad. Thanks for the detailed procedure. It helped me a lot. Thanks a lot.