How to Add Artboards on Adobe Photoshop CC 2018
Adobe Photoshop CC 2018 has introduced a very helpful feature where the user can add artboard to their work on Photoshop which was not possible earlier. Just how used Adobe Illustrator with art space and different artboards all in one place, we can do the same for Adobe Photoshop now.
Personally, I felt like this was the only thing missing in Adobe Photoshop because whenever I had to make something related to my first work or artboard, I would have to open a different Photoshop every time, creating a duplicate. But now, with this addition in the new Adobe Photoshop CC 2018, I can use the artboard feature and work on the same file on different artboards. I won’t have to go through the hassle of opening new files anymore or creating a duplicate of the same file.
Learn how to open artboards on Adobe Photoshop CC 2018 by following the steps as mentioned below. There are two ways to go about it.
- Selecting the option for artboards when you open Adobe Photoshop CC 2018.
- Adding an artboard after opening the Adobe Photoshop CC 2018 file.
Method 1: Choosing the Option for Artboard When you Open a New File
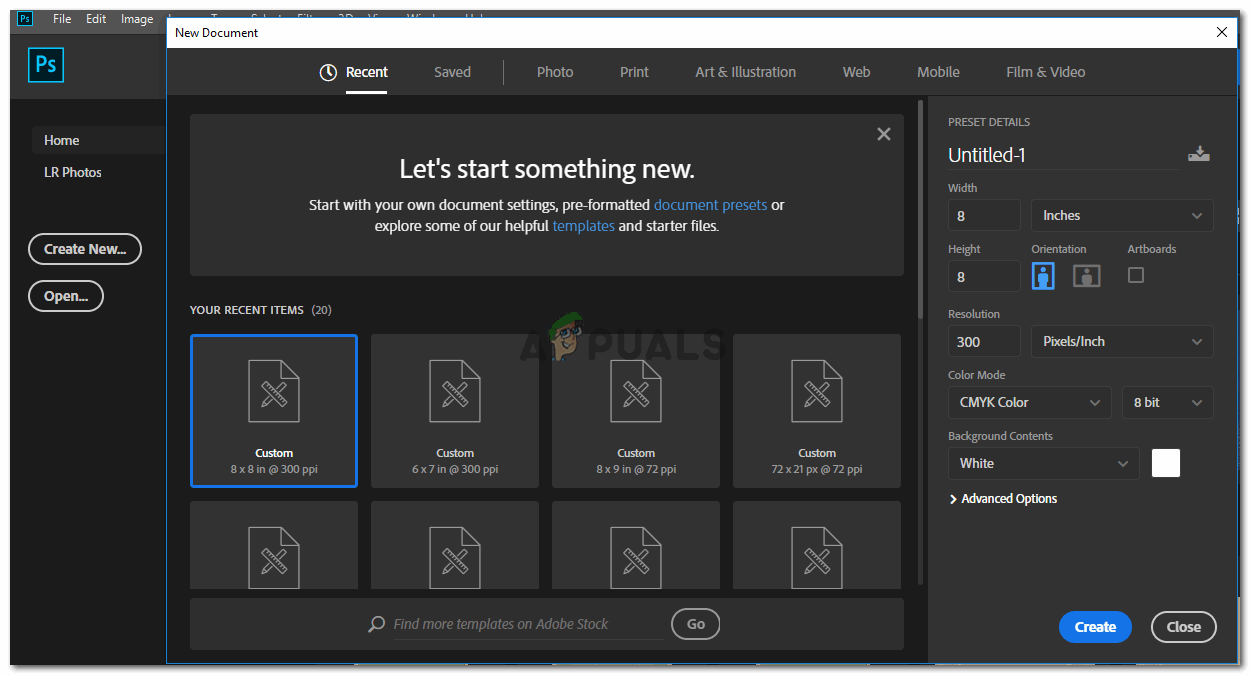
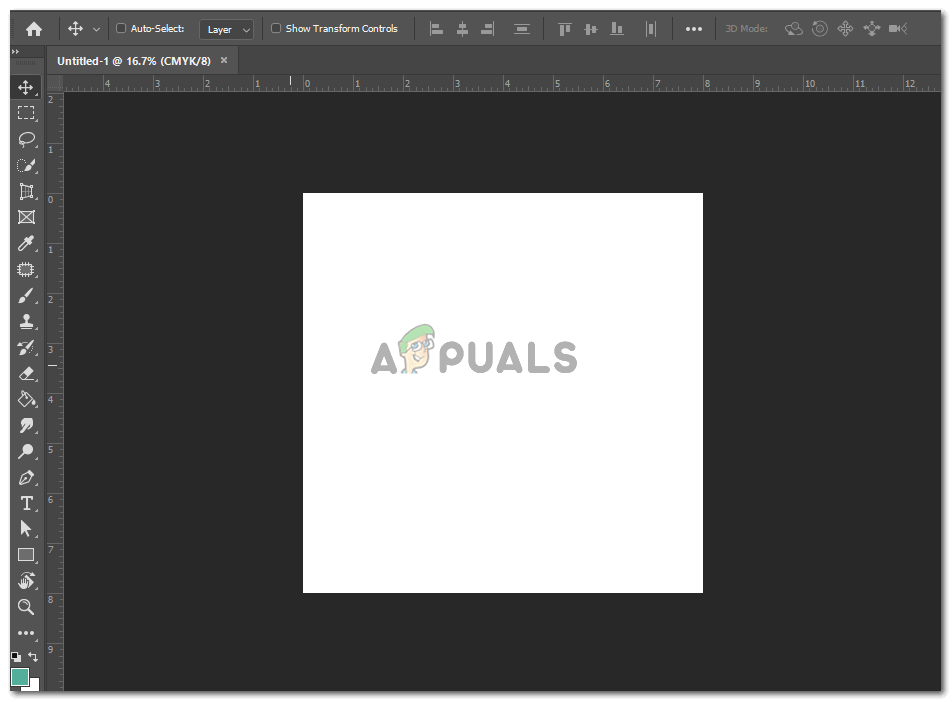
- Open Adobe Photoshop CC 2018. This will lead you to a screen where you will be asked about the dimensions of your work and related presets. This is where you will find the option for artboards which is right under the inches/pixels bar as shown in the image below.
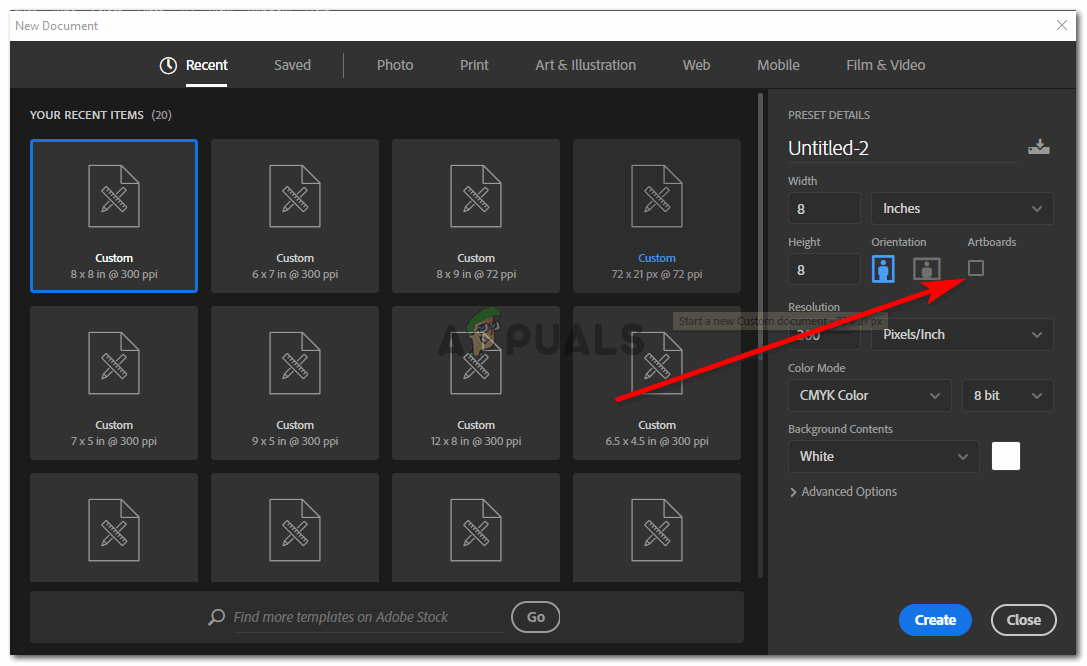
Selecting the artboard option from the first dialogue box that appears when you open Adobe Photoshop CC 2018 - Check the empty square before artboards, to create a Photoshop file that has artboards in it.
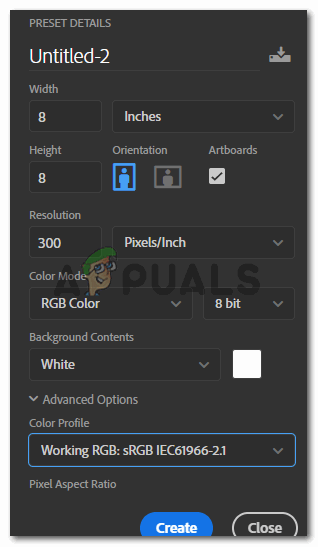
Check the square tab for artboards You can alter the other details of your artboard accordingly and press the Blue to create tab right at the end of the box to make these settings final.
- The minute you click on Create, your artboard will appear in front of you.
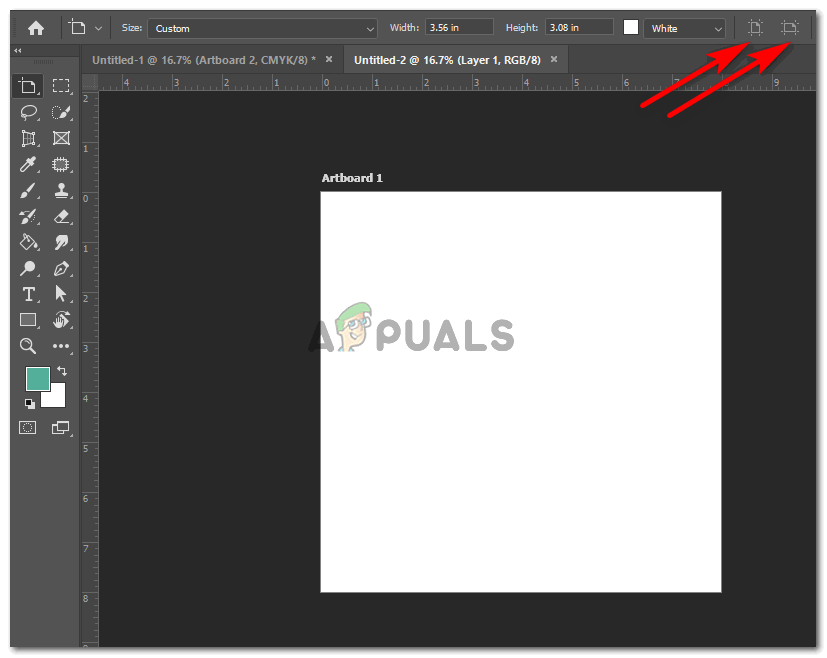
Artboard created You can change the orientation of the artboard once it has been created by clicking on the tabs as shown in the image above.
The key difference in Adobe Illustrators’ artboards and Adobe Photoshop CC 2018’s artboard is that in the former, you can select the number of artboards you want to add right in the beginning while for Adobe Photoshop CC 2018 you cannot select the number of artboards you need. However, you can add more artboards to your workspace by using the second method of adding artboards to your Photoshop work file.
Method 2: Using the Artboard Tool to Add an Artboard
You don’t necessarily have to choose the Artboard option in the first place, just how we did in the first method of adding an artboard to our Adobe Photoshop CC 2018. It is possible at times that people don’t decide to work on more than one artboard and thus, don’t see the need to check the artboard option in the starting menu for Adobe Photoshop CC 2018. But, in case you changed your mind post creating an Adobe Photoshop file, follow the steps below to add an artboard or artboards to your file.
- Starting from scratch. Open a new file on Adobe Photoshop CC 2018 and press the blue create button.
Open Adobe Photoshop CC 2018 - Your new file has been created.
New file ready to be worked on. - See the Move tool on the left that is like a plus sign with arrows on all four sides. Click the right button of the cursor on this tab to see more options from the extended list.
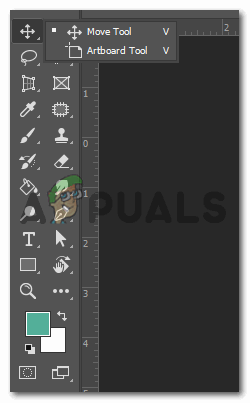
Click on the Move Tool and select the Artboard Tool You will find the option for the ‘Artboard tool’ here. And this is what you need to make artboards for your workspace. Select this tool by clicking on it once. You can now draw your artboard on the screen.
- Once you draw an artboard using this tool, you can see the plus signs around it.
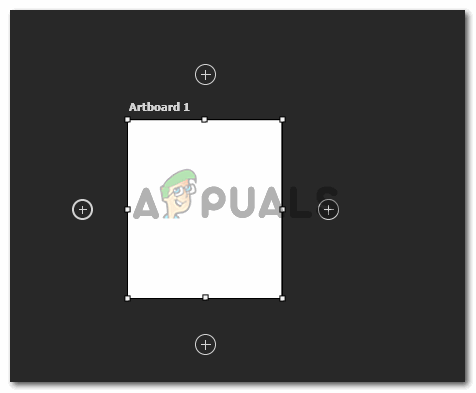
Draw an artboard Clicking on these plus signs, you can add more artboards to your screen automatically. Or draw again using the Artboard tool as we did in the earlier steps.
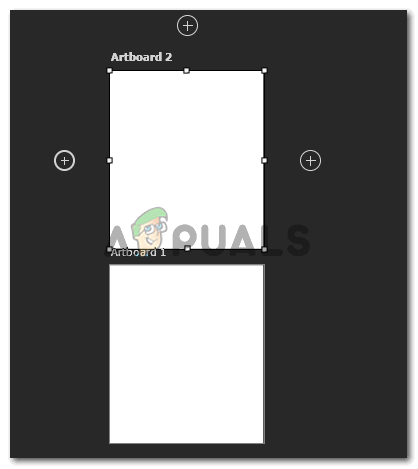
You can add more artboards by clicking the plus tabs as shown in the image or manually drawing more using the tool. Or, you can also click the icon for adding artboards on the top toolbar which something similar to eh artboard tool, but with a plus sign inside it. - This toolbar appears on the top tools panels which will give you all the editing options for your artboard. You can change the dimensions of your artboard from here, or change its orientation.

Top panel for Artboards You will find the option to add an artboard from this panel as well. It is the icon after the two horizontal artboard tool. The one which has a plus sign inside the rectangle is the one for adding an artboard.


hi