How to Stop Windows 10 Taskbar and Desktop Refreshing
Upgrading to Windows 10 from a previous Windows version comes with its fair share of hiccups. It remains a wonder how Windows 10 was released amidst such glaring bugs and hitches. A common problem after upgrading to Windows 10 is whereby the desktop or toolbar, or both keep on refreshing. This hinders the usual flow of work on your PC as you can imagine. This is particularly annoying to gamers because every time the desktop and toolbar refresh, the game will minimize automatically. Worse yet, you may encounter the notorious blue screen error. Turning the internet off and on intermittently won’t help either. The cause for the refreshing items could be anything you can imagine; but three methods have been proven to work. If your PC experiences the desktop and toolbar constantly refreshing the methods below will come in handy.
Option 1: Check Task Manager
This option has proven to be the most successful one. Hold the Windows Key and Press R. Type taskmgr and click OK. In the Processes Tab, look for the process that is constantly and continuously utilizing the most of the CPU. If you find it, then it’s probably that process. Many users have reported that they got down to iCloud being the culprit. So they ended the process, uninstalled iCloud and reinstalled it.
Option 2: Uninstalling the IDT Audio Driver
When you perform an upgrade, some additional drivers will find their way into your system. For instance you may come across something like IDT (Integrated Device Technology) Audio Driver on your system. To get to it, follow these steps:
Go to Control Panel. Look for Hardware and sound, and then select Device Manager.
You will see a list of all the drivers present in your system. Locate the IDT Audio Driver (usually under Sound, Video and Game controllers).
Double click on the IDT Audio driver. On the window that pops up, select the Drivers tab and then click uninstall. You can also just right click on it and select uninstall.
You will be prompted for confirmation. Click OK to proceed with the uninstallation process. To completely remove the device, restart your computer.
When you reboot your PC, you will see that sound works just fine (the other audio drivers at work). The annoying refresh action by the desktop and toolbar are no more.
Option 3: Bitdefender uninstaller
In case your PC never had the IDT Audio driver to begin with, the problem may be lying elsewhere. Chances are that after the upgrade there was a mismatch in program patches or modules. Bitdefender is the most common culprit in this aspect. Although a bit tiresome, here is how to correct the issue via a Bitdefender removal kit:
On a separate PC, go to this link. You will be redirected to the download page for Bitdefender. Download the files as indicated and store them in a USB drive, starting with the uninstall tool. Take note that this is a different entity from the customary Windows Defender uninstaller; the Bitdefender uninstaller wipes all registry entries associated with the previous program versions.
Now on the same page, download the required upgrader program for your system. Take 32 – bit or 64 – bit depending on your system.
Once all these files are in your flash drive, revert back to your troublesome PC. Insert the USB and run the uninstaller for Bitdefender. NOTE: This might take some time. Do not cancel for fear of being stuck in a loop; unless you can confirm that Birdefnder is now totally missing from your computer system. Do this by checking in “Programs and Features” on your PC. Alternatively, an alert will pop up from your taskbar notifying you that your system is unprotected (you’ll be asked if you want to switch to Windows Defender).
Reboot your computer.
Ignore all prompts asking you to download protection for your PC. Now install the required installation kit as per your system specifications (32 – bit or 64 – bit). You do not need to be connected to the internet because these installation packs are built for an offline installation.
What happens here is that you have now installed the actual Windows 10 version of Bitdefender; and not an updated previous version. There is a big chance that you never received an alert to upgrade your Bitdefender after the first Windows 10 upgrade and right here is where the problem lay. Restart your computer after complete installation.
If you still experience the refresh problem on the desktop and taskbar, repeat steps 3 to 6 above. (NOTE: You may be required to do this severally to eradicate the problem).
Now you won’t get any unusual flashes on your taskbar or a freezing desktop. The upgrade is successful.
Disabling Windows Error Reporting Service
In some cases, it was seen that the Windows Error Reporting Service was causing the issue by interfering with certain elements of the operating system. In order to disable it:
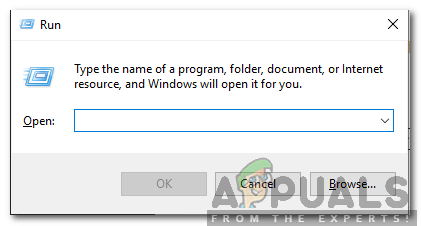
- Press “Windows” + “R” keys simultaneously to open the Run prompt.
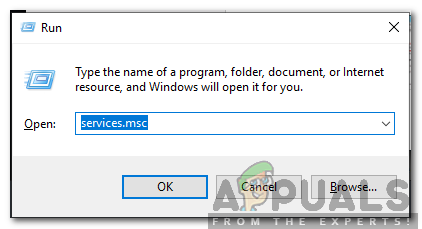
Opening Run Prompt - Type in “Services.msc” and press “Enter“.
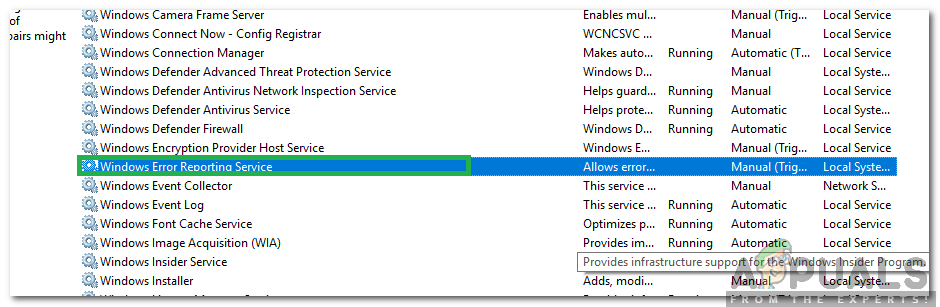
Typing Services.msc and pressing enter - Scroll down and double click on the “Windows Error Reporting Service“.
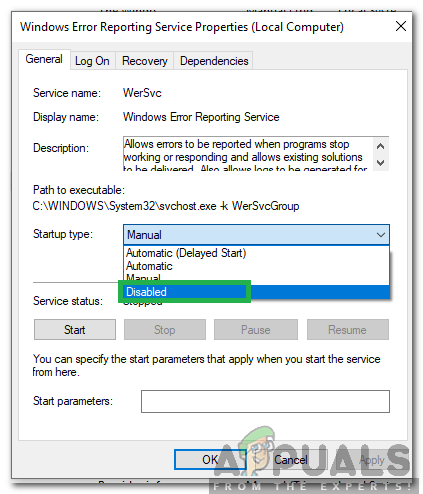
Double-clicking on the “Windows Error Reporting Service” option - Click on the “Startup Type” dropdown and select “Disabled” from the list.
Selecting “Disabled” as startup type - Close the window and check to see if the issue persists.
DISCLAIMER: If option 1 did not work; and you don’t use Bitdefender on your PC, then it is all up to you to figure out which software is causing the mismatch after the upgrade BUT the best way to move forward is to do a clean boot view steps here
My CPU usage is 10% , no IDT audio drivers and no bit defender is installed. But I’m facing the refresh problem. How do I fix it? Please Help.