Guide: ‘Add a Tab for Instagram on Your Facebook Business Page’
Any page that you create on Facebook requires completely different handling for it in comparison to the way you handle your personal profile on Facebook. You can access the Facebook page through your Facebook profile, and manage it as well, but it is always treated as two different profiles, making life easier for all the people who want to make a business page out there.
Instagram has also been receiving a great amount of attention from businesses and is seen as one of the strongest forums for businesses to boost their sales, especially marketing their products through the application. You can now add an Instagram tab to your Facebook page with a lot of ease and make customer interaction even more fun.
Purpose of Instagram Tab on Your Facebook Page
With both these forums, Instagram and Facebook being popularly used by thousands of millions of users, linking your business page on Facebook with that of Instagram would multiply the number of people you reach only through Facebook. This Instagram tab on your page allows the users to post pictures of your product, or when they are using your product, and increasing your reach resultantly. Main purpose: More customer attraction. The users or followers can also share the pictures or posts easily on both forums with the help of the link that you have just created.
Here is how you can add an Instagram tab to your Facebook Page.
- Sign in to your Facebook account which is being used for your business page.
Log in to your Facebook Profile. You can open your Facebook page as well. - In the search bar for Facebook, type ‘Instagram’ and press the Enter key. This will show you various search options.
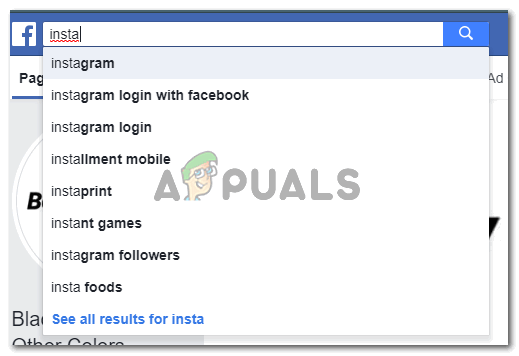
Type Instagram in the search bar. You will automatically find suggestions in the dropdown list that appears 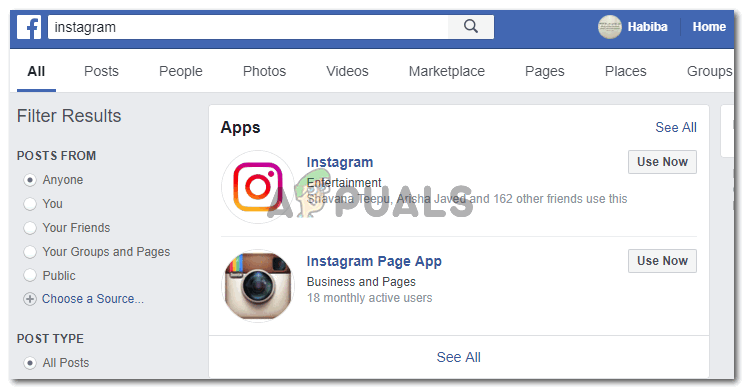
Pressing Enter or clicking the options that appeared in the dropdown list will lead you to this screen - Click on the second option for Instagram Page App. This is what will help you set up a tab for your business page.
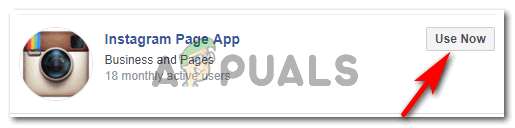
The second option here is what we need to access Click on the name of the app or click on the tab that says ‘Use now’.
- A new page will be showing on the screen for Woobox. To add the tab, you will have to sign up for this. This is free of cost, you can change your payment plan later depending on what kind of services you are looking for.
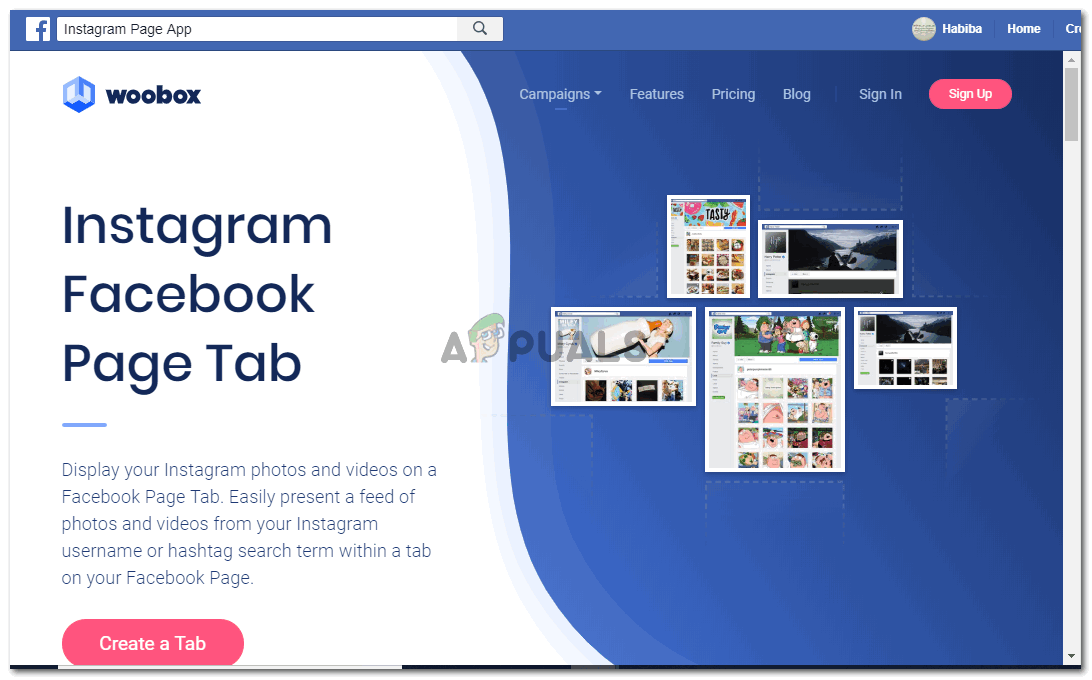
Woobox is the app that will help us create the tab for our business pages Scroll down on this page and click on the icon that says Sign up for Free.
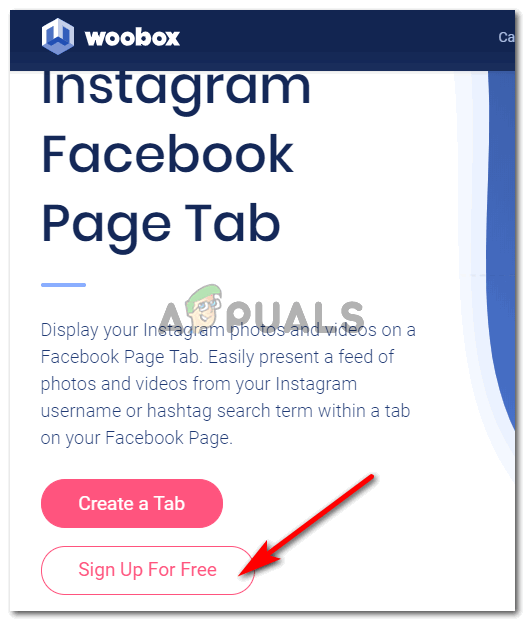
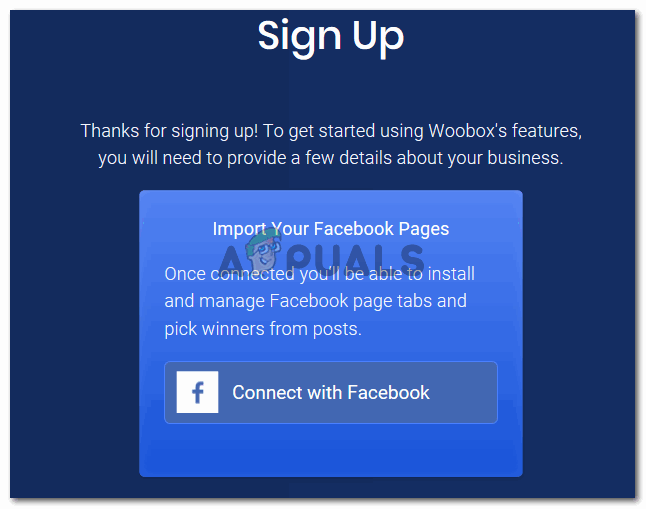
Scroll down to explore and find the tab for Sign up for Free - Signing up is super easy, all you have to do is click on ‘Sign up with Facebook’.
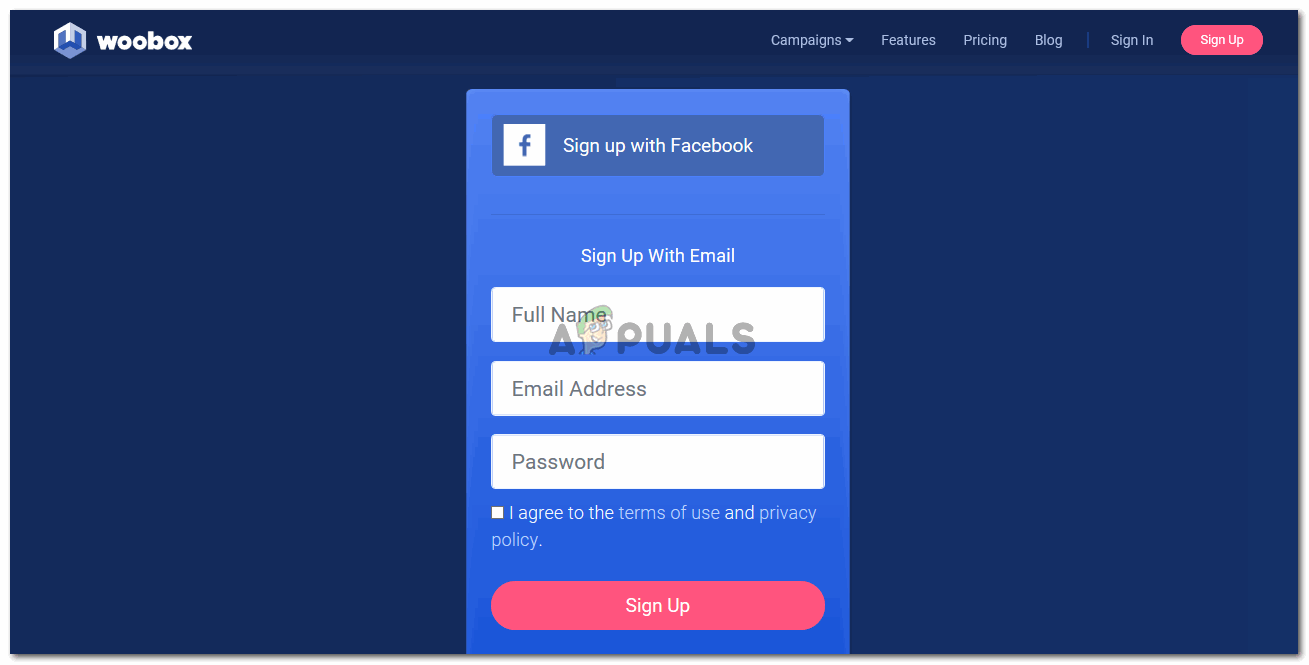
Signup with Facebook is the easier way in. plus since we need to link the Facebook page, it is suggested you sign in with Facebook only - Woobox will ask you for access to certain information, you can grant them that by clicking on ‘Continue as “your name”’.
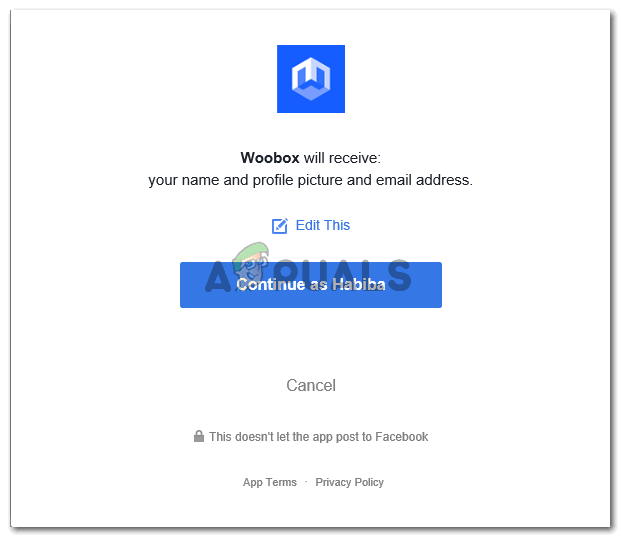
Continue as… The next permission screen that will show up will be this. You have to click the tab for OK to make the Instagram tab working.
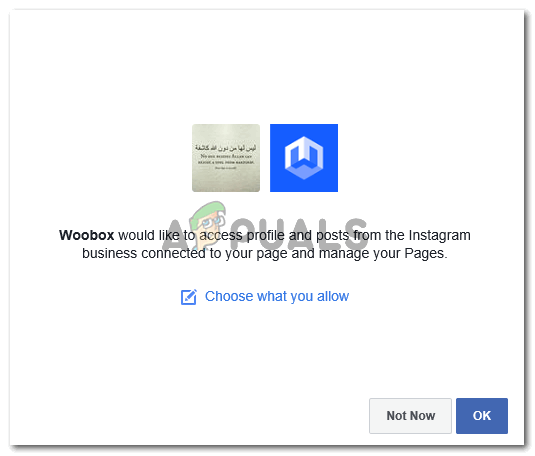
Grant important permissions to woobox for its smooth running - You have successfully signed up now.
Successfully signed up. This is what your Woobox account looks like with all your business pages showing here. Now to add the Instagram tab, choose the business page you want that tab for.
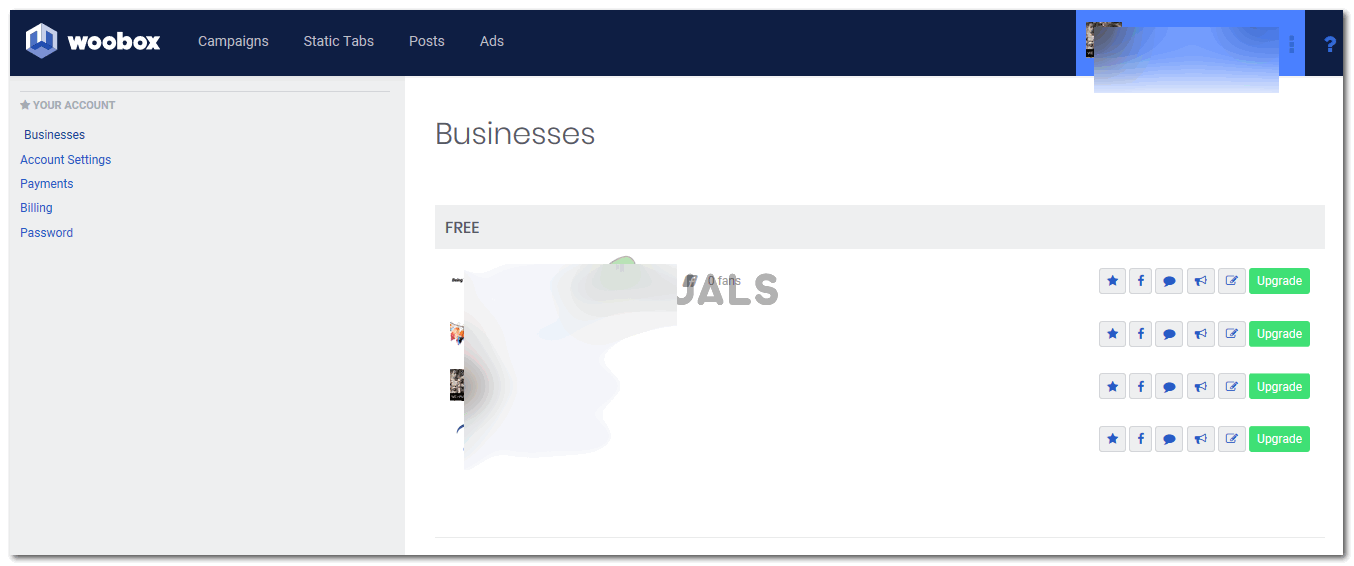
All your pages that need to be managed under one roof - Click on the Static Tabs, which is visible right on the top of this screen.
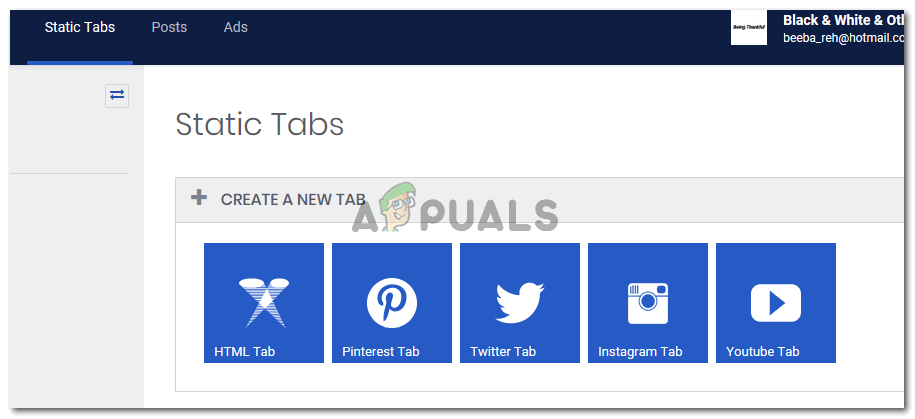
Click on the Static Tabs on the top toolbar and select the tab for Instagram - Click on the Instagram Tab next
- Options for Customize Tab will appear. This is the most crucial part of adding the tab to your page. You need to grant permission to Woobox and connect your page with Instagram for this. Click on the green tab which says ‘Connect to Instagram’.
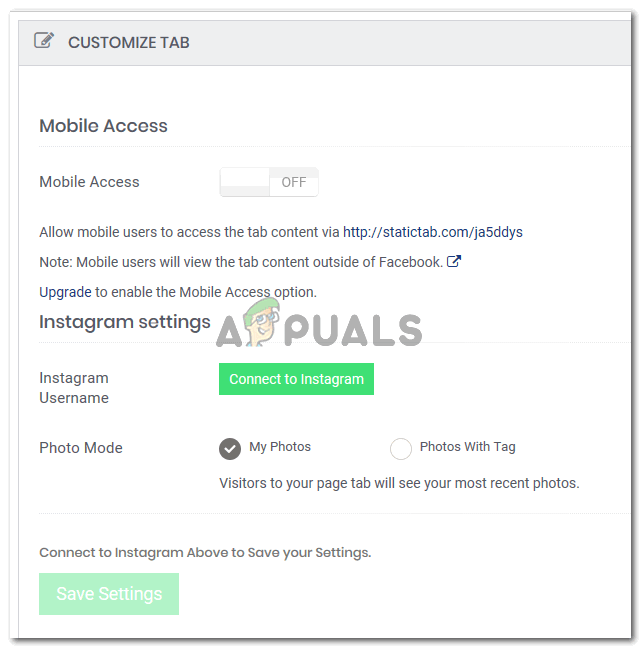
Connecting your page to Instagram - Once you click on Connect to Instagram, the tab will now change to ‘Grant Instagram Permissions’. Click on this now.
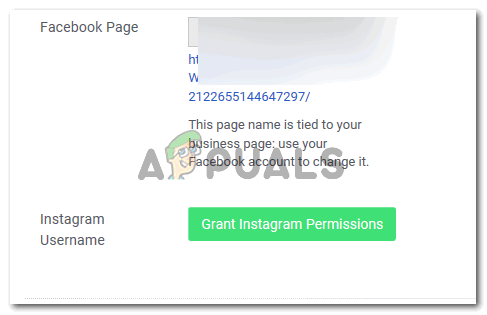
Granting permission to Instagram - Save the settings by clicking the tab for ‘Save’ right at the end of this page.
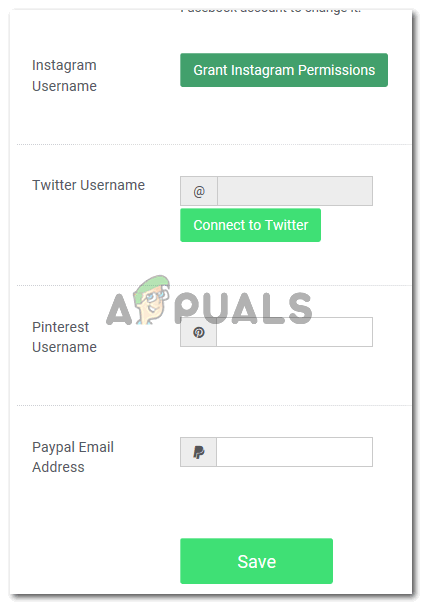
Save the settings and the tab fr Instagram would be now active on your page
The tab has been successfully created for your page. Now when the users of Facebook end up on your page, they will be able to link to your Instagram as well and this will help up you increase your audience base for your product. This might appear as a little technical, but you always have to try something to know how exactly it would work.


