Fix: Hogwarts Legacy Stuck at ‘Preparing Shaders’ Screen
Hogwarts Legacy performs shaders optimization when you launch the game for the first time. This process takes place on the Preparing shaders screen, and it can take a while depending on the specifications of your computer.
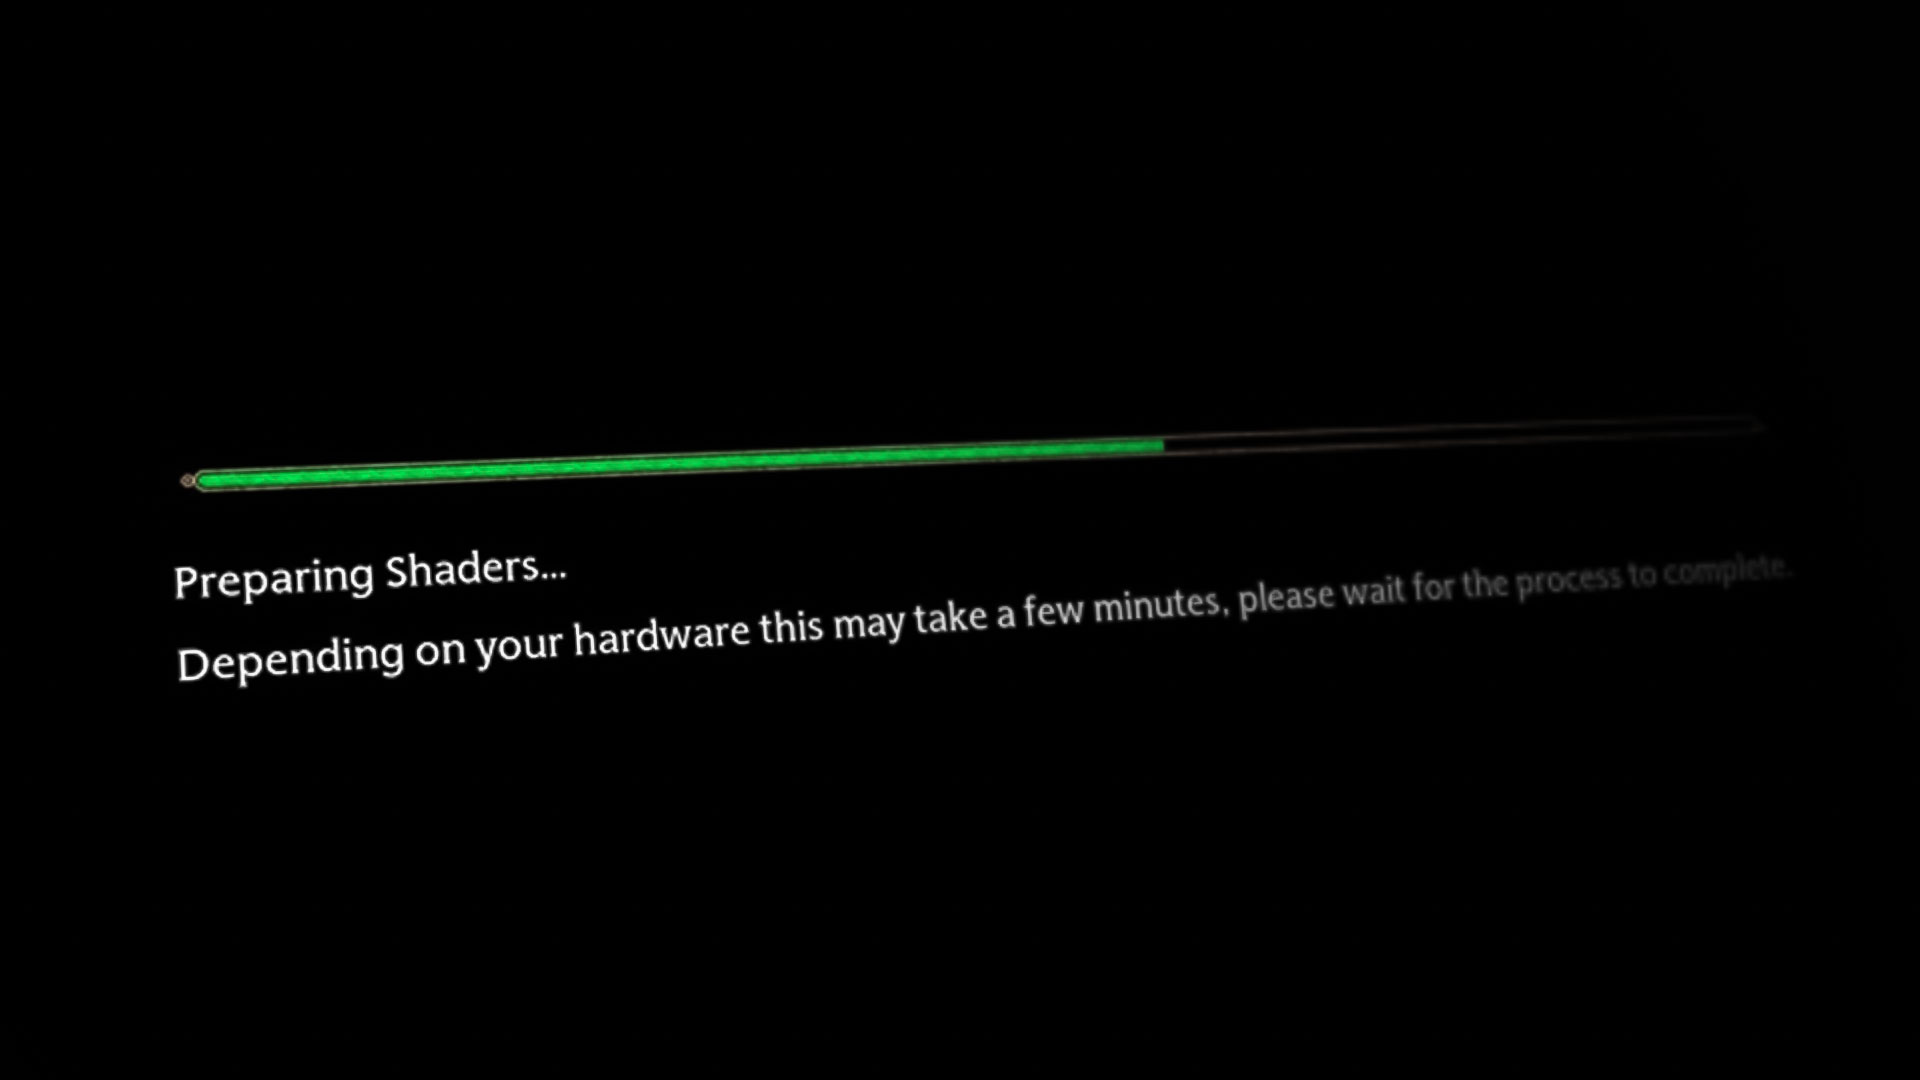
In some cases, the game can get stuck on the preparing shaders loading screen, and even result in crashes. This can happen when your frame rate jumps abnormally, causing the game to crash. In addition, the shader cache size and game config files on your computer can also contribute to the issue.
In this article, we will list down a number of methods that you can use to resolve the problem in question.
1. Limit In-Game FPS
The first thing you should do when starting to resolve the issue in question is to limit your in-game frame rate. Your frame rate changes all the time depending on the game environment and a lot more. Abnormal bumps to your FPS can often cause the game to stutter or even crash in some cases.
This can happen as the game tries to prepare the shaders, causing it to get stuck or crash. To fix this, you will have to cap the frame rate in the game. Since the game gets stuck on the preparing shaders screen, you can not access the frame limiter in the settings menu of the game.
In such a scenario, you can use the graphics driver on your computer to do so. Follow the instructions below for your respective graphics card.
NVIDIA
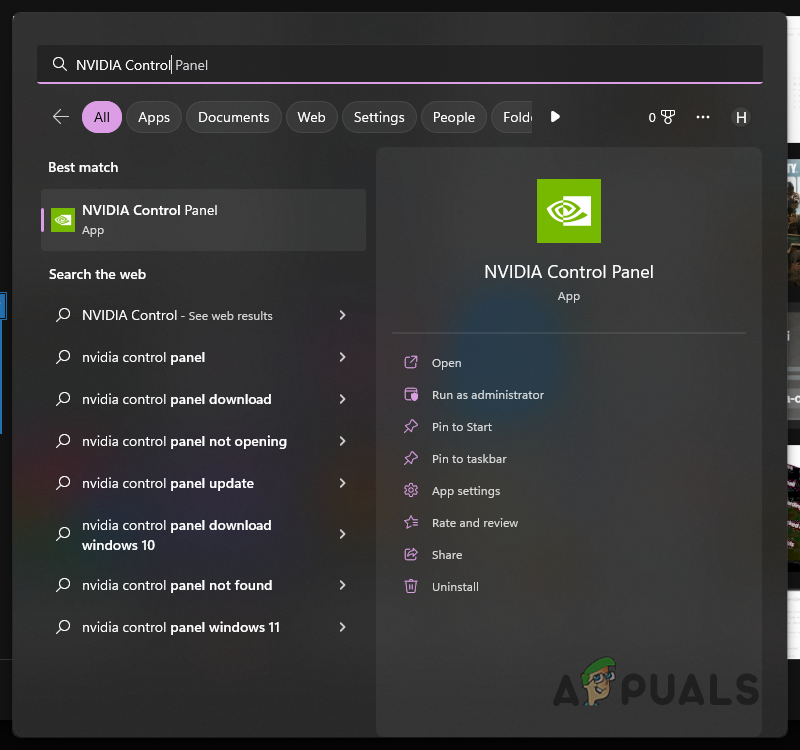
- First, open the NVIDIA Control Panel by searching for it in the Start Menu.
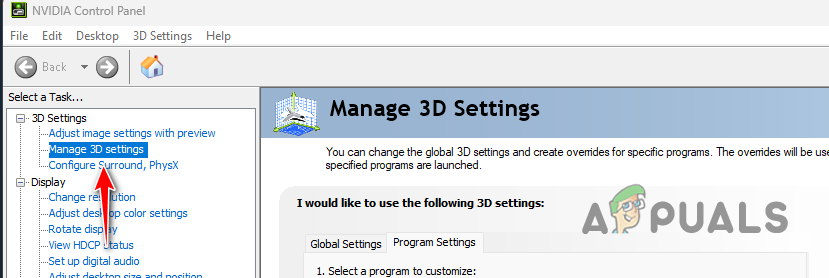
Opening NVIDIA Control Panel - On the left-hand side, click on the Manage 3D settings option.
Navigating to 3D Settings - After that, switch to the Program Settings tab.
- From the drop-down list of games, select Hogwarts Legacy.
- Then, scroll down and locate the Max Frame Rate option.
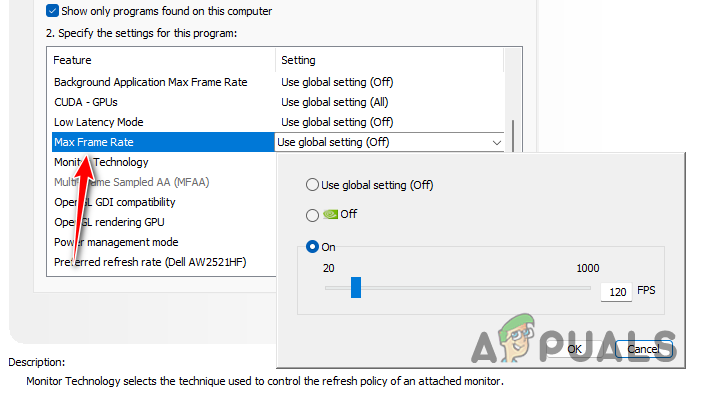
Enabling Max Frame Rate - Turn on the option and use the slider to limit your frame rate to 120.
- Click OK and launch the game to see if the issue goes away.
AMD
If you are using an AMD graphics card, you can limit your FPS quite easily via the AMD Radeon Software. You can also AMD Radeon Chill to achieve the same result. Navigate to Gaming > Graphics and use the Max FPS slider to limit your frame rate.
2. Increase Shader Cache Size (NVIDIA Only)
One of the reasons the issue can occur is when there is not enough space for the game to store the compiled shaders on your computer. The compiled shaders have to be stored on your computer so they can be loaded in the future when you launch the game. Otherwise, the game will have to optimize and compile shaders on every launch which is not a good design.
If the shader cache size does not allow for the game to store the compiled shaders, the game can get stuck on the preparing shaders screen. In such a scenario, you will have to increase the shader cache size via the NVIDIA Control Panel. Follow the instructions below to do this:
- First, open the NVIDIA Control Panel by searching for it in the Start Menu.
Opening NVIDIA Control Panel - Navigate to the Manage 3D settings option.
Navigating to 3D Settings - There, scroll down under Global Settings to locate Shader Cache Size.
- Use the drop-down menu and set it to Unlimited.

Changing Shader Cache Size - Once you do that, click OK and restart your computer.
- Open the game after your PC has booted up to see if the error occurs.
3. Delete Game Configs and Cached Files
The config and cached files stored by the game on your computer can also cause the game to get stuck on the preparing shaders screen. This can happen when there is an anomaly or corruption in the config or cached files.
In such an instance, you will have to delete the game config and cached files from your computer. This will for the game to generate a new copy of the deleted files when you launch it again. To do this, follow the instructions down below:
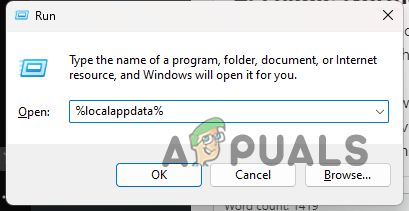
- First, open the Run dialog box by pressing the Windows key + R on your keyboard.
- In the Run dialog box, type in %localappdata% and hit Enter.
Navigating to Local AppData Directory - Then, navigate to the Hogwarts Legacy folder.
- There, delete the configs folder.
- Once you do that, navigate to the system drive (C:) on your computer.
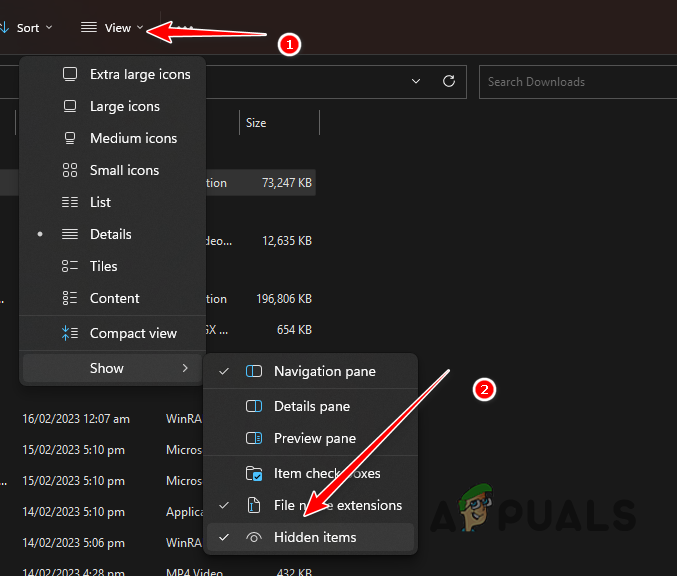
- After that, make sure you have hidden files enabled. To do this, click on the View drop-down menu and choose Show > Hidden Items.
Viewing Hidden Files - Then, in the system drive, navigate to ProgramData > Hogwarts Legacy.
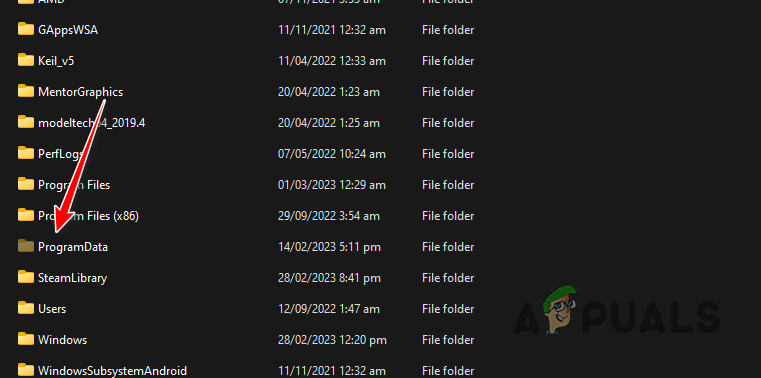
Navigating to ProgramData Folder - Inside the Hogwarts Legacy folder, delete all of the files permanently.
- Finally, open the game on your PC to see if the issue goes away.
4. Swap NVIDIA DLSS Version
NVIDIA DLSS is an upscaling and image enhancement technology that is used by various games to improve the textures and overall graphics of the game. These deep learning technologies can often be used in optimizing the shaders of the game for better performance.
As such, updating the version of NVIDIA DLSS used by the game on your computer can help you resolve the shaders compilation issue. To do this, you will have to use a third-party utility known as DLSS Swapper which will help you swap the version of DLSS used by Hogwarts Legacy.
Follow the instructions below to do this:
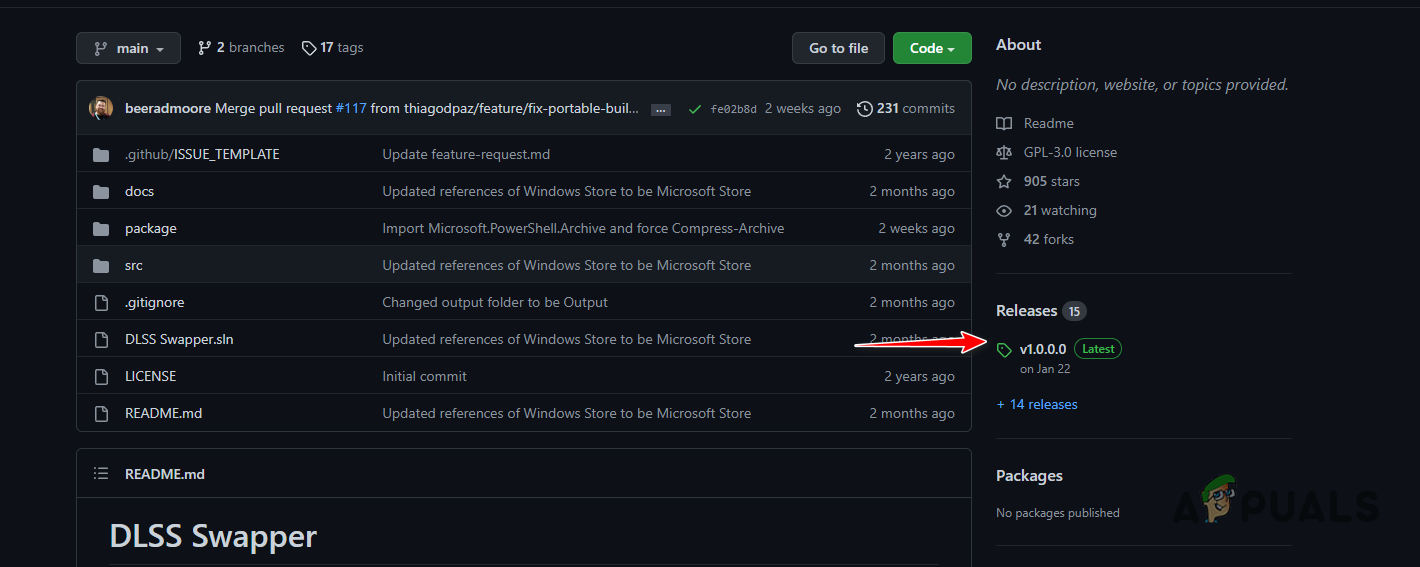
- First, open the official GitHub repository of the DLSS Swapper utility by clicking here.
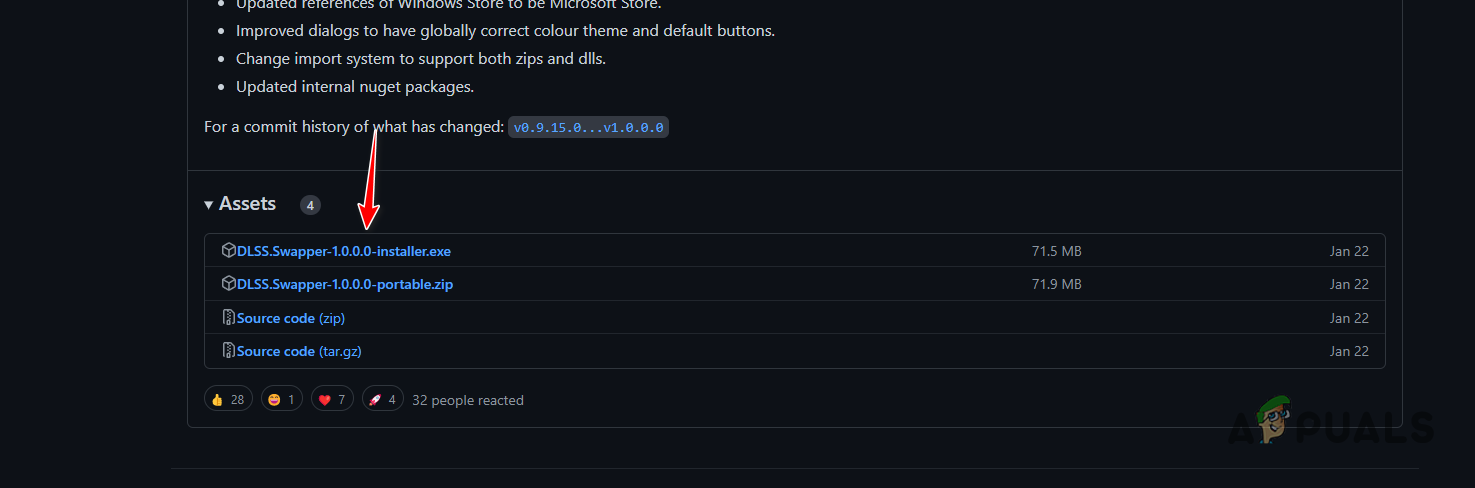
- On the right-hand side, click on the latest release available under Releases.
Navigating to the Latest DLSS Swapper Release - Then, download the installer of the latest version available.
Downloading DLSS Swapper - Run the setup file and go through the installation which is quite straightforward.
- Once the installation has been completed, open the DLSS Swapper application.
- From the list of games, choose Hogwarts Legacy and select the latest version of DLSS available from the list.
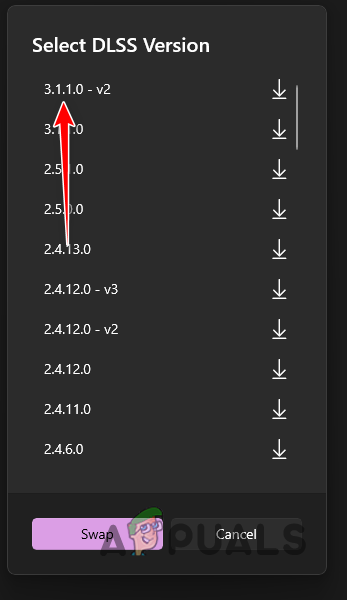
Swapping DLSS Version - The application will download the selected version of DLSS if it is not available on your computer and replace the proper files to swap the DLSS version of the game.
- Once you do that, open the game to see if the problem goes away.


