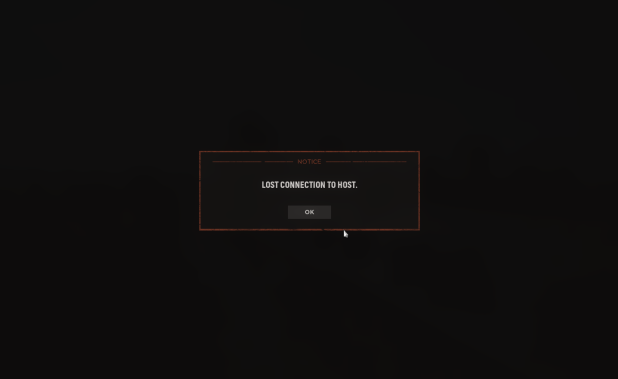
How to Fix ‘Lost Connection to Host’ Error in Hell Let Loose (PC)
When you encounter the “Lost Connection to Host” error in Hell Let Loose on PC, the game disconnects from its servers and displays this message. This error typically occurs shortly after joining a match, indicating that the connection to the game server has been interrupted. One of the most common causes of this issue is incorrect system time settings.
In addition, outdated router firmware (especially in Netgear routers), corrupted game files, or interference from Windows Firewall may also trigger this error.
In this guide, we’ll explore several effective solutions to help you resolve the issue.
1. Set “Synchronize System Time” to Automatic
Game servers use timestamps to authenticate session requests and match them with server-side data. If your system clock is out of sync, the game may reject your connection thinking it’s invalid or expired, which leads to disconnection issues like the “Lost Connection to Host” error.
Enabling automatic time synchronization ensures your system clock stays accurate, which can help prevent connection errors.
- Press Windows + I to open Settings.
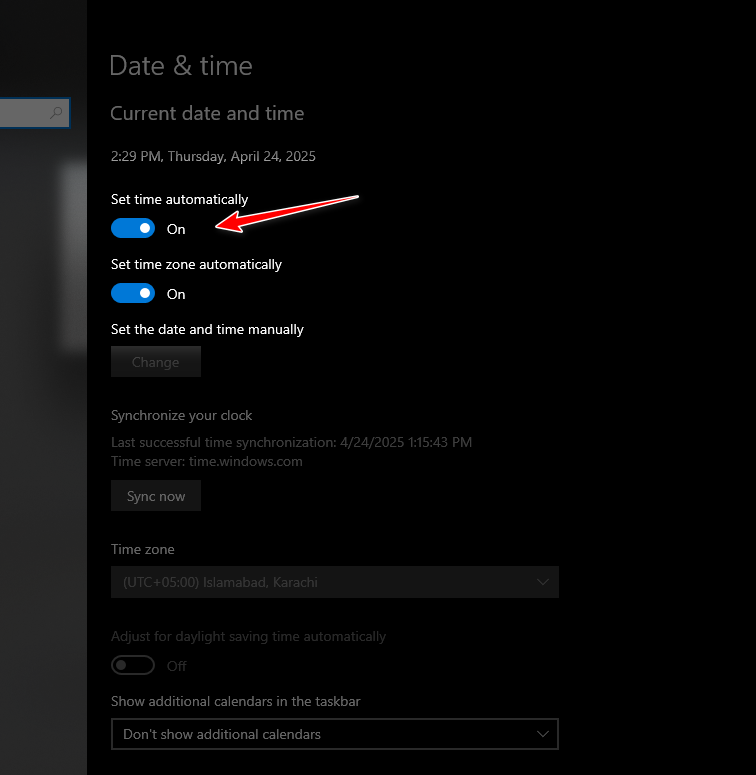
- Go to Time & Language > Date & Time.
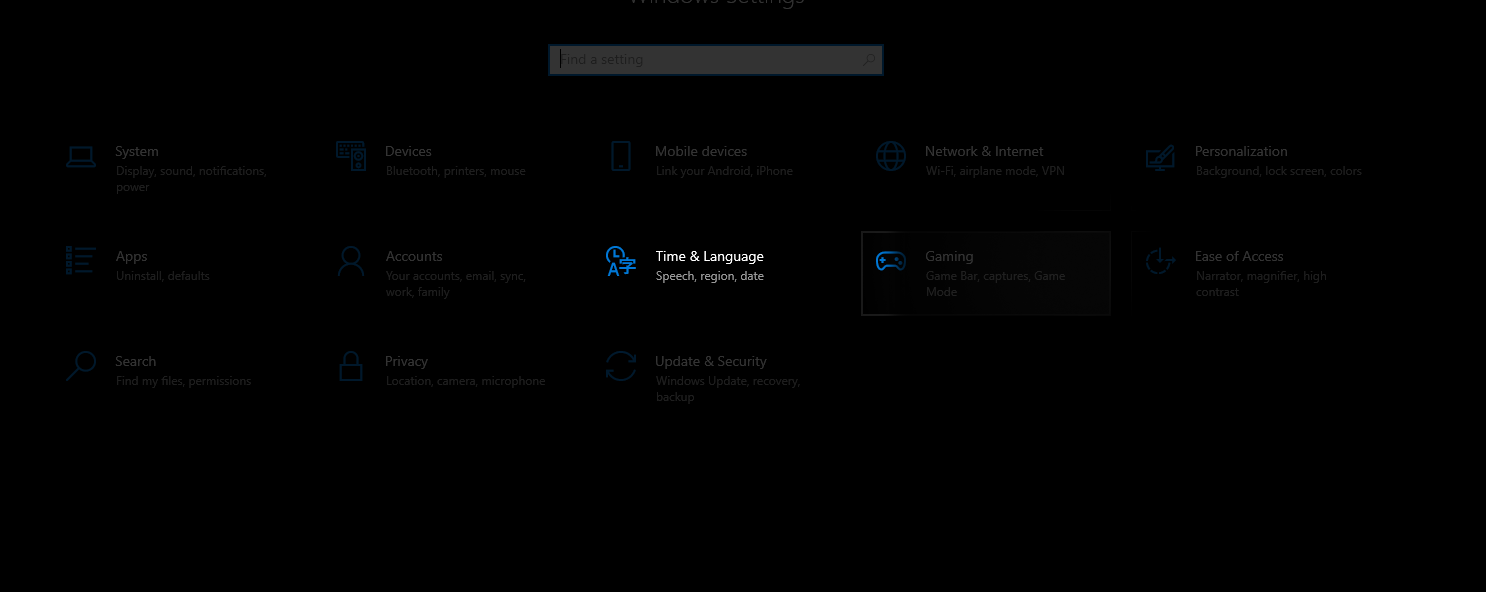
- Enable the “Set time automatically” option.
2. Disable IPv6
Although IPv6 is designed to improve networking, it may occasionally conflict with specific server configurations. Disabling IPv6 can help resolve connectivity issues with certain games.
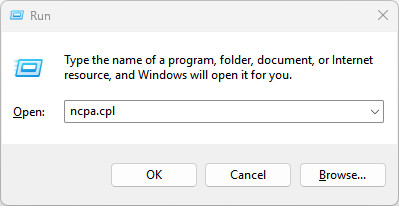
- Press Windows + R, type ncpa.cpl, and press Enter.
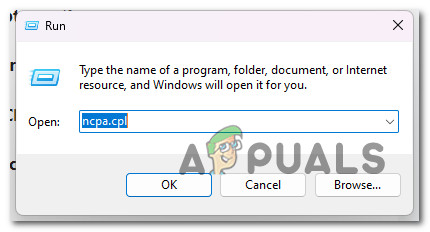
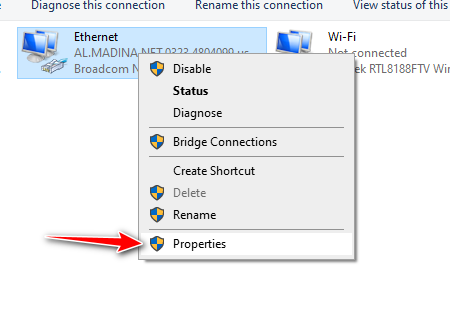
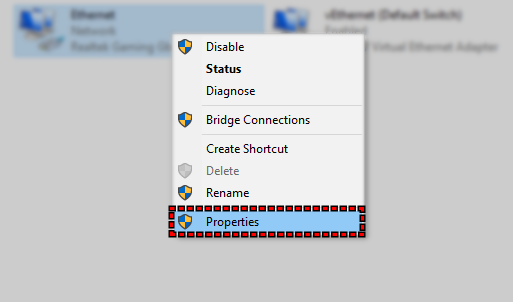
Open the Network Connection menu - Right-click your active network and select Properties.
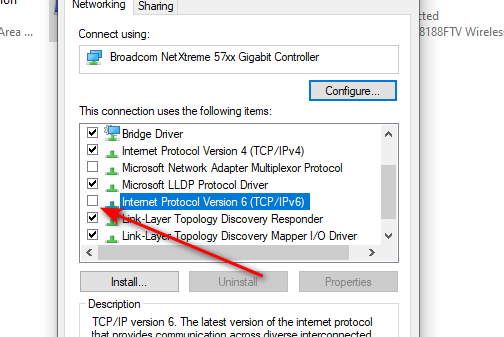
- Scroll down to Internet Protocol Version 6 (TCP/IPv6) and uncheck it.
- Restart your PC.
3. Verify Integrity of Game Files
Corrupted or missing game files can lead to connection errors. Verifying game file integrity through Steam helps detect and repair these issues.
- Open Steam and go to the Library.
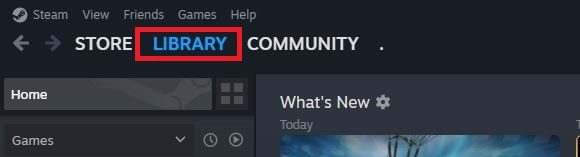
- Right-click the game and select Properties.
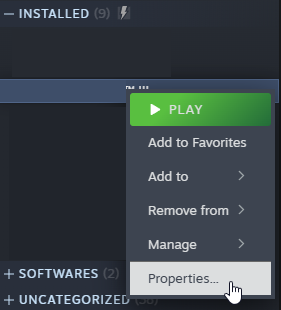
- Go to the Local Files tab and click Verify integrity of game files.
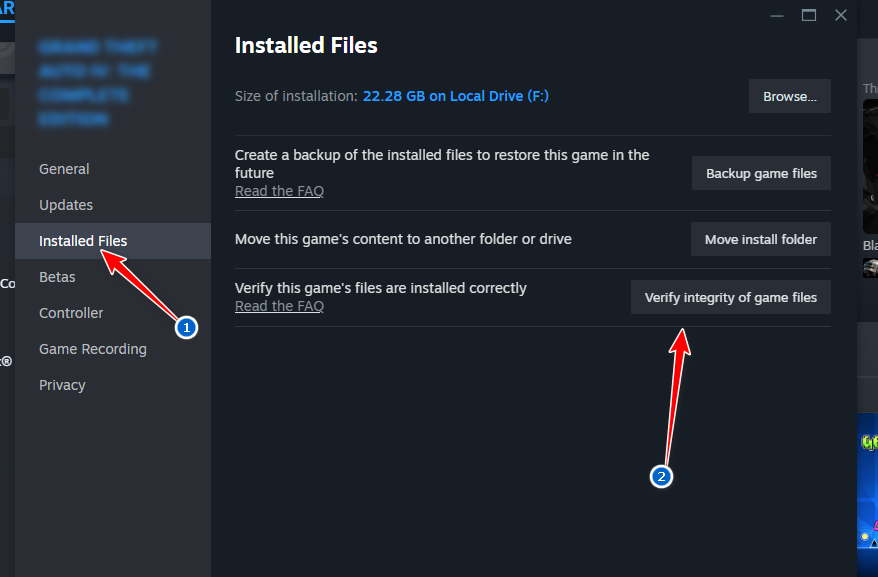
- Wait for the scan to complete.
4. Flush DNS Cache
Over time, your system stores outdated DNS information, which can lead to connection issues with game servers. Flushing the DNS cache clears these records and allows your computer to fetch fresh data from the internet, potentially resolving the error.
- Press Windows + S, type cmd, then right-click on Command Prompt and select Run as administrator.

- In the Command Prompt window, type the following command and press Enter:
ipconfig /flushdns
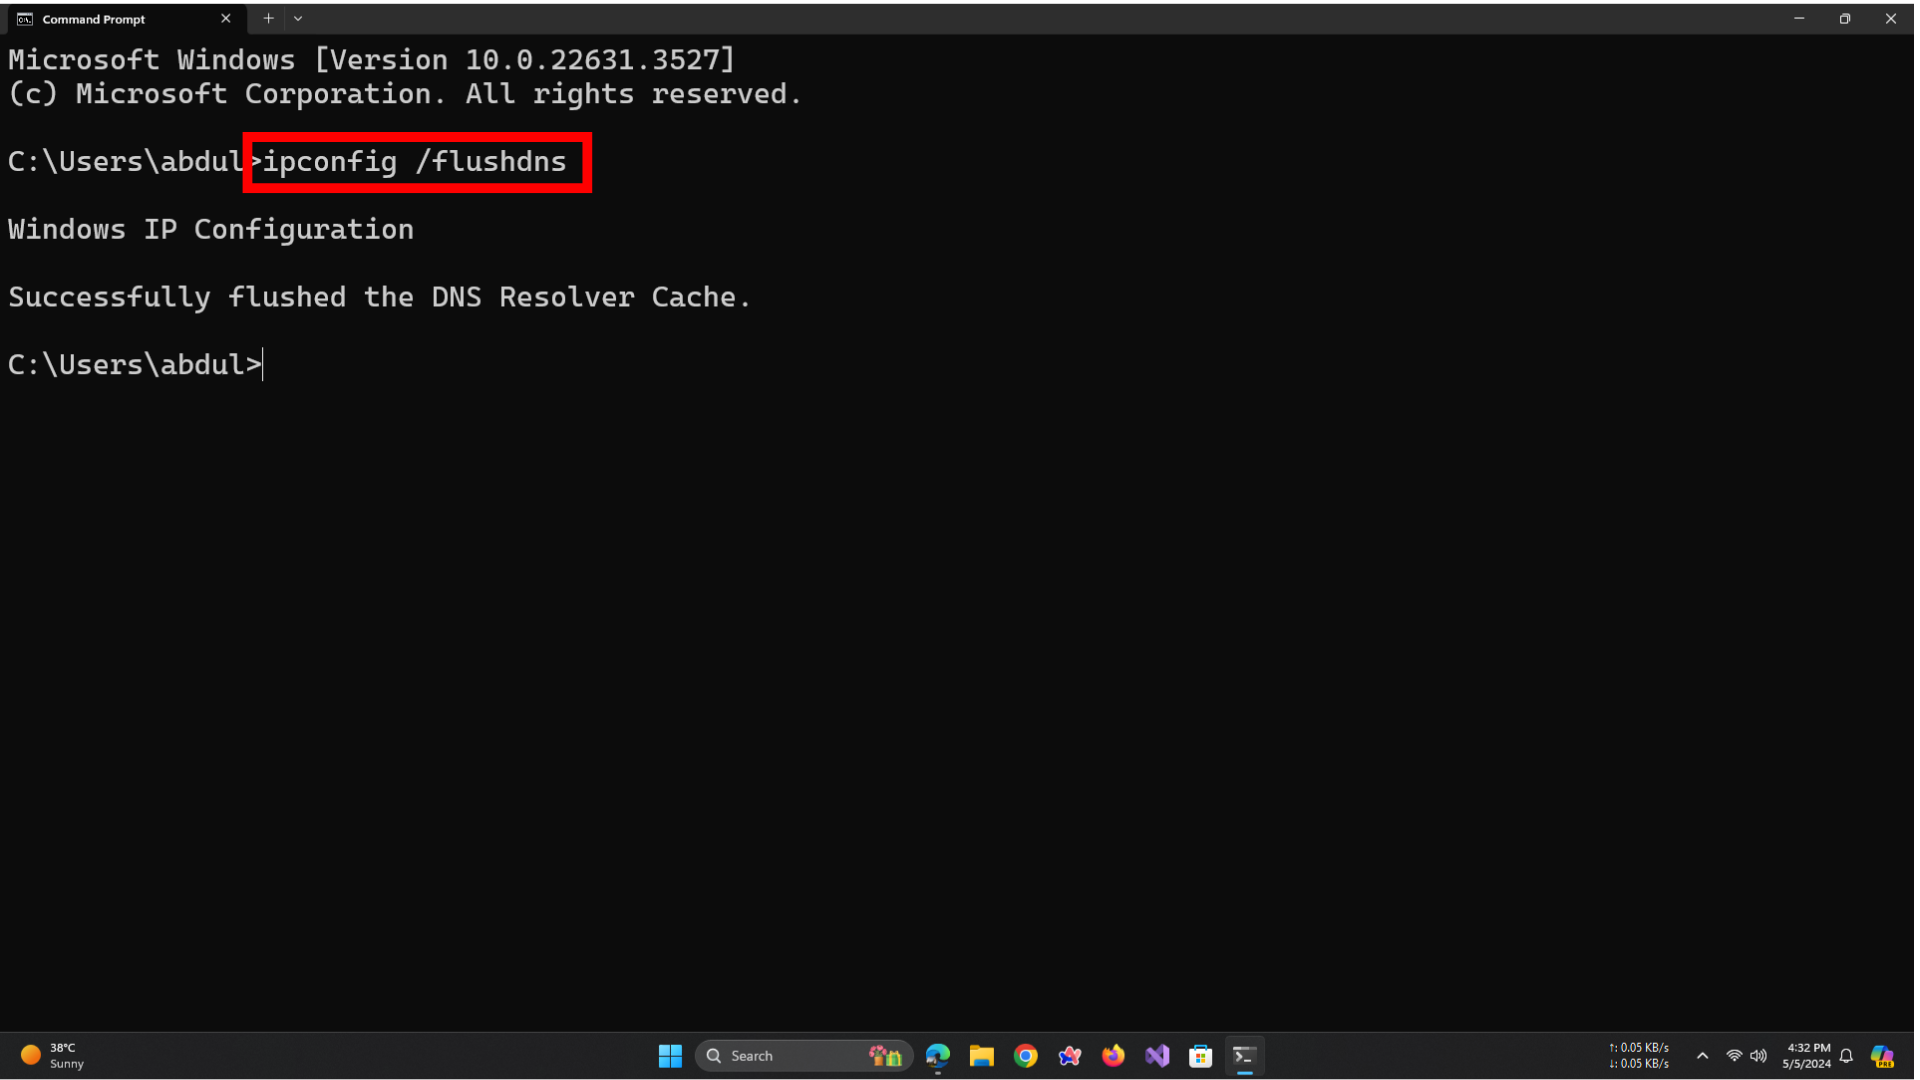
- You’ll see a message confirming the DNS cache has been successfully flushed.
- Restart your computer and launch the game again.
5. Use Google DNS
Your default DNS server (usually provided by your ISP) may be slow or unreliable when connecting to specific game servers. Switching to Google’s public DNS can improve server resolution speed and network stability.
- Press Windows + R, type ncpa.cpl, and press Enter.
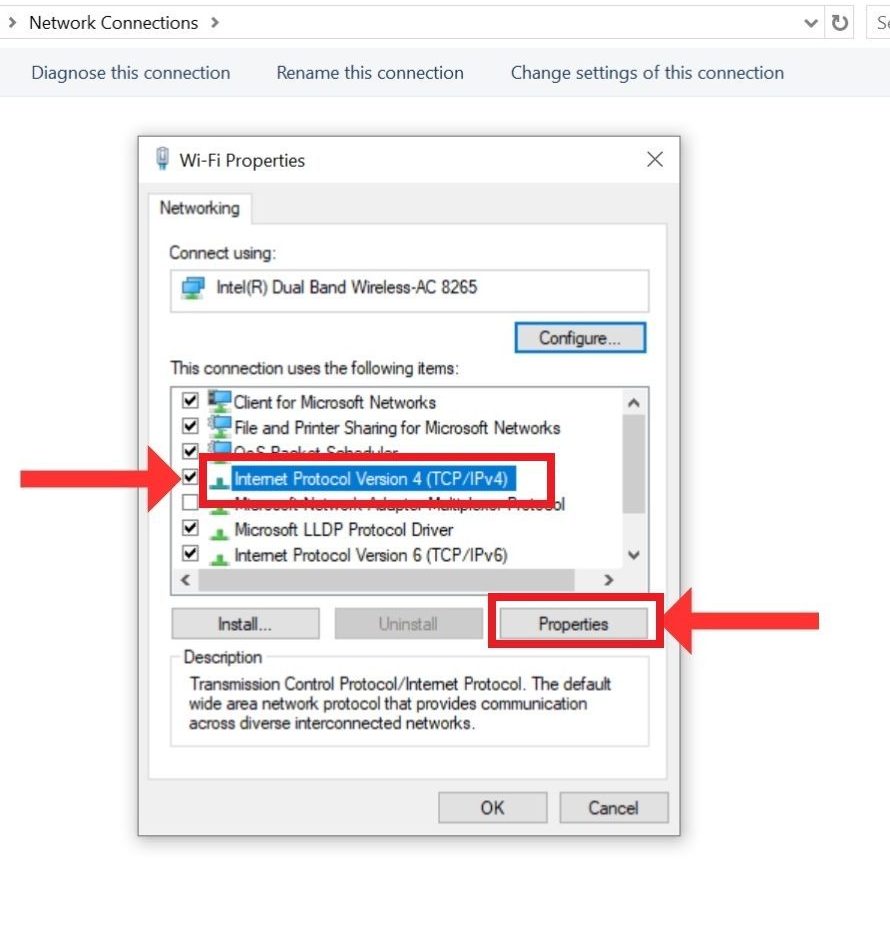
- Right-click your active network connection and select Properties.
- Select Internet Protocol Version 4 (TCP/IPv4) and click Properties
- Choose Use the following DNS server addresses and enter:
Preferred DNS server: 8.8.8.8
Alternate DNS server: 8.8.4.4
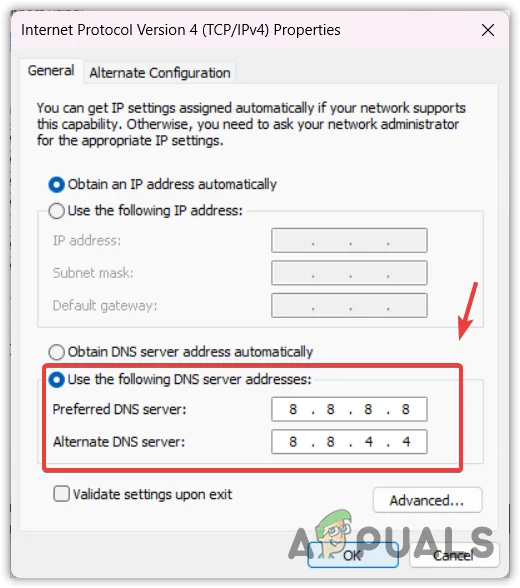
- Click OK to save the settings and restart your PC.
6. Add Game to Firewall Exceptions
Windows Firewall may block the game’s communication with its servers. Manually adding the game to the firewall exception list allows smoother network communication and prevents disconnection issues.
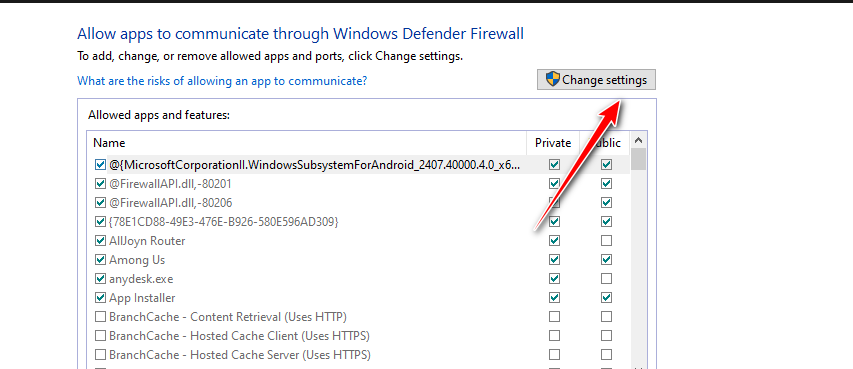
- Search for Allow an app through Windows Firewall and open it.
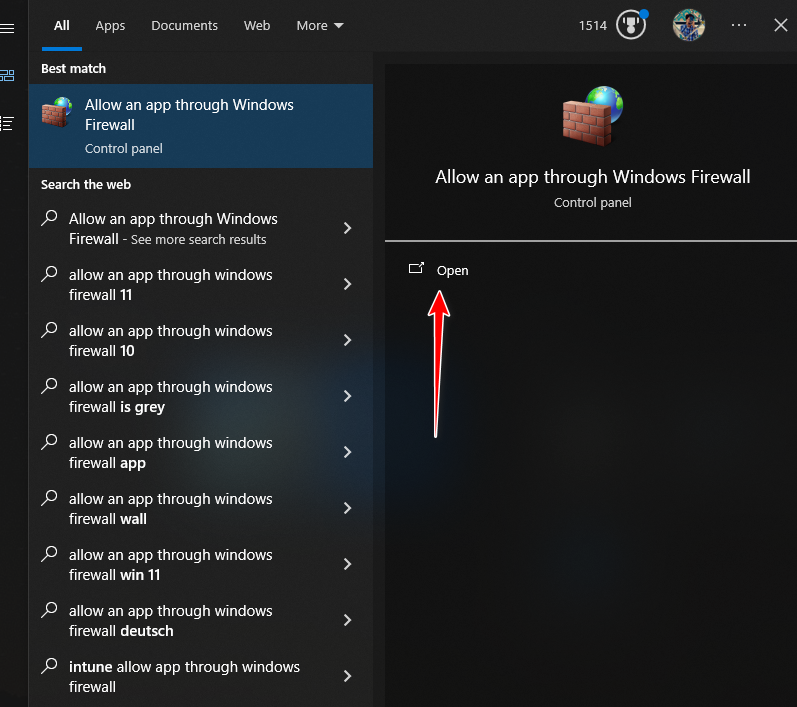
- Click on Change settings.
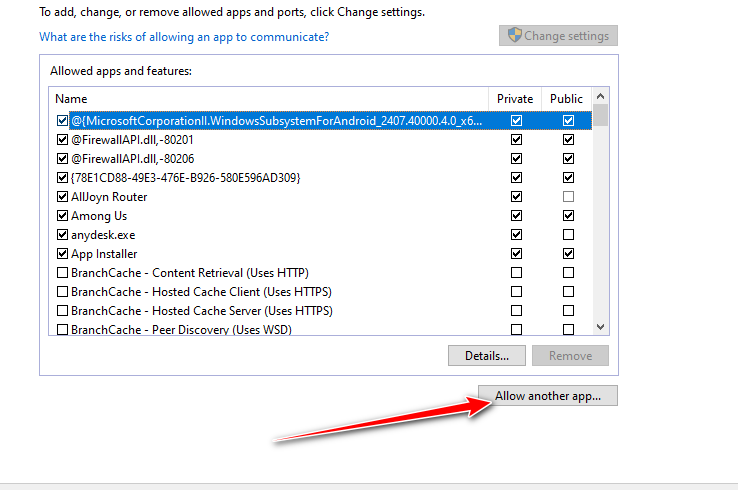
- Select Add another app, then click Browse and locate the game’s executable file.
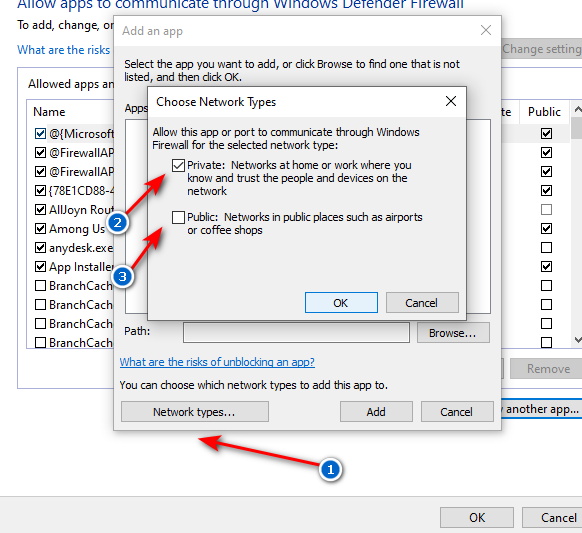
- Click Network Types and check both Private and Public options.
- Click Add, then hit OK to save changes.
7. Forward Required Ports (Advanced Users Only)
If your network blocks certain ports, the game may struggle to maintain a stable connection. Port forwarding helps by manually opening the necessary ports, allowing uninterrupted communication between your PC or console and the game servers.
- Open a web browser and enter your router’s IP address (usually printed on the back of the router).
- Log in using the router’s default username and password.
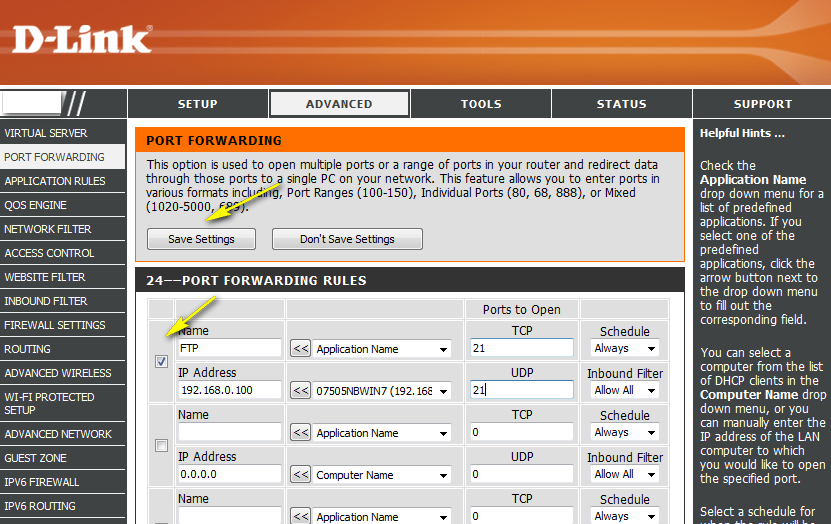
- Navigate to Port Forwarding, typically found under Advanced or NAT settings.
- Enter the following port numbers:
For PC:
TCP: 27015, 27036 UDP: 27015, 27031–27036

For Xbox & PlayStation:
TCP: 3074
UDP: 88, 500, 3074, 3544, 4500
- Save the changes.
8. Update Router Firmware (Advanced Users Only)
Keeping your router’s firmware updated improves network stability, enhances performance, and resolves known bugs. This can help reduce disconnections during gameplay.
- Log in to your router using the IP address and credentials listed on its label (usually found on the back).
- Navigate to the Firmware Update or System section, typically under Advanced settings.
- Click Check for Updates. If available, download and install the update.
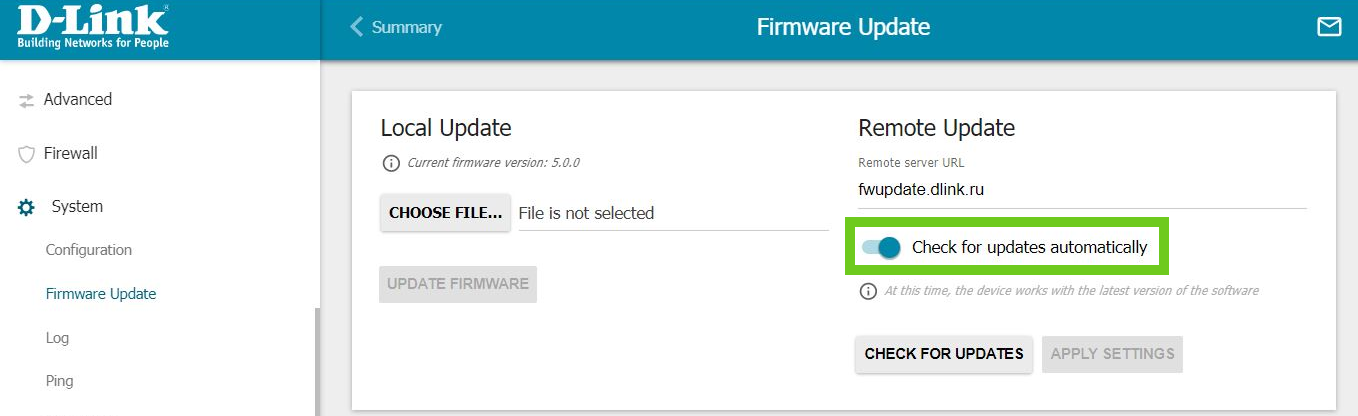
- Restart your router once the update is complete.