Halo Infinite Arbiter.dll was not found? Try these methods
Some of the players that have downloaded Halo Infinite from the Microsoft Store are encountering a system error. While trying to launch the game, a system error message appears that states “The code execution cannot proceed because Arbiter.dll was not found“. As it turns out, in most cases, this problem can occur due to the third-party applications that are installed on your computer, interfering with the game process. This is not limited to a certain application but rather different apps have been found causing the issue for different users. In this article, we are going to show you how to solve the error message in question so just follow through.

As it turns out, during a live event of Xbox, Halo Infinite multiplayer was released ahead of its official release in order to celebrate the 20th anniversary of the franchise. Naturally, the servers were flooded with players that wanted to try out the game. While the experience has been good for most of the users, there are still errors around the game that prevent others from playing the game such as the incompatible operating system error message. Like we have mentioned, the system error in question here is usually related to the third-party programs running in the background which includes apps like Process Hacker, RivaTuner and many more. With that said, let us get started and show you the different methods that will help you in solving the “Arbiter.dll was not found” error message.
Check for Windows Updates
One of the users who has been facing the same error message has reported that he was able to resolve the issue by installing Windows updates on his system. Windows updates are, in essence, an important part of the operating system as they usually contain security patches along with stability improvements and new features that might often be required by other applications. Thus, updating the required updates on your system is never a bad idea.
If your Windows operating system is not up to date, then in such a case, the first thing that you should do in order to resolve the error is to go ahead and update your operating system. To do this, simply follow the instructions that are given down below:
- First of all, open up the Windows Settings app by pressing the Windows key + I buttons on your keyboard.
- On the Settings window, click on the Windows Update option on the left hand side. If you are on Windows 10, simply click the Windows Update option provided on the home screen.

Windows Settings - After that, on the Windows Update screen, click on the Check for updates button provided.
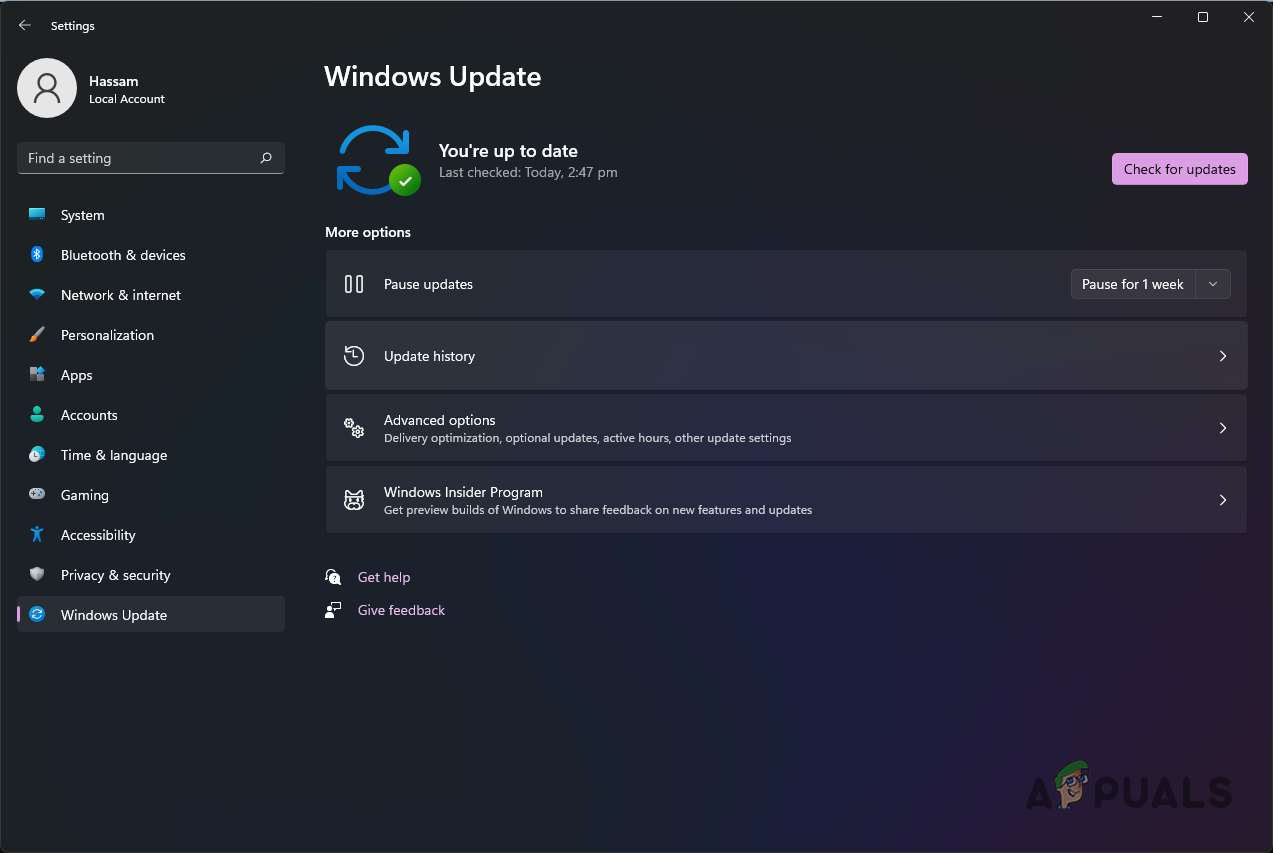
Windows Update Settings - Wait for Windows to check for any available updates and then download and install them.
- Once the download has been completed, you will be asked to restart the computer in order to complete the update process. Go ahead and restart your computer.
- After that, wait for the updates to be successfully installed on your computer.
- Once your computer has been updated, go ahead and try launching the game to see if the issue is still there.
Perform a Clean Boot
If installing Windows updates does not fix the problem for you, then it is very likely that the issue is being caused by a third-party program that is running in the background. This is pretty common and can happen every now and then to someone. The problem here is that you need to locate the program that is causing the issue. As per user reports, applications like Process Hacker and RivaTuner have been known to cause the issue. Therefore, if you have these apps installed, go ahead and exit them and then try opening up the game to see if the issue is resolved.
One way that you can verify that the issue is indeed being caused by a third-party program is to perform a clean boot. Clean boot is a Windows startup feature that essentially boots up the operating system with only the required services running in the background. This means that all of your third-party programs will be disabled by default and not allowed to run on startup. If your game runs fine after performing a clean boot, then it’ll be obvious that the problem is being caused by a third-party program in the background.
In such a case, you can either start the services one by one to pinpoint the problematic app or just uninstall any apps that you might be doubtful of. To perform a clean boot, follow the instructions given down below:
- First of all, open up the Run dialog by pressing Windows key + R on your keyboard.
- In the Run dialog box, type in msconfig and then hit the Enter key.
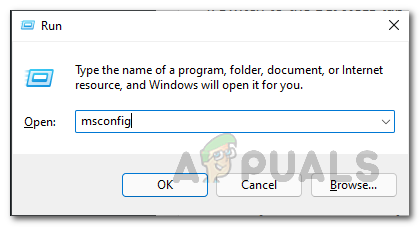
Opening up System Configuration - This will open up the System Configuration window. There, switch to the Services tab.
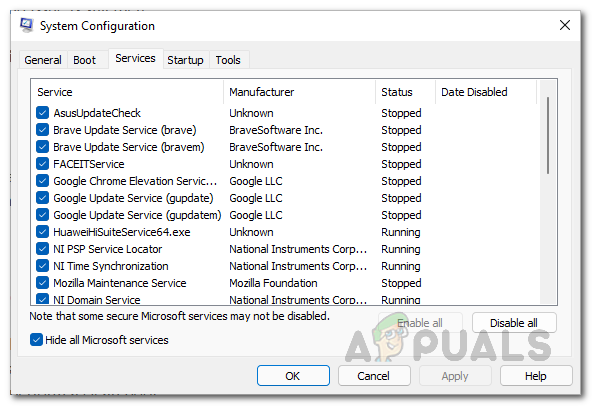
- Now, on the Services tab, first of all, click on the Hide all Microsoft services checkbox.

Hiding all Microsoft Services - After doing that, click on the Disable all button provided and follow it up by clicking the Apply button.
Disabling Third-Party Program Services - Once you have done that, switch to the Startup tab and click on the Open Task Manager option provided.
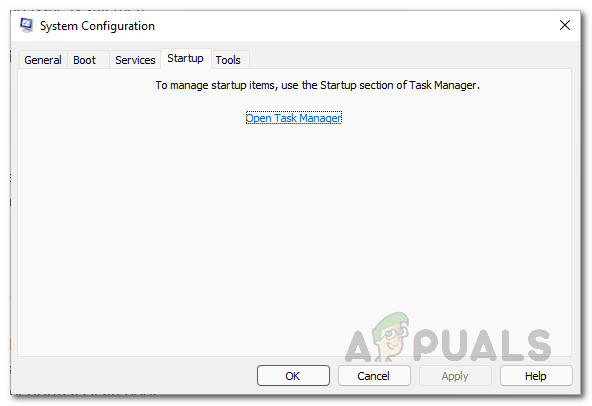
Opening up Task Manager - On the Task Manager window, click on the apps one by one and then hit the Disable button at the bottom right corner.
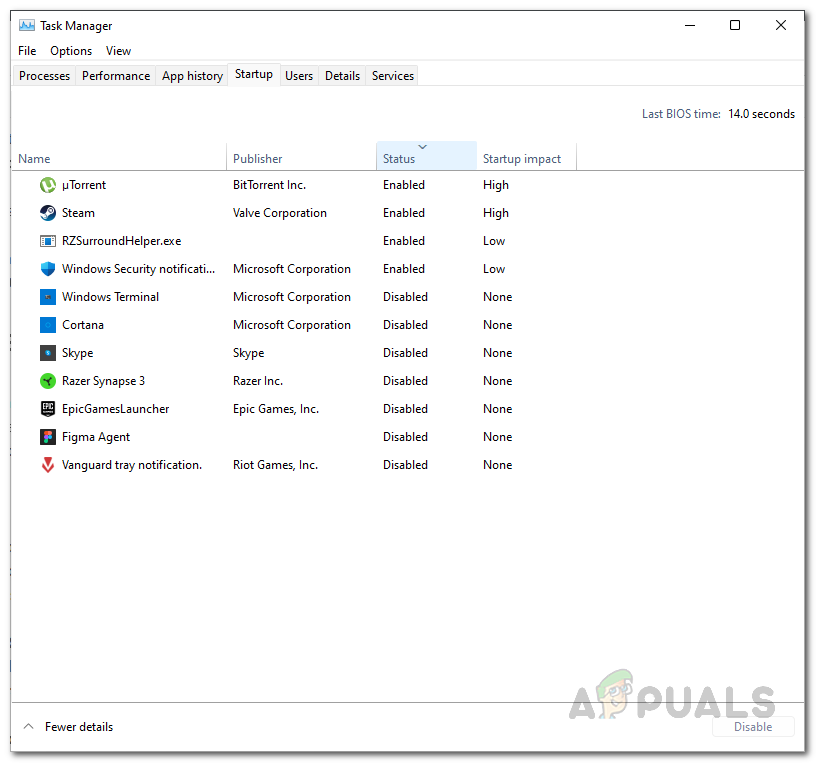
Disabling Third-Party Programs on Startup - Once you have done that, go ahead and restart your computer.
- After your PC boots up, open up Halo Infinite and see if the problem is still being caused.
Download Halo Infinite from Steam
Finally, if the above methods have not fixed the problem for you, then you can try downloading the game via the Steam client and then installing it on your computer. This has been reported by other users who were facing the similar issue and unable to fix it otherwise. Installing the game from Steam resolved the issue for them.
Therefore, if this case is applicable to you, go ahead and download the game on Steam and let it install. Once that is done, try playing the game to see if the error message is still appearing.


