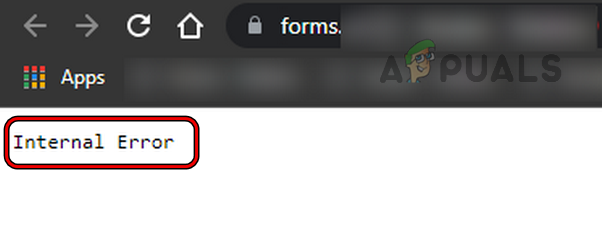
How to Fix “Internal Error” on Google Forms?
Google Forms internal error mainly occurs due to the shortened URL to open the Google Form or as a result of interference from a browser extension. The issue arises when a respondent tries to open a Google Form but fails to do so and a black screen is shown with a small size message stating an Internal Error. The error is not limited to a particular browser or OS.
The following are found to the main reasons why a Google Form might show an internal error:
- Shortened URL of the Google Form: You may encounter the error at hand if you are using a shortened URL to open the Google Form but the Google shortened service is glitched out and is failing to properly redirect the browser to the Google Form.
- A Conflicting Browser Extension: If a browser extension is hindering the data traffic exchanged between the PC’s browser and Google servers in a way that the server fails to execute the HTTP request by the client, then that may lead to the internal error at hand.
- DNS Server Issues: The internal error might occur if your DNS is failing to resolve the web addresses of the relevant Google servers properly, especially, if a shortened URL is used to open the Google form.
1. Refresh the Tab or Relaunch the Browser
A temporary glitch in the communication from your device to the server can cause the Google Form website to show the internal error as the servers fail to process the glitched HTTP requests, resulting in the internal error. In this context, refreshing the browser tab or relaunching the browser may clear the error under discussion. For illustration, we will discuss the process for the Chrome browser on a Windows PC.
- Open the link of the problematic Google Form and when the error is shown, press the Shift button and click on the Reload icon (near the left of the browser’s address bar).
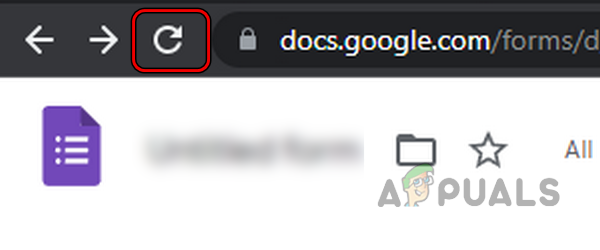
Press Shift and click on the Reload Icon to Reload the Google Form to Bypass the Browser Cache - Now check if the Form loads fine.
- If not, close the Google Chrome browser window and right-click Windows.
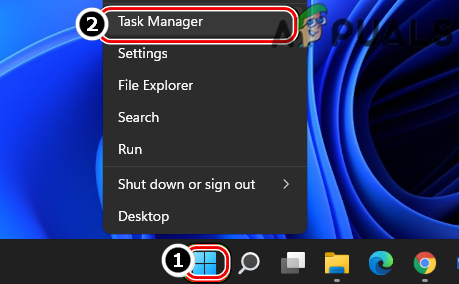
Open the Task Manager of the System Through the Quick Access Menu - Then select Task Manager and afterward, close all the processes related to Google Chrome.
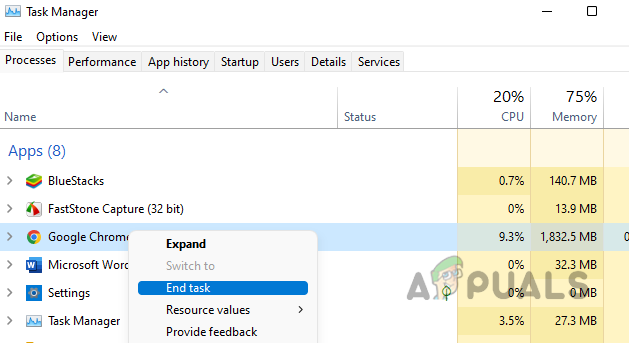
End Tasks of Google Chrome in the System’s Task Manager - Now launch the Chrome browser and head to the problematic Google Form to check if it is opening fine.
- If not, check if restarting your PC along with networking equipment (like a router) clears the internal error on Google Forms.
2. Use the Full URL to the Form
A Google Form might show an internal error if Google’s URL shortening service is glitched out and is failing to properly redirect the respondent to the form. Here, using the full URL to the Google form may clear the error. Keep in mind these steps can be taken only by the form creator.
- Launch a web browser (preferably, Google Chrome) and head to Google Forms.
- Now open the problematic form and click on the Send button (near the top right).
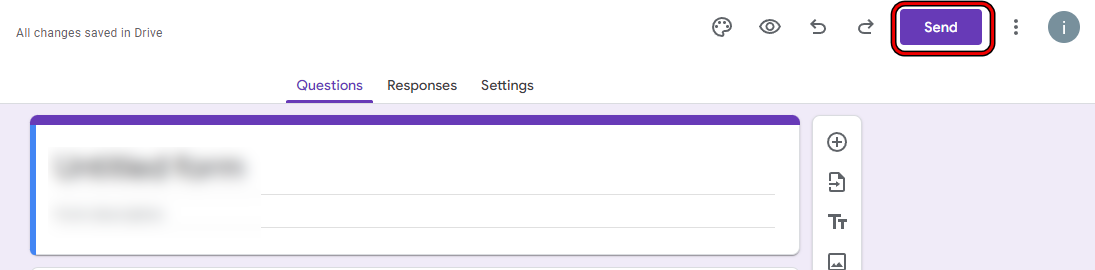
Click on the Send Button of the Google Form - Then, in the menu shown, switch to the Link tab and make sure the Shorten URL is unchecked.
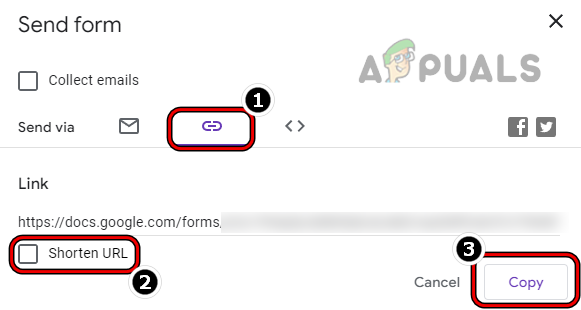
Copy the Full URL of the Google Form After Unchecking Shorten URL - Now click on the Copy button and send this link to the people you want to share the form with.
- Afterward, check if the form is opening fine from the full URL. Please do note that some clients might have to sign in through their Google accounts, even if email collection is disabled.
3. Disable the Browser’s Extensions
You may encounter the internal error on Google Forms if a browser extension is hindering the data traffic between your device and Google servers in a way that the Google Forms fail to process the request, thus showing the internal error. In this context, disabling the browser’s extensions may clear the Forms error at hand. For illustration, we will discuss the process of disabling extensions on the PC version of the Chrome browser.
- Launch the Chrome browser and expand the Chrome menu by clicking on the three vertical ellipses (in the top right).
- Now select New Incognito Window and then head to the Google Forms website.
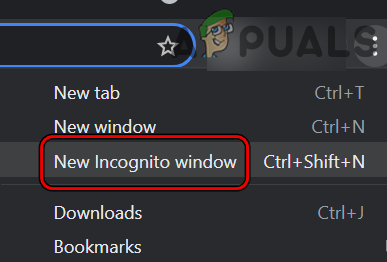
Open New Incognito Window in Chrome - Then log in using your credentials (a school or work account is preferable if the Form is about school or work).
- Now head to the problematic form or open it through the shared link.
- Then check if the Google Form loads fine without showing the internal error.
- If so, then close the window and in the normal window of Google Chrome, click on the Extensions icon (near the end of the address bar).
- Now select Manage Extensions and in the Extensions window, disable all the extensions by toggling their respective status switches to the off position.
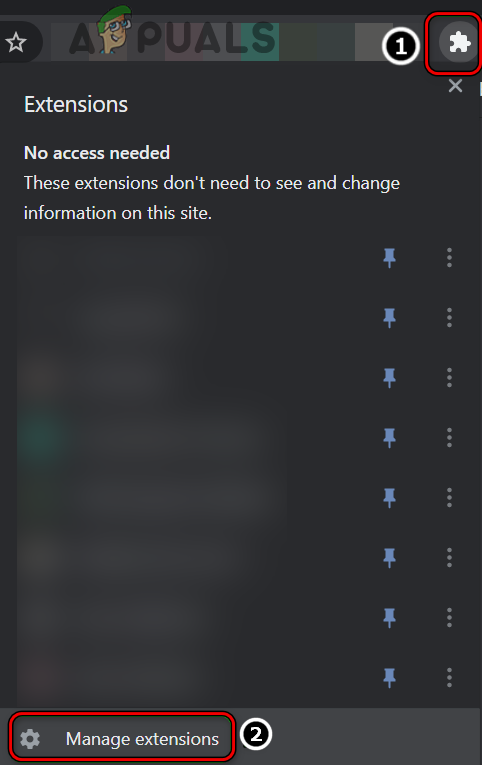
Open Manage Extensions in Chrome - Then relaunch the Chrome browser and check if the problematic Google Form can be accessed without error.
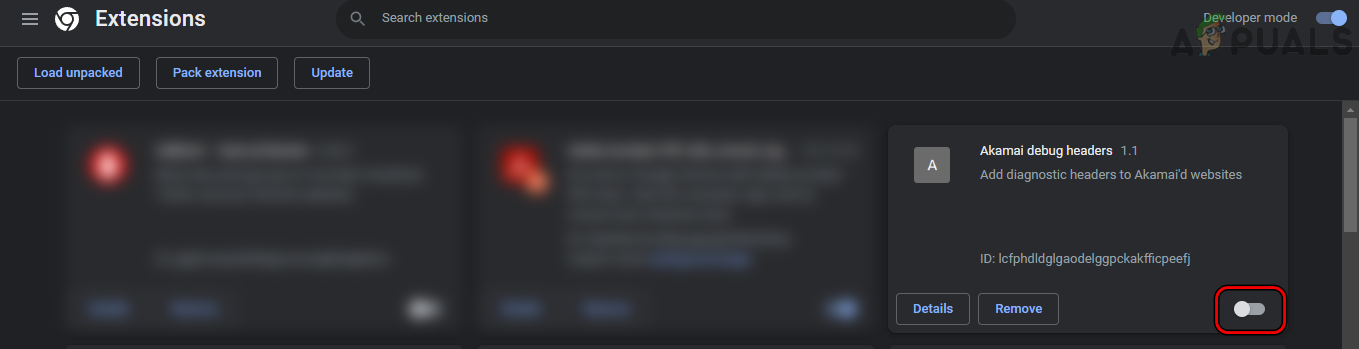
Disable Extensions on Chrome - If so, then enable back the extensions one by one till the problematic one is found. Once found, either keep it disabled or uninstall the extension (if not essential).
4. Change the DNS of Your Device to Google DNS
You may encounter the error at hand if the DNS server of your device is failing to translate the web addresses of the Google Forms in a timely fashion, especially, if a shorter URL of the Google Forms is used. Here, changing the DNS settings of your device to use the Google DNS server may solve the problem. For elucidation, we will discuss the process of changing the DNS server on a Windows PC.
- Right-click on the network icon (Wi-Fi or Ethernet) in the system’s tray and open Network and Internet
Settings.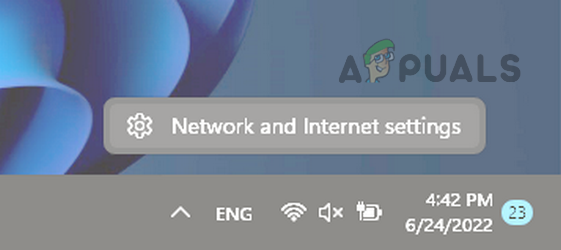
Open Network and Internet Settings of Your Windows PC - Now, scroll down to the bottom and select Advanced Network Settings.
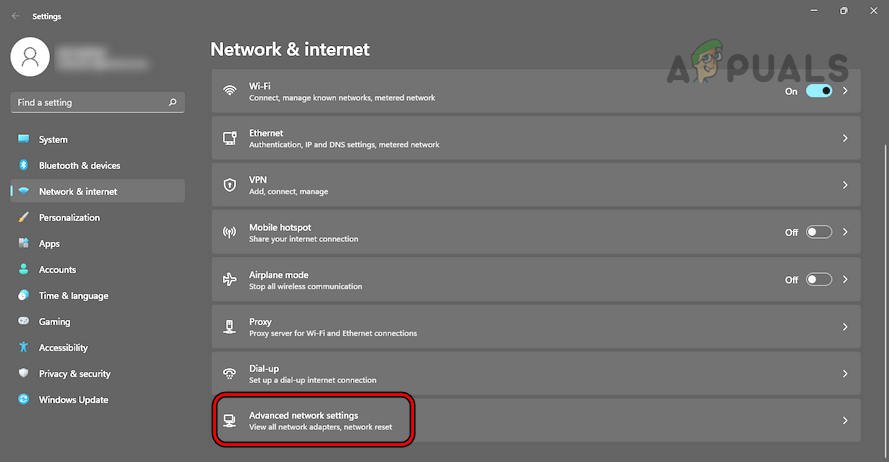
Open Advanced Network Settings of Your Windows PC - Again, scroll down till the end and open More Network Adapter Options.
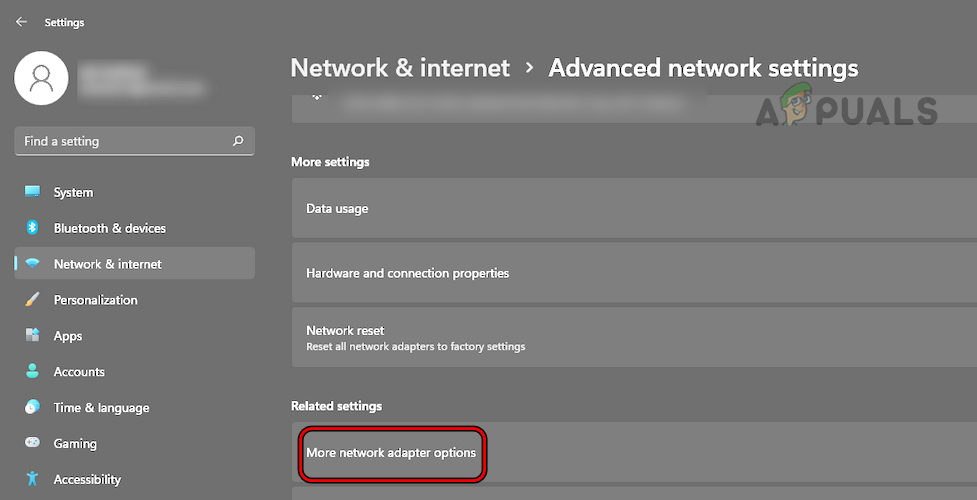
Open More Network Adapter Options in the Windows Settings - Then, right-click on the network adapter in use (like a Wi-Fi adapter) and select Properties.
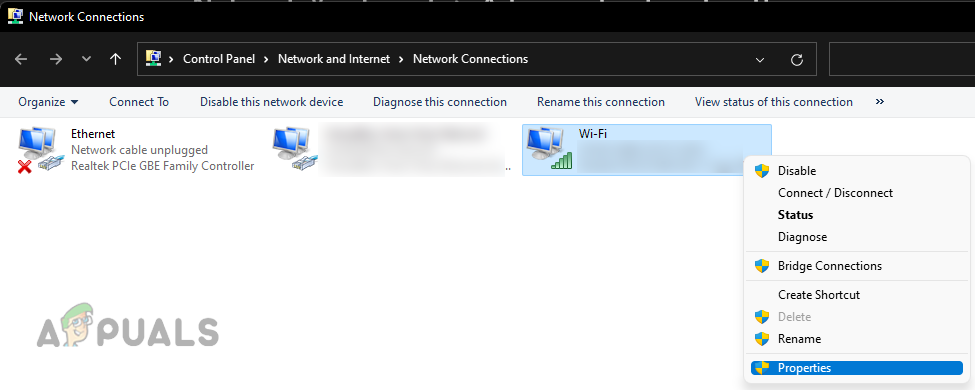
Open Properties of the Network Adapter - Now select the Internet Protocol in use like Internet Protocol Version 4 (TCP/IPv4).
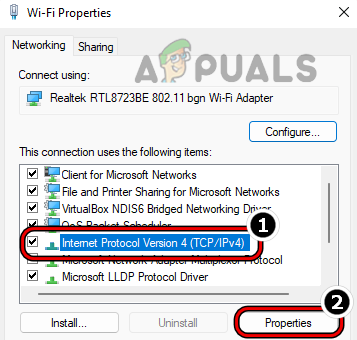
Open Properties of Internet Protocol Version 4 (TCP/IPv4) - Then click on Properties and in the resulting menu, select the radio button of Use the Following DNS Server Addresses.
- Now enter the following DNS values in the relevant boxes:
Preferred DNS Server:
8.8.8.8

Alternate DNS Server:
8.8.4.4
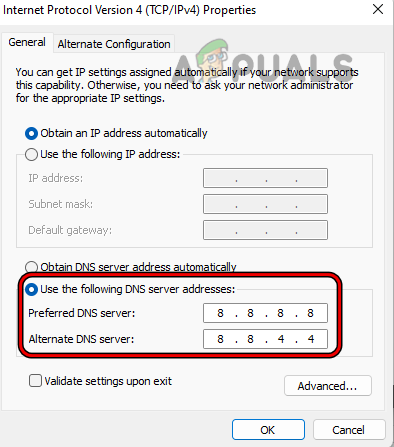
Set the Windows System’s IPv4 DNS to Google DNS - Then click on OK and again, click on OK.
- Now restart your device and upon restart, hopefully, the problematic Google Form could be opened fine on your system.