Fix: Outlook Account Settings Are Out Of Date
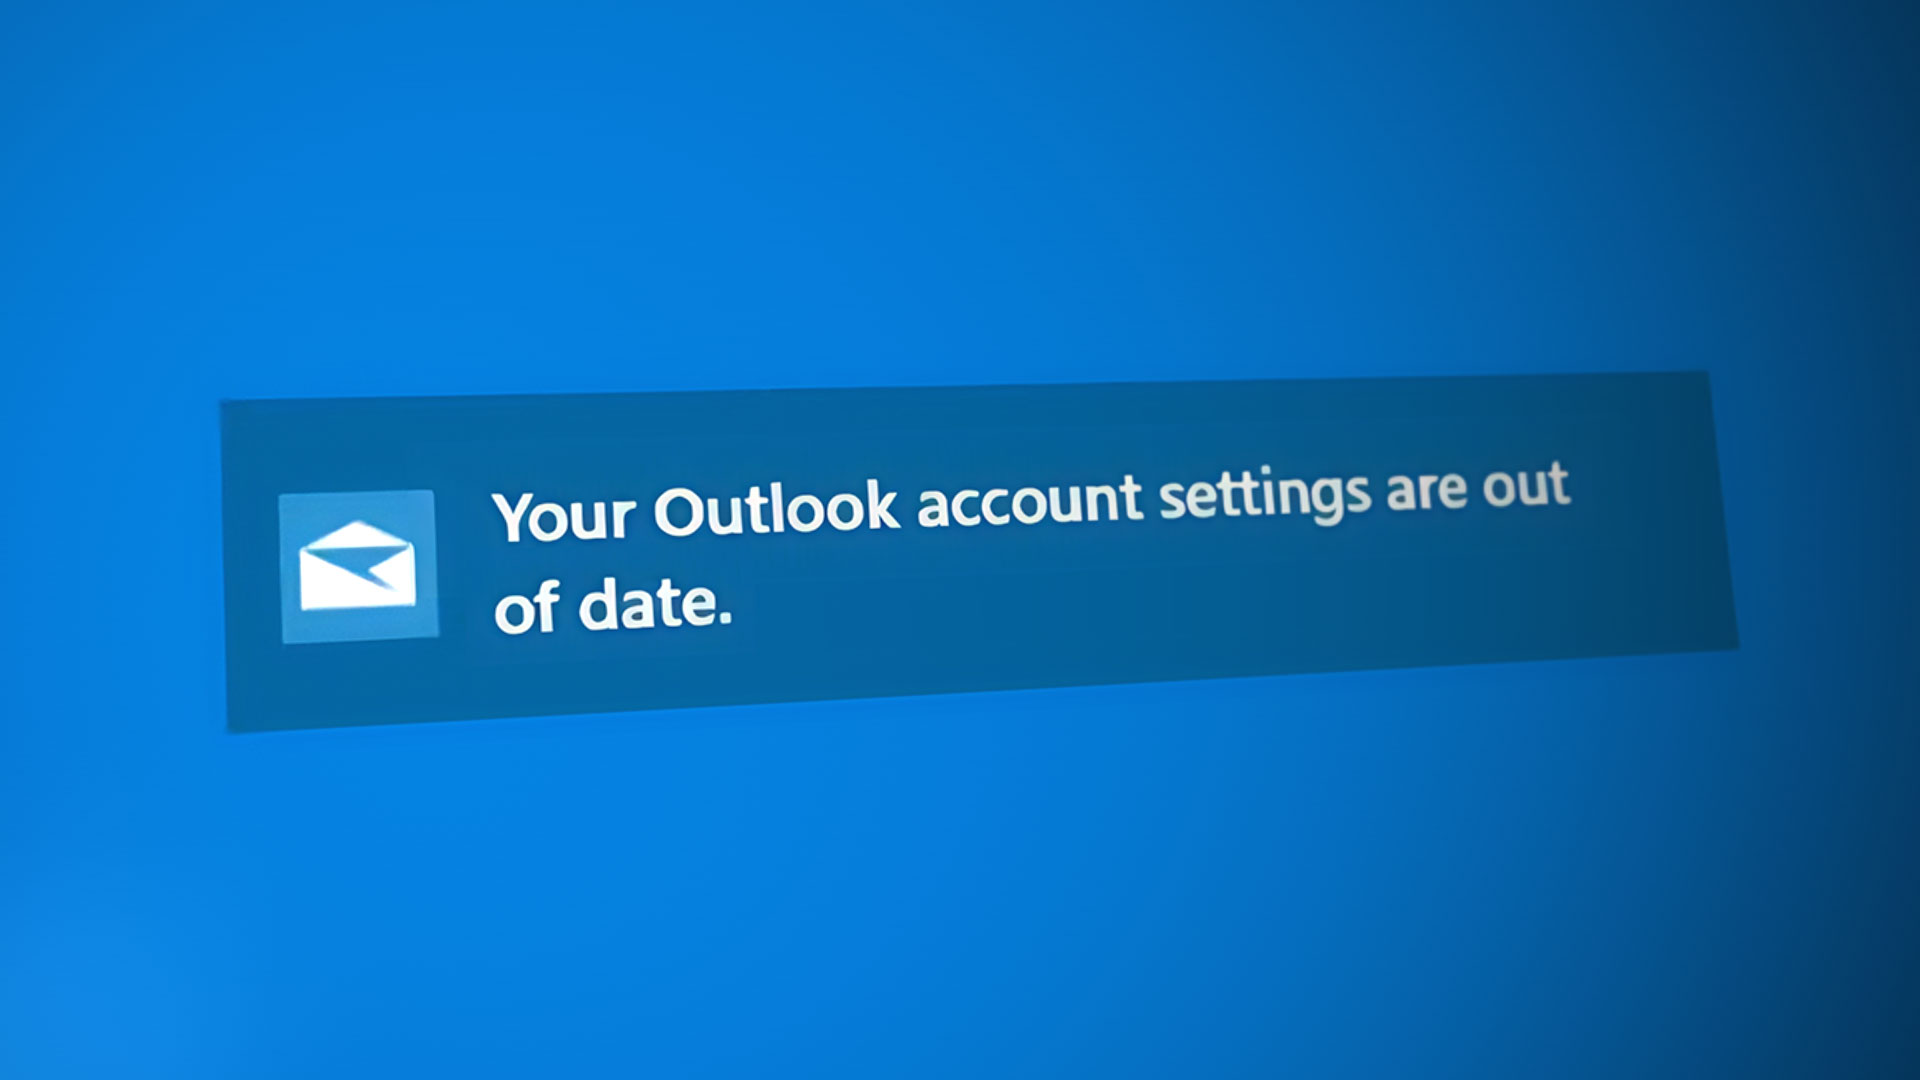
This particular error code is directly related to Microsoft Outlook which is Microsoft’s program designed to help you manage your emails. The most common scenario where this error appears is when dealing with a new Windows update since it appears that the update somehow resets certain settings.
The error message appears when using the Outlook app on Windows 10 and there are two options available for you to click on: Fix Account and Dismiss. We suggest you click on the Fix account option first and follow the instructions which might appear on screen before you follow through the remainder of the solutions since some users managed to fix their problem this way.
Follow the instructions presented below in order to solve your Outlook-related issue in not ime.
Solution 1: Check Your Time and Date Settings
The time and date which appear in the lower right part of your taskbar are not just there for decoration or just to provide you with information about date and time. This clock is used to operate various features of your PC, especiall the ones created by Microsoft, such as Windows Update, Store, Mail, etc.
Make sure your time and date settings are correct by following the steps below:
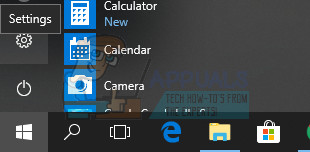
- Open Date and Time settings by opening the Start menu, opening the Settings app by clicking on the gear icon above the power icon, choosing the Time & language option, and navigating to the Date & time tab.
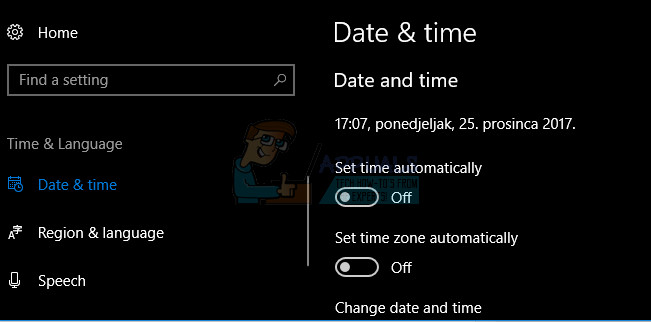
- In the Date and Time tab, make sure that your computer’s date and time are correct. If the time is not correct, you can try turning the Set time automatically option on or off, depending on the default state.
- To change the date, under Date, click the dropdown menu in order to find the current month in the calendar, and then click the current date.
- To change the time, under Time, click the hour, minutes, or seconds that you want to change, and then slide the values until you settle for the one correct according to your location.

When you have finished changing the time settings, click OK.
Alternative: People who failed to fix their issue by tweaking the settings in this way can also do it in Control Panel. The settings are similar but now you can set your time to sync with the Internet time.
- Navigate to Control Panel > Clock, Language and Region > Date and time > Set the time and date > Internet time > Change settings.
- Now check the Synchronize with an Internet time server option and click on the Update now button. Then click OK, Apply, OK and close Control Panel.
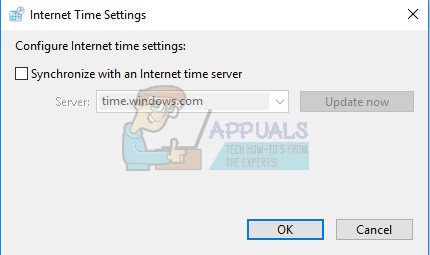
- Once you’re done with synchronization, the problem should be fixed immediately.
If these options were enabled to start with, try disabling them, restarting your computer, and checking to see if the error messages appear.
Solution 2: Using a Local Account in Order to Reset Your Mail Settings
This solutions is particularly aimed at folks who have linked the Microsoft account they use to sign into Windows for their Outlook account as well. You will need to create a simple local account and use it to your advantage by following the steps below.
- Open Settings either by clicking on the gear icon which is located just above the power button in the Start menu or by searching for it in the search bar.
- Open the Accounts section in Settings and select the Other accounts option.
- Choose the Add an account option located there, and then click on the Sign in without a Microsoft account option which is usually not recommended.

- Create a Local account and proceed.
- Enter a username for this new account.
- If you want this account to be password-protected, you can add a character password, a password hint, and proceed by clicking Next.
- Click the Finish button in order to finish creating a new account.
Now that you have successfully created a local account, it’s time to reset your Mail by deleting your account from the Mail app.
- In either the Mail or Calendar apps, choose Settings in the lower-left corner.
- Choose Manage Accounts, and then choose the account that you want to remove.
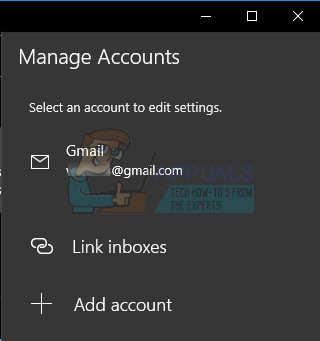
- Choose Delete account. If you don’t see the Delete account option, you’re probably trying to remove the default email account added when you logged on to Windows 10.
- Add the mail again in a similar manner by clicking on the + sign which appears when you click on Manage accounts and switch back to your regular Microsoft account.
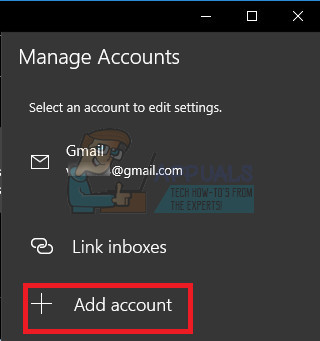
- Check to see if the error messages still appear on your computer.
Solution 3: Update Windows Regularly
Plenty of users who were struggling with the same issue as described above failed to fix the problem by following any of the solutions suggested by other people but a new Windows 10 update fixed this bug immediately.
Windows 10 usually updates itself automatically but, if there was something wrong with this process, you can always check for updates manually.
- Hold the Windows Key and press X in order to open this special context menu. You can also right-click on the Start menu. Choose Windows Powershell (Admin).
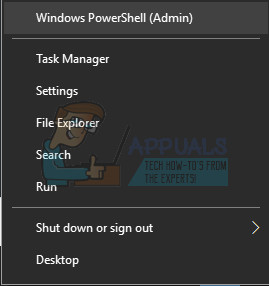
- In the Powershell console, type cmd and wait for Powershell to switch to the cmd-like environment.
- In the “cmd” console, type in the following command and make sure you click Enter afterwards:
- exe /updatenow
- Let this command run for at least an hour and check back to see if any updates were found and/or installed successfully.
Solution 4: Run the SFC Tool and Try This Command
Use the SFC.exe (System File Checker) tool which is accessed via the administrative Command Prompt. The tool will scan your Windows system files for broken or missing files and it’s able to fix or replace the files instantly. This can be quite useful if you need those files for the updating process since this problem may appear if there is a problem with one of your system files.
If you want to take a look at detailed instructions on how to operate this tool, check out our article on the topic: How to: Run SFC Scan in Windows 10.
If the Store’s cache is experiencing some issues, make sure you reset it with this simple command. Resetting the cache usually solves similar issues because they are caused when the Store is used excessively and its cache becomes larger than recommended. This may cause issues with any of the Windows apps, including Mail, Windows Update, etc.
- Click on your Start menu and type the “wsreset” command. As soon as you type this in, the first result at the top should be “wsreset – Run command”.
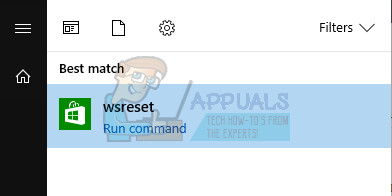
- Click on this in order to reset the Store’s cache.
- Restart your computer in order to apply these changes and open Mail to see if the same annoying error message keeps appearing.
Solution 5: Start Creating a 4-Digit Pin on Windows
This solutions sounds particularly weird but it was reported as one of the methods in solving this particular issue, even though it does not seem to be related with anything we have seen so far. It involves trying to create a PIN but quitting mid-way and restarting your computer.
- In order to begin the process you’ll need to open the Start menu by pressing the Windows logo at the bottom left corner of your screen or by tapping the Windows key on your keyboard. Open the Settings app by clicking on the gear icon.

- Open the Accounts section in Settings and navigate to Sign in options. The right pane of the screen should contain a password section along with a button named Change. Click on it
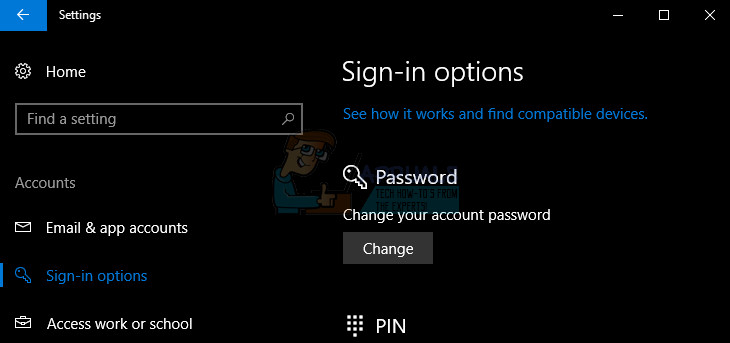
- Choose PIN as your security measure and proceed with creating the PIN access. You will be prompted to enter you old account password before you can set the new one. Re-enter it and quit the PIN creation, leaving your old password as the working one.
- Open mail or calendar, and the problem should already be solved.