Fix: WOW.DLL has stopped working on Windows 7
“Wow.dll” is a parasite file that is responsible for running the parasite’s destructive payload on your device. It implements itself as a Windows plugin due to which it might not show up in virus scans and has to be deleted manually. However, some third-party virus scanners might detect it as a virus and delete it automatically or modify it.
What Causes the “wow.dll” has Stopped Error?
After receiving numerous reports from multiple users we decided to investigate the issue and came up with a set of solutions that solved the problem for most of our users. Also, we looked into the reason due to which the error is triggered and listed it below.
- Virus: “wow.dll” is a library file that is responsible for major parasite functions and for running its destructive payload on your device. The file cannot run itself and needs to be executed with an executable. However, in some cases, it was seen that the file was reconfigured to run with as a Windows plugin or a “World of Warcraft” file. Although it has no association with it, it still loads up with the application and is known spyware.
Now that you have a basic understanding of the nature of the problem we will move on towards the solutions. Make sure to implement these problems in the specific order in which they are presented to avoid any conflicts.
Solution 1: Deleting Cache Files
The virus sometimes stores itself in the computer’s cache folder which stores all the application loading configurations in order to load the applications quickly and swiftly. Therefore, in this step, we will be deleting all the cache items from your computer. It will be automatically regenerated by the application so we do not have to worry about losing important data.
- Press the “Windows” and the “R” button on your keyboard
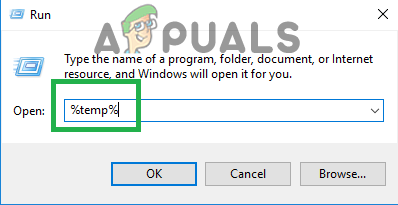
Pressing Windows+R to open the Run Prompt - Type in “%temp%” and press Enter.
Typing in “%temp%” and pressing “Enter”. - Press “Ctrl” + “A” to select all the files inside there and then press “Shift” + “Delete“.
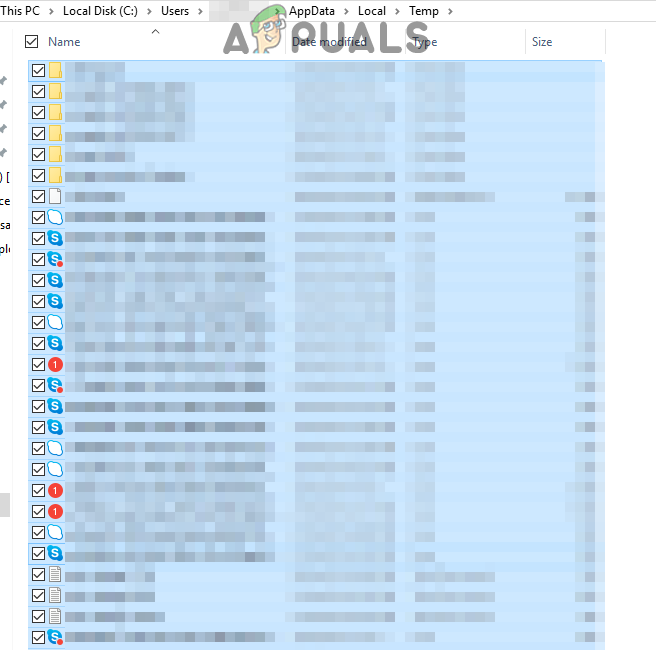
Selecting and deleting all files inside the cache folder - Click on “yes” on the prompt and wait while the files are deleted.
- Check to see if the issue persists.
Solution 2: Running SFC scan
SFC scan is a function in the Windows operating systems that allows the users to run a scan for any corrupted drivers or configuration files and repairs them automatically. Therefore, in this step, we will be looking for and fixing any corrupt Windows files where the Parasite might have implemented itself. For that:
- Press on the “Windows” + “R” keys simultaneously to open up the Run prompt.
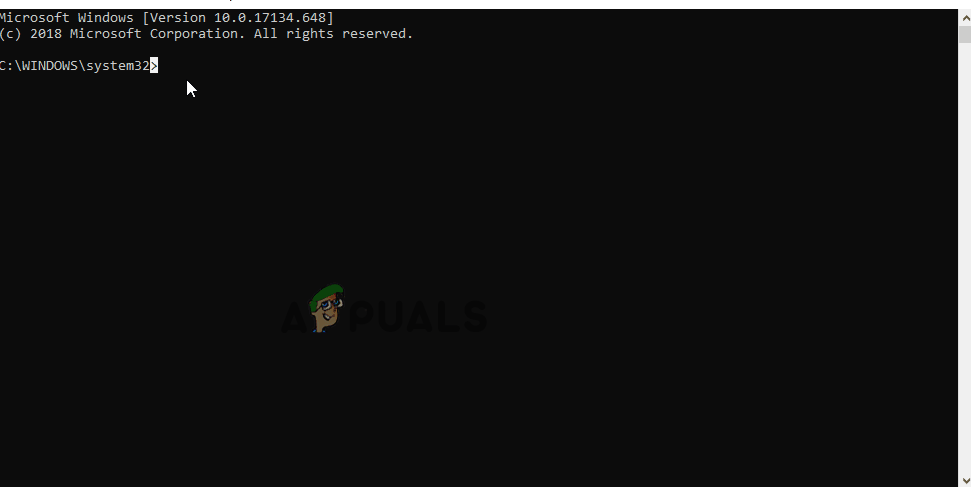
- Type in “cmd” and then press “Ctrl” + “Shift” + “Enter” to open it as an administrator.
- Type in “sfc/scannow” and press “Enter“.
- The tool will now scan all of your system files, wait for the verification process to finish,
- Once the scan is finished, check to see if the issue persists.
Running an SFC scan
Solution 3: Performing a Clean Boot
When the system is in the Clean boot state, no third-party application or driver is allowed to run. Therefore, if the parasite was manifesting itself along with a Windows Service or a third party application we can determine which application or service it was being implemented through. In order to perform a clean boot:
- Press “Windows” + “R” button simultaneously to open up the run prompt
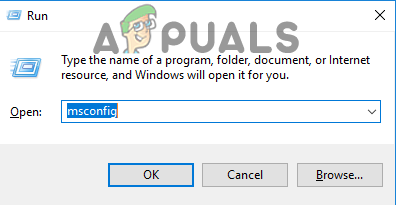
Pressing the “Windows” + “R” Key simultaneously - Type “msconfig” and press “Enter”.
- Select the “Services” tab and uncheck the “Hide All Microsoft Services” box.
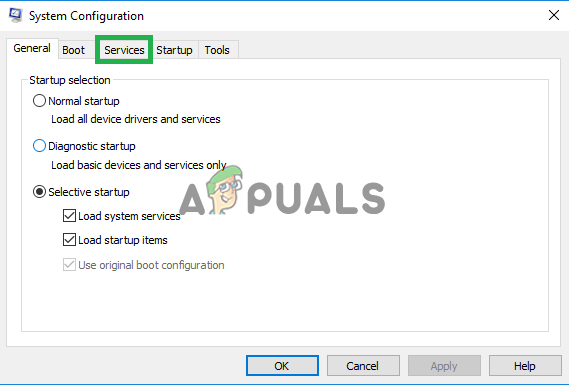
Clicking on the “Services” Tab - Click on the “Disable All” button and then click on the “Startup tab“.

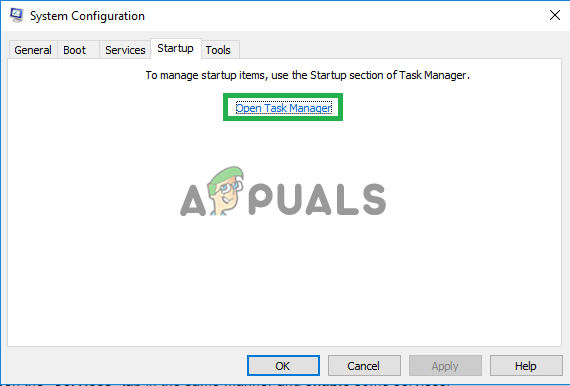
Clicking on the “Disable All” button - Click on the “Open Task Manager” option.
Clicking on the “Open Task Manager” option - Now click on an application inside the list and then click on the “Disable” option.
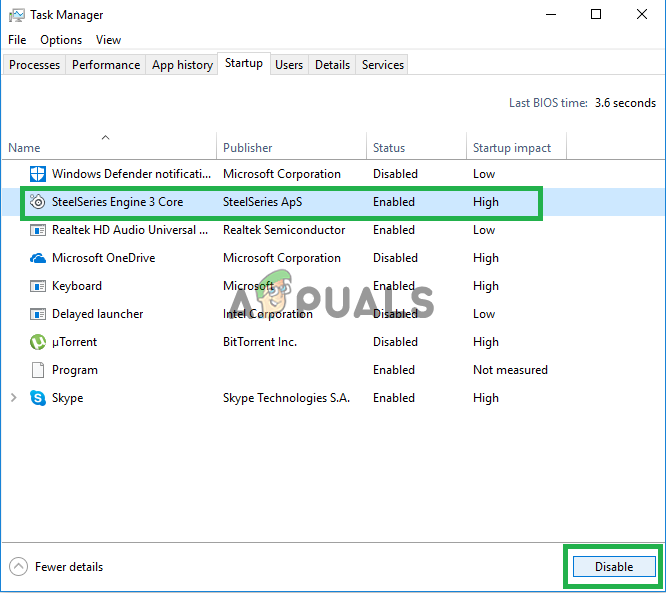
Selecting the application and clicking on “Disable” - Repeat this process for every application inside the list.
- Restart your computer and check to see if the issue persists.
- If the issue goes away open “Services” again and allow only one service to run.
- Repeat this process until the parasite comes back by allowing a particular service or application to run.
- Either delete the application that the parasite is manifesting itself through or disable it permanently.
Solution 4: Running an Antivirus
It is recommended that you install a third party Antivirus application and allow it to thoroughly scan your computer for viruses because this is a parasite that might be stealing important data from your computer. If the problem still persists then the only option that remains is to backup important files and perform a fresh install of Windows.


