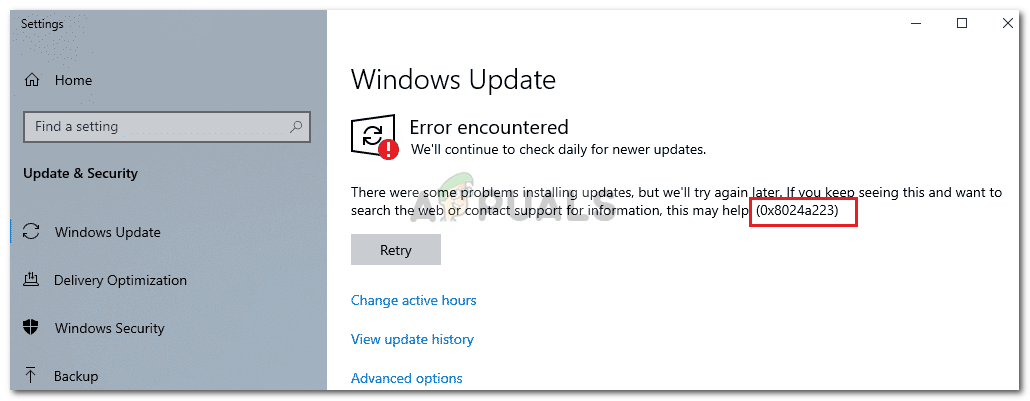
Fix: Windows Update Error 0x8024a223
The Windows update error 0x8024a223 is usually caused by Windows Update components that aren’t operating properly due to which users confront this error while updating their system. This error was mostly encountered by users who were using the 1809 build, albeit, they’re not the only victims. The error is quite recent and as a result, an official fix hasn’t been released as of yet. Nonetheless, there have been reports of potential solutions which you can find below.
Windows updates often bring such errors alongside them and this case is not an exception. This makes Windows updating quite difficult for common users. However, worry not, as you’ll most probably solve your issue by following the solutions mentioned — potent and competent solutions, of course.
What causes the Windows Update Error 0x8024a223?
Before we get into the solutions, it is important to take a look at the causes of this error. From what we’ve gathered, the error arises due to the following causes —
- Windows update components. For now, there have been reports that the error is caused by malfunctioning Windows update components in which case you’ll have to reset them.
- Third-party antivirus. Another potential reason is your third-party antivirus which could be intervening with your system during the update causing the error to pop up.
Before we dive into the workarounds, make sure you’re using an administrative account. With that said, let us get into the solutions:
Solution 1: Running Windows Update Troubleshooter
The built-in troubleshooters are sometimes quite useful and occasionally fix your errors without you having to worry about it. Due to this, using the troubleshooter is a priority. Here’s how to run the troubleshooter:
- Press Windows Key + I to open Settings.
- Go to Update and Security.
- Make your way to Troubleshoot tab and select Update.
- Run the troubleshooter.
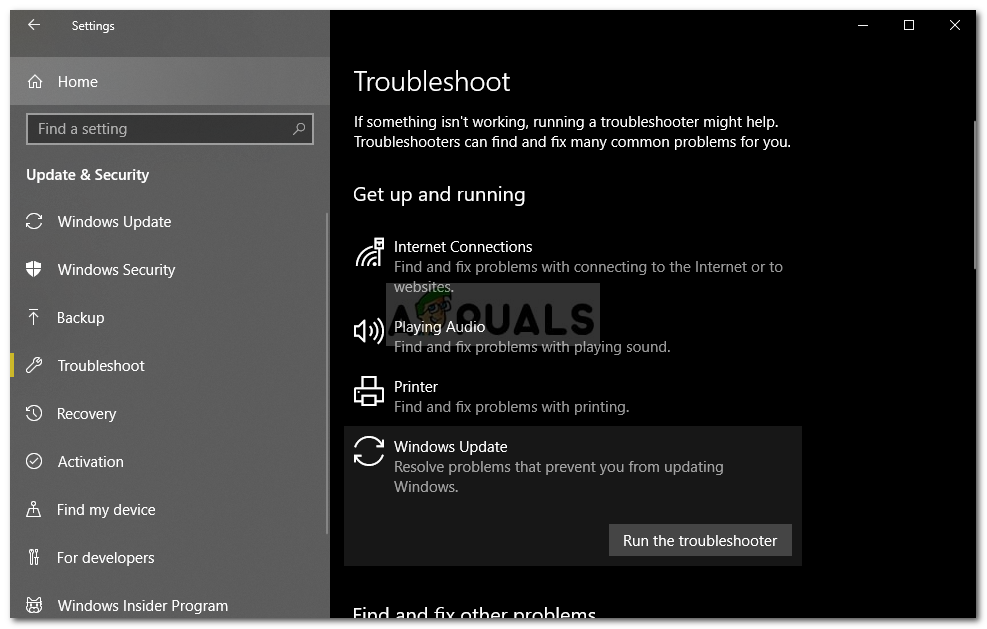
Windows Update Troubleshooter
Solution 2: Turning off Antivirus
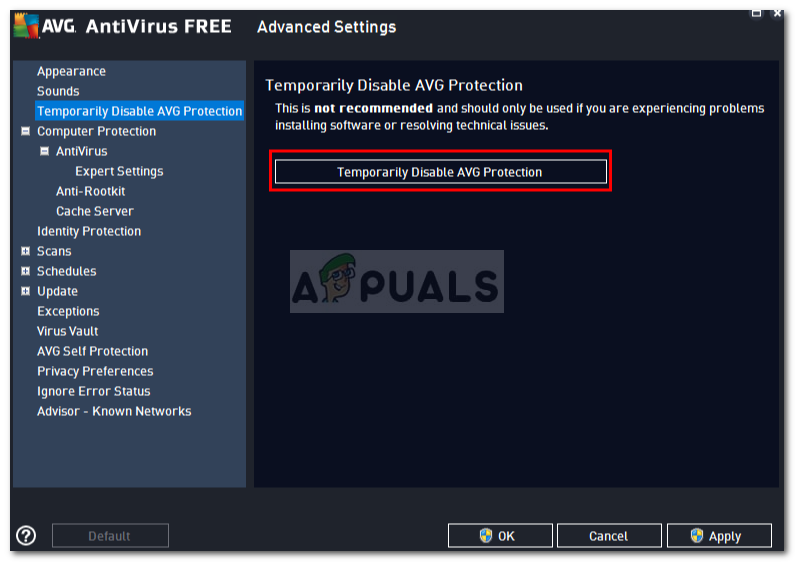
If the troubleshooter doesn’t fix your problem, the next step would be to turn off your antivirus. Like we mentioned earlier, there are cases where your third-party antivirus interferes with the system and you aren’t able to get the update. Hence, make sure to turn off your antivirus before proceeding. If you aren’t using any, proceed to the next solution.
Solution 3: Reset Catroot2 Folder
The catroot2 folder is required while you are updating your system as it stores the signatures of the package and later on helps during the installation. Resetting the folder can sometimes fix potential Windows Update errors. Here’s how:
- Press Winkey + X and select Command Prompt (Admin) from the list.
- Once the elevated command prompt loads, enter the following commands one-by-one:
- net stop cryptsvc md %systemroot%\system32\catroot2.old xcopy %systemroot%\system32\catroot2 %systemroot%\system32\catroot2.old /s
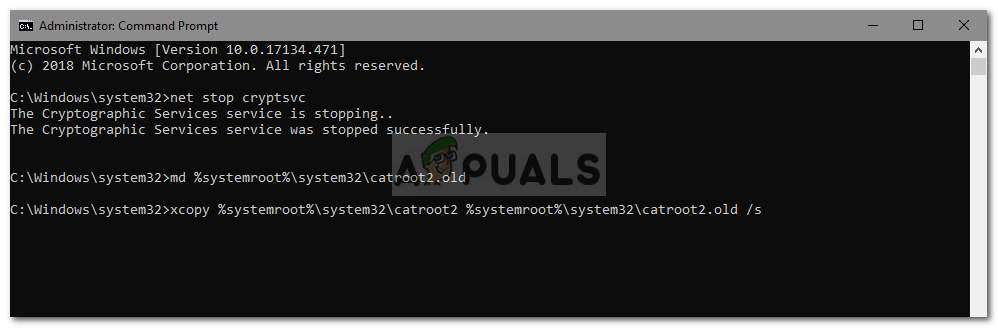
Making a Backup of Catroot2 Folder - After entering the commands, don’t close the command prompt. Open Windows Explorer and navigate to the following directory:
- C:\Windows\System32\catroot2
- Delete the contents of the folder.
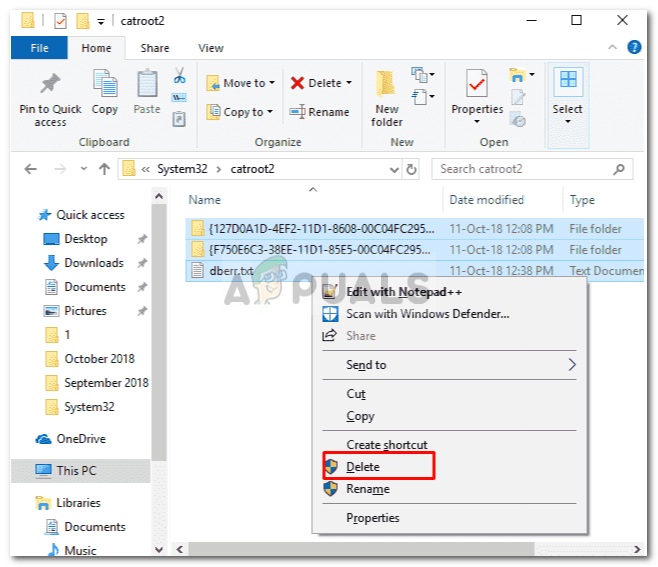
Deleting the Contents of Catroot2 Folder - Then, type in the following command in the command prompt:
- net start cryptsvc
- Reboot your system and then try updating.
Solution 4: Renaming SoftwareDistribution Folder
- SoftwareDistribution folder is an essential part of Windows updates due to which it shouldn’t be trifled with unless necessary. Instead of deleting the folder, you can rename it and Windows will automatically create a new one. Here’s how to do it:
- Open an elevated command prompt as mentioned above.
- Enter the following commands:
- net stop wuauserv net stop bits
- Then, enter the following command:
- rename %windir%\SoftwareDistribution SoftwareDistribution.bak
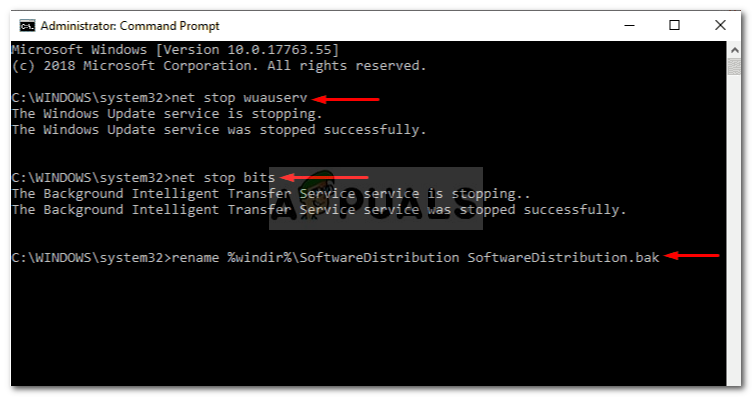
Renaming SoftwareDistribution Folder – Windows Command Prompt - After that, enable the services that you disabled in step 2 by using the following command:
- net start wuauserv net start bits
- Restart your machine and see then run the update.
Solution 5: Reset Update Components
Since the major cause of the error is malfunctioning Windows Update components, therefore, the workaround would be to reset them. You can do this manually by entering a series of commands in the command prompt or simply by running a script that’ll do all of your work. To make it easy for you, we’ll link the script which you’ll have to download and run afterward.
The script can be found here. Download it, extract the .zip file, right-click the ResetWUEng.cmd file and select ‘Run as an administrator’. Once it completes, try updating your system (might require a reboot).


