Fix: Windows Photo Viewer can’t open this picture
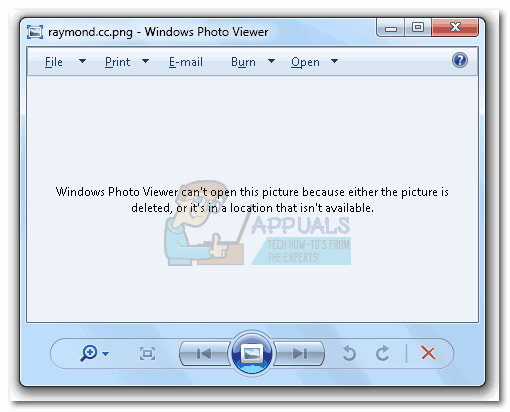
Some users have been reporting problems with the default Windows Photo Viewer (WPV). Users encountering this issue see the following error message on certain/all photos opened via Windows Photo Viewer: “Windows Photo Viewer can’t open this picture because either Photo Viewer doesn’t support this file, or you don’t have the latest updates.”
This particular issue is mainly reported on Windows 7, Windows 8 and Windows 8.1. Windows 10 another default photo viewer. Windows 10 users can only encounter this issue if they previously modified the system settings to use WPV by default.
We went ahead and did some investigations on this issue. Here are some of the most common scenarios that will trigger this issue:
- Photo/Image is a file type that is not supported by Windows Photo Viewer.
- The photo/image file is corrupted.
- 3rd party Android/iOS suite is causing conflicts with the default photo viewer.
- The file is encrypted.
- The operating system is dealing with corrupt system files.
If you’re having trouble with this particular issue, use the methods below to troubleshoot your problem. It’s highly recommended that you follow the fixes in order until you manage to solve the issue. In any case, start with Method 1 and eliminate the possibility of a corrupted or unsupported file.
Method 1: Check if the file is corrupted or unsupported
Before you troubleshoot for system corruption or software conflicts, it’s important to eliminate the possibility of a corrupted photo/image and make sure that the format is actually supported by Windows Photo Viewer.
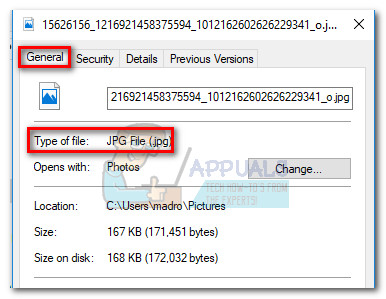
WPV is a pretty old piece of software, so it doesn’t support that many file types. First things first, check the extension of the file in question and see whether it’s actually supported by the software. Windows Photo Viewer can only open .jpg, .jpeg, .tif, .tiff, .png, .gif, .bmp, .dib, and .wdp file types. You can view the file type of the picture by right-clicking on the file and selecting Properties. Then, check the file type in the General tab next to Type of file.
If the extension of your file is not supported by WPV, you won’t be able to open it with this software. If that’s the case, turn to Method 5 for instructions on using a different photo viewer application.
If you determined that the file type is supported by WPV, let’s see if the file is not corrupted. You can go about it in several different ways – either move the file to a different system and see if it opens there or send the picture to a friend and ask him to open it. You can also transfer it to an Android phone and open it via the default photo app (it supports more file types than WPV).
Once you’ve made sure that the file is nor corrupted or unsupported, you can start troubleshooting with the methods below.
Method 2: Reinstall Android/iOS backup suite
Some users have started experiencing this problem immediately after updating their phone backup suite. They supposedly lost the ability to open images in Photo Viewer as soon as the update was applied.
In their case, the solution was to uninstall the phone software and reinstall it again. As it turns out, a lot of those phone utility suites include a photo viewer that can cause compatibility problems with the default photo application. Here’s a quick guide to removing the program associated with your phone:
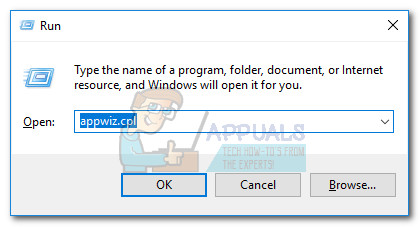
- Press Windows key + R and type “appwiz.cpl“. Hit Enter to open the Programs and Features window.
- Look for an entry related to your phone’s manufacturer and uninstall it from your system.
 Note: In this case is HiSuite belonging to Huawei, but you’ll see a different suite depending on your phone. To make it easier, use the Publisher column to confirm that the software is belonging to your phone’s manufacturer.
 - Check to see if you’re now able to open the pictures in Windows Photo Viewer.
- Reinstall the phone suite.
Method 3: Remove Encryption for this file
Windows has quite a history of displaying odd error messages when dealing with encrypted files. If the name of the file that you try to open is displayed in green letters (or the folder that’s containing it is), it means that the file is encrypted.

This typically happens when you’re trying to open photos fetched manually from a different OS (OS X, iOS, Android, Linux, etc). If the file is displayed in green letters, follow the steps below to remedy the issue and open it with Windows Photo Viewer:
- Right-click on the file and choose Properties.
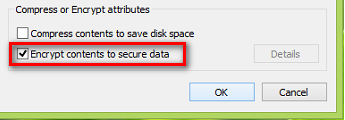
- In the General tab, click on the Advanced button.
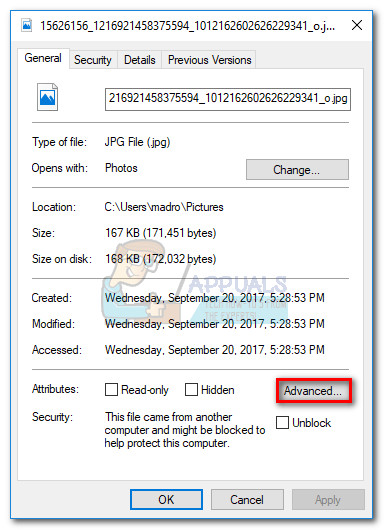
- Remove the checkmark next to the box called “Encrypt Contents to Secure Data” and hit Ok.
Method 4: Run the System File Checker
If you burned through all the methods above and are still struggling with the same issue, there’s a strong possibility that you’re dealing with some corrupt system files. If that’s the case, doing a System File Checker scan will usually repair most instances of corruption that might be plaguing your system. Here’s a quick guide on how to initiate a System File Checker scan:
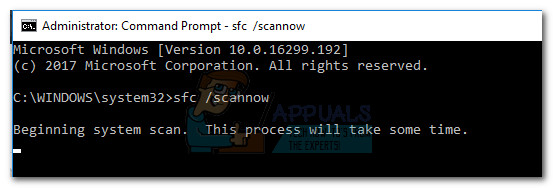
- Click the Windows start bar (bottom-left corner) and search for cmd. Right-click on Command Prompt and select Run as Administrator.

- In the elevated Command Prompt, type sfc /scannow. This will scan all protected system files and replace corrupted ones with clean versions.
- Reboot and see if the issue has been resolved.
Method 5: Use a different photo viewer app
If the file is not supported by Windows Photo Viewer or the software has become unusable, you can easily use a different program to open the respective image file.
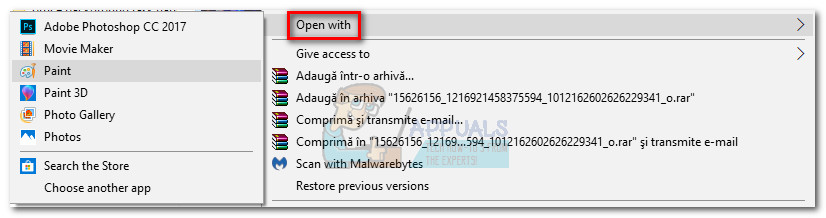
Right-click on the file that’s causing problems and go to Open With, then select a different program from the list. Paint is a good choice since the list of supported file types is bigger than WPV’s.
Note: You can also go for more specialized software like IrfanView Graphic Viewer. This software is free and supports virtually any file type used for photos or images. There’s also a Windows 10 app for it available for download in Microsoft App Store.
If Paint or another program manages to open the photo/image, right-click again > Open With and choose Change Default Program (Choose another app ).
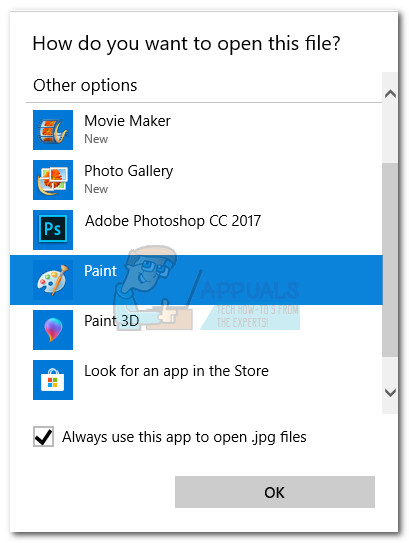
To make the change permanent, select the app that you want to use from now on, check the box next to Always use this app to open jpg files and hit Ok.
Method 6: Disable Inheritance
If you still want to use Windows Photo Viewer to be able to view photographs, you can try to disable the inheritance of the picture which will allow you to be able to view it in spite of any permission objections from its previous residence. In order to do that:
- Right-click on the picture in question and select “Properties”.

Selecting “Properties”. - Click on the “Security” option up top and select the “Advanced” button.
- Click on any of the “Permission Entries” and select the “Disable Inheritance” button.
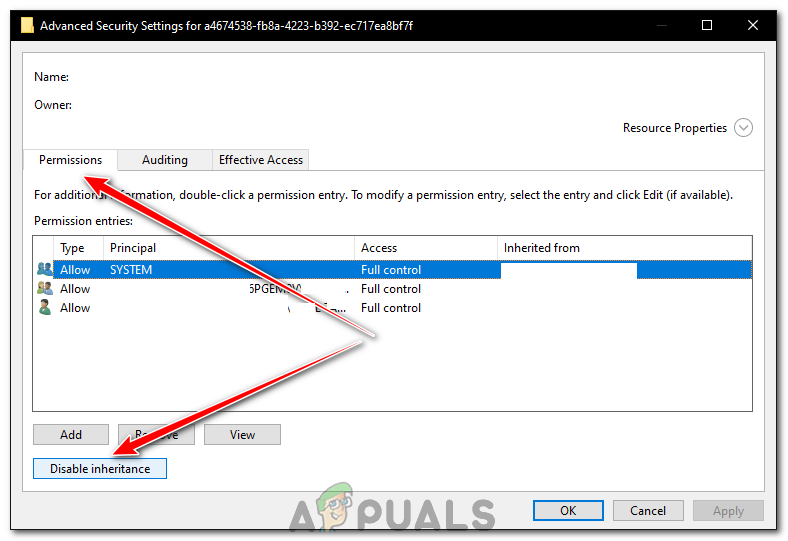
Selecting Disable Inheritance - Select the “Convert Inherited Permissions” option and select “Apply” and then click on “OK”.
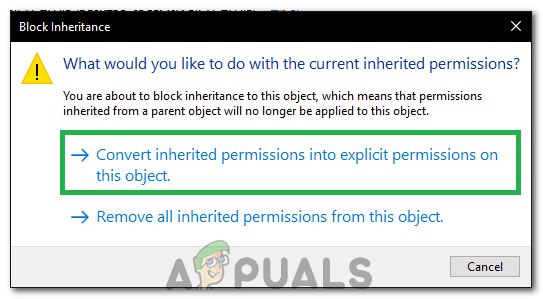
Selecting the “Convert Inherited Permissions” option - After this, try to open the photograph and check to see if the issue persists.
Method 7: Install Updates
In some cases, pending updates can also trigger this error because Windows’ features require to be updated from time to time to compensate for new file formats, new types of encryptions and to accommodate other issues. Therefore, in this step, we will be updating Windows to fix this issue. For that:
- Press “Windows” + “I” to open the settings panel.
- Click on “Update and security” and select “Check for Updates”.
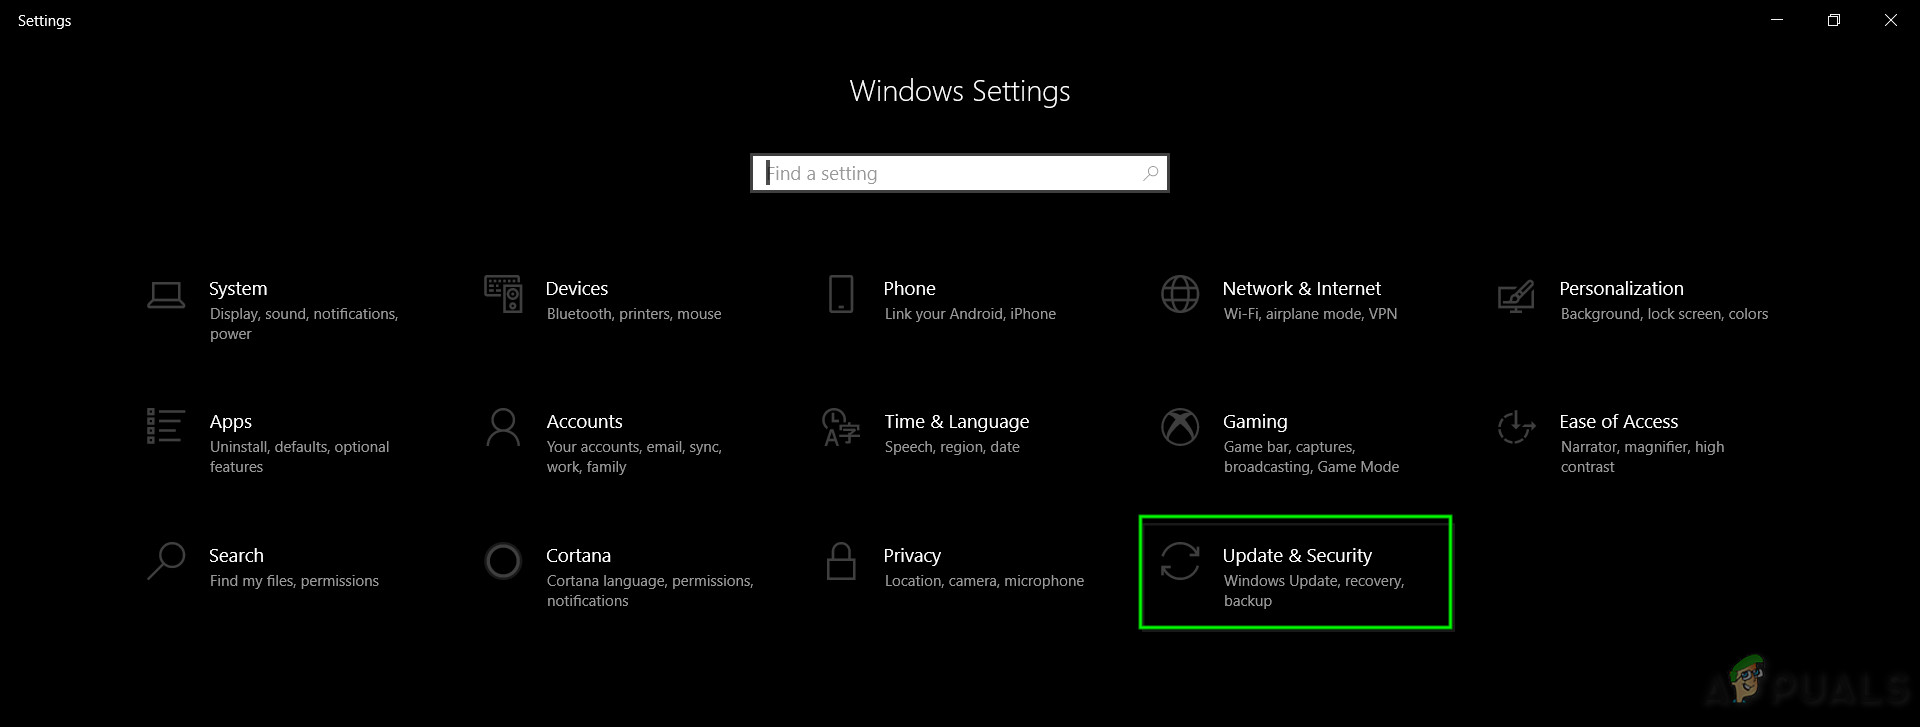
Update & Security.in Windows Settings - Windows will now automatically check and download any new updates which should fix the issue with Windows Photo Viewer.
Method 8: Enabling Thumbnail Preview
There have been reports that this issue was being triggered because the Thumbnail Preview wasn’t enabled in settings. Therefore, we will be enabling that, in order to do so follow the steps below.
- Open File Explorer, click on the “View” tab and then select the “Options” button on the top right.
- Now “Uncheck” the “Always show icons never thumbnails” button.
- Remove the checkmark from the “Hide Extensions for Known File Types” button.
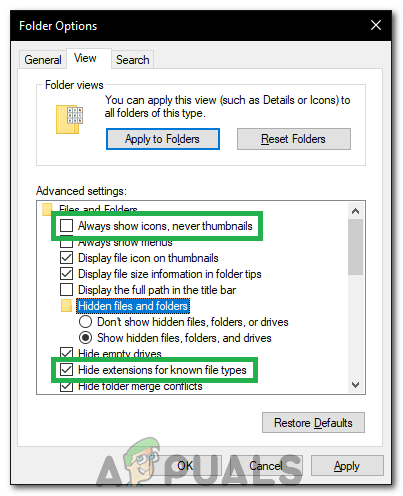
Unchecking the options - Click on “Apply” and then on “OK”.
- Check to see if the issue persists.
Method 9: Scanning USB Drive
If you are facing this issue on a specific USB drive, you can perform an SFC scan on it and check if that is causing the issue. In order to do that:
- Press “Windows” + “R” to open the “Run” prompt.
- Type in “cmd” and then press “Ctrl” + “Shift” + “Enter” to provide administrative privileges.

Running Command Prompt - Type in the following command and press “Enter” to execute it.
SFC /scannow /OFFWINDIR=F:\Windows /OFFBOOTDIR=F:\
Note: Replace “F” with the name of the USB drive.
- Check to see if the issue persists after completing the scan.
Note: Also make sure that Windows Photo Viewer is selected as the default program for viewing photos. In addition to that, make sure that you check if the files run on another computer.
Method 10: Changing Colour Management Settings
In this step, we will be re-configuring the Colour Management settings, in which we will delete any associated profiles and change certain configurations to the system default. In order to do so, follow the steps below.
- Right-click anywhere on the desktop and select “Display Settings”.
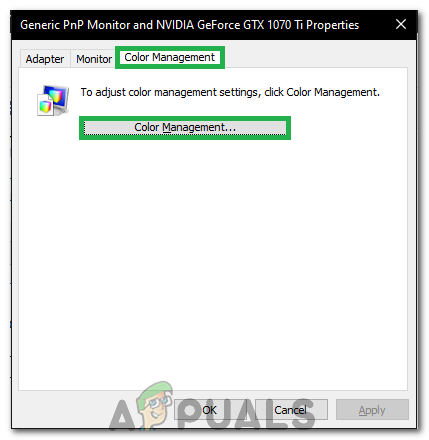
- Select the “Advanced Display Settings” option and then select the “Display Adapter Properties for Display 1” tab.
- Click on the “Colour Management” button and then select the “Colour Management” button.
Clicking on the “Colour Management” button - Click on all the profiles one by one and select “Remove”.
- Now, click on the “Advanced” tab and make sure that all dropdowns there are set to “System Default”.
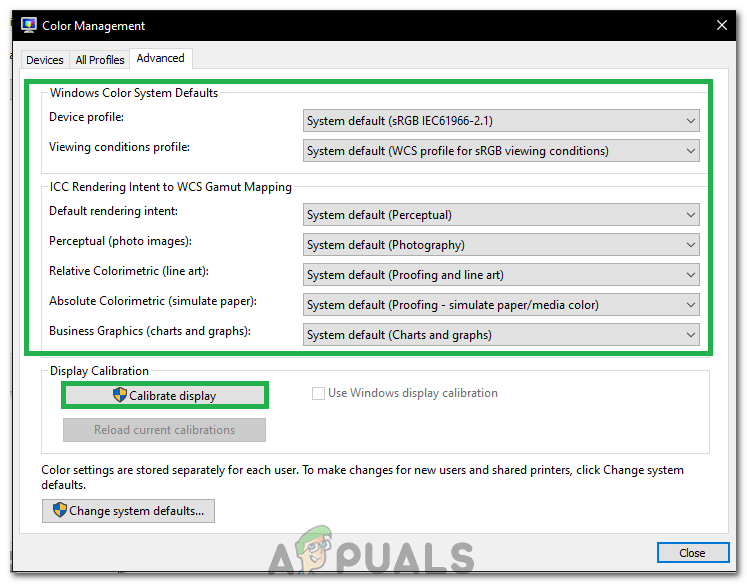
Configuring Dropdowns. - Also, make sure to click on the “Recalibrate Display” button and follow the on-screen prompts.
- After doing all this, check to see if the issue persists.
Solution 11: Registering Application
In some cases, the Windows Photo Viewer’s registry entries might be messed up due to which this issue can be created. Therefore, in this step, we will be registering the applications using a file. For that:
- Right-click anywhere on the desktop and select “New>Text Document”.
- Copy and paste the following code inside the newly created document.
Windows Registry Editor Version 5.00 ; Change Extension's File Type [HKEY_CURRENT_USER\Software\Classes\.jpg] @="PhotoViewer.FileAssoc.Tiff" ; Change Extension's File Type [HKEY_CURRENT_USER\Software\Classes\.jpeg] @="PhotoViewer.FileAssoc.Tiff"
- Click on “File>Save As” and then select “Save as type: All Documents“.
- Name the file “Photo.REG” and click on “Save”.

Clicking on the “Save Option” - The file will be saved as a registry file, Run this file and check to see if the issue persists.
The QUICKEST, EASIEST, GUARANTEED solution to this problem is to open up the image in a hex editor such as Notepad++, navigate to ‘ICC_PROFILE’. You will find this in the first line. Change the ‘E’ to an ‘X’, so it reads ‘ICC_PROFILX’ and save the file. Voila, you can now open your picture using Windows Photo Viewer. It works by preventing WPV from recognising and acting on this field.
A neater solution can be discovered by researching the jpeg structure, and figuring out how to strip out this ‘ICC_PROFILE’ field properly (and programmatically) instead of crudely disabling it as I have advised above.