Fix: Windows 10 Stuck at Resetting This PC
This problem occurs when users try to reset their PC via an option located in the Settings app. This feature is particularly useful when your PC experiences severe issues since this option enables you to reset your system completely. However, the “Resetting your PC” screen gets stuck on a certain percentage (such as 8%, 33%, or even 99%) and the process simply won’t finish.
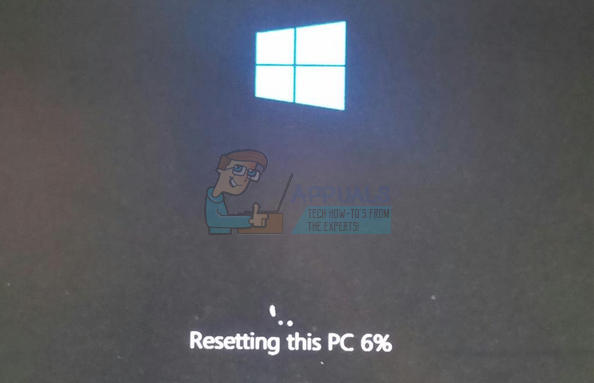
The problem may turn out to be temporary and it may finish after a couple of hours but it can also get stuck forever which means you will need to fix this somehow. There are quite a few methods which have helped Windows 10 users over the years so make sure you do everything in order to make the progress finish and reset your PC successfully.
Solution 1: Leave the Screen Running For a Couple of Hours
It appears that the progress is actually quite slow in some cases and some users have reported that leaving the process running for a couple of hours actually helped and their PC was successfully reset. The best thing you can do is to run the Reset this PC option and leave it overnight.
If the process finishes, the problem is solved even though it appeared to be stuck on a certain percentage. If the process is still stuck on the same percentage, proceed with the solutions below.
Solution 2: Boot with a Bootable USB or DVD Drive
This method was proven to be effective by several users who suggested that it worked for them without a problem. However, the process may seem quite lengthy if you do not possess a bootable USB or DVD drive with Windows installation on it. You can create it quite easily by following the steps below:
Using Media Creation Tool:
You can use the Media Creation Tool to create a USB bootable drive in no time that will boot on a device using UEFI.
- Download the Media Creation Tool from Microsoft’s official website. Double-click on the file called MediaCreationTool.exe which you just downloaded file in order to launch the tool. Tap Accept.
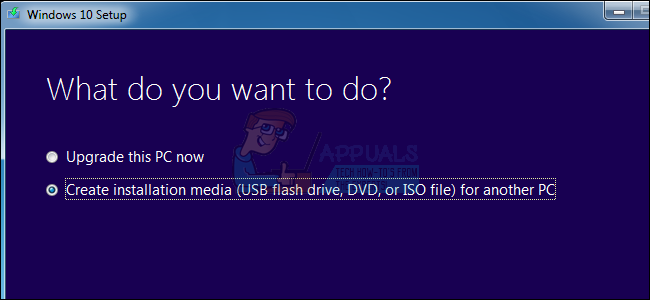
- Select the Create installation media (USB flash drive, DVD, or ISO file) for another PC option from the first screen which is displayed from the tool.
- The language, architecture, and edition of the bootable drive will be selected based on your computer configuration, but you can clear the Use the recommended options for this PC setting in order to select the appropriate settings if the computer you want to use the USB for is of different settings.
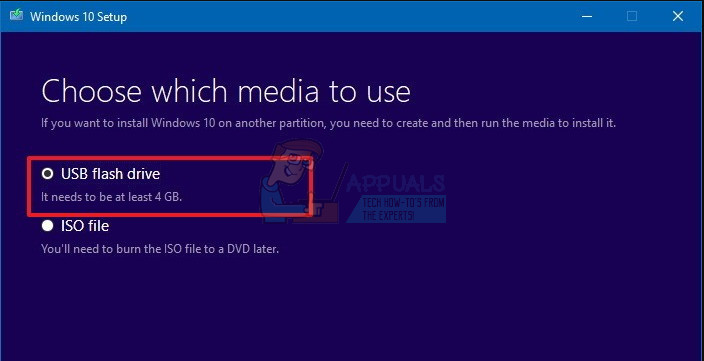
- Click Next and click on the USB flash drive option when prompted to choose between USB or DVD.
- Click Next and choose the removable drive from the list which displays the storage devices connected to your computer.
- Click Next and the Media Creation Tool will proceed to download the files needed to install Windows 10, and it’ll continue to create the bootable media, which should work on most devices which use legacy BIOS as well as on the newer ones using UEFI.
After you are done creating a bootable USB, you can proceed with booting your computer with it. The reason we chose a bootable USB over DVD is because the process is sort of easier and you won’t have to go through the hassle of purchasing a double layer DVD.
- Turn your computer on and insert a bootable Windows 10 DVD or a USB drive which you just created if your followed the steps above
- It does not have to be an original installation of Windows with the license key since you won’t need it to activate your version of Windows, only to access certain settings.
- Boot from the drive you just inserted by restarting your computer after insertion and follow the instructions.
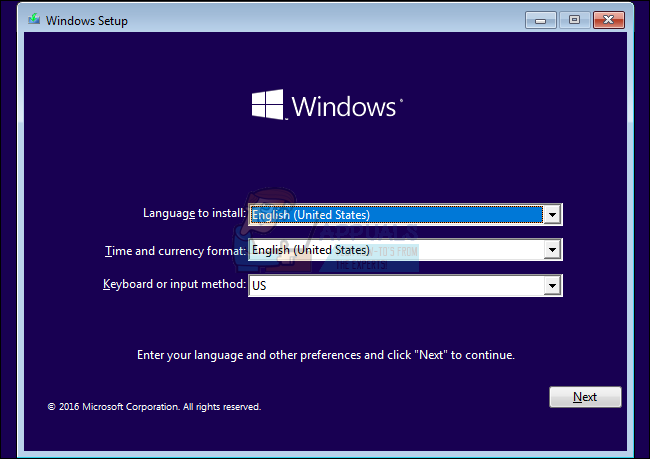
- Windows Setup windows should open prompting you to enter the language and time and date settings.
- Choose the Repair your computer option at the bottom after proceeding.
- Advanced Startup Options will open in no time.
Startup Repair
After you have successfully accessed the Advanced Startup Options, you can now freely navigate to the Startup Settings option by following the instructions below.
- Click on the Troubleshoot option located just under the Continue button.
- You will be able to see three different options: Refresh your PC, Reset your PC, and Advanced options. Click on the Advanced options.

- Under the Advanced options screen, click on Startup Repair which start the tool immediately.
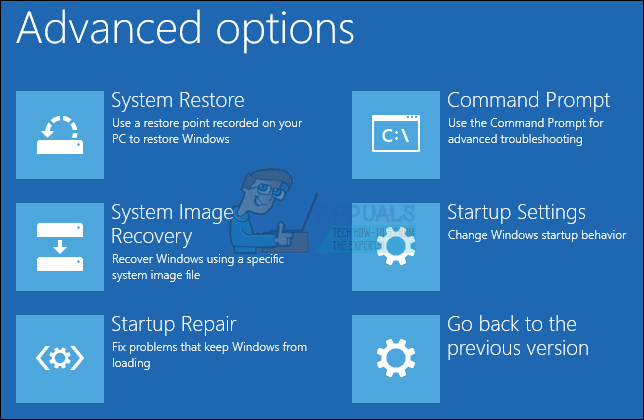
- Follow the instructions on-screen in order to proceed with the Startup Repair. After the tool finishes, restart your computer and check to see if the Reset this PC option works.
Command Prompt
Additionally, users have reported that the following Command Prompt commands executed from within the Advanced Startup Options helped fix the problem so make sure you try this out as well.
Startup Settings option by following the instructions below.
- Click on the Troubleshoot option located just under the Continue button.
- You will be able to see three different options: Refresh your PC, Reset your PC, and Advanced options. Click on the Advanced options.
- Under the Advanced options screen, click on Command Prompt. Enter the following commands into the Command Prompt windows and make sure you click Enter after you type in each one:
bootrec /fixmbr
bootrec /fixboot
bootrec /scanos
bootrec /rebuildbcd
Note: If you computer is unable to boot from your USB or DVD bootable drive, you might need to tweak your boot settings in order to disable certain security features which prevent your PC from booting from anything else other than the drive with Windows installed on it. If this problem occurs for you, follow the instructions below to fix it.
- Turn on the computer and immediately press the F10 key repeatedly, about once every second, until the Computer Setup Utility opens.
- Use the right arrow key to choose the Security menu, use the down arrow key to select Secure Boot Configuration, and press Enter.
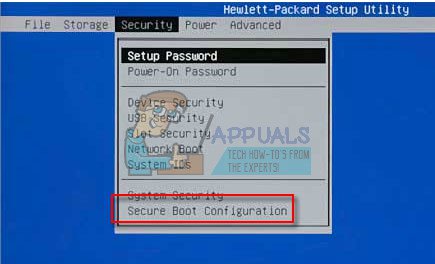
- Before you can use this menu, a warning appears. Press F10 to continue to the Secure Boot Configuration menu.
- The Secure Boot Configuration menu opens.
- Use the down arrow key to select Secure Boot and use the right arrow key to modify the setting to Disable.
- Use the down arrow key to select Legacy Support, and then use the right arrow key to modify the setting to Enable.
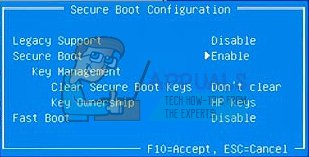 Press F10 to accept the changes.
- Use the left arrow key to select the File menu, use the down arrow key to select Save Changes and Exit, then press Enter to select Yes.
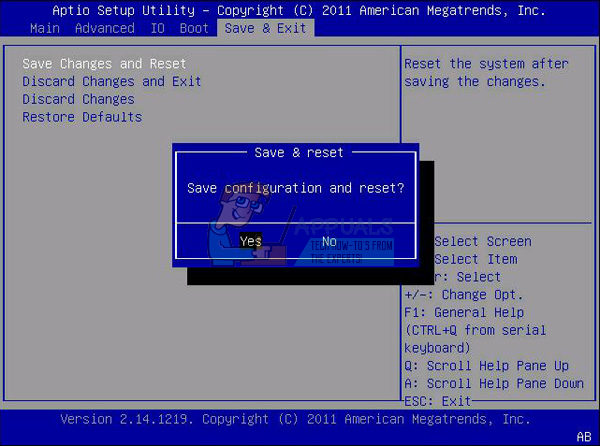
- The Computer Setup Utility closes and the computer restarts. When the computer has restarted, use the power button to turn the computer off.
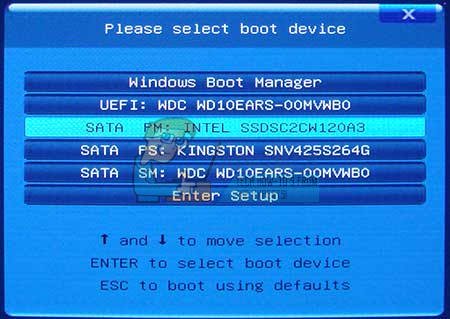
If you are not sure how to boot from your DVD or USB, you need to know just which option to select when the boot menu opens. It will ask you from which device you want to boot your computer. Follow the instructions below to boot from your DVD or USB easily.
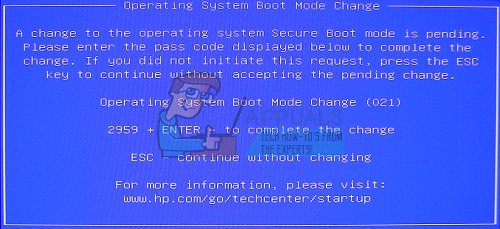
- Press the power button to turn the computer on. As soon as the computer starts, a message appears indicating that the boot mode has changed.
- Type the four-digit code shown in the message, then press Enter to confirm the change.
NOTE:
No text field displays for the code. This is expected behavior. When you type the numbers, the code is logged without a text field.
- Press the power button to turn off the computer, wait a few seconds, then turn on the computer and immediately press the Escape key repeatedly, about once every second, until the Startup menu opens.
- Press F9 to open the Boot Menu.
- Use the down arrow key to select the SATA device under the ATAPI CD/DVD drive heading, then press Enter to select the CD/DVD drive as the boot device. If you want to boot from USB, make sure you select the name of your USB as the device.
- The computer starts Windows 10.
- Insert the bootable CD or DVD into the CD/DVD drive. Insert the USB bootable drive if you selected it in the previous steps.
- Press the power button to turn the computer off and wait about 5 seconds.
- Press the power button again to turn the computer on.
- The computer starts from the CD, DVD, or USB.
I had this happen to me. However, not knowing what to do, after several hours, I ended up pressing the restart button. The computer (WIN10 Pro) started up and continued on where it left off on the installation! Dumb luck? Or is it possible that this is a usable solution?