Fix: Windows setup stuck at checking for updates
Windows 10 was a great leap forward towards redefining operating systems along with setting new boundaries for ease of access. It reached milestones in providing users a faster, better, and an efficient OS without compromising on quality. Users running previous Windows versions were given the option to upgrade to the new one through the Windows Update manager. The process is very simple. All you have to do is start the update process and sit back while Windows does all the work.
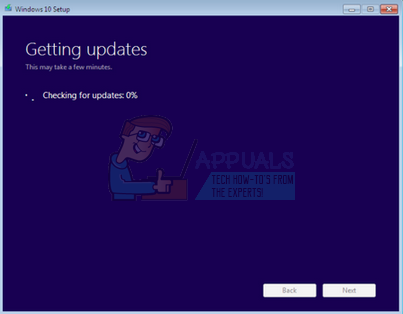
Despite the method working for almost everyone, many users reported that their Windows 7 update manager got stuck at “Checking for updates”. This situation is very bizarre as the notification for Windows 10 is already present for you to start the download. We did a little digging and after getting feedback from the users and experimenting ourselves, we concluded that this problem could occur due to very few reasons.
You can also read our article regarding how Windows 7 gets stuck while checking for updates.
Solution 1: Restarting Update Service after deleting downloaded content
We will disable the Windows update service momentarily so we can delete the content already downloaded by the Update Manager. After we restart the service, Windows will check which files are already downloaded. If it finds none, it will start the download from scratch. Most of the time, this solves the problem and the computer no longer gets stuck in Checking for Updates.
- Press the start menu button, now search for Command Prompt then click “Run as administrator”.
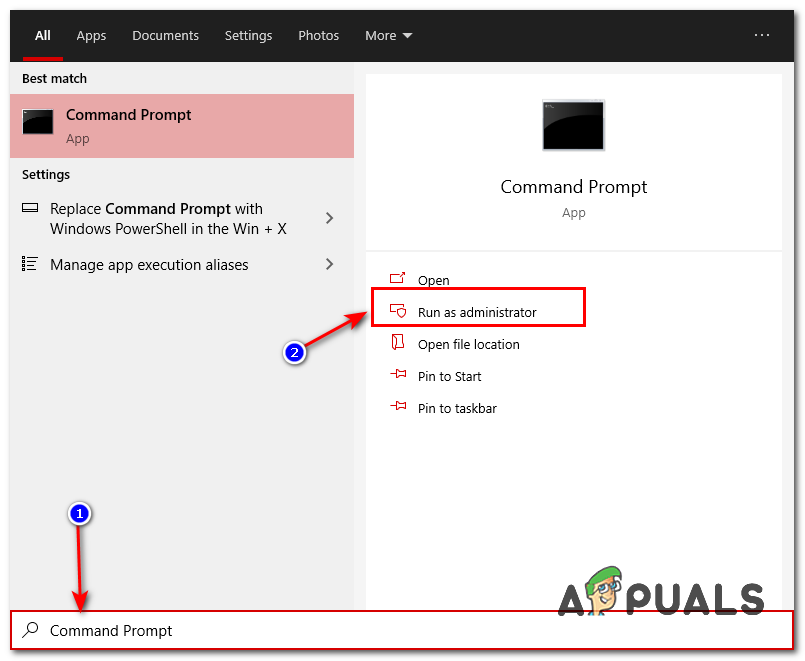
Running Command Prompt as administrator - Type the following commands one-by-one:-
net stop bits
net stop wuauserv
net stop appidsvc
net stop cryptsvc
ren %systemroot%SoftwareDistribution SoftwareDistribution.bak
ren %systemroot%system32catroot2 catroot2.bak
net start bits
net start wuauserv
net start appidsvc
net start cryptsvc
- Restart your computer then check to see if the issue persists.
Solution 2: Disabling your Antivirus
Many antivirus software conflicts with your Windows downloaded updates and quarantines them. Antivirus is designed to stop the download of files that are meant to change your existing system files. Although they update their protocols with any new developments (like the new files which are meant to be downloaded from the Windows update), it is possible that they didn’t update their definitions yet.
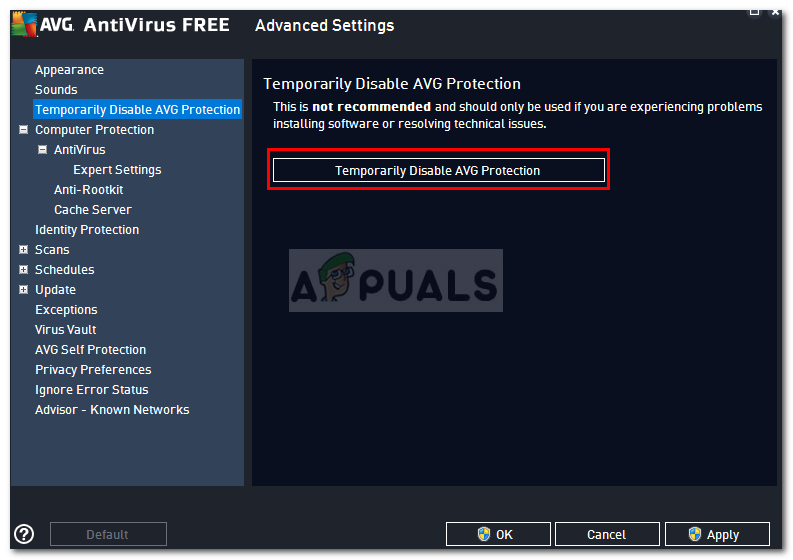
Disabling your antivirus is a risky move and might expose you to a number of threats. Hence we should only disable them momentarily and run the Update Manager. If our problem gets solved, we can keep it disabled until the download the complete. If not, you can switch it back On anytime.
Solution 3: Switching to a LAN connection
Many users reported that the Windows 10 update wouldn’t download over their wireless connection. It may be a problem with your wireless driver or the current operating system may not be willing to accept the download over a wireless connection.
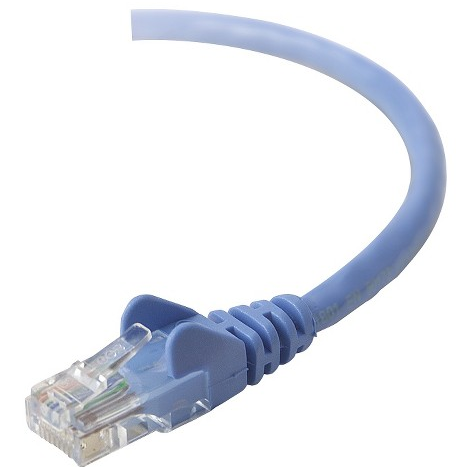
You can switch to a wired connection and start the Update Manager again and test the issue. Just plug an Ethernet cable into your router and one to your PC. You can also plug the Ethernet cable connected to your router directly into your PC. The speed will be faster and there will be no interruptions too.
Solution 4: Waiting for the Download to Complete and Checking your Disk Space
There can be many cases when your Windows 7 isn’t updated to the latest version available. In that case, the process can take as long as 12 hours according to some experiments. Windows will first update your system or download the updates of your Windows 7 and then start the process of Windows 10.
The Windows 10 update has a feature to clean install the OS or upgrade your existing OS. For the upgrade your existing OS option, Windows has a milestone set. It can only upgrade your system IF your system is the latest operating system. Therefore it first upgrades your system and then starts the download process of Windows 10.
Another reason why the Update Manager might be stuck is that you don’t have enough disk space available. Check your local disk C and see if there is any space you can clear. Empty the recycle bin and delete unnecessary items on your desktop. You can also clean your disk using this method.
- Open up your explorer or navigate to My Computer. Here all the connected devices and disk drives will be listed.

- Right-click on the disk and select the option of Properties from the drop-down menu.
- Once in the properties, navigate to the General tab present at the top. Here you will see how much free space is available along with the used memory. Click the button which says Disk Cleanup.
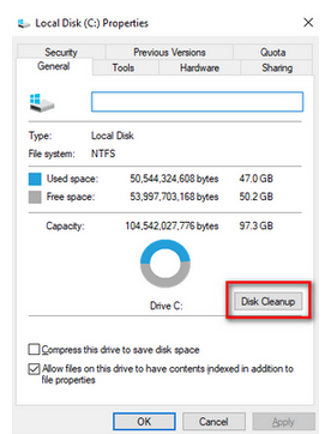
- Now check all the boxes present and include all the temporary files as well. Press Ok for the disk cleanup to begin.
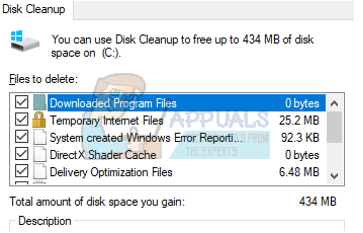
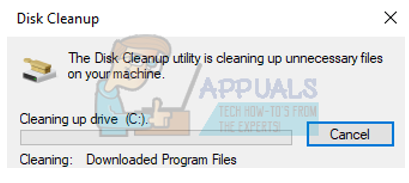
- After you press Ok, Windows will start cleaning your drive. It may take a few minutes if you haven’t performed Disk Cleanup for a long time. Be patient and don’t cancel the process at any stage.
Solution 5: Resetting Windows Components
If none of the above methods work, we can try resetting all of the Windows Update components. This will remove all the temporary configurations for all Windows Update modules. This is a fix that is officially documented by Microsoft itself.
Windows Update components are known to get in error states every once in a while. This usually occurs when a corrupt manifest is downloaded or some of the modules have bad update files stored locally. There are two ways mentioned by Microsoft: either you can download and run a script or you can manually perform each command. Don’t forget to restart your computer before you attempt at starting the update again.