Fix: Windows 10 Apps Not Working
Windows 10 is different from its predecessors because it has preloaded applications which are useful and provide ease of access for the user. A user can easily access important utilities such as Skype, OneNote etc. in an application instead of downloading them individually or accessing them through system settings.
With that being said, there are several cases where Windows 10 applications fail to launch. They either do not launch at all or work partially. This is a known issue with the operating system and in most cases, means that your Windows installation was done correctly. If the iso file was corrupt or the installation failed in some module, the applications will not launch.
Solution 1: Updating Applications using Store
We can try updating the applications using Windows Store before moving on to more technical methods involved. Make sure that your Windows is updated to the latest version before moving on with the solutions. Microsoft periodically releases various bug fixes for different situations. It is possible the problem you are facing is already addressed in the latest update.
- Press Windows + S, type “store” in the dialogue box and open the application.
- Once in Store, click on menu icon present at the top-right side of the screen and select ‘Download and updates’.

- All the applications installed on your computer will be listed here. Make sure they are updated to the latest version. If there are any pending updates, update them as soon as possible. Also, click ‘Get Updates’ present at the top-right side of the screen.
- If your store application is not launching or there a problem when updating, you can try forcing the updates by a command in the command prompt. However, before forcing the update, if you have another account on your computer, try updating through the store there. If you cannot, press Windows + S, type “command prompt”, right-click on the application and select ‘Run as administrator’.
- Execute the following command:
schtasks /run /tn “\Microsoft\Windows\WindowsUpdate\Automatic App Update”
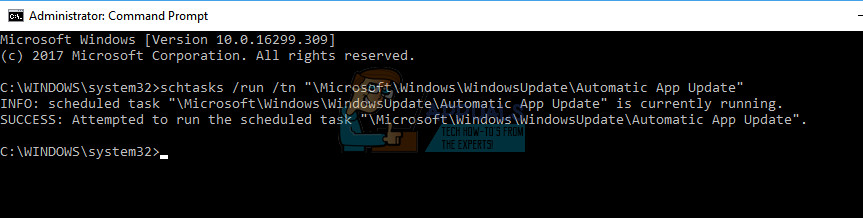
- Restart the computer after the update and see if this fixes anything.
Solution 2: Re-registering the applications
If you cannot update the applications or they still do not work after the update, you can try registering them using PowerShell. You might get a lot of error lines when you execute the command but that is normal and there is nothing to worry about. Do note that you will require administrative privileges to perform this solution.
- Press Windows + S, type “PowerShell” in the dialogue box, right-click the application and select ‘Run as administrator’.
- Execute the following command:
Get-AppXPackage -AllUsers | Foreach {Add-AppxPackage -DisableDevelopmentMode -Register “$($_.InstallLocation)\AppXManifest.xml”}
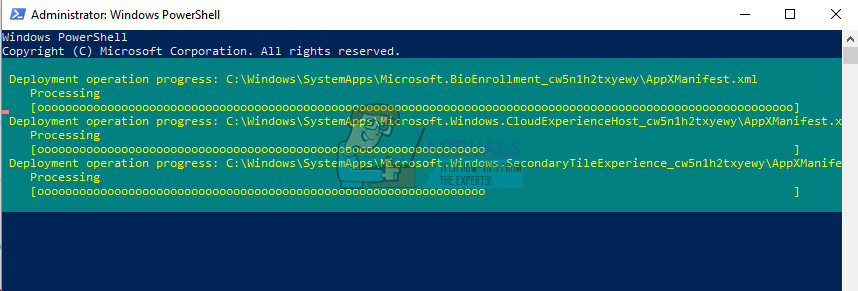
- This process might take a while. Sit back and let it complete. If you get any red error lines, do not worry and just let the command execute. After the process is complete, restart your computer and check if the problem at hand got solved.
If this single command doesn’t work, you can try executing the following commands in the exact order as specified. Make sure to wait until one command is completed. These commands will reinstall all the applications for the user.
Get-appxpackage -packageType bundle |% {add-appxpackage -register -disabledevelopmentmode ($_.installlocation + “\appxmetadata\appxbundlemanifest.xml”)}
$bundlefamilies = (get-appxpackage -packagetype Bundle).packagefamilyname
get-appxpackage -packagetype main |? {-not ($bundlefamilies -contains $_.packagefamilyname)} |% {add-appxpackage -register -disabledevelopmentmode ($_.installlocation + “\appxmanifest.xml”)}
Solution 3: Resetting the Store Cache
The primary reason the applications don’t launch is that either their installation is corrupt or the store is not allowing them to update to the latest version. In the latter version, we can try resetting the store cache and see if you can update them without any problems. The Store cache is there to cache data and it attempts to use it over and over it. Resetting it clears everything and forces it to fetch data again.
- Press Windows + R, type “command prompt” in the dialogue box, right-click on the application and select “Run as administrator”.
- Once in elevated command prompt, execute the following command:
wsreset.exe
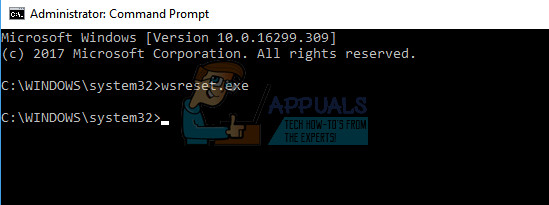
This process might take a few minutes. Let the operation complete. After the cache is cleared, Windows Store will open automatically. Search for potential updates and see if this does the trick.
Solution 4: Resetting the Specific Application
If a specific application is not launching, you can reset it using Settings. This will, in turn, reset the application as if it was never used and also clear all the user data associated. Do note if you have any data saved inside the application, it will be lost and may not be recovered. Furthermore, if you have any user accounts logged into the application, you may need to enter all your login information again.
- Press Windows + I to launch the Settings application. Select “Apps” from the list of subheadings available.

- Select the application causing you problems. Select it and press ‘Advanced options’.
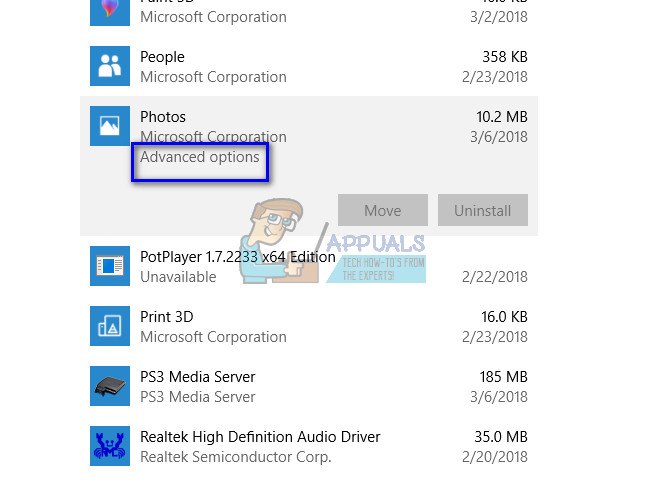
- Click on the reset button present. After the application is reset, close all Windows and restart your computer. Now check if the problem at hand got solved.

Solution 5: Fixing Apps working on One user but not on Other
If you have more than one user accounts on your computer, and the applications are working on one user account and not on other, you can run the troubleshooter officially launched by Microsoft to target this problem. This was a widespread problem which was acknowledged by the company and fix was provided thereafter.
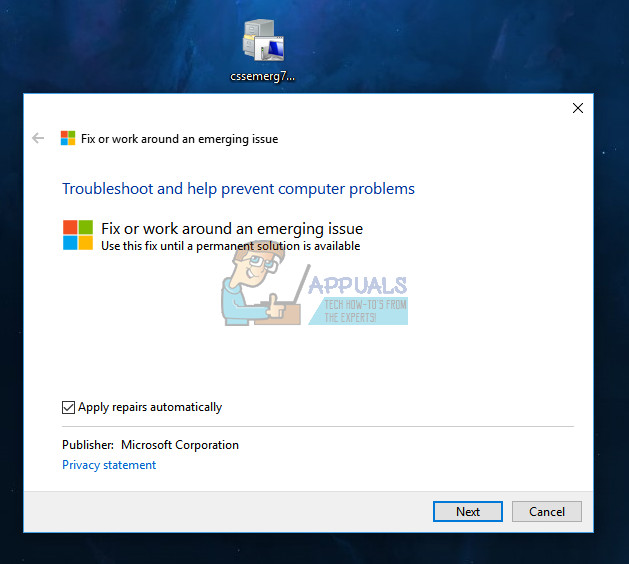
- Download the troubleshooter from the official website and save it to an accessible location.
- Launch the troubleshooter and follow the on-screen instructions.
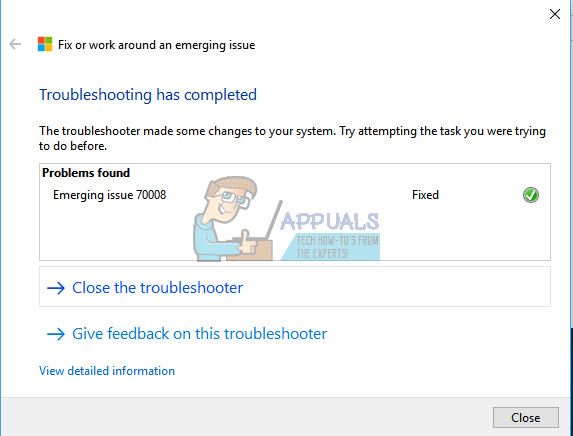
- If the troubleshooter found any problems on your PC, it will notify you and perform the fix. If it was fixed, restart your computer and check if you can open applications on all user accounts.
Solution 6: Clean Booting your Computer
If all the above solutions don’t work, we can try Clean Booting. This boot allows your PC to turn on with a minimal set of drivers and programs. Only the essential ones are enabled while all the other services are disabled. If the applications open in this mode, you should enable the processes back on only with small chunks and check if the error returns. If it doesn’t, you can turn on another chunk and check. This way you will be able to diagnose which process is causing the problem.
- Press Windows + R to launch the Run application. Type “msconfig” in the dialogue box and press Enter.
- Navigate to the Services tab present at the top of the screen. Check the line which says “Hide all Microsoft services”. Once you click this, all Microsoft related services will be disabled leaving behind all the third-party services (you can also disable all Microsoft related processes too and check more extensively if there are no third-party services causing the problem).
- Now click the “Disable all” button present at the near bottom at the left side of the window. All the third-party services will now be disabled.
- Click Apply to save changes and exit.

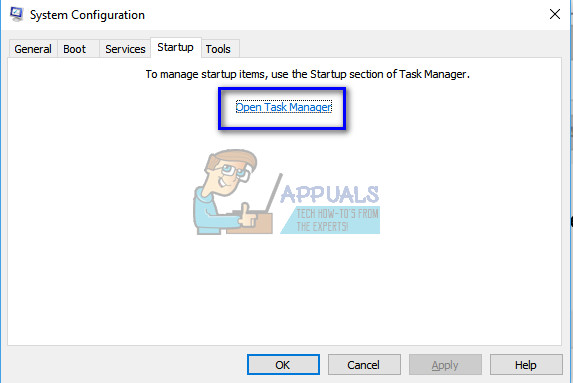
- Now navigate to the Startup tab and click the option of “Open Task Manager”. You will be redirected to the task manager where all the applications/services which run when your computer starts will be listed.
- Select each service one by one and click “Disable” at the bottom right side of the window.

- Now restart your computer and check if you can launch the store apps correctly. If you can’t, enable a small chunk (explained at the start) and then check again. If you diagnose a specific service, you can try restarting or disabling it using services window. If it is an application causing the problem, you can uninstall it with ease.
Solution 7: Creating Another User Account
If all the methods don’t work, it leaves out two options. Either your user account is corrupt or your Windows installation files were not correctly installed. Before you move on in doing a system restore, you can try creating a new user account and see if this does the trick.
If the applications work in the new user account, you can transfer all the necessary data without losing anything at all. Check out our guide on How to create a new user account and transfer all the data to it.
Make a new account and check if all the applications are working. If they aren’t, try updating them in that account. If they work, you can go ahead transfer all the data.
Last Resort: System Restore/ Clean Installation
If all the above methods don’t work and you are stuck with the applications not working, it is worth a shot restoring back before any latest Windows 10 updates were installed on your computer. If you don’t have a last restore point, you can install a clean version of Windows. You can use the utility “Belarc” to get all your licenses saved, backup your data using external storage and then perform a clean install.
Note: This method will work if the applications were working prior to any Windows update. Also, make sure to back up your data before performing this solution. Use an external hard drive or USB to save all your important files just in case.
Here is the method on how to restore Windows from the last restore point.
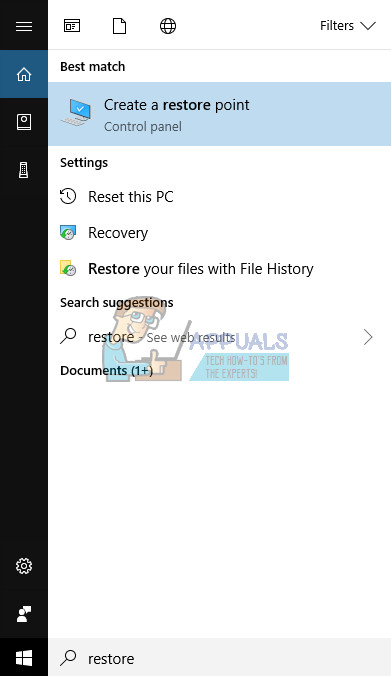
- Press Windows + S to launch the start menu’s search bar. Type “restore” in the dialogue box and select the first program which comes in the result.
- Once in the restore settings, press System Restore present at the beginning of the window under the tab of System Protection.
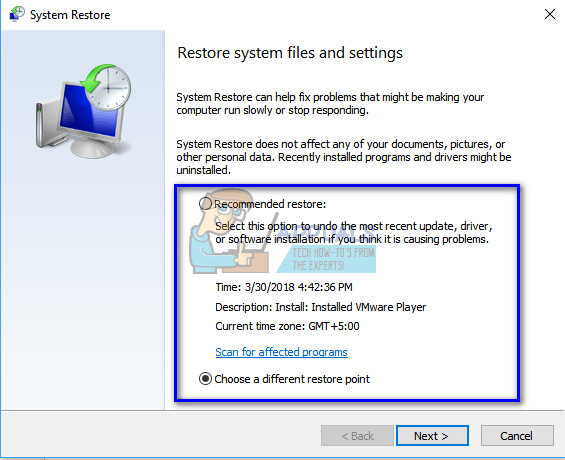
- Now a wizard will open navigating you through all the steps to restore your system. You can either select the recommended restore point or choose a different restore point. Press Next and proceed with all the further instructions.
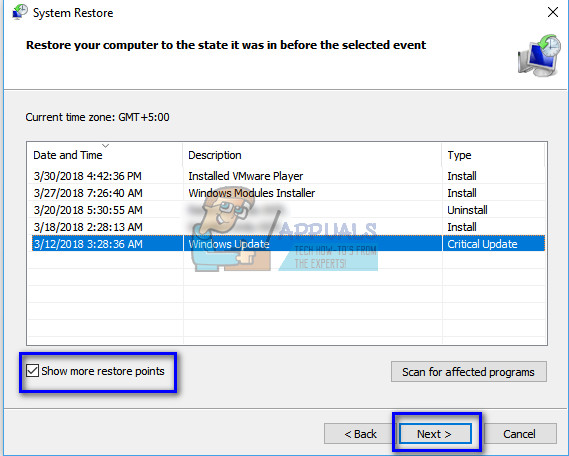
- Now select the restore point from the list of options available. If you have more than one system restore points, they will be listed here.
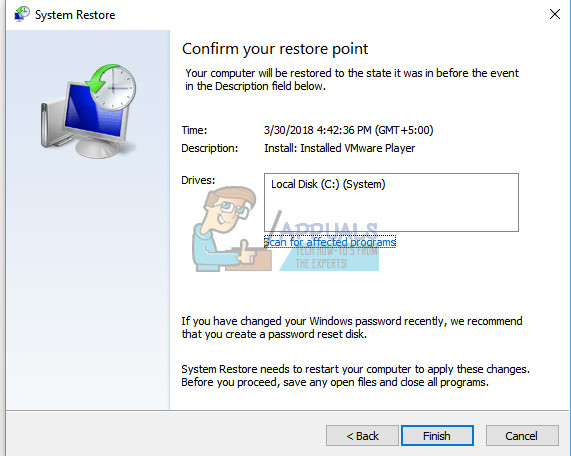
- Now windows will confirm your actions for the last time before it starts the system restore process. Save all your work and backup important files just in case and proceed with the process.
- Once you have restored successfully, log into the system and check if the error at hand got fixed.
If you don’t have any restore points or if the system restore doesn’t work, you can do a clean install of Windows using bootable media. You check our article on how to create a bootable media. There are two ways: by using media creation tool by Microsoft and by using Rufus.
Nope none of those fix the issue