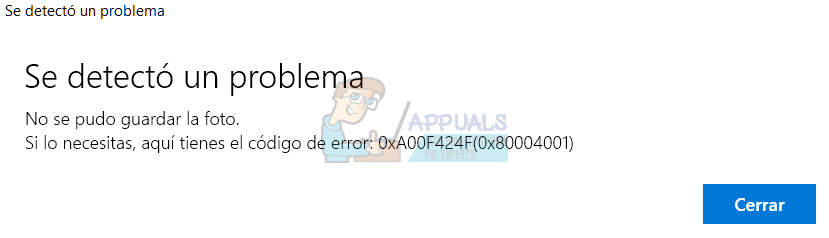
Fix: Webcam Camera Error 0xA00F424F(0x80004001)
Error code 0xA00F424F, and sometimes 0x80004001 as well, mean that there is a problem with the read and write permissions, and the folder that you’re trying to use to save the photo in, isn’t allowing your webcam to do so.
This usually happens when you’re trying to take a picture. In most cases, the app will refuse to take any pictures, or it will take one, and give you the error message when you try to take another one. If it does take a picture, you will need to restart the app to be able to take another one, which is very frustrating and isn’t the way a built-in app should work.
Fortunately, there are two possible ways to fix this. One of them just fixes the permissions for the folder where you’re saving the pictures, and the other one completely resets the camera and its settings. Read on to see how you can solve the problem, and if the first method doesn’t work, try the second one.
Method 1: Edit the permissions of the Camera Roll folder
The Camera app saves the pictures you take in a folder named Camera Roll, which is inside the Pictures library. You should give it full control in order for the app to be able to save images without displaying the error codes above.
- Press the Windows key and E simultaneously to open the File Explorer.
- From the left side navigation pane, choose
- Right-click the Camera Roll folder, and choose
- Go to the Security tab, and click on the account you’re logged in with.
- Take a look at the permissions below, make sure that everything is set to If it isn’t, click Edit and set them yourself.
- Click Apply and close the window. Everything should work properly now.
Method 2: Reset the Camera app completely
If the previous method didn’t work, you can try completely resetting the app. This will also reset everything to default, so note that if you have changed any settings within the app.
- Press the Windows key and type in Settings, then open the result.
- Open System, then click on Apps and features on the left side.
- Scroll until you find the Camera app, and click it.
- Right below the name and manufacturer you should see Advanced options, click that.
- From the window that opens, choose
This is another one of the built-in apps that Windows 10 has an issue with. Even now, more than a year after its initial release, it is plagued by bugs and errors that many users are frustrated with. This is why a lot of users are still using Windows 7 and refuse to update. However, if you simply follow the methods above, you should have the issue fixed in no time.
O haven’t got a “camera app”, so I can’t fix my problem