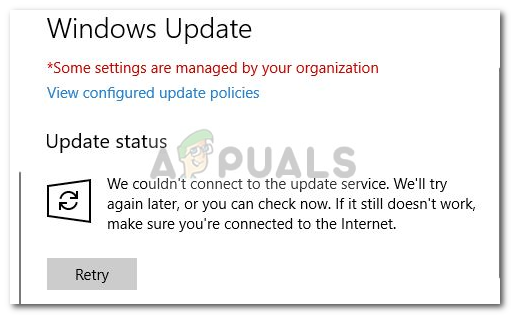
Fix: We Couldn’t Connect to the Update Service on Windows
Lately, many people have reported facing the error message ‘We couldn’t connect to the update service’ on Windows 10. This issue is known to occur when you try to update the Windows 10 operating system on your system. The issue can be caused by several reasons as you are not able to connect to the update service, just as mentioned in the error message. A few of these factors could be your internet connection, Windows update components, etc.
The issue has to be resolved quickly as it stops you from receiving the latest updates pushed by Microsoft. Updates are necessary for your system as they usually contain bug fixes, new features, and tweaks along with more stability. The issue doesn’t have an official workaround as of now since one of the engineers at Microsoft stated that a team is looking into the matter and should be resolved quickly. However, there are a few resolutions provided by the community that has proven effective for many users, thus, they are worth a try.
What causes the ‘We Couldn’t Connect to the Update Service’ Error on Windows 10?
Well, as we have mentioned, there are a number of factors that can potentially cause the issue. To the extent of what’s known until now, the issue can be often caused by the following reasons —
- Third-party antivirus: Your third-party antivirus can occasionally cause the error message to appear. The error message can be due to the restrictions put forth by your antivirus.
- Your internet connection: In some cases, Microsoft isn’t to blame as the cause of the issue is your internet connection. You can eliminate such a possibility by switching to an alternate network.
- Windows update components: The Windows update components on your system are responsible for successfully downloading the update and then installing it on your system. However, in some cases, you are not able to get the update because one of these components is malfunctioning.
That sums up the possible causes of the issue. Now, to fix your issue, you can implement the following solutions. The list below contains ‘possible’ solutions as the issue is still being addressed. These solutions have worked for other users and who knows, it might just work out for you too.
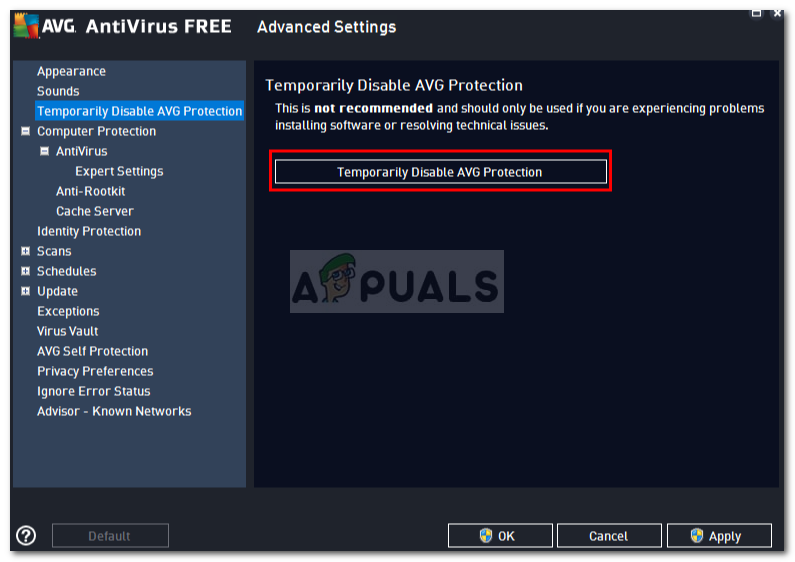
Solution 1: Disabling Third-Party Antivirus
The first step that you need to take in order to resolve the issue would be to disable your third-party antivirus. Disabling your antivirus will restore your system’s functionality to the normal state and it will remove all the restrictions imposed by your antivirus. Thus, make sure your antivirus is disabled and then try to check for updates again.
Solution 2: Try an Alternate Network
For some users, the error happened to be caused by their internet connection. For some odd reason, they were not able to download or look for updates using their network connection. This can be, in some cases, caused by your DNS configuration. If this case is applicable to you, then you should try to use an alternate network. An example would be to use your smartphone’s hotspot and see if you can check for updates using that.
In case you are able to do so, you can disconnect that and enable your internet connection again. That should fix the issue.
Solution 3: Changing DNS Configuration
Some people have reported that their issue was resolved once they changed their current DNS to Google’s DNS settings. You might not be able to download any update or check for updates, to start with, due to your DNS configuration. In such a case, you can try to change it and see if it fixes the issue. Here’s how to do it:
- On the right-hand side of the taskbar, right-click the Network icon and select ‘Open Network & Internet Settings’.
- There, click on ‘Change adapter options’.
- Right-click on your network connection and then select Properties.
- Locate IPv4 in the list, highlight it and then hit Properties.
- Make sure the ‘Use the following DNS server addresses’ option is selected.
- Enter 8.8.8.8 in the first box and then type 8.8.4.4 in the second box.
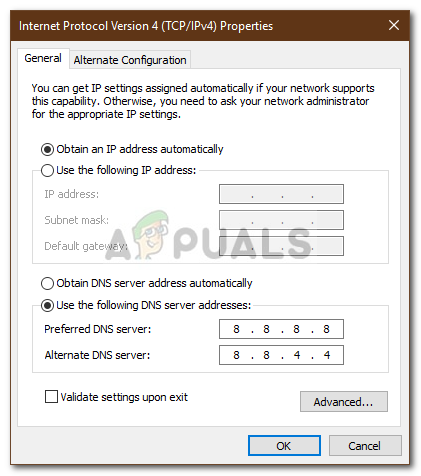
Changing DNS Address - Click OK.
- See if it isolates the issue.
- Also, if this doesn’t work, try using “1.1.1.1” and “1.0.0.1” as the DNS configs.
Solution 4: Reset Windows Update Components
Finally, since Windows has its own components that are responsible for downloading the updates and installing them on your system, the issue can be resolved by resetting them. In some cases, they are not operating properly which is causing the issue.
In order to reset Windows update components, download this .zip from here and then extract it anywhere you like. Go to the directory where you extracted the .zip file and run the ResetWUEng.cmd file as an administrator. That will reset your update components. See if it fixes the issue.
Solution 5: Troubleshooting Windows Update
In some cases, the Windows Update might not be configured properly due to which this issue is being triggered. Therefore, in this step, we will be troubleshooting the Windows Update in an attempt to get rid of this issue. For that:
- Press “Windows” + “I” to open the settings.
- Click on “Update and Security” and select “Troubleshoot” from the left pane.
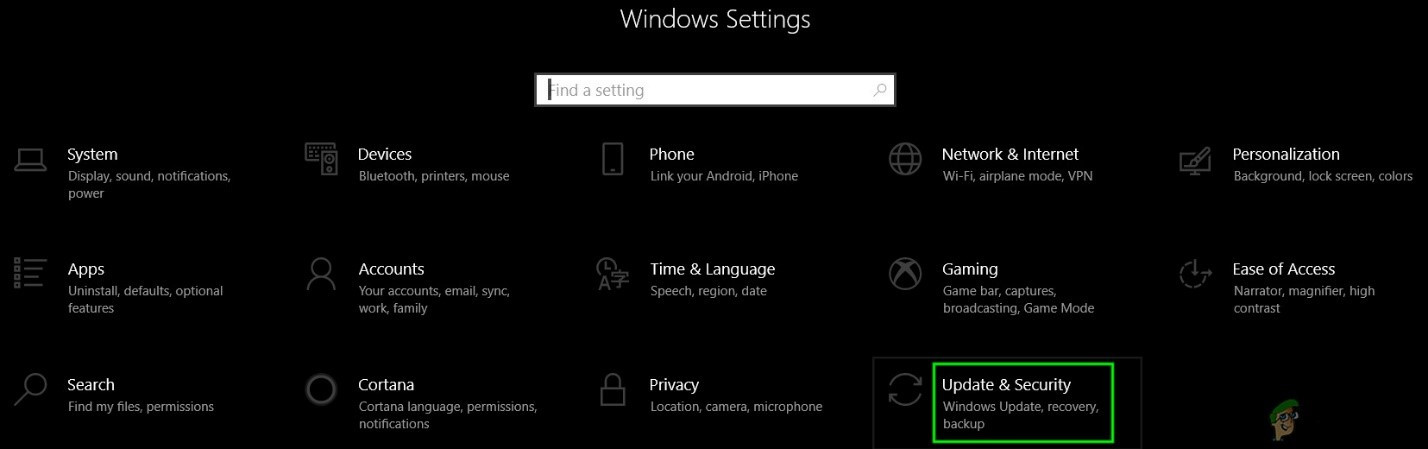
Open Update & Security in Windows Settings - In the troubleshoot window, select the “Windows Update” option and let the troubleshooter run.
- Wait for the troubleshooting process to be completed and check to see if it finds any issues.
Solution 6: Resetting IP
It is also possible that the Windows is facing some connectivity issues in which it is unable to connect to the Windows service due to IP restrictions. Therefore, in this step, we will be resetting the IP and then, later on, we will check if that fixes the issue.
- Press “Windows” + “R” to open the Run prompt.
- Type in “cmd” and press “Shift” + “Ctrl” + “Enter” to provide admin privileges.

Running the Command Prompt - Type in the following commands and press “Enter” after each to execute them.
NETSH INT IP RESET C:\RESETLOG.TXT
NETSH WINSOCK RESET
IPCONFIG /FLUSHDNS
- After this, check to see if the issue persists.


okay