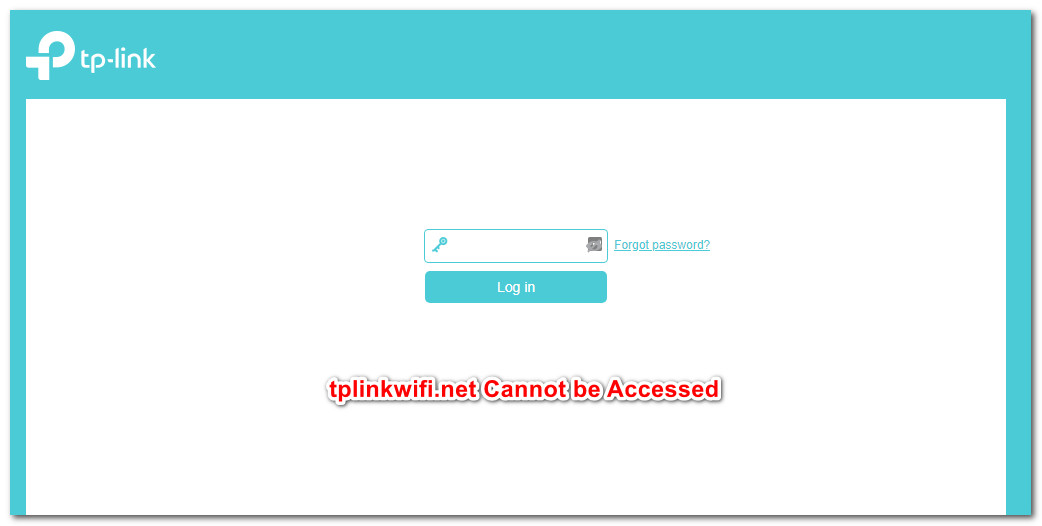
Fix: tplinkwifi.net not Working
Several router/modem users are reporting that they are unable to access or configure the TP-Link device. For most (if not all) TP-Link models, accessing the tplinkwifi.net from your browser should take you your router/modem settings – Well, for some reason, this does not happen. Most affected users are reporting that the issue persists even after they performed a reset on the modem/router.
What is causing the “tplinkwifi.net not working” error?
We investigated this particular error by looking at various user reports. From what we gathered, there are several common scenarios that will trigger this particular error message:
- A security feature is preventing the management page from being accessed – Most TP-Link models include a security feature that will prevent the setup page from being accessed if the router/model was not restarted for a long period of time. In this case, a simple solution is to simply restart the device and try again.
- The computer is not configured to allow automatic IP Assignment – This is one of the most common causes why this error occurs, especially in those cases where the user completed the initial setup from TP-Links utility (Easy Setup Assistant). In this case, the solution is to re-configure Windows to allow automatic IP and DNS assignment.
- The Modem/Router is not configured to use tplinkwifi.net as the Setup address – Some TP-link models (particularly older models) will not open the Setup screen if you type tplinkwifi.net inside the browser navigation bar. In these cases, it’s preferable to use the default IP addresses instead.
- Firmware bug – There are reports that point toward a bug that is preventing TP-Link users from accessing the setup page while connected to the Wi-Fi network. In this case, the solution is either to disable the wireless component or to update the device to the latest firmware version.
If you’re struggling to find a fix capable of resolving this particular error, this article will provide you with several efficient troubleshooting steps. Down below, you’ll discover a selection of methods that other users in a similar situation have used to get the issue resolved.
For the best results, follow the methods in the order that they are presented until you discover a fix that works for your particular scenario
Method 1: Restart your router
If you haven’t restarted your router/modem for a long period of time, it’s very likely that you are prevented from accessing the setup screen because of a security feature.
Most TP-Link models have a security model that blocks the tplinkwifi.net page from being opened if there is no client logging to the management page for a period of time. Luckily, the page becomes accessible again once the modem or router is restarted.
Note: If you determined that this was causing the issue but you find this feature to be annoying, you can most likely get rid of this security feature by updating its firmware version to the latest. With most models, TP-Link decided to get rid of this feature, so you can get rid of it by downloading the latest Firmware for your particular model. But we only advise you to do this if you’re familiar with the process of updating the firmware of a router/model.
If this method wasn’t applicable or you’re still encountering this issue, move down to the next method below.
Method 2: Accessing the IP address directly
Keep in mind that not al TP-Link models are configured to open the router/modem setup screen upon entering tplinkwifi.net. And even if yours is, this method is not as reliable as entering the assigned IP address directly in your browser.
If the page loads indefinitely or you get some type of error when trying to access tplinkwifi.net, try accessing one of the two assigned IP addresses directly:
- 192.168.1.1
- 192.168.0.1
Try typing the two addresses above in any browser, press Enter, and see if any of them land you inside the setup menu of your browser.
If the two IP addresses mentioned above end up producing the same results, move over to the next method below.
Method 3: Reinstall router using Easy Setup Assistant
If you’re looking for a fix that will bypass a lot of investigations, the best way to go around resolving this problem is to use the Easy Setup Assistant (a TP-Link utility that makes the initial setup a lot easier).
But before you run the utility, it’s very important to verify that your computer is configured to obtain the IP address automatically. Without this method enabled, the setup will not be keen to let the router assign the address to the computer so they can communicate properly.
Note: Keep in mind that this method might not be applicable, since not every TP-Link model is configured to use Easy Setup Assistant.
Here’s a quick guide on setting the computer to obtain the IP address automatically and using the Easy Setup Assistant to make tplinkwifi.net accessible:
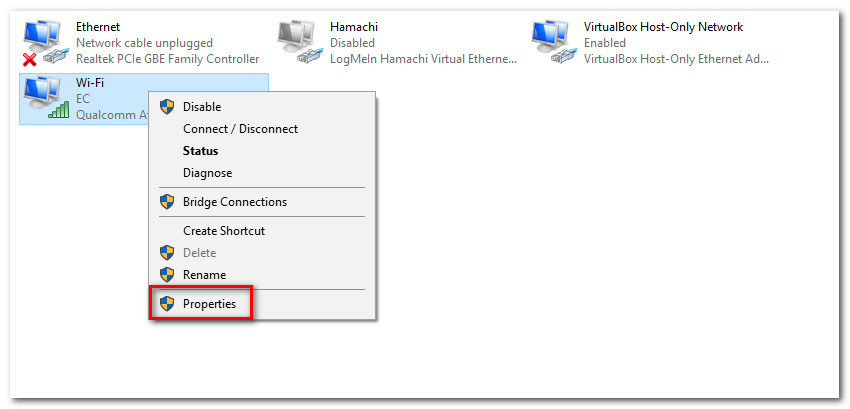
- Press Windows key + R to open up a Run dialog box. Then, type “ncpa.cpl” and press Enter to open the Network Connections menu.

Opening the Network Connections menu via a Run dialog box - Inside the Network Connections menu, right-click on the network that you’re currently connected to and choose Properties.
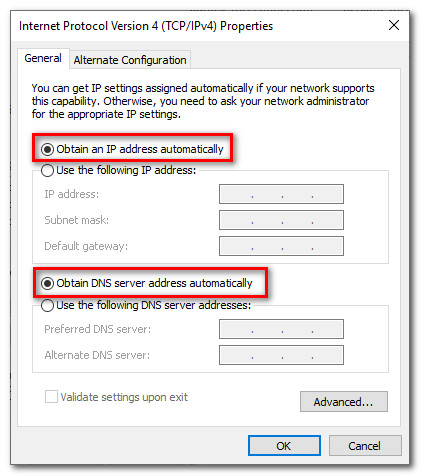
Opening the Properties window of the connected network - Inside the Properties screen, go over to the Networking tab and double-click on Internet Protocol version 4. Inside the Internet Protocol Version 4 (TCP/IPv4) Properties, select the toggle associated to Obtain an IP address automatically and Obtain DNS server address automatically, then click OK to save the changes.
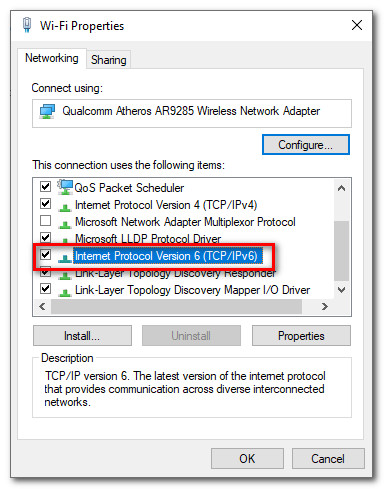
Configuring Windows to obtain IP and DNS Automatically for IPv4 - Return to the Properties screen of your network, then double-click on Internet Protocol Version 6 (TCP/IPv6) and repeat the procedure above (Enable the toggles associated with Obtain an IP address automatically and Obtain DNS server address automatically)
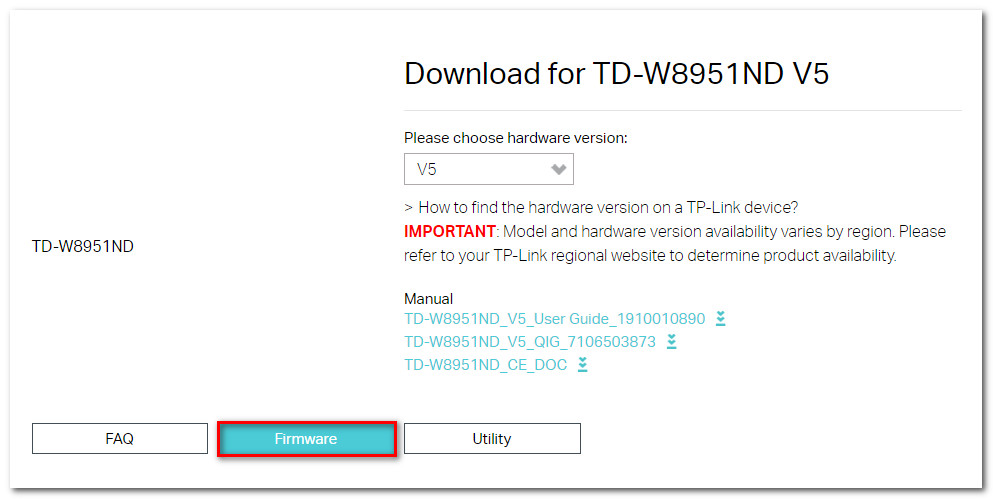
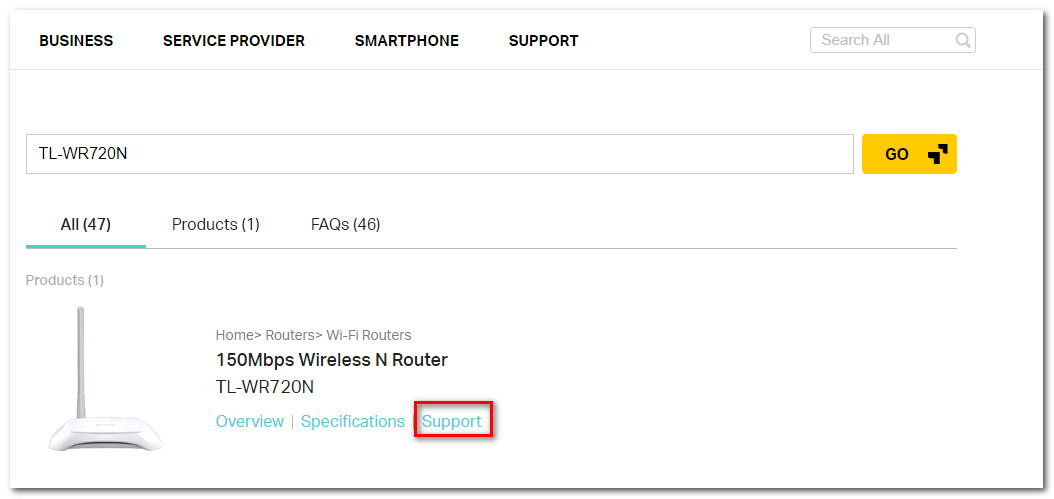
- Visit this link (here) and type in your router/modem router in the search box (top right corner) and press Enter. If you are returned a list with multiple results, click the Support hyperlink associated with your router/modem model.
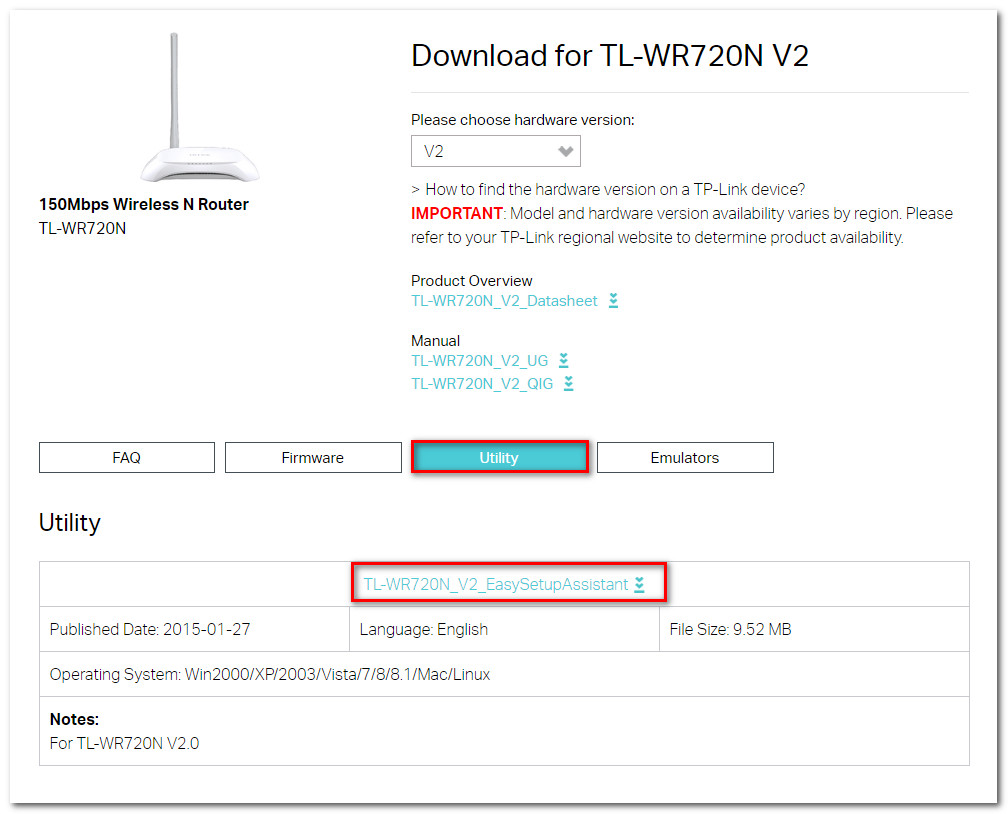
Accessing the Easy Setup Utility - Inside the Support screen associated with your device, click on Utility and download the latest available version of the Easy Setup Assistant.
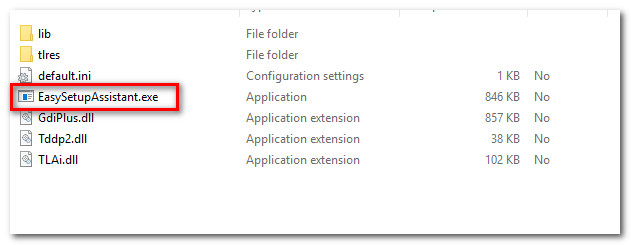
Downloading the Easy Setup Assistant utility - Once the download is complete, extract the archive and double-click on EasySetupAssistant to begin the configuring process.
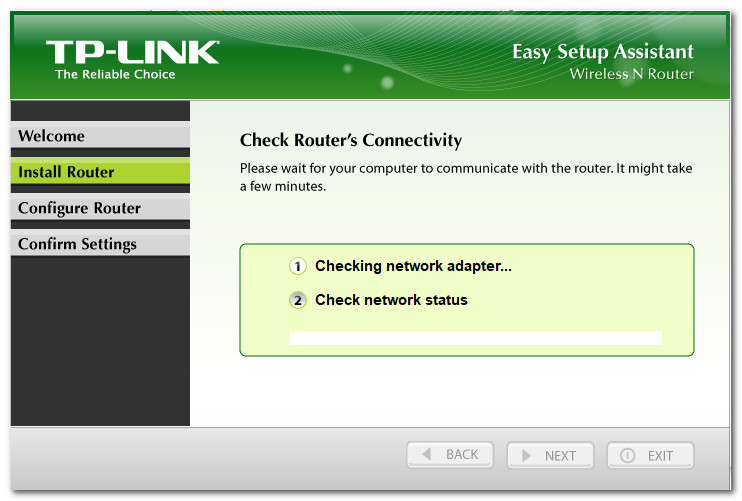
Using the Easy Setup Assistant Utility - Follow the on-screen prompts to configure your router/modem. Keep in mind that the steps will be different depending on your router/modem. Once the process is complete, restart your computer and see if you are able to access tplinkwifi.net at the next startup.
Following the instructions inside the Easy Setup Assistant If this method didn’t enable you to access tplinkwifi.net, move down to the next method below.
Method 4: Restart modem with Wi-Fi disabled
One solution that several affected users have found to be effective is to install disable the WiFi functionality of the router and access the Setup screen while the modem/router is connected through a LAN cable. Here’s a quick guide on how to do this:
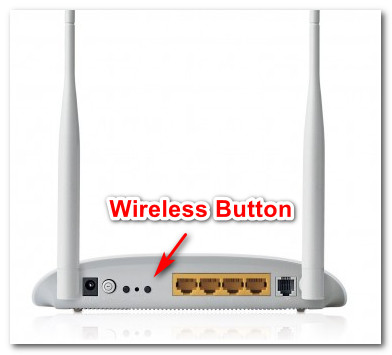
- Look at the back of your router and press the Wi-Fi button to disable it. Each model has a different configuration, but most TP-Link models include a physical button that will allow you to disable the Wi-Fi functionality. Simply press that button and restart your modem or router.
wireless button - Connect your PC to your router/modem using an Ethernet (LAN) cable.
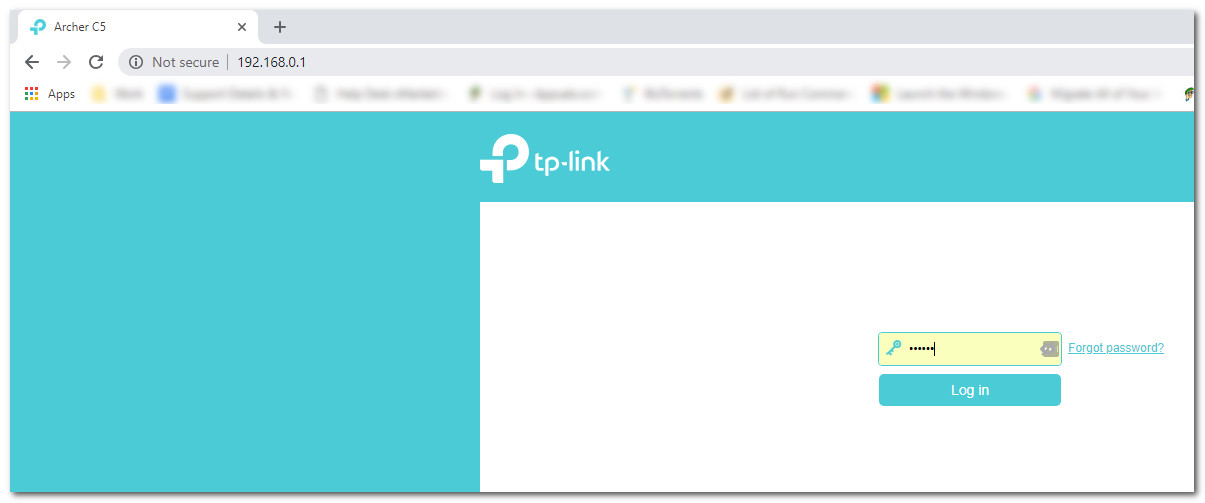
- Enter 192.168.1.1 or 192.168.0.1 inside your browser navigation bar, press Enter, and see if you are able to access your router/modem setup screen.
- Once you’re down with the Setup screen of your modem/router, press the wireless button again and unplug the LAN cable from your laptop/computer.
Note: Chances are that you will lose the ability to access your router’s settings once Wi-Fi is re-enabled.


