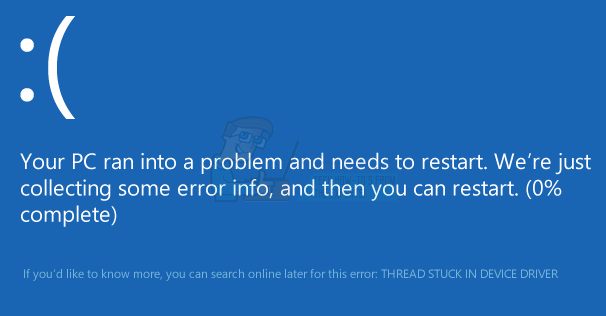
How to Fix Thread Stuck In Device Driver BSOD on Windows 8 and 10
The Windows 10 Thread stuck in device driver is an error caused by a driver file caught in an endless loop while it waits the hardware to enter inactive state.
Fortunately for the user, the error is caused by a driver problem, and not faulty hardware, so with that being said an easy driver or BIOS update will usually fix it. It is pretty usual for this kind of errors to appear on a newly released BIOS or Windows version, such as Windows 10. Because it is so new, the drivers haven’t adapted yet to the requirements and may oftentimes malfunction.
In this article, we have listed a couple of methods that have worked for the most users having this problem. If Method 1 doesn’t help you fix the problem go on the next one, as you will definitely find a solution for this problem among them.

Method 1: Update graphics card drivers
Malfunctioning drivers can often be the cause of errors such as this one, and this specific error has been tied to the graphics card drivers more times than you could imagine. To fix this, you can try updating the drivers for your graphics card and seeing if that fixes the problem.
- Press simultaneously the Windows and R buttons on your keyboard to open the Run Type devmgmt.msc and click OK to open the Device Manager.
- Click on the arrow next to Display adapters to expand them. Here you can check the manufacturer and the model of your graphics card. Depending on the name of the brand of graphics card you are using you should find the newest version of it on their official website.
- Download and install the latest drivers for your specific graphics card, and reboot your device, to apply the changes. If the error was caused due to the drivers of your graphics card, updating to the latest driver will fix it.
Method 2: Perform a windows update
With each new Windows release, Microsoft is aware that they will need to keep it updated to fix any potential issues that may appear for users after they have downloaded the base of the OS.
- Press the Windows key on your keyboard and type Check for updates. Open the result, and you will see the Windows Update
- Click on Check for updates, and give Windows some time. If there’s a new update, possibly one that might fix this issue, it will download and install it for you, after which you may need to reboot your device.
Method 3: Update your motherboard BIOS
Performing a BIOS update it is a pretty complex process and the instructions are different depending on motherboard manufacturer. Luckily, most newer boards offer way simpler ways to upgrade your BIOS that can be performed from within Windows (if you can load it) or from USB.
- First step to uploading your motherboard BIOS is identifying your version. To do so open your Start Menu, type cmd in your Search bar and open it. In the Command Prompt enter the following command and press Enter:
wmic bios get serialnumber
- The other way is to open the Start Menu, type msinfo32 and open the System Information In it, you can see the BIOS version in the first view, the System Summary.
- Once you know the manufacturer and BIOS version, you can go to the manufacturer’s website and download the latest BIOS. Most new computers have a fairly easy BIOS update procedure done by simply downloading the .exe file from your motherboard manufacturers website and running it. If your PC suddenly shuts down while installing the BIOS there might be a problem booting it up so make sure your battery life on your laptop is fully charged or you are plugged into an UPS.
At the end of the day, you will see that this is a fairly common issue with Windows users, but simply by following the aforementioned solutions, you can solve this problem and continue using your device as usual.