How to Fix ‘This file doesn’t have a program associated with it’ Error
Anyone who knows even a little bit about the Windows Operating System knows just how fragile and delicate it can be. Messing with even the smallest of system files or tinkering around with even the most significant of registry keys can result in important system functions and features going haywire and even ceasing to work altogether. This is the case with all versions of the Windows OS, including Windows 10. There is a folder under C:\Windows\Users named AppData. The AppData folder basically contains all stored data for installed programs and applications, as well as configured settings and preferences for each user who has an account on the computer in question.
The AppData folder does not necessarily contain any “system” files. However, editing or changing the AppData folder in any way – even copying it (copying, not moving) – to another location can lead to a horde of different problems. One of the most common problems that can be brought about by messing with the AppData folder and its contents is one where the Customize… button for Windows 10’s Notification Area (which can be navigated to by right-clicking on an empty space in the Windows 10 taskbar and clicking on Properties) stops working altogether. Whenever a user affected by this issue clicks on the Customize… button, they receive and error message that says:
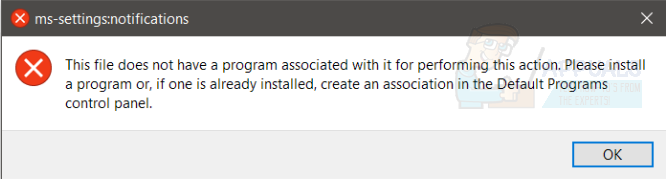
This file does not have a program associated with it for performing this action. Please install a program or, if one is already installed, create an association in the Default Programs control panel.
- Explorer.exe this file does not have a program associated with it for performing this action: This problem usually occurs where there is corruption with your file explorer in Windows which restrains Windows from opening directories.
- This file does not have a program associated with it for performing this action JPEG: This error occurs when the computer is unable to determine which application to use to open the JPEG image file.
- In addition to JPEG file formats, there are also several other file formats that can also cause an issue such as Excel, DVD, .zip, etc. For all cases, follow the solutions listed below.
Most of the Windows 10 users who have been affected by this issue receive the same error message when they right-click on an empty space on their Desktop and click on Display settings or Personalize in the resulting contextual menu. The unavailability of both the Display settings and Personalize menu further add to the weight of this issue, taking it from a problem that most affected users could choose to ignore to an issue that simply needs to be fixed right away.
Solution 1: Restoring default file extension types
The error “this file doesn’t have a program associated with it for performing its action” primarily stems from the case where the operating system is unable to select or choose a program to open or perform actions on the file. This primarily happens when you change the extension of a file to some other rather than the default.
We will reset the extensions of all file types and see if this solves the problem.
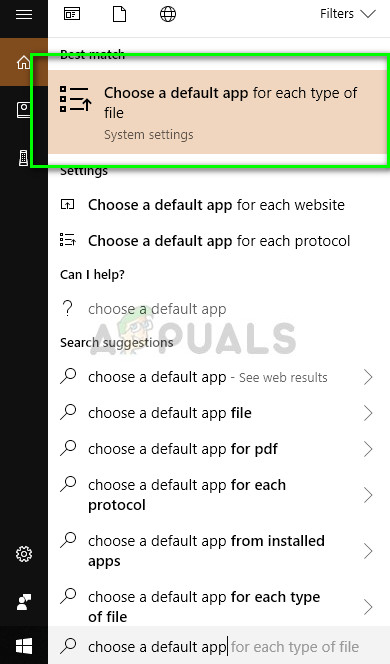
- Press Windows + S, type “choose a default app for each file type” in the dialogue box and open the Settings application.
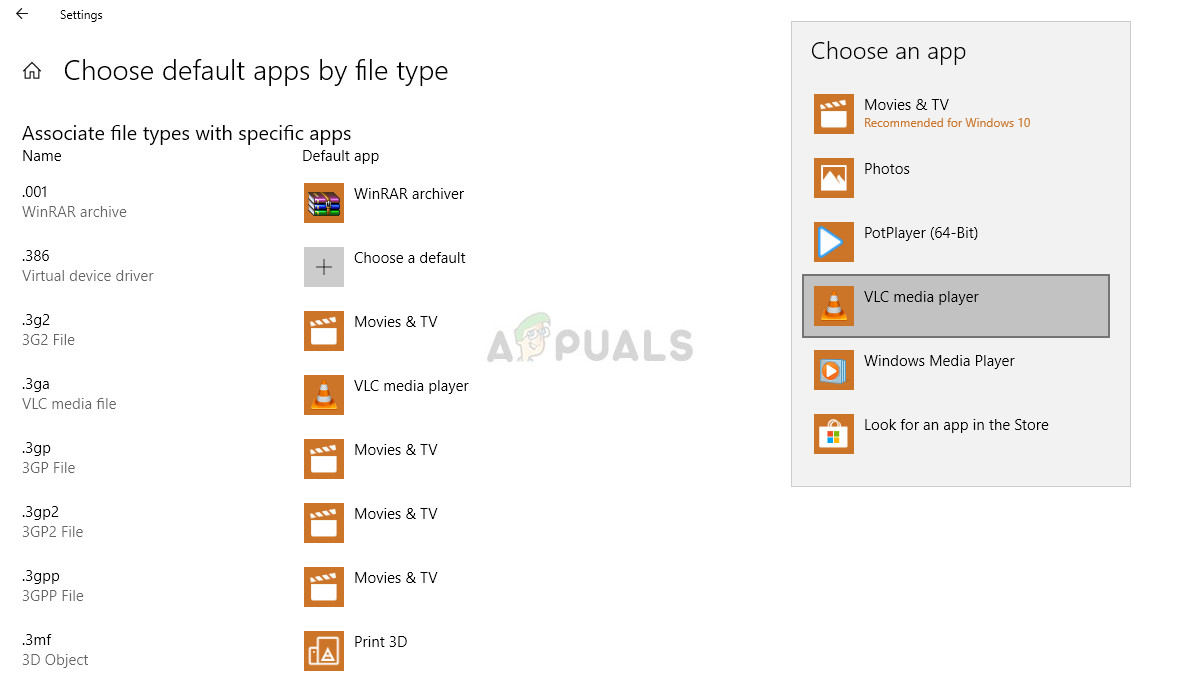
- Select the file type from which you are having a problem, click on the list of programs, and select the default application. You can also play around and try using another program to open the file extension and try opening or performing operations again on it.
If this proves to be tedious, navigate to Settings > Apps and features > Default apps and click on Reset to reset to all Microsoft recommended defaults.
Solution 2: Using Microsoft Hotfix
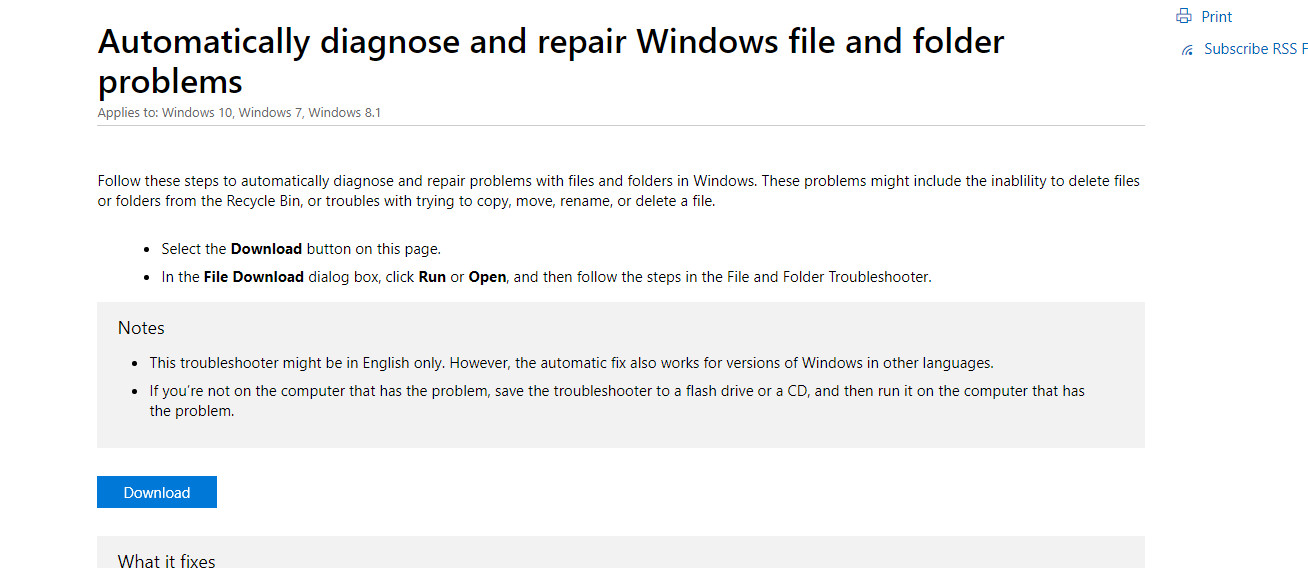
Another workaround that works for users was using Microsoft’s hotfix to repair Windows file and folder problems. This hotfix is meant to scan your registry and group policy settings and check if there are any discrepancies. If there are, you can easily repair them using this hotfix and the application will make things workable again.
- Navigate to Microsoft’s official website and download the hotfix.
- Once the hotfix is downloaded, run it, restart your computer and try accessing/operating on the file which was giving you the problem.
Solution 3: Transitioning your account to the administrator group
Another thing to try before resorting to a system restore is to transition your account to an administrative group where you will have all the privileges. There may be cases where you are unable to operate on a file because you don’t have proper privileges.
- Press Windows + R, type “lusrmgr.msc” in the dialogue box, and press Enter.
- Click on Groups and select Administrators. Another window will pop up listing all the administrators on your computer. Click on Add present at the near bottom.

- Click on Advanced and select Find Now from the next window. Now select your account from the list below and click on OK.
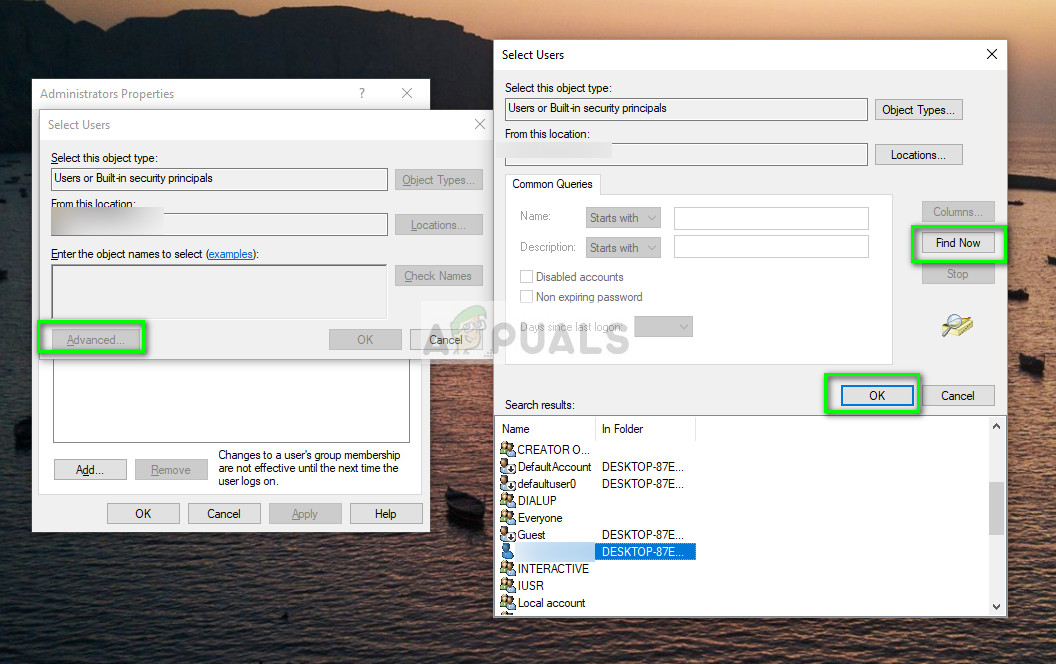
- Once you have selected the account to be added, click OK to proceed on the remaining windows. Now restart your computer and try accessing the file again.
Solution 4: Performing a System Restore
Unfortunately, the exact file or registry key that has to be tampered with in order to give rise to this issue is yet to be identified. That being the case, a specialized fix for this issue is not presently available. However, that does not mean that this issue cannot be fixed – a clean install of Windows 10 will certainly do the trick, but if you don’t want to completely nuke your current Windows 10 installation while still managing to resolve this issue, you can simply perform a System Restore on your computer and restore it to a point in time when this issue did not exist. In order to do so, you need to:
- Right-click on the Start Menu button to open the WinX Menu.
- Click on Control Panel in the WinX Menu to launch the Control Panel.
- Search the Control Panel for “recovery”.
- Click on the search result named Recovery.
- Select Open System Restore and then click on Next.
- Select a system restore point that was created well before your computer was victimized by this problem. Even if you never manually created a system restore point for your computer, you need not worry as Windows 10 automatically creates a system restore points when new apps, drivers, or Windows Updates are installed.
- Click on Next.
- Wait for your computer to be restored to the way it was when the selected restore point was created.
- Once the System Restore is complete, click on Finish.
Performing a System Restore on your computer is the most effective solution to this issue and was the answer to this problem for almost all of the Windows 10 users who have been affected by it in the past. Also, to top it all off, performing a System Restore does not result in any data loss. However, any apps, drivers, and Windows Updates installed after the selected system restore point was created will be uninstalled.
Solution 5: Installing Relevant Program
If none of the methods work, you should check the file type and make sure that it is openable by Windows alone. If it isn’t, you should find alternate software over the web and download the one which can open the files easily. Make sure that you download the software from a trusted source.
gulp