[Fix] Specified domain either doesn’t exist or couldn’t be contacted
This error appears when trying to connect to join a domain on any Windows operating system. The error appears after entering the username and the proper password and troubleshooting can be quite difficult if you don’t know where to begin.

There are quite a few methods which are usually used when troubleshooting this problem and we have decided to gather the most popular solutions in one place and present it to you in an article. Check it out below!
What Causes The Specified Domain Either Does Not Exist or Could Not Be Contacted Error?
When this error is mentioned, most people will automatically assume it has something to do with DNS addresses. That might be true in the majority of cases but there are other causes to this problem as well and they are included in the list below:
- The current DNS you are using doesn’t work anymore and you might want to consider changing it on the client PC if you have the access to it.
- IPv6 is not working out for your network and you should definitely consider disabling it on the client PC if you want the error to disappear. Additionally, you can run several useful ipconfig commands in order to reset the connection properly.
- Finally, a value in registry might be worth changing if you want to get rid of the error. Be careful while doing so.
Solution 1: Change the DNS Address You are Using
When trying to connect to the domain, it’s worth trying to change the DNS address on the client PC if you have complete access to it. This can be done rather easily and plenty of people have suggested that this can pretty much take care of the error message. Furthermore, the solution is easy to do and understand so why wait?!
- Make sure you open a Command Prompt by searching for “cmd” or “Command Prompt” in the Start menu.
- Type in the command which will be displayed below and scroll down towards the network adapter which corresponds with the connection you are using. Take note of Default Gateway, Subnet Mask, MAC and DNS addresses.
ipconfig /all
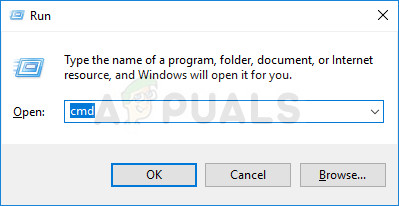
- After that, Use the Windows + R key combo which should immediately open the Run dialog box where you need to type ‘ncpa.cpl’ in the bar and tap OK in order to open the Internet Connection settings item in Control Panel.

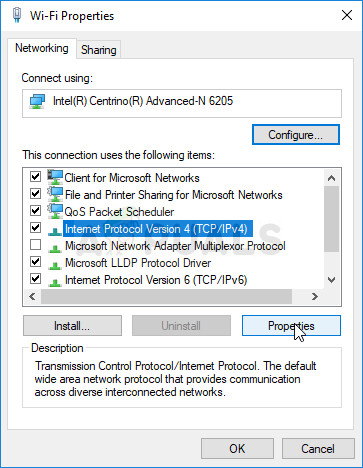
- Double-click your active Network Adapter and click on the Properties button. Locate the Internet Protocol Version 4 (TCP/IPv4) item on the list. Tap on it in order to select it and click the Properties button below.
- Stay in the General tab and switch the radio button in the Properties window to “Use the following DNS server addresses” and use the Default Gateway address but make sure you change the last section after the last dot. Switch to “Use the following IP address and use the same number as the Default Gateway but change the last digit after the last dot so something else. Fill out other information the same as you took note.
Solution 2: Disable IPv6 and Run Several Useful Commands
The error will also occur if Internet Protocol version 6 (IPv6) is enabled for the Internet connection you are using. This should also be done on the client computer and the error should disappear after disabling IPv6. Still, the second part of the solution consists of resetting certain settings regarding the connection which should definitely resolve the problem.
- Use the Windows + R key combo which should immediately open the Run dialog box where you should type ‘ncpa.cpl’ in the bar and click OK in order to open the Internet Connection settings item in Control Panel.
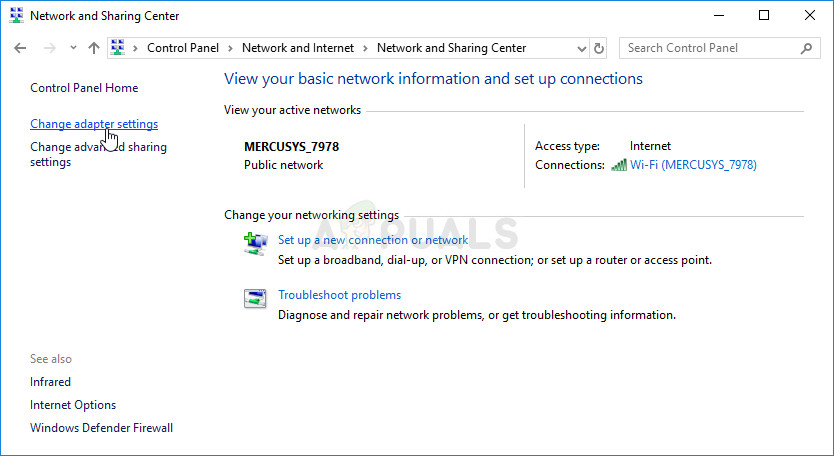
- The same process can also be done by manually Control Panel. Switch the View by setting at the top right section of the window to Category and click on Network and Internet at the top. Click the Network and Sharing center button in order to open it. Try to locate the Change adapter settings button at the left menu and click on it.
- When the Internet Connection window opens, double-click on your active Network Adapter.
- Then click Properties and locate the Internet Protocol Version 6 entry on the list. Disable the checkbox next to this entry and click OK. Restart your computer in order to confirm the changes and check to see if the problem still occurs when trying to join a domain.
After this, the best thing you can do is to run a cycle of useful ‘ipconfig’ commands which are certain to rebirth the connection in the network and prevent future errors from appearing completely.
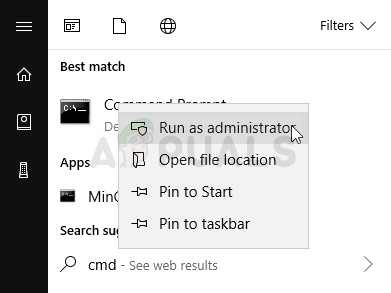
- Search for “Command Prompt” by typing it either right in the Start menu or by pressing the search button right next to it. Right-click the first entry which will pop up as a search result and select the “Run as administrator” context menu entry.
- Additionally, you can also use the Windows Logo Key + R key combination in order to bring up the Run dialog box. Type in “cmd” in the dialog box which appears and use the Ctrl + Shift + Enter key combination for admin Command Prompt.
- Type in the following commands in the window and make sure you press Enter after typing each one. Wait for the “Operation completed successfully” message or something similar to know that the method worked.
ipconfig/flushdns
ipconfig/release
ipconfig/release6
ipconfig/renew
- Try to reconnect to the domain and check to see if the error still appears!
Solution 3: Change a Certain Registry Key
Modifying this entry manages is mentioned as the solution of choice for other problems as well and people have often turned to this method for help as other methods failed to provide good results. Still, it’s the last working method we offer as a solution and we hope it will be able to fix the problem for you.
Since you are going to edit a registry key, we recommend you check out this article we have published for you to safely backup your registry to prevent other problems. This way you can easily revert the changes you have made if something goes wrong.
- Open the Registry Editor window by typing “regedit” in either the search bar, the Start menu, or the Run dialog box which can be accessed with the Windows Key + R key combination. Navigate to the following key in your registry by navigating at the left pane:
HKEY_LOCAL_MACHINE\System\CurrentControlSet\Netlogon\Parameters
- Click on this key and try to locate a REG_DWORD entry called SysvolReady at the right side of the window. If such an option exists, right-click on it, and choose the Modify option from the context menu.

- In the Edit window, under the Value data section change the value to 1, and apply the changes you have made. Confirm any security dialogs which may appear during this process.
- You can now manually restart your computer by clicking Start menu >> Power button >> Restart and check to see if the problem is gone.


