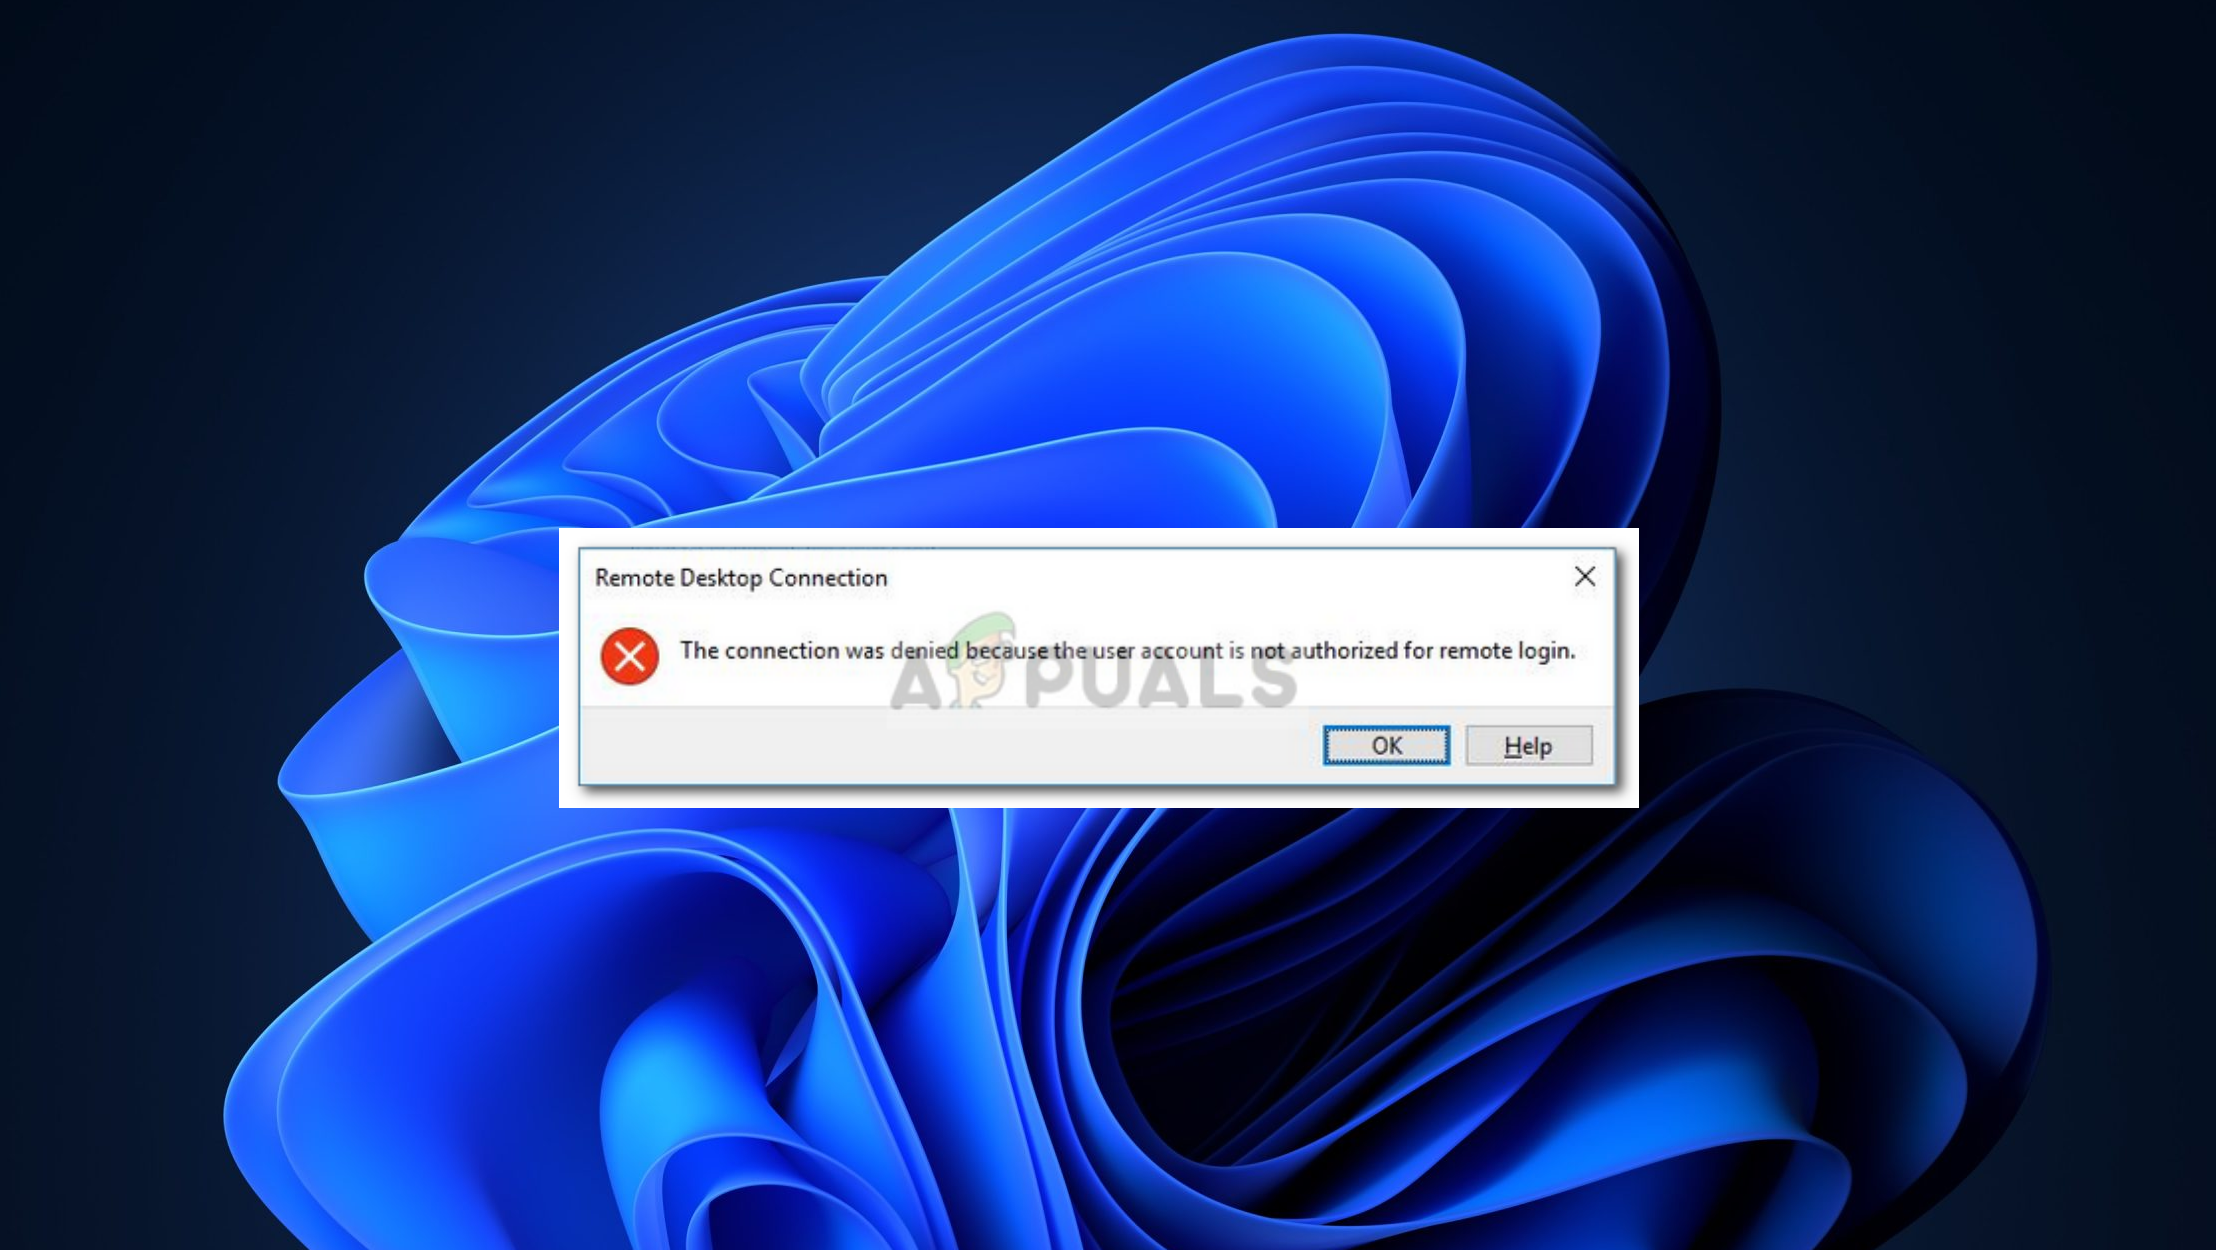
Fix The connection was denied because the user account is not authorized for remote login
When attempting to establish a remote desktop connection and encountering the error “The connection was denied because the user account is not authorized for remote login,” the user will be unable to access the remote system. This error indicates that the account being used does not have the necessary permissions to log in remotely.
The primary cause of this issue is that the user’s account is not a member of the “Remote Desktop Users” group, which is required for remote desktop access.
Additionally, other potential causes include restrictive Group Policy settings or insufficient user rights assignments in the local security policy.
To resolve the error, try the following solutions using an administrator account:
1. Create a New Security Group
Creating a new security group and assigning it the necessary permissions for logging on through Remote Desktop Services ensures that only authorized users within this group can remotely connect to the system.
By adding users to this group, you authorize them to establish a Remote Desktop connection, thus resolving the issue for those who were previously denied due to insufficient rights.
- Press Windows Key + R to open the Run dialog box.
- Type secpol.msc and press Enter.
- Navigate to Local Policies > User Rights Assignment.
- Locate and double-click on Allow log on through Remote Desktop Services.
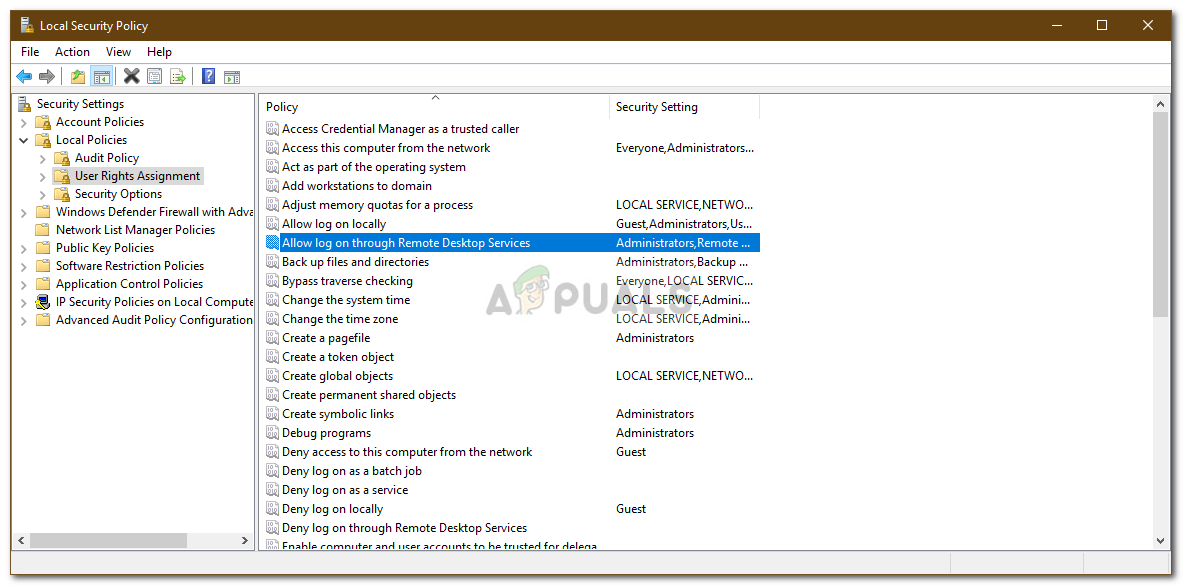
Local Security Policy - If there is no Remote Desktop Users group listed under Groups, follow the steps below. If the group already exists, proceed to the next solution.
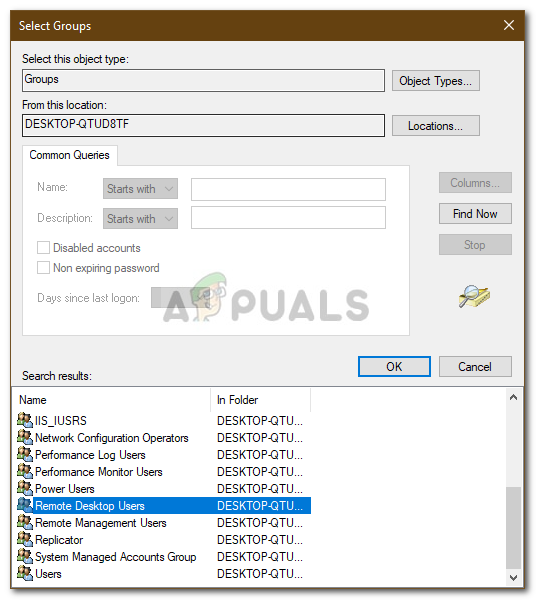
- Click Add User or Group, and in the Enter the object names to select field, type ‘Remote Desktop Users‘.

Creating Remote Desktop Users Group - Click OK.
- Restart your system for the changes to take effect, or execute the command below in an elevated Command Prompt:
gpupdate /force
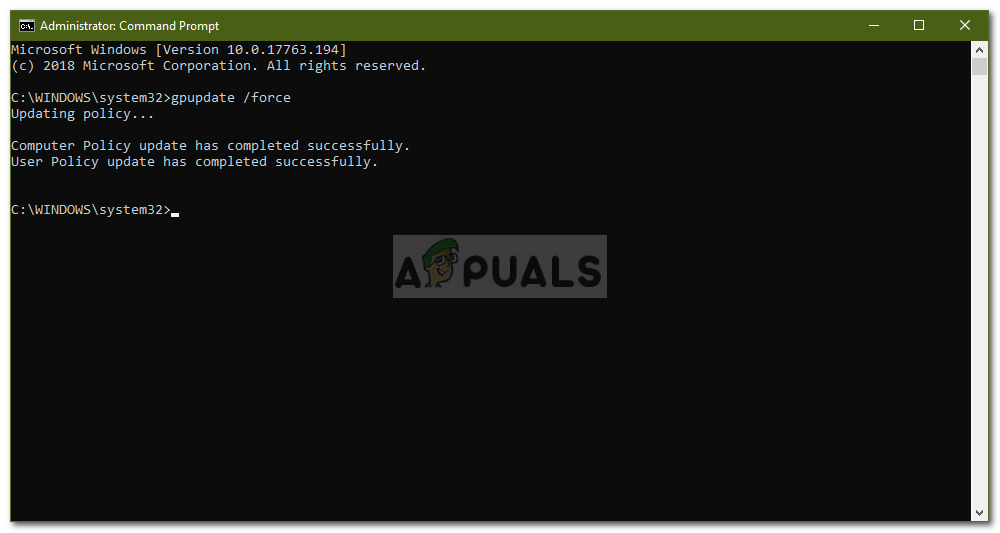
Force Updating Group Policy
2. Grant Access to Your User Account
Including your account in the Remote Desktop Users group grants it the necessary permissions to initiate a remote session. This is a crucial step as it transitions your user status from unauthorized to authorized for remote login, effectively overcoming the access barrier that was causing the problem.
- Press Winkey + R to open the Run dialog box.
- Type lusrmgr.msc and press Enter.
- Choose Users and double-click on your user account.
- Go to the Member Of tab.
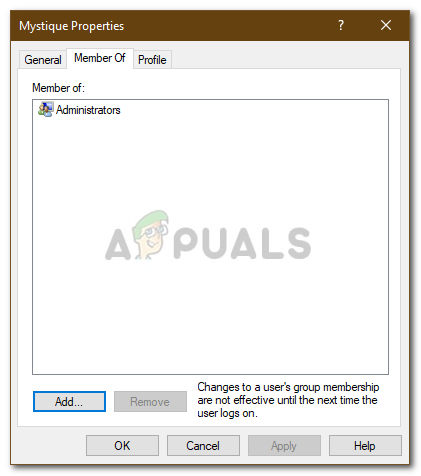
User Groups - If the Remote Desktop Users group is not listed, click Add.
- Click Advanced, then Find Now.
- Select Remote Desktop Users from the list and click OK.
Adding User Account to Remote Desktop Users Group - Your user account should be added to the Remote Desktop Users group now.
- Try to connect again.
3. Check Remote Desktop Service Log On User
This service must operate under a user account with proper network permissions to manage remote connection requests effectively. If configured incorrectly, it will lack authority, causing your attempt to remotely access the system to fail.
By modifying the service logon to a suitable network-permitted account, you can resolve this problem and allow users to connect via remote desktop.
- Open the Run dialog box again by pressing Windows Key + R.
- Type services.msc and press Enter.
- Scroll down to find and double-click on Remote Desktop Services.
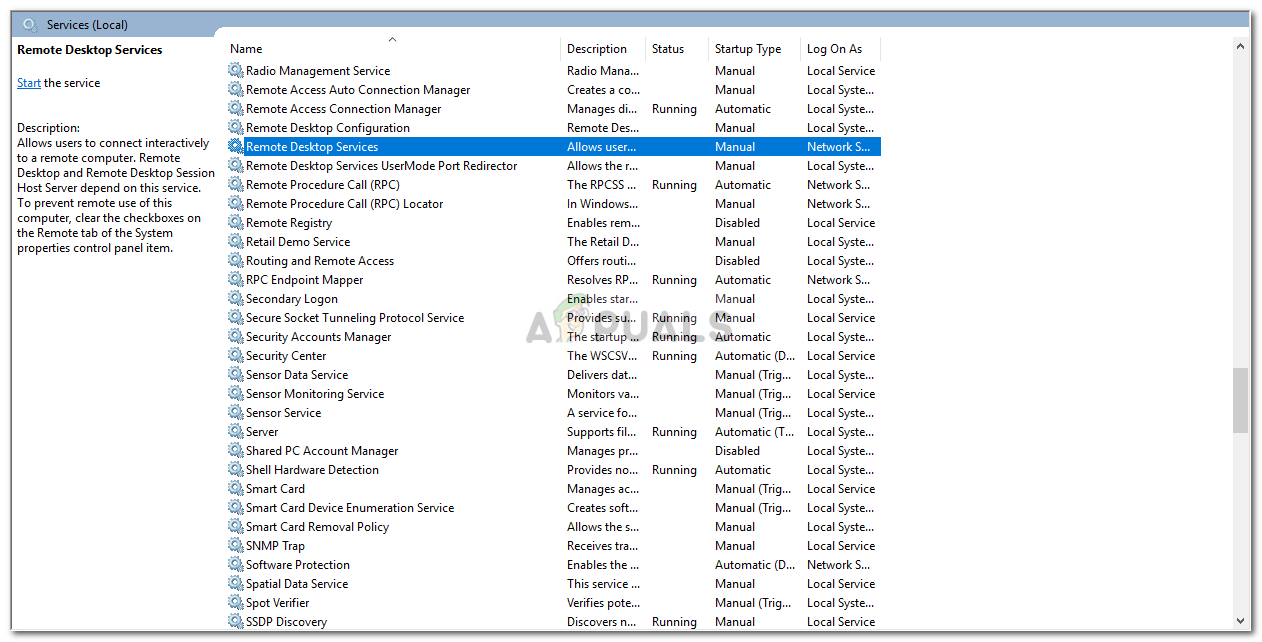
Remote Desktop Service - Switch to the Log On tab.
- If the service is running under Local Service, change it by clicking Browse.
- Click Advanced, then Find Now.
- Choose Network Service from the list and click OK.
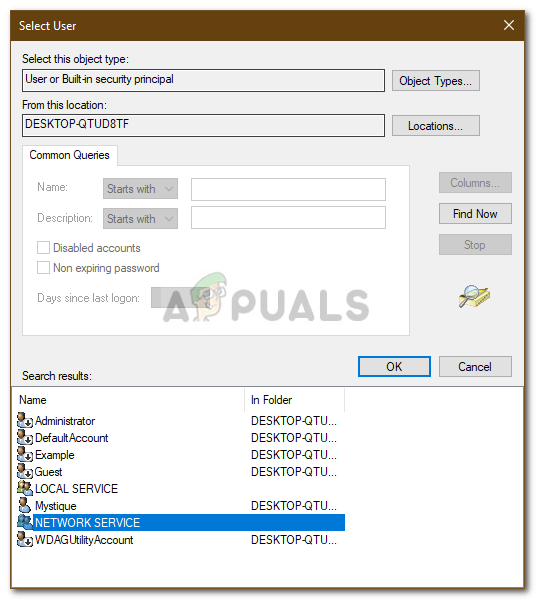
Changing Remote Desktop Service Log On User - Finally, restart the service by right-clicking on it and selecting Restart.


THANK YOU, it worked!