Fix storport.sys BSOD Error on Windows 10
The storport.sys BSOD on Windows 10 error occurs because of outdated device drivers especially storage drivers, power issues with the SSD, wrong power configuration or corrupted windows installation.
Storport.sys is a Windows system file created by “Microsoft Storage Port Driver”. This file is related to the storage of data on the storage hardware of the system.
What causes storport.sys BSOD on Windows 10 Error?
After carefully going through the user reports submitted to us, our analysis team has concluded that this error can mainly happen because of the software issues. Some of these issues are:
- Outdated Device Drivers: Outdated Device Drivers can cause the storport.sys BSOD on Windows 10 error.
- Power Issues with SSD: Sudden power failure can cause issues for SSD, which can result in storport.sys BSOD on Windows 10 error.
- Wrong Power Configuration: Wrong power configuration of the system can cause storport.sys BSOD on Windows 10 error.
- Anti-Virus and Firewall Issues: Your system’s Anti-virus can wrongly catch an important system driver/service/file as malware which can result in storport.sys BSOD on Windows 10 error.
- Corrupted System Files and Drives: System can show storport.sys BSOD on Windows 10 error if any of the system files/drives have damaged/corrupted or missing.
- RAM Issues: If RAM is denied to perform a particular operation, it can cause the system to show the storport.sys BSOD on Windows 10 error.
- Conflicting Drivers: Conflicting device drivers can force the system into storport.sys BSOD on Windows 10 error.
- Outdated Device Drivers: The storport.sys BSOD on Windows 10 error can happen because of Outdated Device Drivers.
- Conflicting Update: The storport.sys BSOD on Windows 10 error can be the result of a buggy Update by Microsoft.
- Outdated OS: Outdated Windows can cause the PC to show storport.sys BSOD on Windows 10 error.
- Corrupted OS: Corrupted windows installation can force the system to show storport.sys BSOD on Windows 10 error.
Solution 1: Update Device Drivers
A corrupted device driver can cause a BSOD error in the system. This faulty driver cannot communicate properly between the device and the system’s kernel, which will result in the BSOD error. To avoid this, you must keep your system’s drivers updated.
- Follow the instructions in our article on how to boot your computer in safe mode.
- Once you are in safe mode, press Windows + R, type “devmgmt.msc” in the dialogue box and press Enter.
- Once in the device manager, expand the drivers one by one and click on Update Driver.
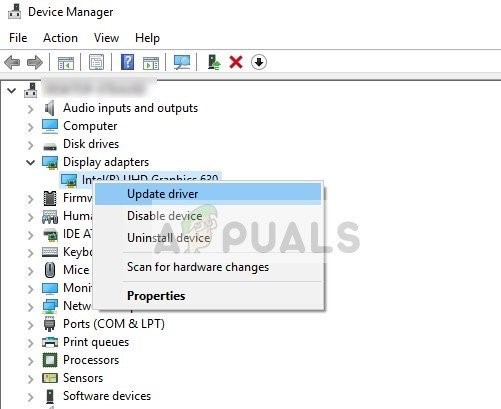
Update Driver in Device Manager - Select the first option Search automatically for updated driver software for automatic updates and the second option Browse my computer for the driver software for manually updating, for which should make sure that you have the driver downloaded from the manufacturer’s website.
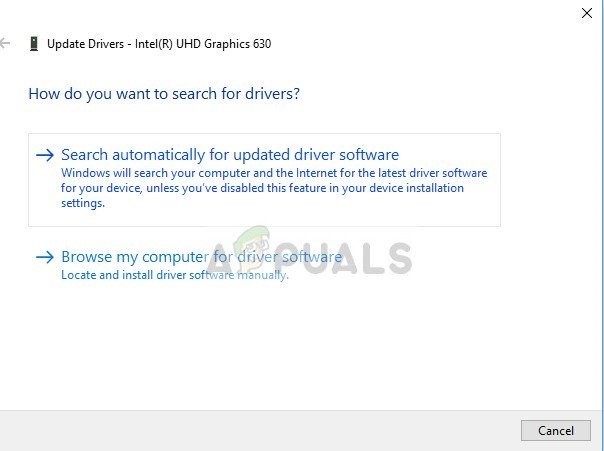
Update Options for Driver - Restart your computer after updating all the drivers and see if this fixes anything.
Do not forget to update your Storage Drivers. You can Download Intel Rapid Storage Technology Driver if you are using an Intel storage device. Also, if a driver is having a problem during installation/updating, try using the compatibility mode to install that driver. For compatibility mode, use the following steps:
- Right-click on the Setup File of the problematic driver and click on the “Properties”.
- Move to the “Compatibility” tab & check the checkbox on the left of the “Run this program in compatibility mode for”.
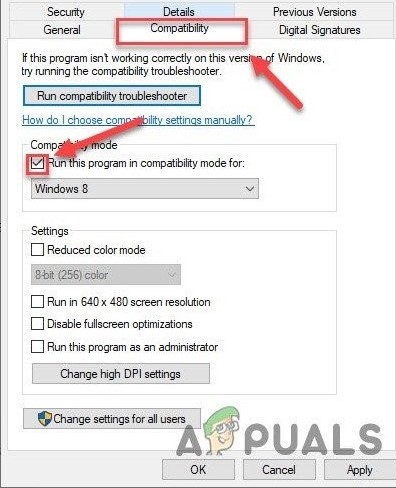
Compatibility Tab - Now click on the dropdown box & choose “Windows 8″, then click on “Apply” & click on “OK”.
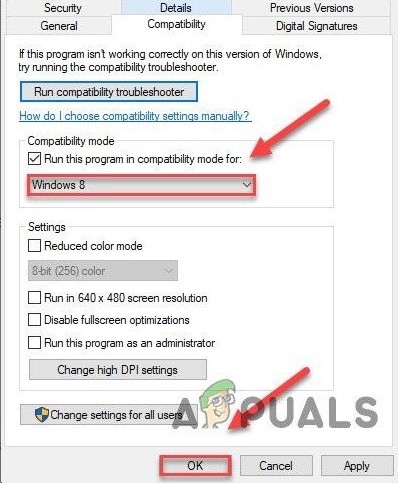
Select Windows 8 in Compatibility mode settings - Install the driver and check its proper operation.
- If not, repeat the above steps this time for Windows 7 from the drop-down list.
You should update all the drivers that are possible to be updated and after updating drivers or compatibility testing, check if the problem is solved.
Solution 2: Power Cycle SSD
A sudden shutdown or power loss is known to cause issues with the system’s SSD which can then cause the storport.sys error. Doing a power cycle of the SSD can solve the problem.
- Power off your PC.
- Disconnect your PC from ALL power supplies (AC adapter and/or remove the battery if you’re using a laptop).
- Long press the power button for at least 30 seconds and then wait for 10 minutes.
- Reconnect ALL power supplies (AC adapter and/or remove the battery if you’re using a laptop).
- Power on the system.
- After the system is powered on. Press & hold down the Shift Then click the Windows logo key > the power icon > Shut down.
- Press & hold F2 Key to enter BIOS (you should use your system’s function key to enter the BIOS).
- Let the system stay in BIOS for 20 minutes.
- Repeat steps 1 to 3.
- Remove the SSD from your PC:
For a desktop: unplug the cables.
For a laptop: disconnect the drive from the junction. - Wait 30 seconds before you reconnect the drive to your PC.
- Reconnect ALL power supplies (AC adapter and/or battery if you’re using a laptop).

Power on your PC and check if the storport.sys BSOD on Windows 10 error is fixed.
Solution 3: Reset Power Configuration
A broken Power setting can cause the storport.sys BSOD error. This broken power setting can even sometimes go through multiple system restarts. Some users have even reported it to stand multiple installs of Windows. So resetting it back to its default can solve our problem.
- Boot system in Safe Mode.
- Type command prompt in the windows search box on your desktop, right-click Command Prompt and select Run as administrator.
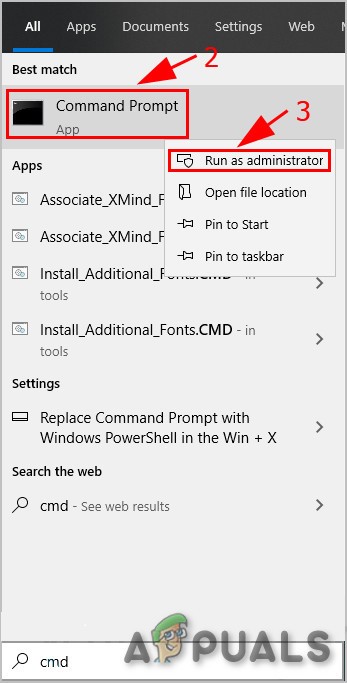
Run Command Prompt as Administrator - Click Yes to accept UAC if prompted.
- Type (or copy and paste) the following command in Command Prompt. Then press Enter on your keyboard.
powercfg -restoredefaultschemes
- Restart the system.
Check if the problem is solved, if not proceed to the next solution.
Solution 4: Reinstall Windows
If still, nothing has helped you so far then it is time to move to the last resort, which is the re-installation of Windows itself. The clean installation refers to the process where you completely reset the computer by removing all the files and applications from it and installing Windows files from scratch.


