Fix: Stereo Mix not Working
Stereo Mix is an option that enables the user to record the sound that your computer is outputting. This can be very useful in desktop recording sessions. But, you might face a problem while using the Stereo Mix. For some users, the Stereo Mix might not work even after enabling all the options. In some cases, you might see the Stereo Mix bar moving while recording but the recording won’t have any audio. In other cases, you might not see the Stereo Mix bar moving at all. The issue might appear out of nowhere e.g. you might have used the Stereo Mix successfully a day before the problem started.
The reason behind the Stereo Mix not working depends on what you are experiencing. If you are hearing the audio (meaning Stereo Mix is actually picking up the audio) but you aren’t getting any audio in the recording then the issue might be with the application or the settings. On the other hand, if you aren’t hearing any audio at all then that means there is an issue with the drivers or your cable connectivity since your computer isn’t outputting the audio. The bottom line is, this isn’t a huge issue and it’s usually caused by bad settings or driver problems.
Method 1: Enable and Set Stereo Mix as Default
The problem you might be having is that the Stereo Mix might not be enabled. Even if you enabled the Stereo Mix a few days ago, it is worth checking whether the Stereo Mix is enabled in the options. Another thing worth mentioning is that simply enabling the Stereo Mix isn’t enough for it to work. A lot of users just enable the Stereo Mix and think it will work. You need the Stereo Mix enabled and selected as the Default Device for it to work properly. Yes, a lot of users make this mistake.
Here’s how you can enable the Stereo Mix and select it as the Default Device
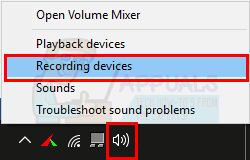
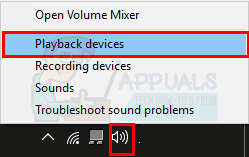
- Right-click the sound icon from the icon tray (right bottom corner)
- Select Recording Devices. This should open up the Sound option with the Recording tab selected

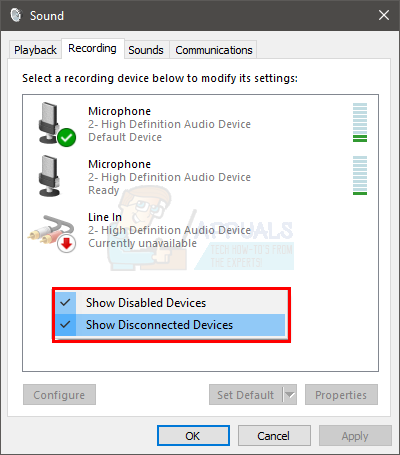
- Right-click on an empty place within the Select a recording device below to modify its settings: area and check the options View Disabled Devices and View Disconnected Devices. If you don’t see a Tick mark beside these options then simply click the option and it should turn this option on.
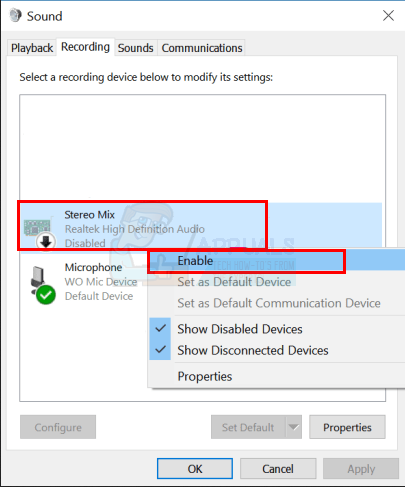
- Once done, you should be able to see the Stereo Mix option in the list. Right-click the Stereo Mix option and select Enable
- Now, it is time to make the Stereo Mix your default device. Right-click Stereo Mix and select Set as Default Device. Right-click Stereo Mix again and select Set as Default Communication Device. Once done, there should be a green tick mark beside your Stereo Mix option
- Click Apply then select Ok
This should do the job for you
Method 2: Disable Microphone
For some users, disabling the Microphone while using the Stereo Mix solves the issue with the Stereo Mix. So, follow the steps given below to disable the Microphone.
Note: Before you proceed, make sure your Stereo Mix is enabled and set as the default device. Follow the steps given in method 1 to set your Stereo Mix as the default device.
- Right-click the sound icon from the icon tray (right bottom corner)
- Select Recording Devices. This should open up the Sound option with the Recording tab selected
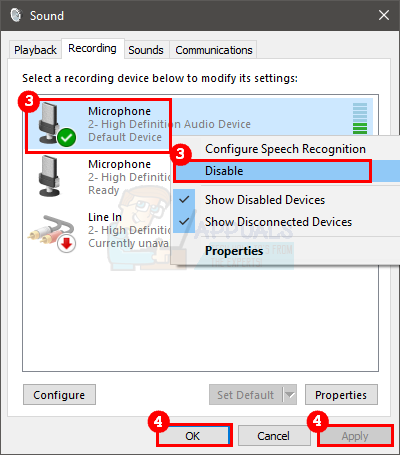
- Right-click your Microphone and select Disable
- Click Apply then select Ok
Now check if the problem is resolved.
Method 3: Fix Mic/Sound volume
Sometimes, the issue might be that your microphone is muted from the playback devices options. Simply unmuting your microphone will rectify the problem.
- Right-click the sound icon from the icon tray (right bottom corner)
- Select Playback Devices. This should open up the Sound option with the Playback tab selected
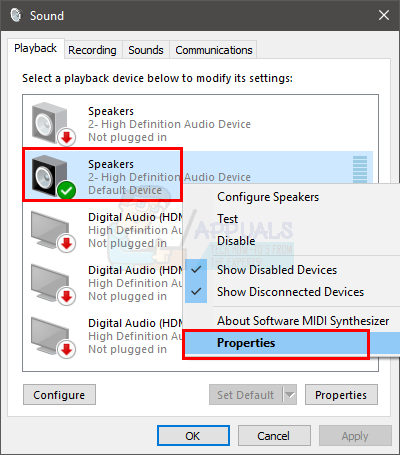
- Right-click your default playback device (speakers) and select Properties
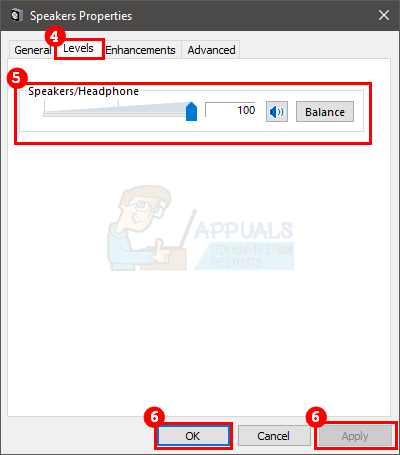
- Select the Level tab
- Unmute the sound and microphone. You can adjust the sound and check if it resolves the issue.
- Once done, click Apply then select Ok
- Click Apply then select Ok again
Now try to use the Stereo Mix and see if the problem is resolved.
Method 4: Do not use an HDMI audio device
Make sure you aren’t using an HDMI port/device or any other digital device for the sound. For a stereo mix to work, your sound has to go through the sound card, and using HDMI will bypass your sound card. Sometimes, your HDMI device might be selected as the default device which might be preventing Stereo Mix from working. So, setting your speakers (or any other analog audio device) as your default device should solve this issue.
Follow the steps given below to set your speakers as the default device
- Right-click the sound icon from the icon tray (right bottom corner)
- Select Playback Devices. This should open up the Sound option with the Playback tab selected
- Right-click speakers (or any other audio device you might have connected) and select Set as Default Device. Note: If you don’t see any audio device then input your speakers/headphones via the audio output port and try again.
- Click Apply then select Ok
Once done, you should be good to go.
Method 5: Uncheck Listen to this Device option
Another option that has solved the issue for a lot of users is the Listen to this device option. Unchecking this option for your microphone will most likely be the solution if nothing else worked. Here are the steps for locating and unchecking this option
- Right-click the sound icon from the icon tray (right bottom corner)
- Select Recording Devices. This should open up the Sound option with the Recording tab selected

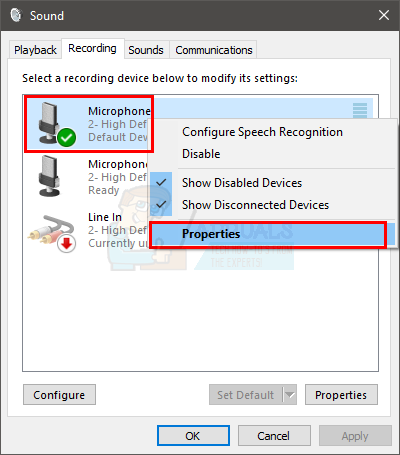
- Right-click your Microphone and select Properties
- Select the Listen tab
- Uncheck the option Listen to this device
- Click Apply then select Ok to close the properties window
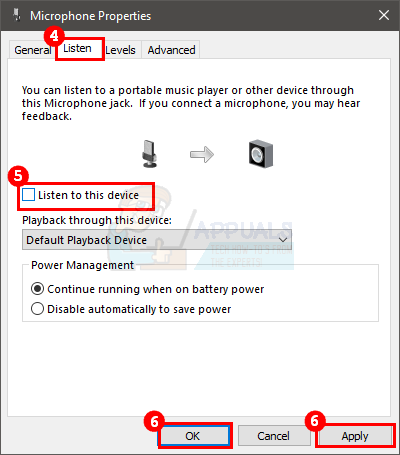
- Click Apply then select Ok again to confirm
Once done, check if the Stereo Mix is working or not. If this doesn’t solve the problem then try to perform these steps for all the devices appearing on the recording devices list (except for the Stereo Mix) and try again.
Method 6: Realtek Audio Advanced Settings
If you are using Realtek Audio and you are on a desktop computer then the problem might be with the Realtek Audio settings. There are a few users who managed to solve their Stereo Mix issue by using the audio jack on the back of their computer instead of the front one. If you are using the front audio jack then you might have this problem. So, try to connect to the audio jack on the back and if it resolves the issue then try the steps below. The steps given here will change the settings that will allow you to use the front-end jack for the audio device. If you don’t have any problem using the back audio jack then you can skip the steps.
- Double click the Realtek Audio Manager from the icon tray (bottom right corner)
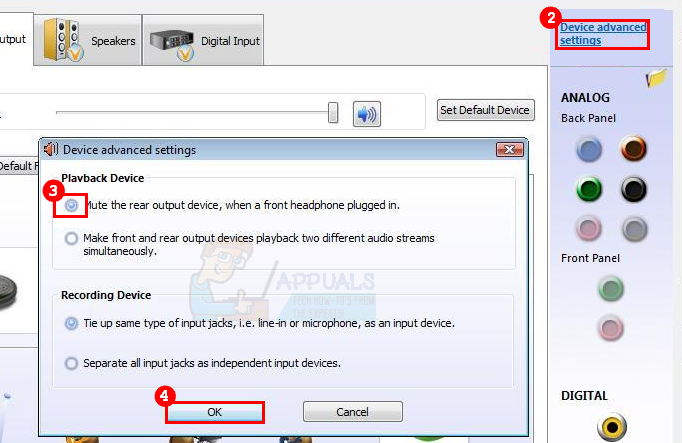
- Click Device advanced settings from the top right corner
- Uncheck the option Mute the rear output device, when a front headphone plugged in from the Playback Device section
- Click Ok
You should be good to go.
Method 7: Update/Reinstall Audio Driver
The issue might be with the audio drivers as well. The drivers might be outdated (if you haven’t updated for a while) or the driver might have got corrupted. A simple update and/or reinstallation of the drivers will fix the issue for you.
Update Driver
Updating the drivers is very easy. You can search automatically for an updated version of the audio drivers or you can visit the sound card manufacturer’s website to download the latest version of the driver. Steps for both methods are given below
- Hold Windows key and press R
- Type devmgmt.msc and press Enter

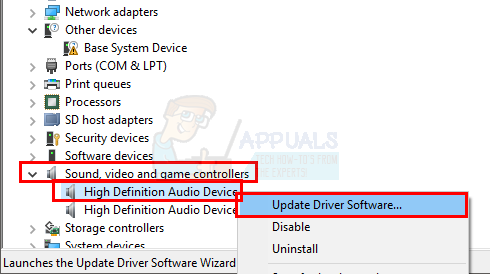
- Locate and double click Sound, video, and game controllers
- Right-click your sound card driver and select Update Driver Software…
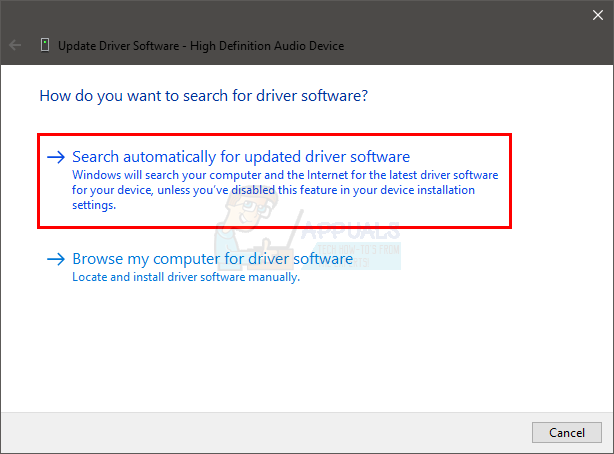
- Select the option Search automatically for updated driver software and wait for Windows to finish the process. If Windows find any updated version then follow the on-screen instructions. Otherwise, continue
- Close the update driver window
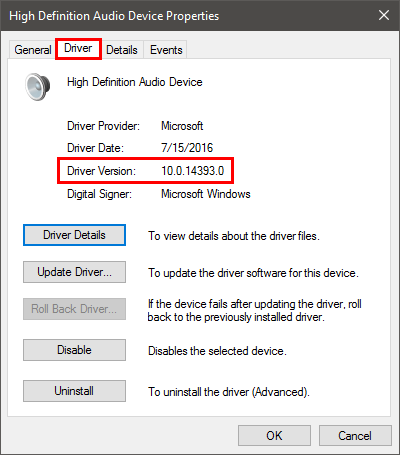
- Double click your sound card driver
- Select the Driver tab and keep it open. In the line Driver version, you should be able to see the driver version you have installed. This will be used later on
- Open a browser and go to your sound card manufacturers website
- Search for the latest drivers for your sound card
Check if the latest version is higher than the one installed on your computer. If you don’t have the latest version then download the driver from the website and follow their instructions. It will probably be an executable file and double-clicking the downloaded file will open up the installation wizard. You can then follow the on-screen instructions
Once done, your drivers should be up to date. However, if you have the latest version of the driver and you recently updated the drivers then the problem might be with the latest version of the driver. In this case, you can go back to the previous version of the driver by following the steps given below (you can also skip the steps and go to the Uninstall section to reinstall the driver)
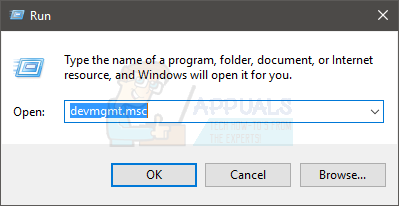
- Hold Windows key and press R
- Type devmgmt.msc and press Enter

- Locate and double click Sound, video, and game controllers
- Double click your sound card driver
- Select the Driver tab and keep it open.
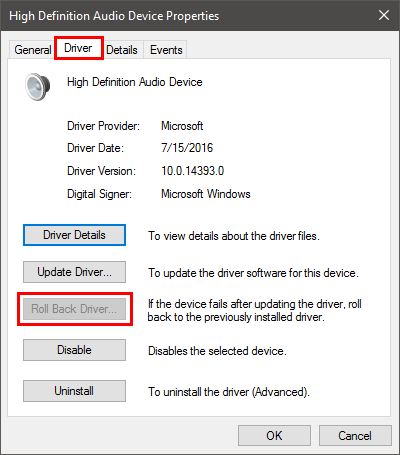
- Click the button Roll Back Driver… and follow the on-screen instructions. If this option is greyed out then move to the Uninstall section. On the other hand, if the rollback was successful then reboot and check if it resolves the issue
Uninstall
The last resort is to uninstall the driver and reboot so the Windows install a compatible version of drivers for you. This usually resolves the problem if the problem is caused by the corrupted driver or because of an incompatible driver.
- Hold Windows key and press R
- Type devmgmt.msc and press Enter
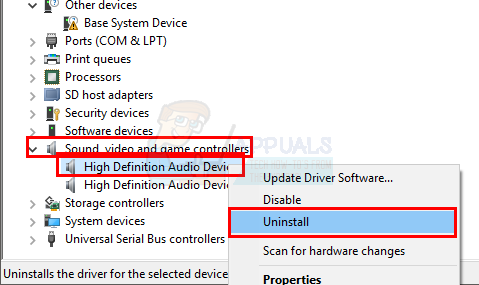
- Locate and double click Sound, video, and game controllers
- Right-click your sound card driver
- Select Uninstall and confirm any additional prompts
Once done, reboot. Windows will automatically install the driver for you on your next startup. So, try to run the Stereo Mix and check if the newer driver version has resolved the issue.
Method 8: Giving Permissions to your Microphone
If your microphone doesn’t have full permission, it can be a culprit as well. Some privacy settings allow you to disable the Microphone for obvious security reasons. Follow the steps to give permissions to your Microphone:-
- Press and hold the Windows key then press the I key to open Windows Settings.
- Now head over to the “Privacy” tab then go to the “Microphone” tab.
- Now make sure that your Microphone has access.
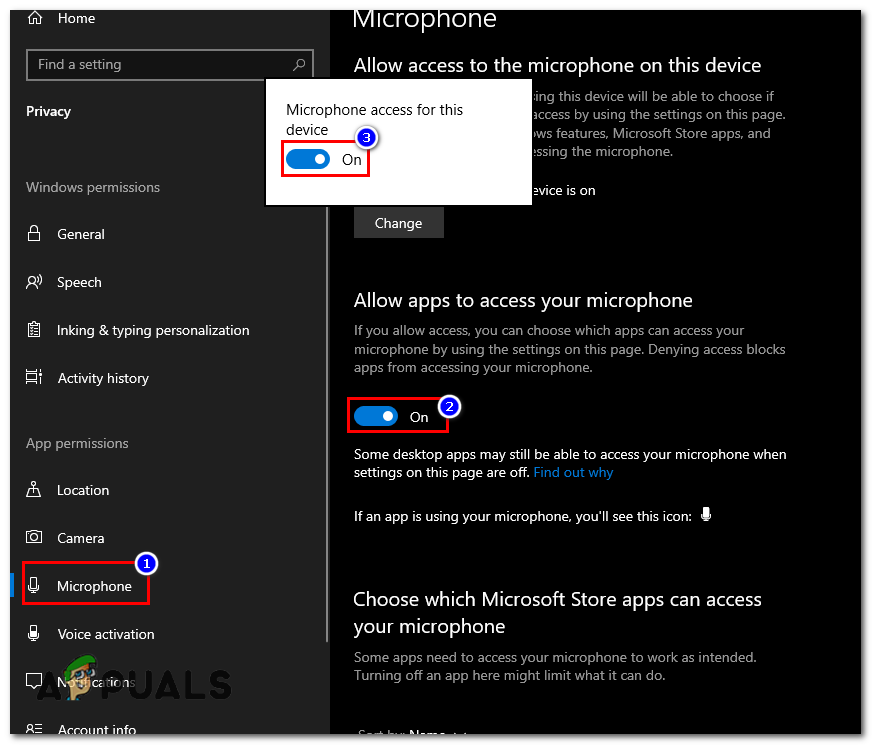
Allowing Microphone
User Suggestion:
The ‘DO NOT use HDMI for output in sound settings’ worked. Disabling these two entries IMMEDIATELY made Stereo Mix work and so the Audacity recorder. CHECK YOUR HDMI settings in Playback for the Sounds …
the Home windows settings for privacy microphone and then “Allow apps to access your microphone” switched that to “on” and it worked!!!