Fix: Steam Friends Network Unreachable
Steam is a digital distribution platform developed by Valve Corporation for purchasing and playing video games. Steam offers digital rights management (DRM), matchmaking servers, video streaming, and social networking services. Steam provides the user with installation and automatic updating of games, and community features such as friends lists and groups, cloud saving, and in-game voice and chat functionality.
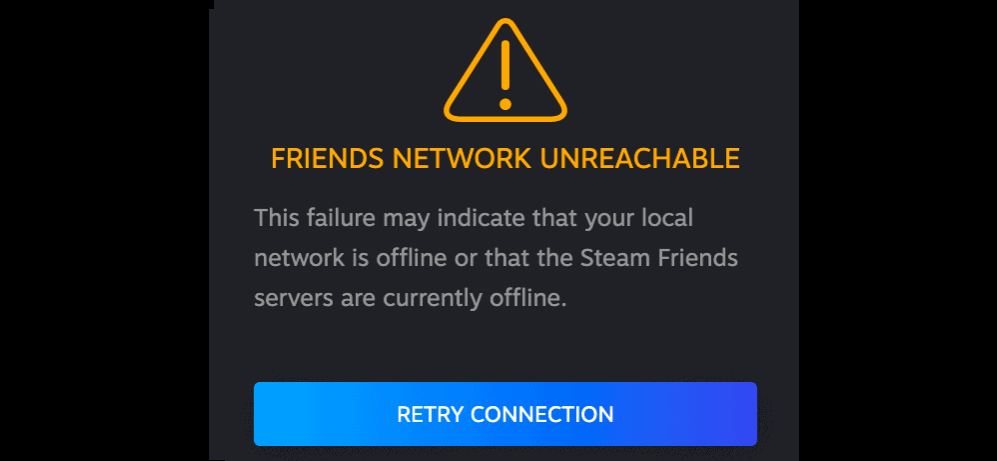
However, quite recently a lot of reports have been coming in of the “Friends List” not being available although internet connectivity is established and the account is signed in. This error remains despite refreshing the window many times. In this article, we will inform you about some of the reasons behind this error and provide you with viable solutions to ensure complete eradication of the problem.
What Causes the Friends Network to be Unreachable in Steam?
There is no specific reason as to why this error can occur but according to our reports some of the reasons why this error is triggered are:
- Beta Mode: Sometimes to test out new features the steam client rolls out beta versions of the application and there are usually some bugs in these versions. One such bug was found in the Steam Chat beta mode.
- Cache: Usually, applications store temporary files on your system to decrease loading times and increase functionality. Steam also does the same but over time this cache might become corrupted and cause issues with the application.
Now that you have a basic understanding of the nature of the problem we will move on towards the solutions.
1. Opting out of the Beta Mode
Opting out of the Beta Mode[/tie_index]Sometimes to test out new features the steam client rolls out beta versions of the application and there are usually some bugs in these versions. One such bug was found in the Steam Chat beta mode. Steam also provides users with the option to opt-out of the beta mode. For that:
- Open Steam and sign in to your account
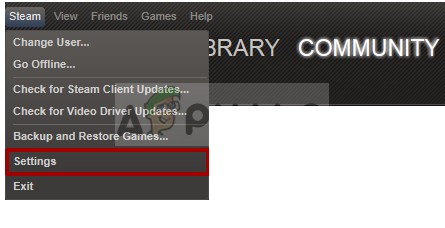
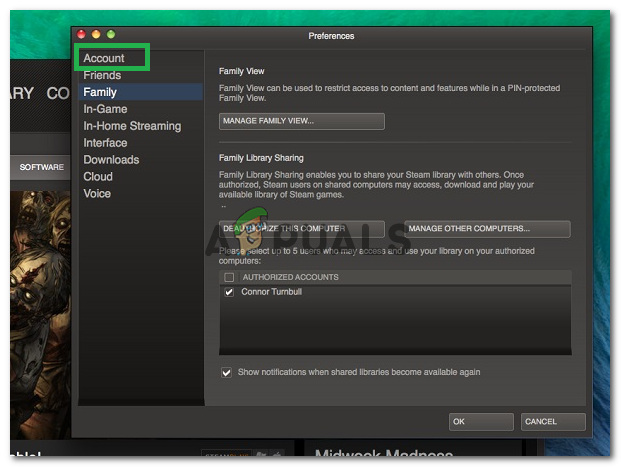
- On the top left-hand select “Steam“, click on Settings
Opening Steam settings - Inside the Account Settings, click on the “Change” option under the beta participation heading.
Clicking on the Change option inside the Account settings - Click on the dropdown and select the “None-Opt out of all Beta programs” option
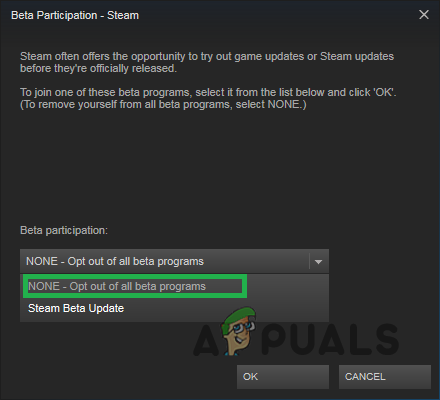
Selecting “None” - This will opt you out of the beta versions of the client and you will no longer receive the beta updates.
- Now try to access your friend list and check to see if it works.
2. Deleting Steam Cache
Usually, applications store temporary files on your system to decrease loading times and increase functionality. Steam also does the same but over time this cache might become corrupted and cause issues with the application. Therefore, in this step, we are going to be deleting the application’s cache. For which:
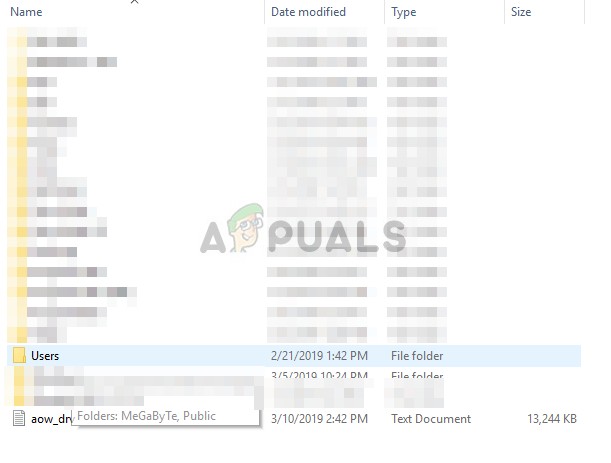
- Open “File Explorer” and Navigate to the partition in which your Windows is installed.
- Open the “Users” Folder
Opening Users folder - Open the folder with the username that you used to log in to the computer.

Opening Username folder - Inside the username folder, click on the “View” tab on the top
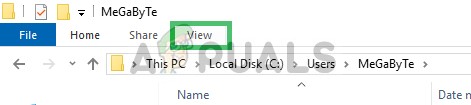
Clicking on View - Make sure to check the “Hidden Items” box

Checking Hidden items box - Now open the “AppData” folder
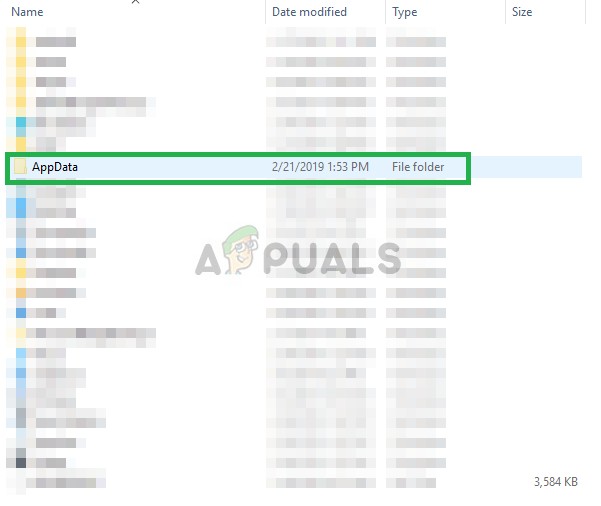
Opening AppData folder - Open the “Local” folder and delete the “Steam” folder inside it
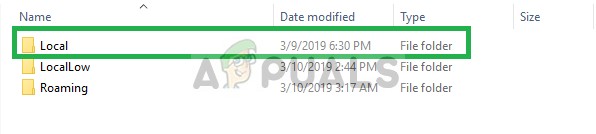
Opening Local Folder - Similarly, open the Roaming folder and delete the “Steam” folder inside it
- This will delete Steam’s cache and the application will automatically replace it with the new one.
3. Changing your Network DNS
Your DNS can be a culprit as well, we recommend you to use the Google DNS to get this issue resolved as Google DNS is better, secure, and overall a more active DNS Provider. Google DNS is undoubtedly a better upgrade over your ISP’s DNS Address. For Changing the DNS address on your Windows follow these steps below:-
- Press and hold the Windows key then press the “I” key to open Windows Settings app.
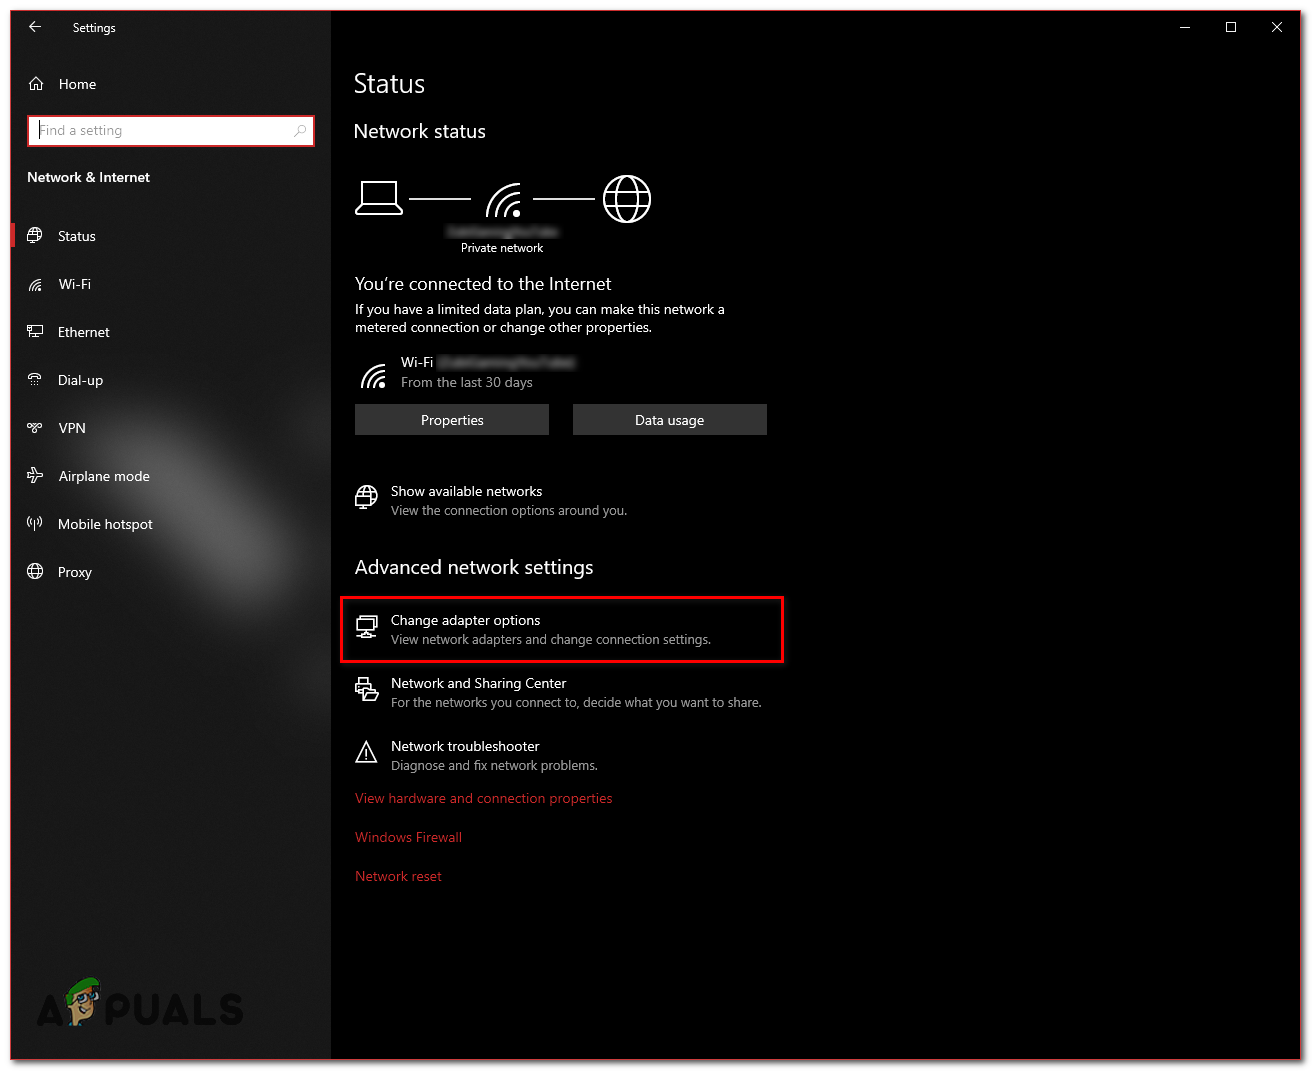
- Once the Windows Settings app is opened, head over to “Network & Internet”
- Press the option named “Change Adaptor Settings”.
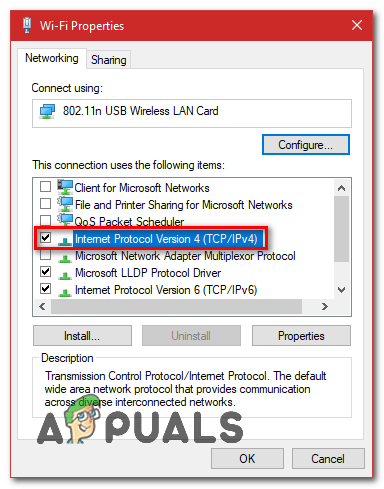
Changing your DNS Server - Now right-click on your Network Adaptor then press “Properties”.
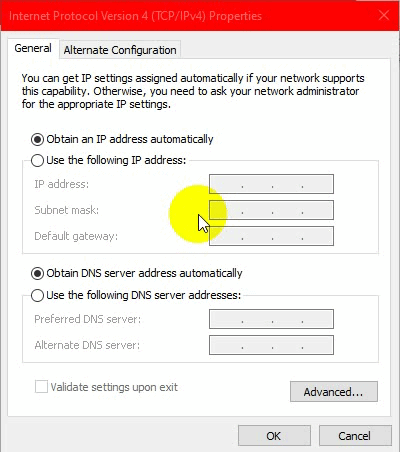
- Double-click on the “Internet Protocol Version 4 (TCP/IPv4).
- Select Option “Use the following DNS server Addresses”.
- In the preferred DNS server put “8.8.8.8” and in the alternate DNS Server type “8.8.4.4”.
Changing the DNS Server - Now click on the search bar and type “Command Prompt”, now click on “Run as administrator”.
- Type the following command:
ipconfig/flushdns
- Restart Steam and check to see if the issue still persists
If none of these methods worked out for you, it’s worth it to check if your Time zone is messed up in your Windows Settings.