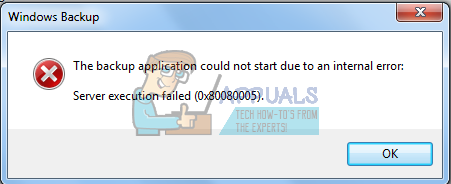
Fix: Server Execution Failed Error 0x80080005
If you are trying to create a backup of all the data stored on your computer using Windows’ Backup and Restore functionality or trying to create a system restore point and see an error message containing error code 0x80080005, you are affected by rare Windows problem. The problem in question renders affected users incapable of backing up the data stored on their computers or creating system restore points, and displays an error message containing error code 0x80080005 whenever they try to do so. The Windows Operating System’s Backup and Restore program and its ability to create system restore points and revert back to them on the user’s command are extremely handy and instrumental features, which is why not being able to use either one is quite a significant problem.
This problem first came to light back in the days of Windows 7 but has managed to carry itself over to every version of the Windows OS released since, which is why it also affects Windows 10 users. The error messages that users affected by this issue run into state that the backup application could not be started or a system restore point could not be created due to an internal error. In this case, this kind of an error message points toward some kind of an issue with the files and/or folders that the Windows OS uses to create backups and/or system restore points.

In almost all cases, this problem is caused by the affected computer, for some reason, not having full control over the System Volume Information folder. Since we know the cause of this problem, we also know that granting an affected computer full control over the System Volume Information folder rectifies the situation and resolves the problem. In order to do so, you need to:
- If you are using Windows 7, open the Start Menu, search for “cmd”, right-click on the search result titled cmd and click on Run as administrator. If you are using Windows 8, 8.1 or 10, press the Windows Logo key + X to open the WinX Menu, and click on Command Prompt (Admin) in the WinX Menu.
- Type the following into the elevated Command Prompt, replacing X in both instances with the letter corresponding to the partition or your computer’s hard drive that Windows is installed on (for most people, this is C:), and press Enter.

- Wait for the command to be fully executed, and once it’s been executed, close the elevated Command Prompt.
- Restart your computer and, once it boots up, try creating a backup and/or a system restore point and see whether or not the problem has been fixed.