Fix: “An Internel Error Occurred” Connecting to RDP
The “Remote Desktop Connection: An Internal Error has Occurred” message while attempting to connect to a desktop or laptop through the Remote Desktop Connection, users typically experience an immediate disconnection attempt or failure to establish the remote connection entirely.
This error indicates a problem within the Remote Desktop Protocol (RDP) service, often due to misconfigurations or conflicting settings. The most common cause of this issue is a discrepancy in the Security layer settings between the client and the server.
Other potential causes include issues with the Remote Desktop service itself or network-related problems such as VPN conflicts or firewall restrictions.
Now that we know the details and causes of this particular issue, let’s proceed with resolving this error.
1. Change RDP Security Settings
Restrictive and incompatible group policy configurations can sometimes interfere with Remote Desktop connections.
Specifically, setting the “Require use of specific security layer for remote (RDP) connections” policy to Enabled and selecting RDP as the security layer mitigates conflicts that can arise from the default or improperly configured settings.
- Open the Group Policy Editor by pressing Windows key + R and typing gpedit.msc.
Opening Run Window - Navigate to the following path:
Computer Configuration -> Administrative Templates -> Windows Components -> Remote Desktop Services -> Remote Desktop Session Host -> Security
- Enable the policy “Require use of specific security layer for remote (RDP) connections” and set the Security Layer to RDP.
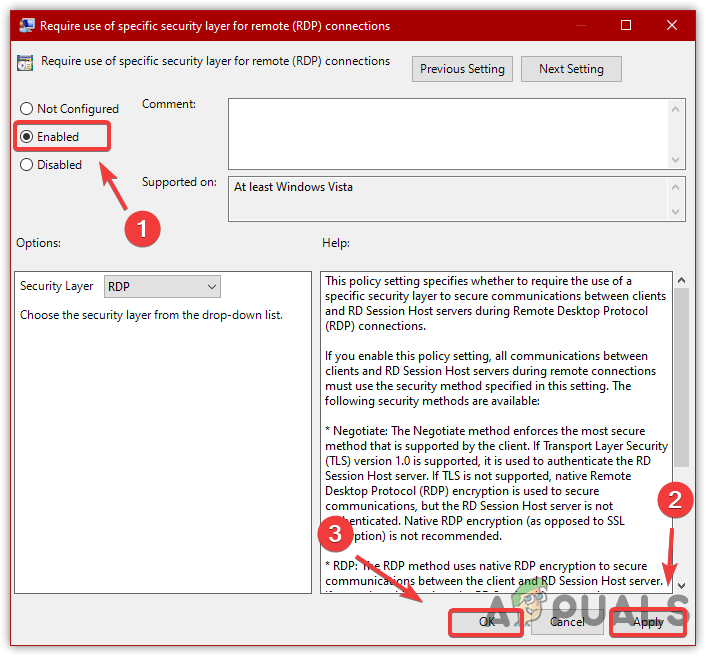
Enabling RDP Security Layer Settings - Restart your computer, then try reconnecting to see if the error has been resolved.
2. Allow Remote Connections
If the ‘Allow Remote connection’ option is not enabled, Windows will block external connections as a security precaution. Enabling this option ensures that the system can accept remote desktop requests, which is often a necessary change to resolve related errors.
- Press the Windows key and type View Advanced System Settings.
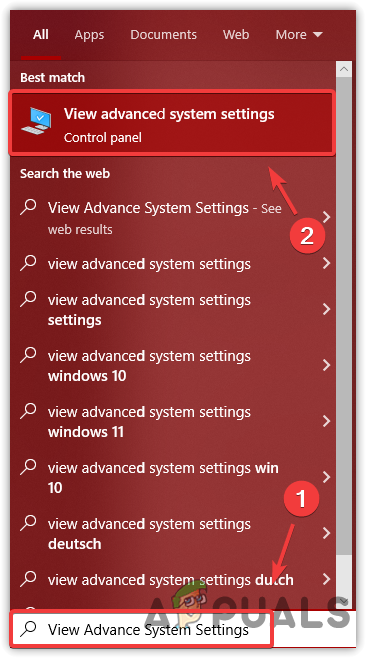
Opening Advance System Settings - Hit Enter to open System Settings.
- Click on the Remote tab.
- Choose the option Allow Remote Connections to This Computer.
- Click Apply, then OK.
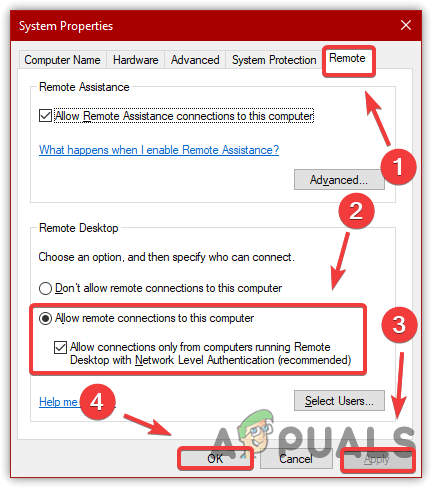
Allowing Remote Connection - Attempt a Remote Desktop connection to see if the error has been resolved.
3. Enable “Reconnect If Connection Drops” Option
The Remote Desktop Connection client includes an option that allows users to automatically reconnect upon an unexpected disconnection.
When this option is activated, the RDP client automatically attempts to re-establish a session without user intervention should the connection momentarily drop.
This could potentially bypass temporary network glitches that could otherwise result in an internal error notification.
- Press the Windows key and type Remote Desktop Connection.
- Click Show Options.
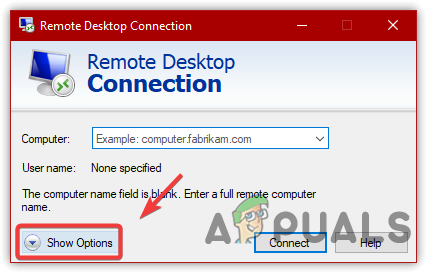
Click Show Options - Select the Experience tab and check Reconnect If the Connection Is Dropped.
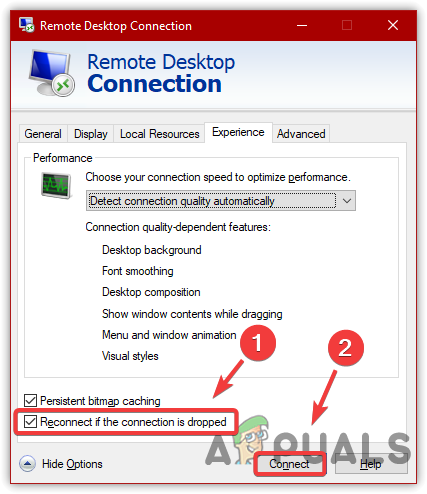
Enabling Reconnect If The Connection Is Dropped - Try connecting to a Windows system to see if the issue has been resolved.
4. Delete MachineKeys
MachineKeys are important for creating secure communication channels between systems, such as when utilizing Remote Desktop.
If these keys become corrupted, the secure channel may fail to establish, prompting the internal error.
Removing the corrupt MachineKeys and forces the system to regenerate new, better ones, that may resolve the problem.
- Navigate to the following path using File Explorer:
C:\ProgramData\Microsoft\Crypto\RSA\MachineKeys
- Right-click on the f686… file and select Delete.
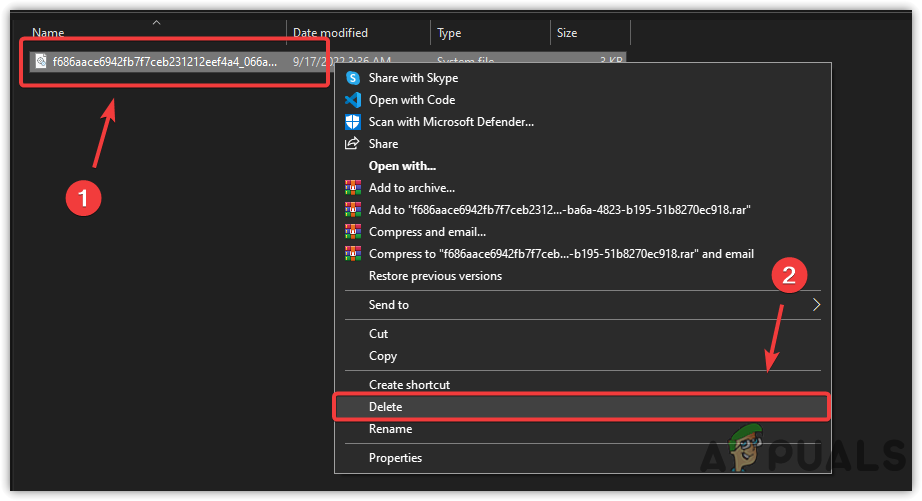
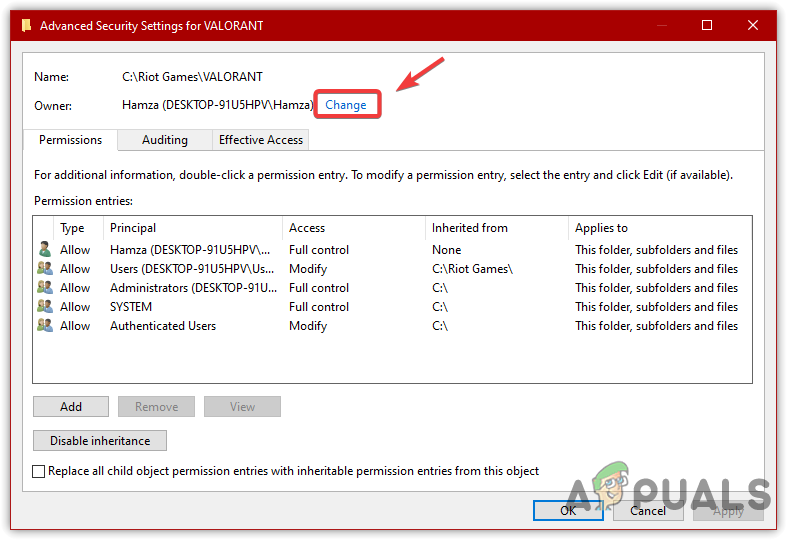
Deleting Machine Key File - If an error occurs, access the file properties by right-clicking and selecting Properties.
- Go to the Security tab and click Advanced.

Opening Advanced Folder Settings - Click Change and enter your local account username.
Click Change - Then click Check Names and select OK.
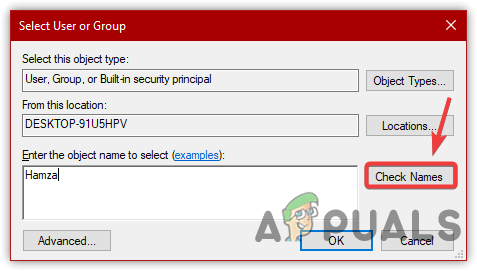
Entering Microsoft Local Account Name - Click Add, then Select A Principal.
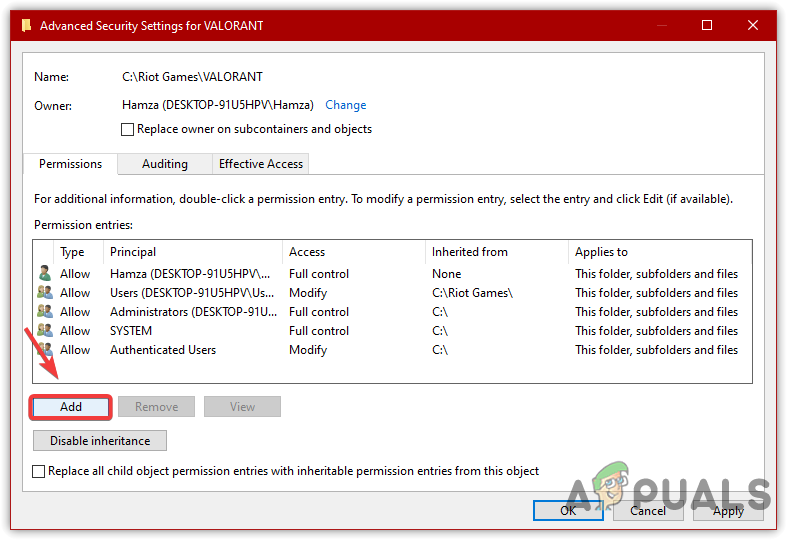
Clicking Add Button - Type the username again, then click Check Names, followed by OK.
- Grant all permissions under Basic Permissions.
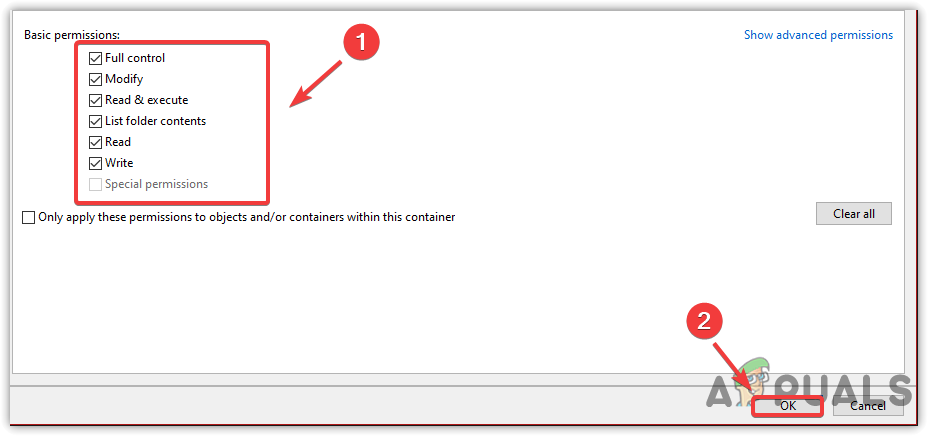
Taking Full Access to the File - Click OK, then Apply, and again OK.
- Select OK again to close the window.
- Attempt to delete the file once more to see if the error is resolved.
5. Restart Remote Desktop Service
The Remote Desktop Service is essential for all RDP related processes. If it’s not functioning correctly, it could cause the error.
Sometimes, this service might encounter issues or bugs that prevent it from operating correctly. Restarting the service can re-establish RDP connections that may resolve the problem.
- Press the Win key and type Services into the Start Menu.
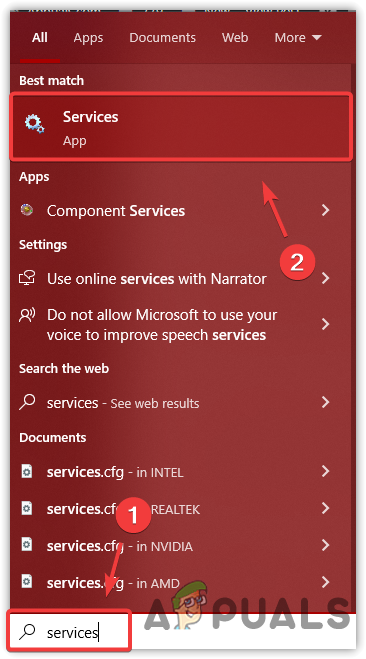
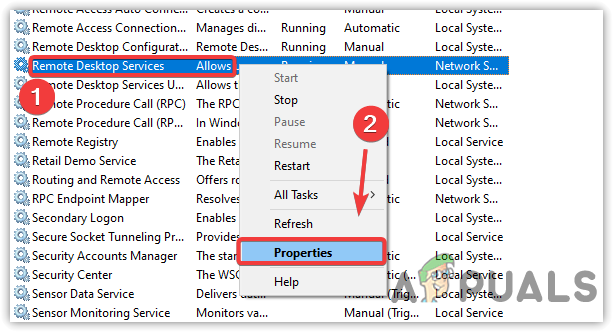
Opening Services App - Open the Services window and locate Remote Desktop Services.
- Right-click the service and select Properties.
Opening Service Properties - Set the startup type to Automatic.
- Click Apply and, if the service is stopped, click the Start button.
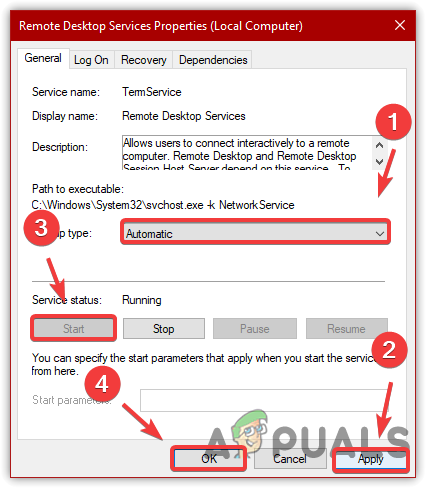
Restarting RDP Service - Check if restarting the service resolves the issue.
6. Disable VPN
VPN(s) modify your network routing, which can create conflicts or restrictions in connecting to remote systems. Therefore, you must disable your VPN if you want to connect to another computer through RDP succesfully.
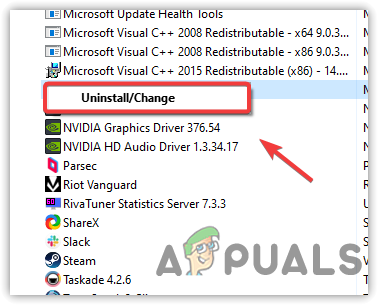
- Press the Windows key, type Appwiz.CPL, and click OK.

Opening Programs And Features - Select the VPN application and choose Uninstall.
Uninstalling VPN Program - To deactivate the proxy, refer to the first method mentioned in this article.
- After completing these steps, verify if the issue has been resolved.


Solution 0:Run the Certificates MMC as Local Machine
Find your Remote Desktop certificate
Delete it
Restart the Remote Desktop ServiceYou should advise readers disabling NLA is a bad idea, and doing so makes their machine less secure.Cheers,
D.