Fix: Rainbow Six Siege Error Code 3-0x0001000b
Rainbow Six Siege server connection error - servers are unreachable
Rainbow Six Siege is an awesome shooter available on plenty of platforms but it definitely has its issues on various platforms. The real problem is that there is not a lot of people talking about these errors and plenty of people struggle to find adequate solutions for it.

We have decided to go online and gather all solutions for which people have confirmed that they worked for them and we have put them together in a single article.
What Causes Rainbow Six Siege Error Code 3-0x0001000b?
Here is a short list of the most common causes for this particular error code:
- Broken or missing game files
- Faulty LAN connection settings
- Server being too far or not working properly
- Ports used by the game are blocked by your router
Solution 1: Verify the Integrity of Game Files
This highly successful method is probably the best thing you can do if you have purchased the game via Steam. This will scan your game files for missing or corrupt files and redownload them from the Steam servers. It was proven successful for the Rainbow Six Siege Error Code 3-0x0001000b and we hope it will help you as well!
- Make sure you open Steam by double-clicking its icon on the Desktop or by searching for it in Start menu. Switch over to the Library sub-section and locate Rainbow Six Siege in the list of games you own in your library.
- Right-click on its name in the list and choose Properties from the context menu which will appear. Navigate to the Local Files tab and click the Verify Integrity of Game Files button.

- The tool should download any missing or corrupt files and you should launch the game afterwards and see if the the Rainbow Six Siege Error Code 3-0x0001000b message keeps appearing.
Solution 2: Automatically Detect LAN Settings
Your Internet connection settings are highly relevant to this error as it often appears if there are errors while connecting to Rainbow Six Siege servers. This setting will automatically detect proper in-game settings and hopefully prevent the error from occurring ever again.
There are two ways you can locate this option so follow the steps you find the easiest!
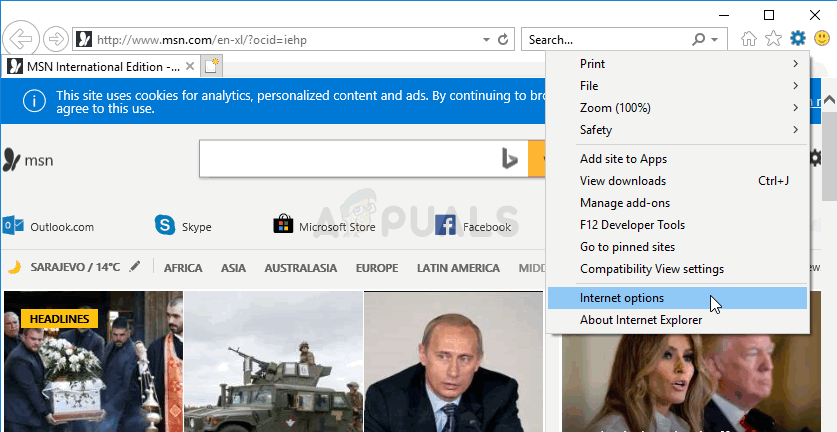
- Open Internet Explorer on your PC by searching for it on the Desktop or the Start menu. Click on the cog-like icon located in the top right corner. From the menu which opens, click Internet options in order to open a list of related connection settings.
- Navigate to the Connections tab and click on LAN Settings. Check the box next to Automatically Detect Settings.
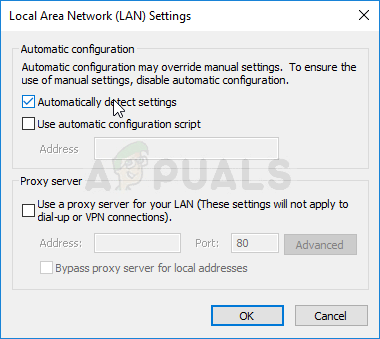
- Make sure you Apply the changes you made and restart your computer before you check to see if the Rainbow Six Siege Error Code 3-0x0001000b still appears.
Solution 3: Edit a Configuration File
Another successful method which might get rid of the problem is editing a certain file which holds configuration settings for the game. The thing you are about to change is the server the game uses to connect. It’s set to “default” but the server you are trying to connect to might be far away or it may have issues.
- Open the File Explorer on your computer and navigate to Documents by clicking its entry at the left navigation pane. Open the My Games folder inside!
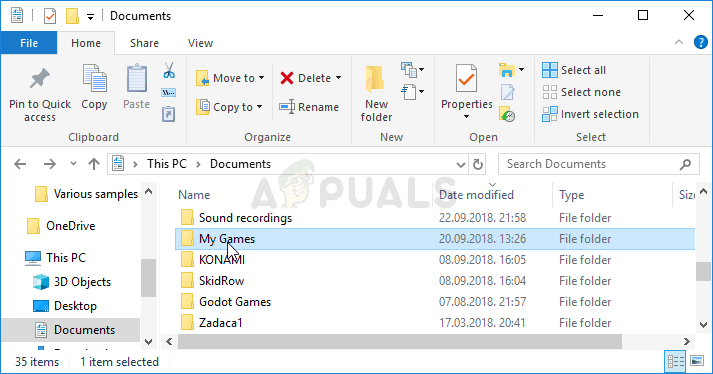
My Games in Documents - Locate a folder Rainbow Six – Siege and double-click to open it Do the same for the folder named “7564b1ec-0856-4f93-8aef-71232c035d75”. Also, locate a file named “GameSettings”. Right-click the file and choose Open with >> Notepad from the context menu in order to edit it.
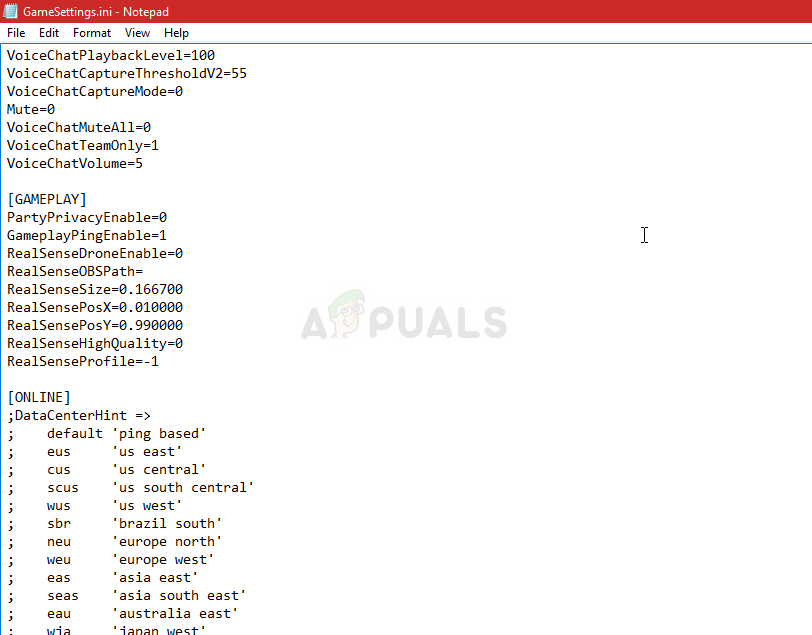
GameSettings.ini configuration file - Scroll down to the bottom of this document to find a “Server” setting. The default value for it should be “default”. Change the value next to it to a three-letter code representing a server. There should be a list of available servers so make sure you choose the one closest to you. Use the Ctrl + S key combination in order to save the changes.
- Try running the game again in order to check if the Rainbow Six Siege Error Code 3-0x0001000b keeps occurring after performing these steps.
Solution 4: Configure a Static IP for Your PC and Open Certain Ports
Configuring a static IP for your PC is an easy process and it can be handles easily. What it allows you to do is to open certain ports used by the game. Users have suggested that this has worked for them and it makes sense considering the fact that the game needs these ports.
- Make sure you open a Command Prompt by searching for “cmd” or “Command Prompt” in the Start menu.
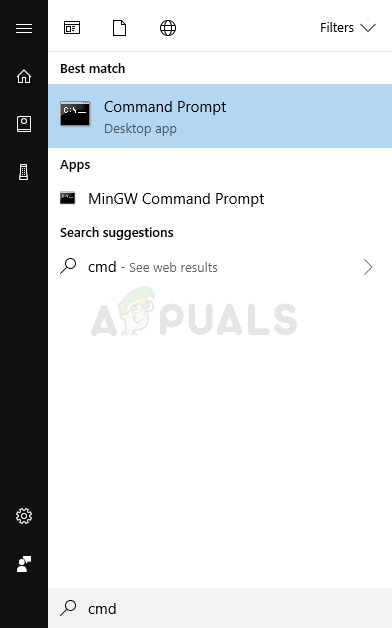
- Type in the command which will be displayed below and scroll down towards the network adapter which corresponds with the connection you are using. Take note of Default Gateway, Subnet Mask, MAC and DNS addresses.
ipconfig /all
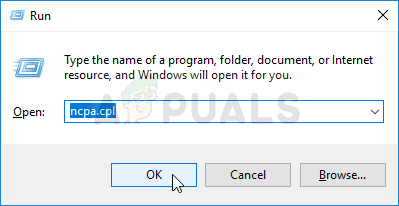
- After that, Use the Windows + R key combo which should immediately open the Run dialog box where you need to type ‘ncpa.cpl’ in the bar and tap OK in order to open the Internet Connection settings item in Control Panel.
- Double-click your active Network Adapter and click on the Properties button. Locate the Internet Protocol Version 4 (TCP/IPv4) item on the list. Tap on it in order to select it and click the Properties button below.
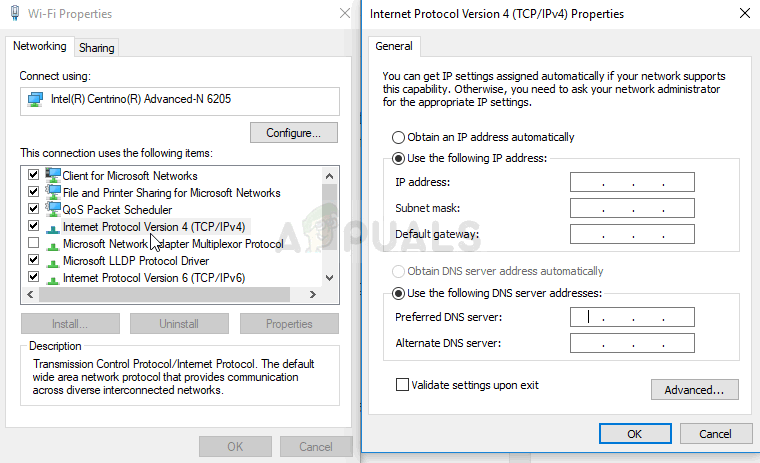
- Stay in the General tab and switch the radio button in the Properties window to “Use the following DNS server addresses” and use 8.8.8.8 and 8.8.4.4 respectively. Switch to “Use the following IP address and use the same number as the Default Gateway but change the last digit after the last dot so something else. Fill out other information the same as you took note.
It’s time to login to your router and allow a few ports.
- Open your preferred Web browser, type your Default Gateway number (IP address) into the address bar, and press Enter. Enter the username and password. It should be available online.
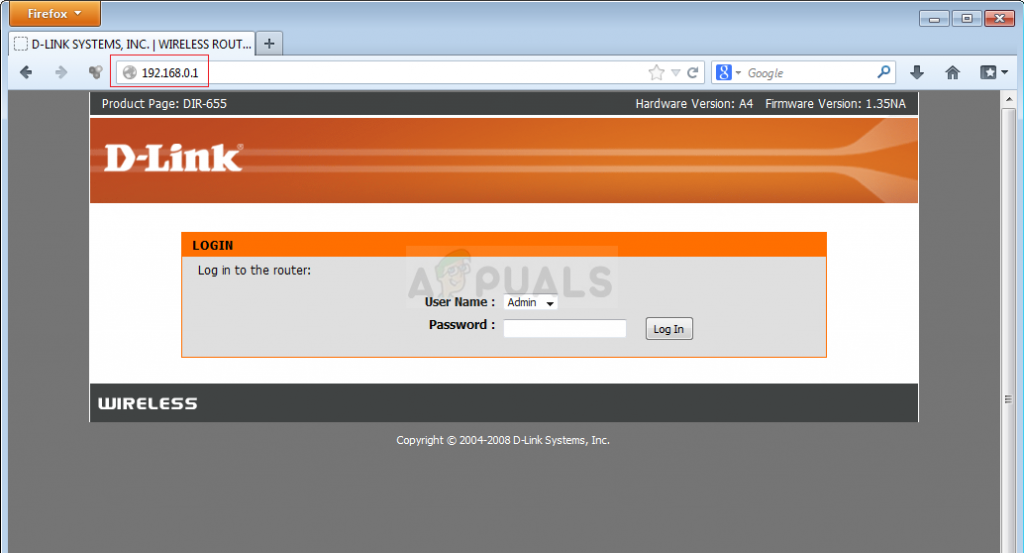
- First of all, find the Enable Manual Assignment setting and click the radio button next to Yes. Locate the window which allows you to type in the MAC address and the IP address of your choice so type in everything you have gathered in the previous steps for your respective console.
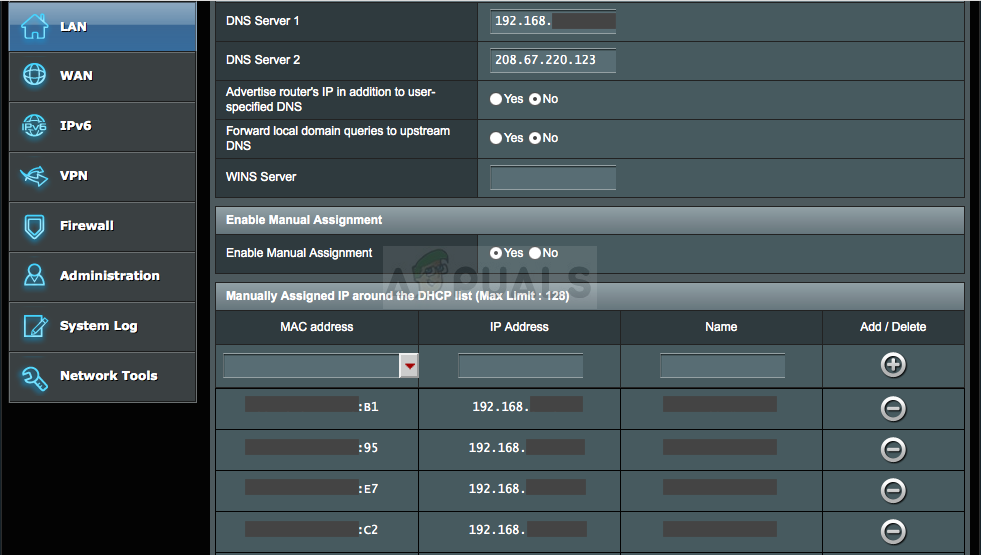
- After you have done that, click on the Add option and you have now added your console’s IP address to your router.
- Find the Port Forwarding section while still logged into your router’s interface. Each router will provide different steps for this.
- Enter a range of ports to open under Start and End or use single ports for internal and external traffic. Specially, for Rainbow Six Siege, there are several ranges you will need to open in your router and they are presented below:
TCP: 80, 443, 14000, 14008, 14020, 14021, 14022, 14023 and 14024.

UDP: 3074 and 6015
- Enter the static IP address you created for your PC in the steps above and make sure you click on the Enable option if it is available.

- Click on the Save of Apply button and make sure you restart both your router and your console in order to fully apply these changes.


