Fix: PUBG Stuck on Loading Screen
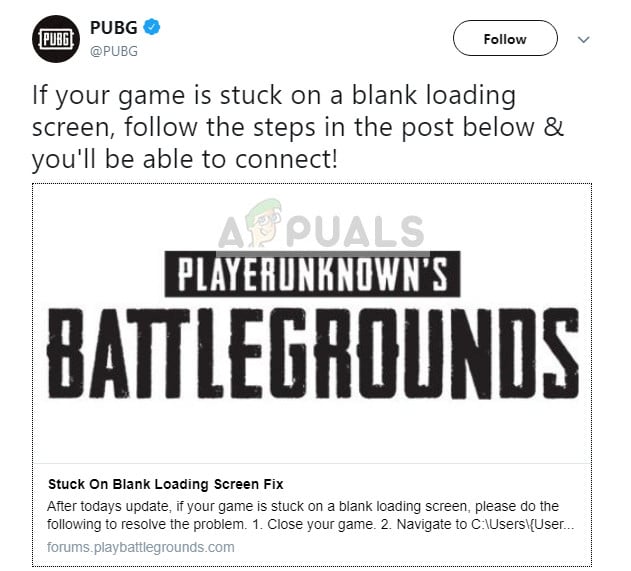
There have been numerous reports of PUBG (PLAYERUNKNOWN’S BATTLEGROUNDS) being stuck on the loading screen. This issue has been so widespread that it was officially acknowledged by the company’s official Twitter and a workaround was posted.
The reason why this error occurs is unknown but was seen to happen more frequently in systems containing AMD graphics. The reasons range from bad hardware compatibility, resolution problems, Battleye client, GeForce Experience, etc. We have listed the workarounds starting with the easiest on the top and the tedious ones at the bottom. Take a look.
Solution 1: Making Sure the Game is Updated
Since this is a known issue with official acknowledgment, developers have since started to roll out updates to fix this issue. Make sure that you have the latest Windows updates installed as well as the latest version of PUBG.
If you do an update, make sure to restart your computer and check if you have a stable internet connection before proceeding.
Solution 2: Deleting GameUserSettings.ini
PUBG officially communicated a workaround for the game getting stuck in the loading screen. According to tech officials, you have to delete the game user settings present on your computer. These game user settings contain all the configurations which are saved against your game such as the resolution and other local settings. Deleting it seems to solve the problem.
- Close all running applications and games. Now navigate to the following directory:
C:\Users\{UserID}\AppData\Local\TslGame\Saved\Config\WindowsNoEditor\ Here the item {UserID} corresponds to the User ID which is unique for each one of you. You can easily see the ID by navigating to the address and selecting your profile.
- Now delete the file “GameUserSettings.ini” and restart your computer.
- Open your Steam client and click “Library” present on the top. Here all your installed games will be listed.
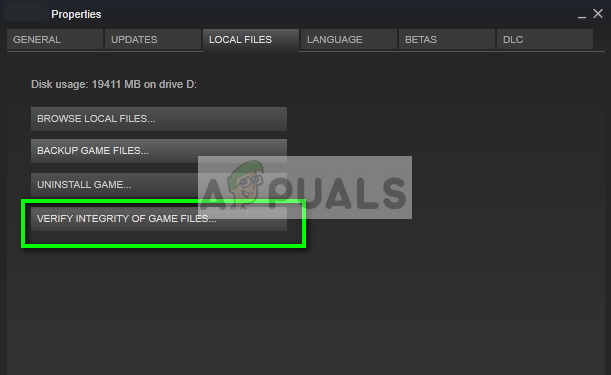
- Right-click on PUBG and select Properties.
- Once in the properties, browse to the Local Files tab and click on the option which says Verify Integrity of Game Files. Steam will then start verifying all the files present according to the main manifest it has. If there is any file missing/corrupted, it will download that files again and replace them accordingly.
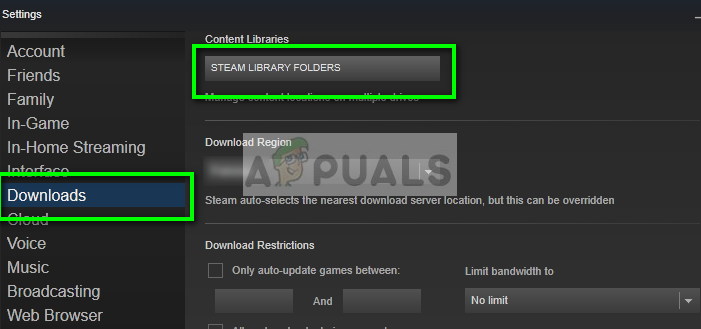
- Now navigate to your Settings by pressing the Settings option after clicking Steam present in the bottom left corner of the screen. Once in the Settings, open the Downloads tab present at the left side of the interface.
- Here you will see a box in which it is written “Steam Library Folders”. Click it
- All your steam content information will be listed. Right-click on it and select “Repair Library Files”.
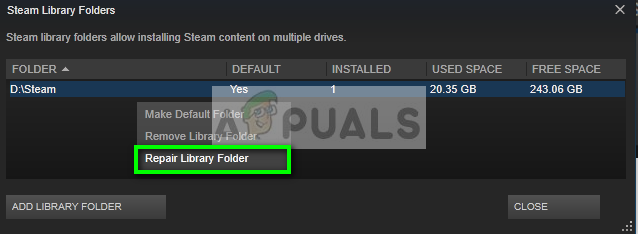
- Restart Steam and check if you can play PUBG without it getting stuck on the loading screen.
Solution 3: Disabling Experimental features NVIDIA GeForce Experience
GeForce is a brand of graphics processing units (GPUs) designed and marketed by Nvidia. They consist of high-end units made to deliver performance in any machine. There is an application named GeForce Experience which helps you optimize games, take recordings, and help you update the drivers whenever necessary.
There is an option in the GeForce Experience application which enables experimental features on your computer. Experimental features are features that are not permanently implemented in the whole architecture and are there just for trial purposes.
- Open your GeForce experience application, click on the ‘gears’ icon present on top of the screen so settings can come forth.
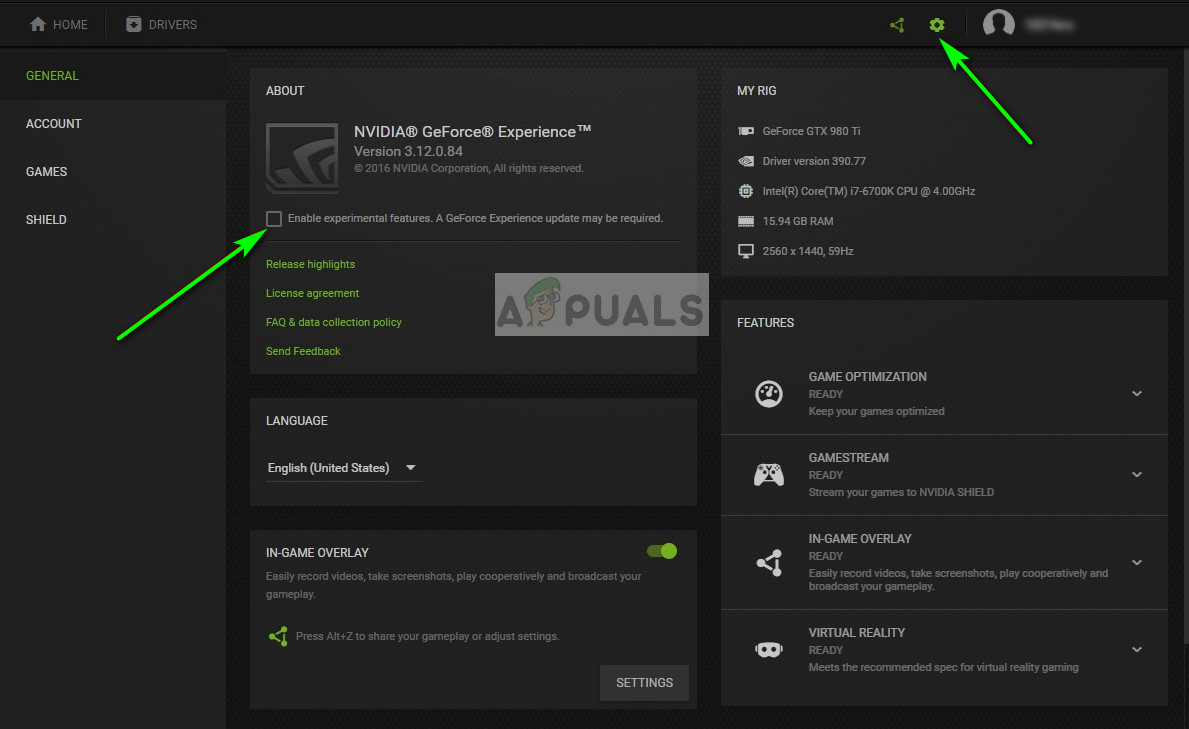
- Once the settings are here, uncheck the box “Enable experimental features. A GeForce Experience update may be required”. Once unchecked, save changes and exit. Restart your computer and try launching the game again.
Solution 4: Switching to SSD
Solid State Drives (SSD) are a type of storage device which has lesser access and write time as compared to standard hard drives. These SSD’s are a rocket in loading up games, booting Windows, or extracting files for any program when needed.
Although modern hard drives are no less, the stuck loading screen issue seems to be solved if the game is moved to an SSD. Moved to an SSD meaning either it is installed there from scratch or moved using the methods outlined by Steam itself.
Move the game to an SSD and make sure that you have the minimum amount of RAM on your computer. An ideal number would be 16 gigs.
Solution 5: Lowering Display Resolution
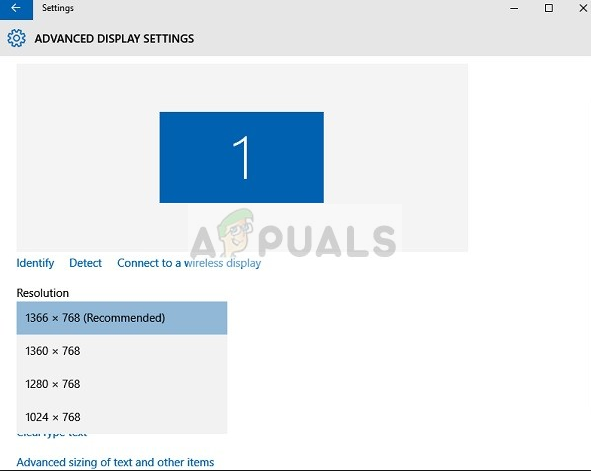
If PUBG fails to get past the loading screen, it probably means there is a problem with the display resolution or there are some aspect ratios that aren’t supported. You should try to lower your Monitor’s or TV’s display resolution and try again.
If this doesn’t work, you can try running the game in windowed mode and see if this does the trick. You can access these settings by right-clicking on the application and navigating to the compatibility tab.
Solution 6: Disabling Antivirus Software
The reason why this error might occur is that of interference from Antivirus software installed on your computer. There are several options that protect your computer by also monitoring different applications running and the kind of resources they are using.
In this solution, you have to explore yourself and see if there are any settings in your antivirus which might be providing these services. Furthermore, you should the game as an exception to prevent all of these problems from happening.
If you are still unable to fix the problem, you can try disabling your antivirus. Restart your computer after disabling and see if you can access the sites without any problem.
Solution 7: Disabling Overclock
Overclocking and running your hardware at a faster pace than it was originally designed for can actually be risky and can damage your processor. This could be one of the major causes behind the occurrence of this glitch. So, avoid setting your CPU at a higher speed than the official speed grade. If you want to run your game smoothly and avoid its crashing then set back the CPU clock speed rate to its default settings. This could help fix the error.
This might not be a piece of good news for overclockers but there have been many reports that PUBG doesn’t play well with overclocking and especially if you have a CPU clock active on your computer, it is recommended to dial it down a bit and check if the game works at normal clock speeds. If the game still doesn’t work, you could always go back to the overclock and we can conclude that the overclocking wasn’t the trigger behind this issue.
Solution 8: Update and Install Drivers
An outdated or corrupted Network Adapter Driver can also cause this particular issue with PUBG and other software/games installed on the computer. Most applications require a stable internet connection with their servers for proper functionality. Therefore, in this step, we will be updating the Network Adapter Drivers automatically through software called Driver Easy. This step is also necessary because it will also allow us to spot any missing drivers and install them on our computer. In order to do that:
- Firstly. download the DriverEasy software and run the executable to install it on your computer.
- Run DriverEasy and select the “Scan Now” button to allow the software to look for any missing, outdated, or corrupted drivers on your computer.
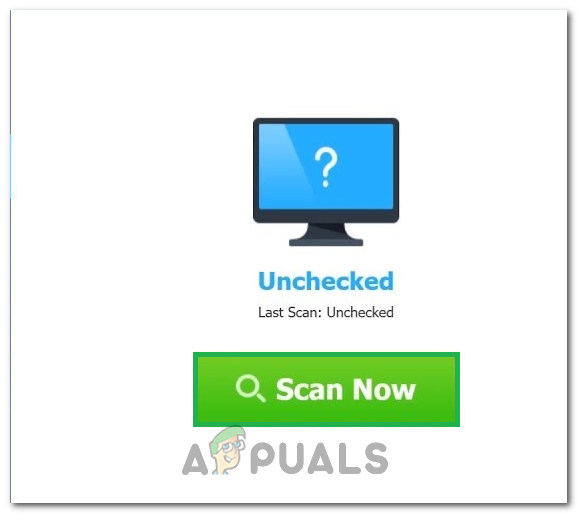
Clicking on the “Scan Now” button - Next, click the “Update” button next to a flagged network adapter driver. This will automatically download the correct version of the network driver. After it, you can install it manually (using the Free version).
- If you select Update All it will automatically download and install the appropriate and matched versions of all the drivers that are either missing or outdated on your PC. But you require a Pro version for this one. You will be notified of the upgradation once you select the Update All option.
- After this, ensure that you have all the drivers installed by running the scan again and then check to see if this issue still persists.
Solution 9: Add a Firewall Exception
It is possible that the game might be getting blocked by the Winodws Firewall due to which it might be unable to properly establish a secure connection with the PUBG servers. Therefore, in this step, we will be adding a Firewall Exception on our computer to rectify this issue. For that, we will be creating Inbound and Outbound rules in the Firewall.
- We need to identify the exact installation location of PUBG and for that purpose, launch Steam on your computer and click on the “Library” option.

Library of Steam - In the list of installed games, right-click on PUBG and then click on the “Properties” option.
- Open the local files tab and then select Browse local files. Clicking it would redirect you to the games folder in your File Explorer.
- Here select TsiGame > Binaries > Win64.
- A directory would pop up on your screen, click on its link on the top of the File Explorer and Copy this for future use.
- Now we need to erect a new Inbound rule in the Windows firewall since we know the local file directory for PUBG.
- Press “Windows” + “R” on your computer and type in “Control Panel” and press “enter” to launch it.
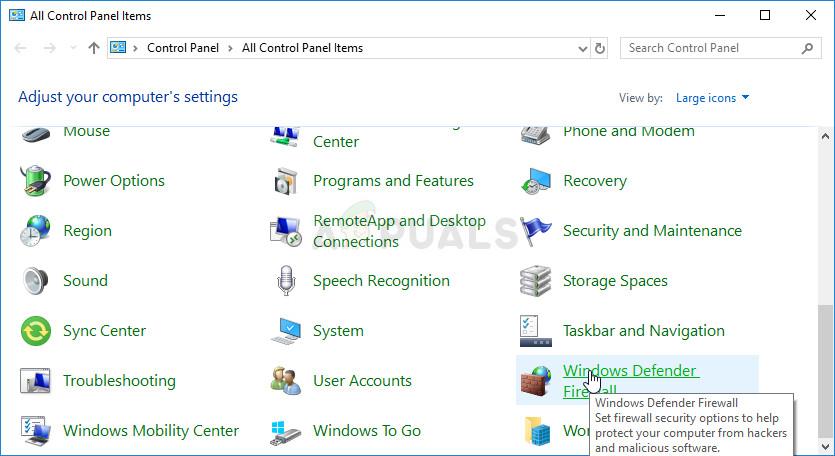
Accessing the Classic Control Panel interface - In the Control Panel, click on the “View By:” option and then select the “Large Icons” button.
- Click on the “Windows Defender Firewall” option and then click on the “Advanced Settings” option.
Windows Defender Firewall in Control Panel - Select “Inbound Rules” option from the left side of the window and then click on the “New Rule” option on the right side.
- In this window, you need to select the “Program” option if it is not selected by defaulting click on Next.
- Select the option of “This Program Path” and paste the link of the directory you just copied in the empty box below and click on “Next”.
- In the next window, make sure that the “Allow the Connection” option is selected and click on “Next”.
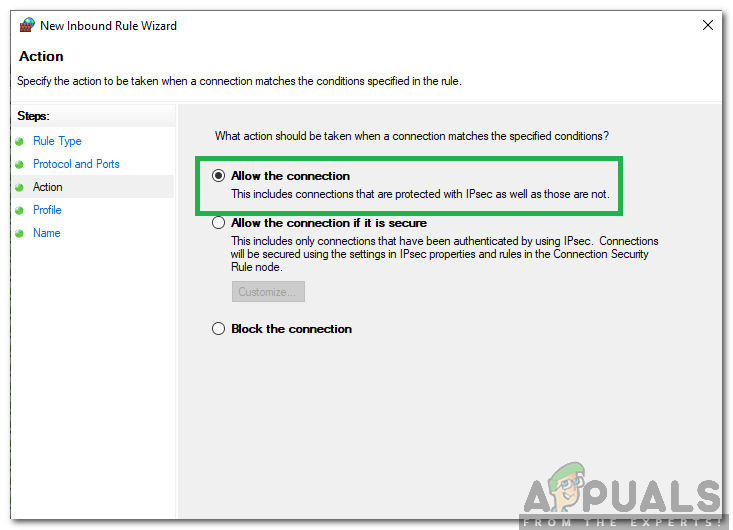
Selecting the “Allow the connection” option - Continue on with the next window containing the option of “When does this rule apply?”. Again, click Next.
- Enter any name for this rule and finally hit Finish. This would end the process of creating a New Inbound rule.
- Once completed with the Inbound Rule now you need to create a New Outbound Rule for your game file.
- Following the same procedure as in Inbound Rule open the Windows Defender Firewall again from the Control Panel. First, click Outbound Rules in the left pane and then select New Rule in the right pane.
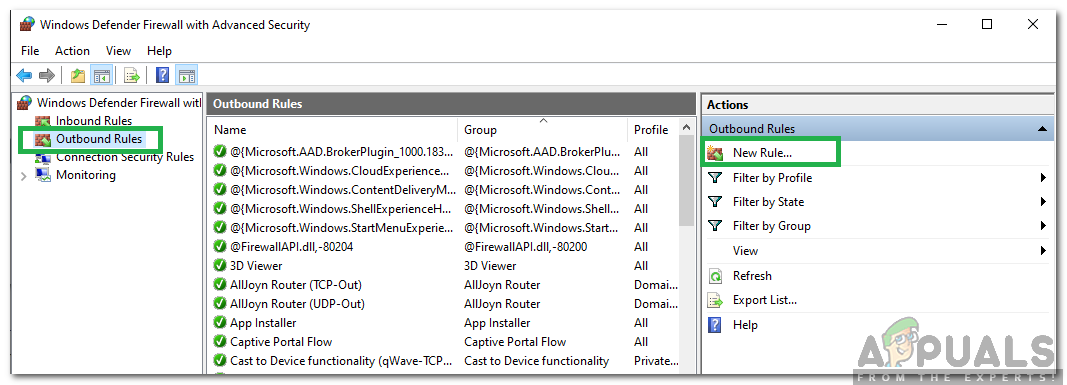
Clicking on “Outbound Rule” and select “New Rule” - Next select Program if it is not selected by default and click Next.
- Select the option of “This Program Path” and paste the link of the PUBG file directory in the empty box below and click Next.
- In the next window leave “Allow the connection” selected and click “Next”.
- Continue on with the next window containing the option of “When does this rule apply?”. Again, click Next.
- Enter a specific name here for a new Outbound Rule and finally hit Finish.
- Lastly, close all the tabs in your PC and restart your system, launch “PUBG” and check if the issue got fixed now.
If this issue fixes the issue on your computer, you will have to redo it if the game updates again so make sure that after every update, you repeat this process and create the rule again.
Solution 10: Stop BeServices
Terminating and restarting the background processes for your game respectively could also be an effective solution to this error. You can turn off the BEServices from the Task Manager by following these steps:
- Open Steam in your PC and then select PUBG to open it.
- Press the Windows + R key simultaneously on your keyboard to open the Run dialog box.
- Here type “taskmgr” in the empty box and press OK.

Running the Task Manager - Another processes tab would pop up on your window screen. Here search for BEServices and click End Task.
- This will automatically lead to the closure of your game. If not, you can turn it off manually and restart your PC.
- Check to see if the issue persists.
Solution 11: Flush IP Config
It is possible that your IP settings aren’t configured properly due to which this error is being shown on your game. Therefore, in this step, we will be flushing these configurations from the command prompt. In order to do that, follow the steps listed below.
- Press “Windows” + “R” to launch the Run prompt, type in “cmd” and press “Shift” + “Ctrl” + “Enter” to provide admin permissions.

Running the Command Prompt - Type these commands respectively in the command prompt window and hit Enter every time:
ipconfig/release
ipconfig/all
ipconfig/flush
ipconfig/renew
netsh int ip set dns
netsh winsock reset
- Execute all the commands and then exit from the Command Prompt window.
- Finally, restart your computer and now check to see if this error got resolved.
Solution 12: Change Network
Many of the players suggested that switching their network connection proved to be beneficial in unlocking the loading screen in PUBG. If you get stuck with this error just try to disconnect your router and use hotspot connection from your mobile. This can sometimes be due to an issue with the ISP so you can easily diagnose and eradicate this issue by changing the network and checking if the issue still occurs after doing so.
Solution 13: Update .NET Framework
Updating Microsoft. NET framework helped some players to overcome the loading screen error. This software allows different programming languages to communicate with your PC more easily. To update your Microsoft. NET framework proceed as follows:
- Visit the Microsoft. NET framework 6.2 website.
- Click the “Download .NET framework 4.6.2 Runtime” button.
Clicking on the Download button - Run the downloaded program.
On Internet Explorer and Microsoft Edge, click the RUN button at the bottom of the page.
On Google Chrome, click the up arrow next to the download at the bottom of the page then select Open. - Let the software install and follow the on-screen instructions to complete the installation
- Restart your PC when the update is finished.
Now check if the problem still persists or not.
Solution 14: Check System Specs
It is quite evident that for running PUBG properly on your computer you must have sufficient hardware installed in your computer. Therefore, you must check out the minimum threshold requirements for running PUBG and check if you have the hardware to run the game properly. The minimum threshold criteria which must be met for fast loading and smooth running of PUBG includes 8GB RAM for OS (64-bit Windows 7, 8.1, 10) whereas 2GB RAM in case of mobile phone. More requirements include an Intel Core i5-4430 / AMD FX-6300 processor, NVIDIA GeForce GTX 960 2GB / AMD Radeon R7 370 2GB, DirectX version 11 and a 30 GB storage space available.
Solution 15: Use an Ethernet connection
If you have tried implementing all of the above fixes but the error still persists then try to plug the Ethernet cable inside the motherboard’s LAN port and use it instead of the Wireless connection and check to see if that fixes the PUBG issue.


Avast for me, when I disable it, no problems with game loading.