Fix: Problem with wireless adapter or access point
The first thing anyone will tell you to do when you encounter certain connectivity issues is that you should run the Windows Network Diagnostics troubleshooter. However, the troubleshooter can only do so much automatically and it sometimes displays the “Problem with wireless adapter or access point” message after it finishes.
There is no universal solution to the problem but there are quite a few successful ones which are applicable tin different scenarios and it’s your best bet to simply try them out and check which one works for you.
Solution 1: Update Your Network Drivers
This is also one of the most common suggestions on various blogs and forums but the thing is that this usually gets the job done as most users are sometimes too lazy to keep their drivers up to date. Follow the instructions below in order to update the network driver you are using to connect to the Internet:
- First of all, you will need to uninstall the driver you currently have installed on your machine.
- Type “Device Manager” into the search field next to the Start menu button to open the device manager window. You can also use the Windows Key + R key combination in order to open the Run dialog box. Type devmgmt.msc in the box and click OK or Enter key.
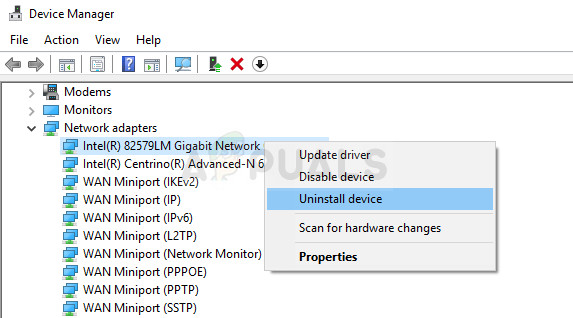
- Expand the “Network Adapters” section. This will display all network adapters that the machine has installed at the moment. Right click on the network adapter you want to uninstall and select “Uninstall device”. This will remove the adapter from the list and uninstall the networking device.
- Click “OK” when prompted to uninstall the device.
- Remove the adapter you are using from your computer and restart your PC immediately. After the PC boots, navigate to your manufacturer’s page in order to see the list of available drivers for your operating system. Choose the latest one, download it, and run it from the Downloads folder.
- Follow the instructions on-screen in order to install the driver and make sure the adapter stays disconnected until the installation prompts you to connect which it may or may not do. Restart your PC after the install is over and connect the adapter to your computer
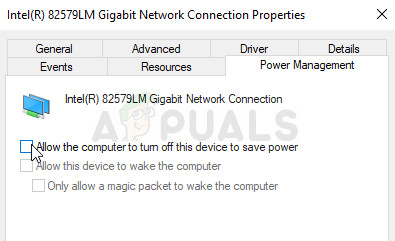
- Go back to Device Manager and locate your network adapter under the “Network Adapters” section. Right click on its icon and click Properties. From here navigate to the “Power Management” tab. Uncheck the box that says “Allow the computer to turn off this device to save power”.
- Check to see if the problem is solved.
Solution 2: Turn on the WMM Option for Your Router
This solution is aimed at folks who have started encountering this issue while using their routers in order to connect to the Internet. This method is quite successful even though its implementation sounds weird.
This is a service that gives priority to multimedia running through your network. This means that your bandwidth gives priority to devices which use this media so consider turning this on in order to solve your problem.
Method 1: Through Device Manager
- Type “Device Manager” into the search field and click on the first result. You can also use the Windows Key + R key combination in order to open the Run dialog box. Type devmgmt.msc in the box and click OK or Enter key.
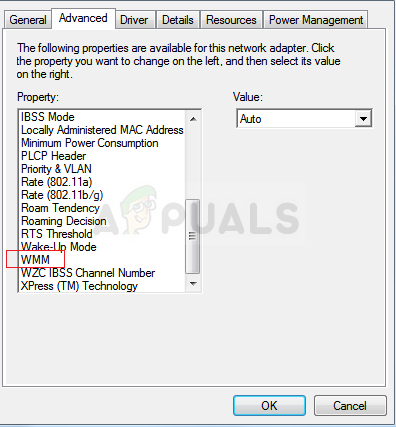
- Expand the “Network Adapters” section. This will display all network adapters that the machine has installed at the moment. Right click on your wireless driver and select Properties. Navigate to the Advanced tab and locate the WMM option. Set it to enabled at the dropdown list to the right.
Method 2: Through Your Routers Settings
- Open your web browser, type your Default Gateway number (IP address) into the address bar, and press Enter. In order to find out this number, use the Windows Key + R key combination and type “cmd” before clicking OK. Type “ipconfig” in the Command Prompt window and copy the number next to Default Gateway.

- Enter your username and password to access your router’s interface. The default username and password should be listed in your router’s documentation or you can find it on the Port Forward site. If you have changed the username and the password, enter those instead.
- Open the Wireless tab to edit your wireless settings. Once there, navigate to the “WMM” tab.
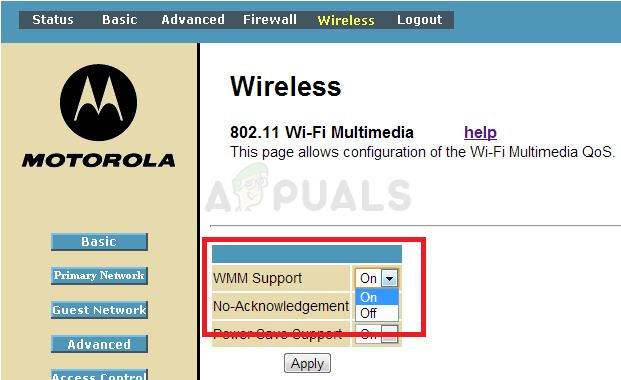
- Toggle WMM Support to Off or Disabled. The WMM setting will either be in its own category or under a subheading under your wireless settings menu, depending on the manufacturer of your router. Simply tap the drop-down box (or button, depending on your router) and select the desired setting.
- Click Apply. Then restart your router under the general settings and check to see if the same issue appears with your Internet connection.
Solution 3: Command Prompt Tweak
This solution is also useful for users who are struggling to connect to their wireless networks. Sometimes the problem may be with the settings your computer has set up for that specific network and you may need to delete your network profile and reconnect again. This is especially useful if you notice that you are able to connect to other wireless networks.
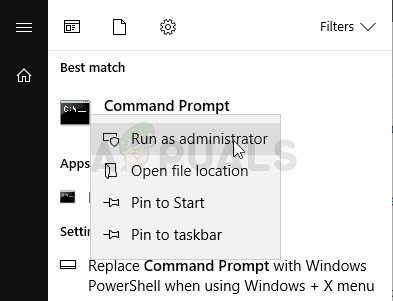
- Search for “Command Prompt”, right-click on it, and select the “Run as administrator” option. Copy and paste the following command and make sure you click Enter after you copy it correctly:
netsh wlan delete profile name=”WirelessProfileName”
- “WirelessProfileName” is the name of the network device you want to reset the network profile to. After you perform the step above, reconnect to the network and type in your credentials again.
Solution 4: Change Your Antivirus
Some antivirus tools can only make the situation worse. There are ways to fix the problem but they are too advanced and sometimes it’s better to simply settle for an alternative. For example, users have reported that the free version of McAfee caused the same error on their computers and the only way to solve it was to uninstall McAfee completely.
- Click on the Start menu and open Control Panel by searching for it. Also, you can click on the gear icon in order to open settings if you are using Windows 10.
- In Control Panel, select the View as: Category option at the top right corner and click on Uninstall a Program under the Programs section.

- If you are using the Settings app on Windows 10, clicking on Apps should immediately open a list of all installed programs on your PC.
- Locate McAfee antivirus in Control Panel or Settings and click on Uninstall. You may need to confirm some dialog boxes and follow the instructions which will appear along with the uninstallation wizard.
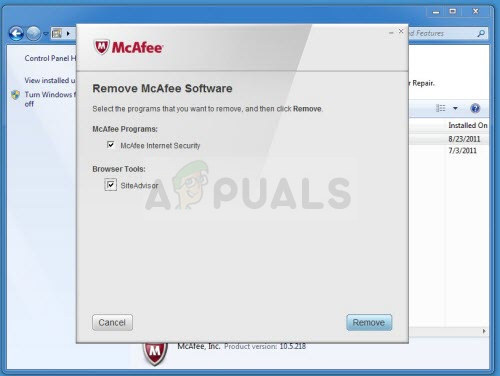
- Click Finish when the uninstaller completes the process and restart your computer to see whether errors will still appear.
Solution 5: Disable the IP Helper Service
This service is definitely not the most important service running on your computer and disabling it on your computer won’t leave any changes except that you might just solve your problem, as several users who had it confirmed. The process is very easy so get started right away!
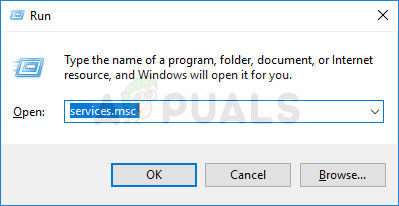
- Open the Run dialog box by using the Windows Key + R key combination. Type “services.msc” in the box without the quotation marks and click OK in order to open Services.
- Locate IP Helper Service, right-click on it and select Properties from the context menu which appears.
- If the service is stopped (you can check that just next to the Service status message), you should leave it stopped. If it is running, click the Stop button in the middle of the window.
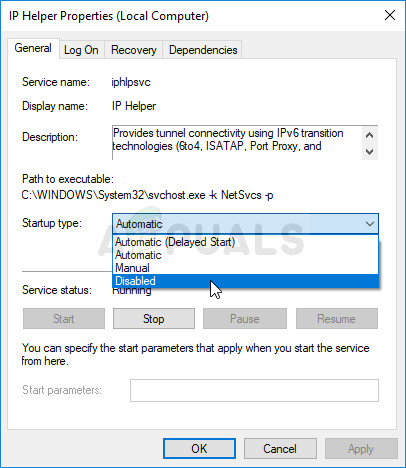
- Make sure that the option under the Startup type section in IP Helper service’s Properties is set to Disabled before you exit confirming changes. Confirm any dialogue boxes which may appear when you set the startup type.
You may receive the following error message when you click on Stop:
“Windows could not stop the IP Helper Service on Local Computer. Error 1079: The account specified for this service differs from the account specified for other services running in the same process.”
If this occurs, follow the instructions below to fix it.
- Follow the steps 1-3 from the instructions above in order to open IP Helper properties. Navigate to the Log On tab and click on the Browse… button.
- Under the “Enter the object name to select” box, type in your account’s name, click on Check Names and wait for the name to become recognized.
- Click OK when you are finished and type in the password in the Password box when you are prompted with it, if you have setup a password.


