Fix: NVIDIA nForce Networking Controller not Working
NVIDIA nForce Networking Controller is a chip that controls network communications soldered to the motherboard and it’s one of the devices used to manage Internet connectivity. On the other hand, it’s often used to group various Internet connections together and it does not classify as one of the most important devices on your computer.
Still, if you are using this device to perform some of your daily routine on the computer, you will need to get it fixed and make it work again. There are several error messages it may display such as:
The network adapter “NVIDIA nForce Networking Controller” is experiencing driver or hardware related issues
Follow the instructions below in order to try and solve the problem using some of the methods confirmed as successful by some of the users.
Solution 1: Update the Drivers for the NVIDIA nForce Networking Controller
This is the most basic, yet most helpful step in solving the problem at hand. You can simply try to update the drivers for this device and check to see if the problem still occurs. Since the device is not so standard in most Windows 10 PCs, you may want to install new drivers directly from the NVIDIA website.
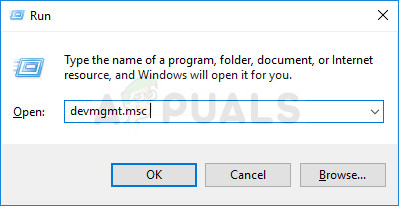
- Click the Start menu button, type in Device Manager, and select this tool from the list of results at the top. You can also use the Windows Key + R buttons on your keyboard pressed simultaneously in order to bring up the Run dialog box. Type in “devmgmt.msc” in the Run dialog box and click OK.
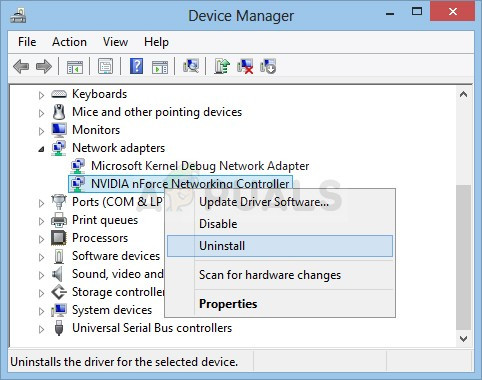
- Expand the Network adapters section in Device Manager by clicking the arrow right next to it, right click on NVIDIA nForce Networking Controller and select the Uninstall Device option.
- Confirm any dialogues which may appear, asking you to confirm your choice and for the process to finish.
- Look for your NVIDIA nForce Networking Controller driver on the device manufacturer’s website and follow their instructions. Save the installation file on your computer and run it from there. Your computer may restart several times during the installation.
Note: The latest drivers can be found at this link if you are using Windows 7 or at this link if you are using Windows XP or older.
- Check to see if the problem is solved now and if the device finally starts working.
Solution 2: Change the MAC Address of the NVIDIA nForce Controller
Changing the MAC address seems to have helped countless NVIDIA nForce users establish proper Internet connection and it’s one of the solutions you definitely shouldn’t miss while troubleshooting. We have prepared two different methods of solving the problem as the first one doesn’t always work.
Via Device Manager:
- Click the Start menu button, type in Device Manager, and select this tool from the list of results at the top. You can also use the Windows Key + R buttons on your keyboard pressed simultaneously in order to bring up the Run dialog box. Type in “devmgmt.msc” in the Run dialog box and click OK.
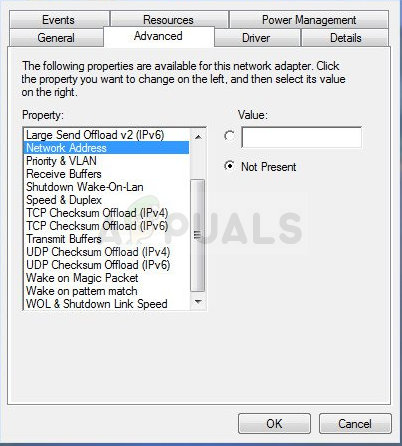
- Expand the Network adapters section in Device Manager by clicking the arrow right next to it, right click on NVIDIA nForce Networking Controller and select the Properties option.
- Navigate to the Advanced tab in the Properties window and select the Network address entry in the left list of Properties. At the left side, change the Value option either to “00936ECC8ED5” or to “00-93-6E-CC-8E-D5”. These addresses were randomly generated and they were able to fix the problem. You can also choose another one if you want.
- Check to see if the problem is gone with your Internet connection and your NVIDIA nForce Controller.
Via Regedit:
The reason there is also a Registry Editor method is that the Network address options sometimes doesn’t appear in the Advanced tab of the Properties window of the nForce controller and you must try out your luck with the registry.
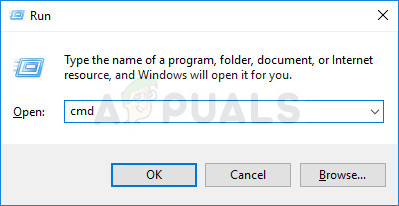
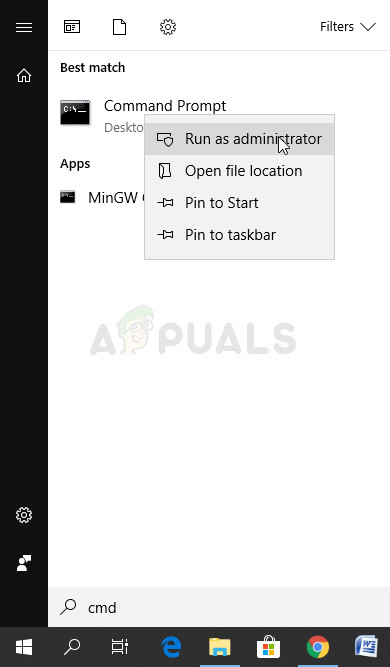
- Find your NVIDIA nForce Networking Controller’s information by clicking the Start menu or the search button right to it and typing “cmd” or “Command Prompt”. Right-click on the first result and choose the Run as administrator option from the context menu.
- You can also use the Windows Key + R combination by tapping these keys together at the same time, type “cmd” in the box, and click Enter.
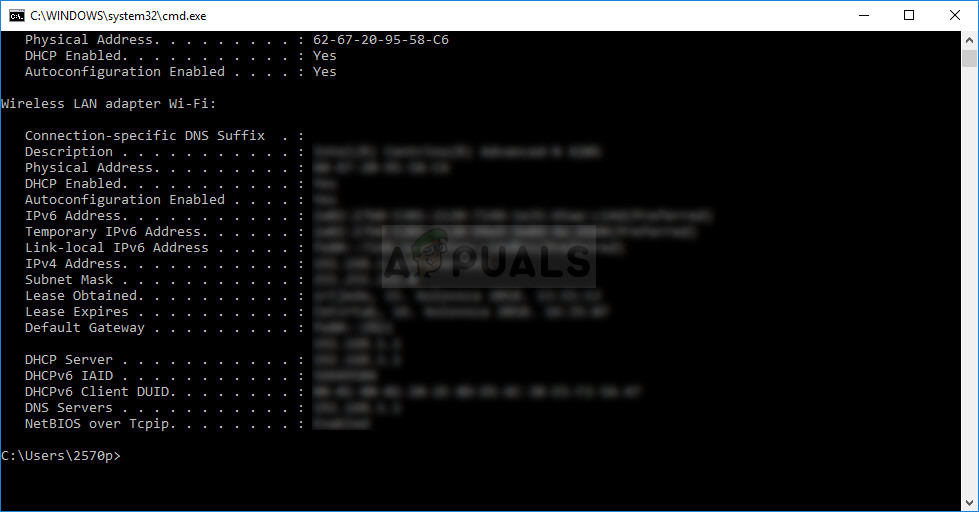
- Enter the command below and make sure you press the Enter key afterwards. Write down the Description and Physical Address for the network device you are currently using (NVIDIA nForce Controller) whose name will match the type of connection you are using to connect (Ethernet, Wi-Fi, etc).
ipconfig/all
- Type in the command shown below and click the Enter key. Write down the GUID, which is displayed between the “{…}” brackets next to the Physical Address entry you located earlier.
net config rdr
- Open the Registry Editor utility. You can open it by opening the Run dialog box the same way you did above (Windows key + R) and typing “regedit”.

- Navigate to the registry key presented below and expand it by clicking the arrow next to it or by clicking on it.
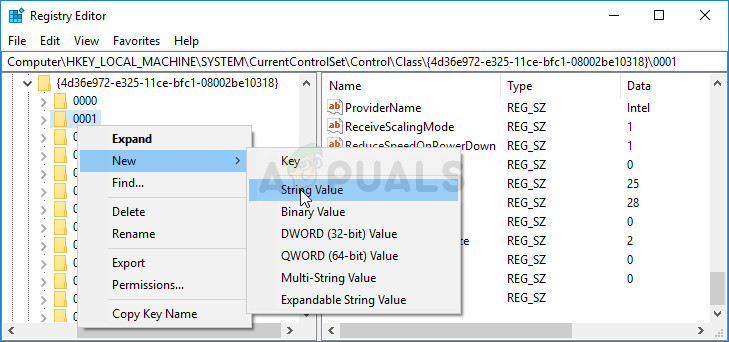
HKEY_LOCAL_MACHINE\SYSTEM\CurrentControlSet\Control\Class\{4D36E972-E325-11CE-BFC1-08002BE10318}.
- Find your adapter by opening the folders named “0000”, “0001”, etc, and comparing the DriverDesc key to the Description your wrote down above.
- Right-click on the folder that matches your network device via the Description and select New >> String Value. You should name it “NetworkAddress” by double-clicking on it and typing “NetworkAddress” in the name value.
- Enter your new MAC address in the “Value data” field. MAC addresses consist of 12 digits and there should be nothing separating the letters and digits. You can use the one we have presented below (00936ECC8ED5).
- Restart your computer to enable the changes you have made and you can check if the changes were applied correctly.
- Once again open the Command Prompt window and run the “ipconfig/ all” command and check the Physical Address next to your active network device. The new set of numbers should be in place. Check to see if the NVIDIA nForce Controller is now working properly.
Solution 3: Setup Certain Settings for Your Adapter
It seems that the communication between routers and the NVIDIA nForce Networking Controller is not at the top of the game and this specific issue often occurs to users who are using a wireless connection to connect to the Internet. Luckily, this can easily be fixed by changing certain settings which are usually available in Control Panel.
- Type “Device Manager” into the search bar next to the Start menu button to open the Device Manager window where you can view all installed devices on your computer. You can also use the Windows Key + R key combination so that you can open the Run dialog box. Type “devmgmt.msc” in the box and click OK or Enter key.
- Expand the “Network Adapters” section. This will display all network adapters that the computer has installed at the moment. Right click on the NVIDIA nForce Networking Controller you want to edit and select Properties.
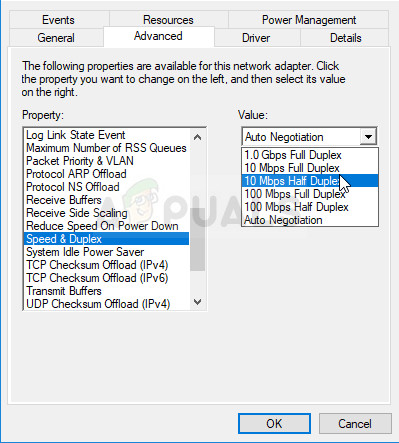
- Navigate to the Advanced tab in the Properties window and try to locate the two options called Link Speed and Duplex Mode or simply Speed/Duplex settings. If you do locate them, change the Value option at the right-side to your actual connection speed or Full Duplex respectively and apply the changes you have made.
- Check to see if the nForce controller has started working properly.
Solution 4: Assign Network Settings Manually
The Nvidia nForce technology is quite old and it should be avoided, especially if you are using new operating systems and new devices. However, if you are stuck with this network adapter, you might want to input certain network settings yourself and see if that solved the problem for you as it did for other users.
- Open an administrative Command Prompt by searching for “cmd” either in the Start menu or the Search bar located next to it. Right-click on the Command Prompt result and choose the Run as administrator option.
- Alternatively, you can press the Windows Key and the R letter on your keyboard simultaneously in order to open the Run tool. Type in “cmd” in the box and use the Ctrl + Shift + Enter key combination in order to open the administrative Command Prompt.
- Type in the following command and make sure you scroll down towards the network adapter you are currently using (NVIDIA nForce) and take note of the following settings: IP address, DNS Server, Default Gateway, and Subnet Mask.ipconfig /all
- Open the Run dialog box by pressing Windows logo key + R key together. Then type “ncpa.cpl” in it and click OK.
- The same effect can also be achieved by opening Control Panel. Change the View by option to Category and click on Network and Internet. Click on the Network and Sharing center button in order to open it. Try to locate the Change adapter settings option at the left side of the window and click on it.
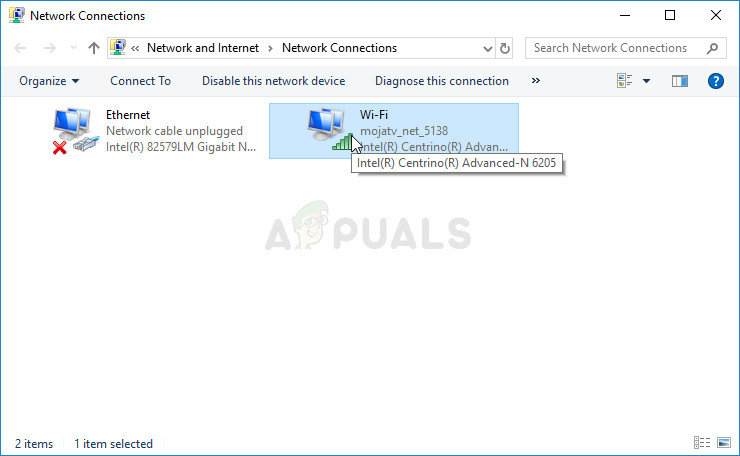
- Now that the Internet Connection window is open, double-click on your active Network Adapter which should belong to NVIDIA nForce.
- Then click on Properties and locate the Internet Protocol Version 4 (TCP/IPv4) entry on the list. Click on it in order to select it and click the Properties button below.
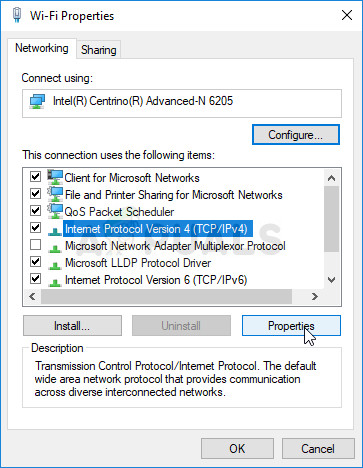
- Stay in the General tab and switch both radio buttons in the window to “Use the following IP address” and “Use the following DNS server addresses”. Take note of the data you have gathered above and type it in the fields which will display.
- Keep the “Validate settings upon exit” option checked and click OK in order to apply the changes immediately. Check to see if you are receiving NVIDIA Network Adapter errors now.


Thank you for this, changing the MAC address solved the issues. What’s wrong with the original MAC? I’m studying for CCNA and would love to get the details behind the fix.