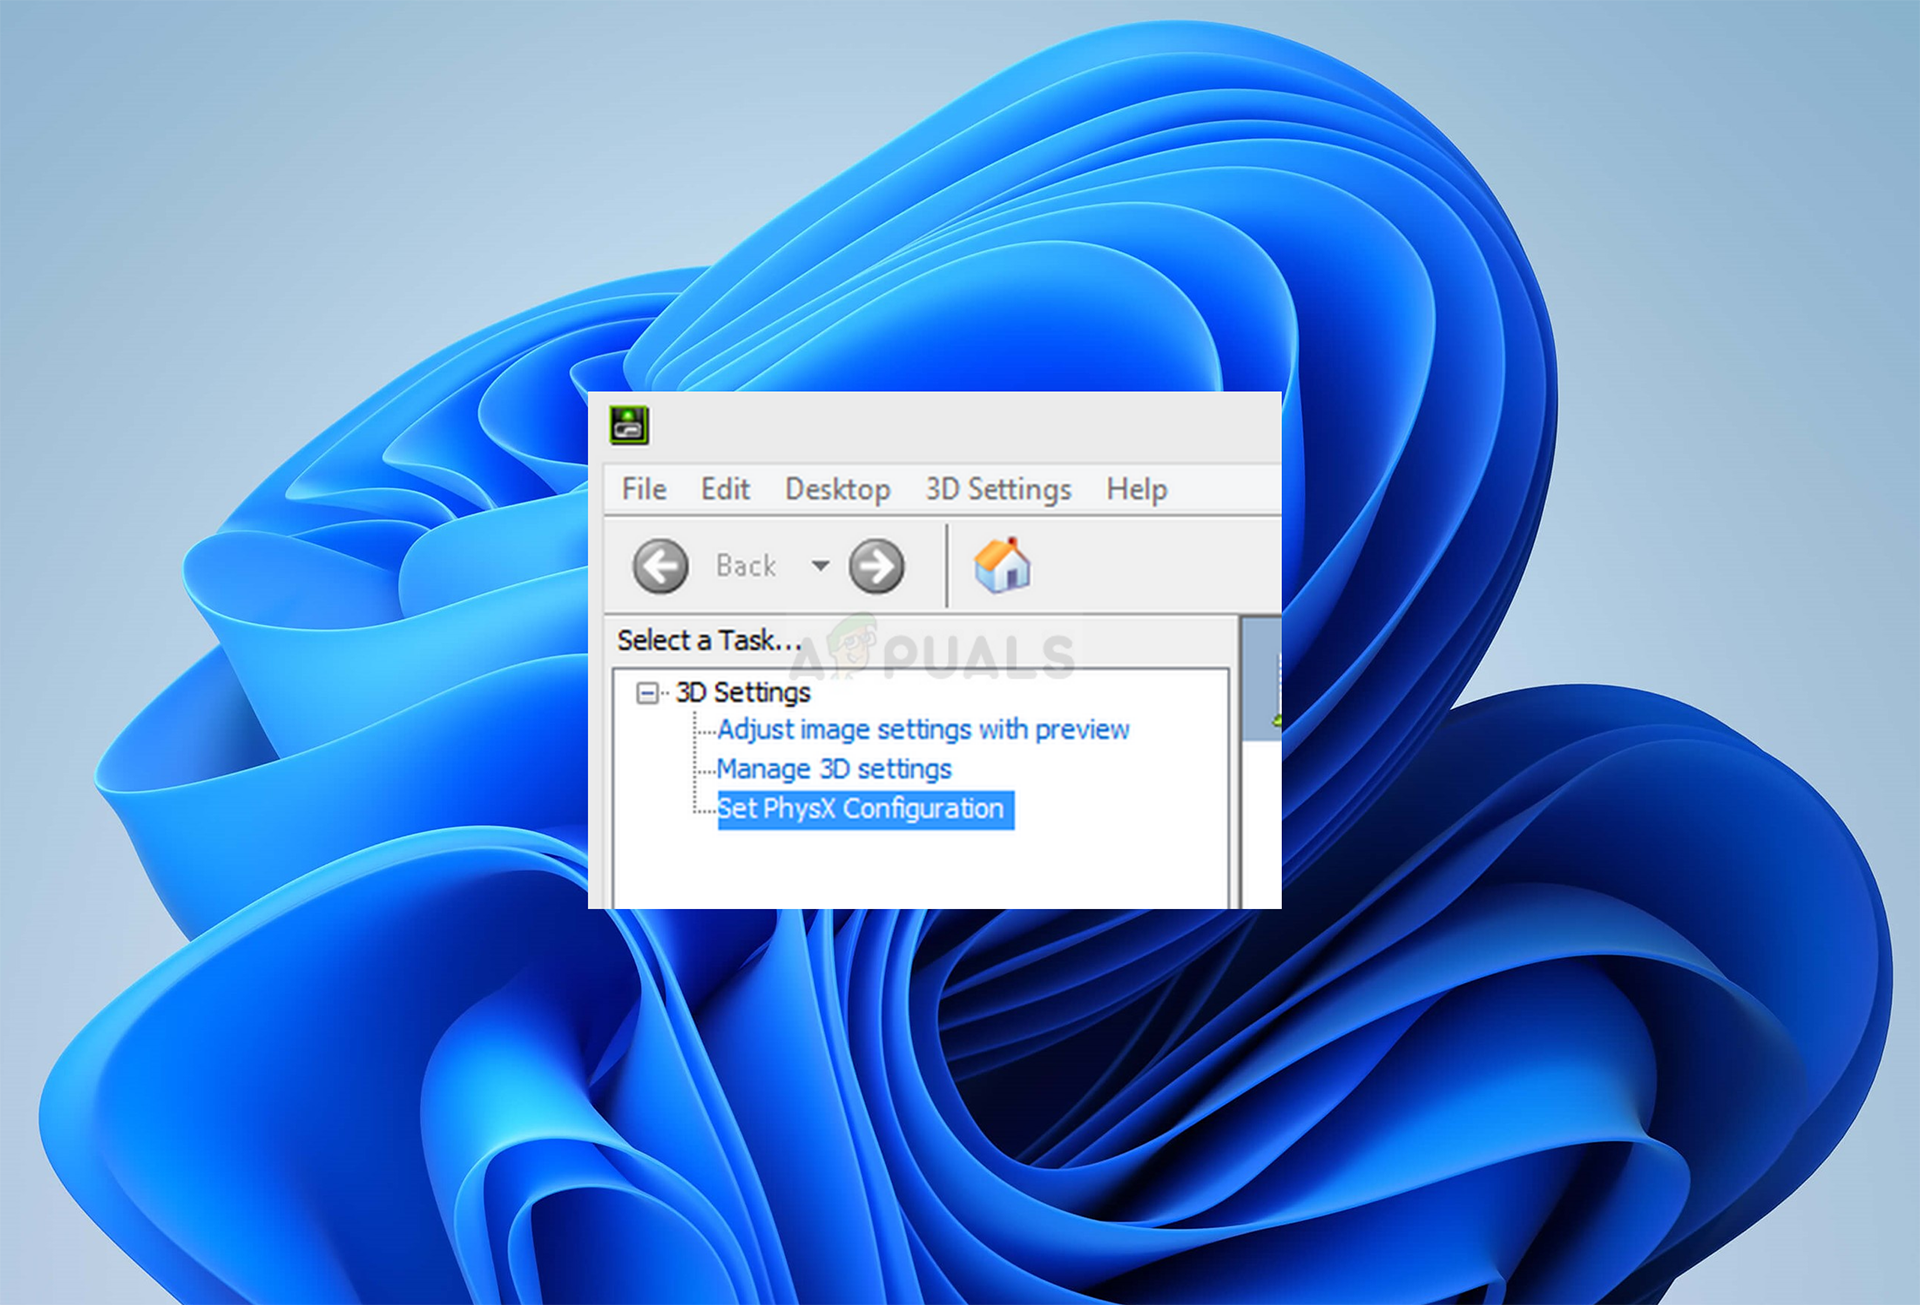
How to Fix NVIDIA Control Panel Only Showing 3D Settings?
NVIDIA Control Panel only showing 3D settings indicates that the system is not correctly detecting the dedicated NVIDIA GPU. This issue is commonly caused when the system defaults to using the integrated GPU (such as Intel HD Graphics) instead of the dedicated NVIDIA GPU.
The most common cause is related to the system’s power-saving features or incorrect BIOS configurations, where the integrated graphics processor (iGPU) is set as the default. Another common cause is outdated or improperly installed NVIDIA drivers.
Now that we know the potential causes of the issue, we can start resolving it.
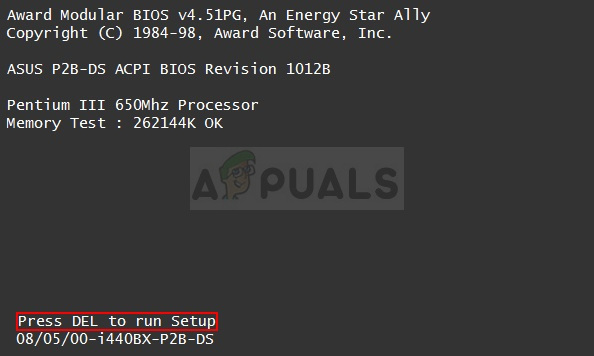
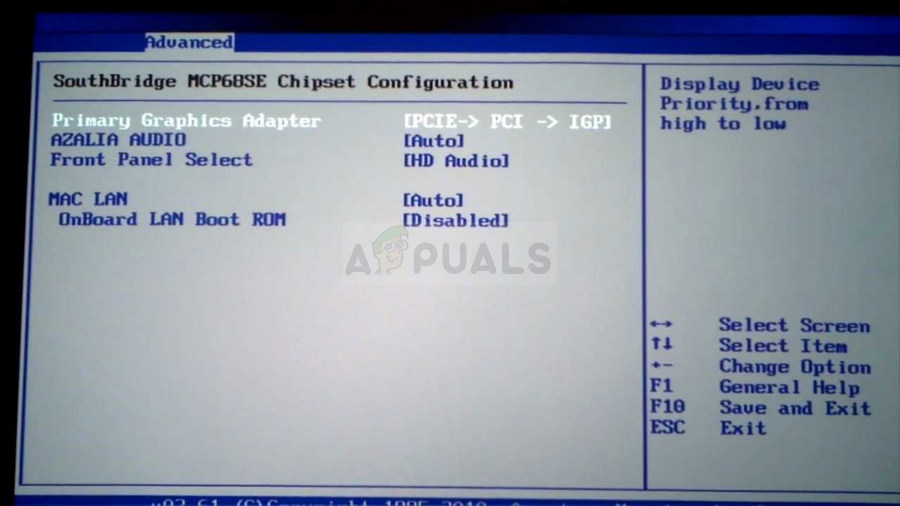
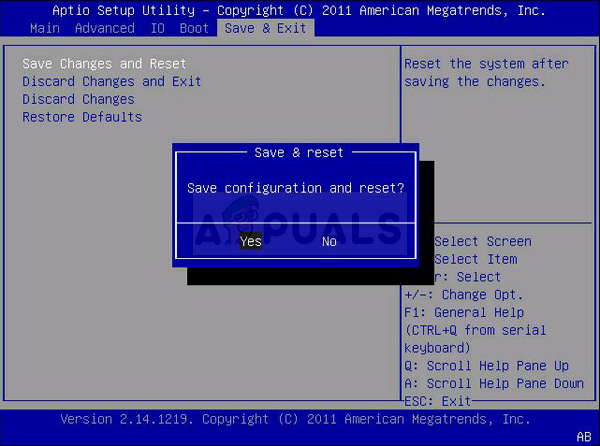
1. Choose the Default Graphics Processor in BIOS
Changing the default graphics processor in the BIOS helps resolve this issue by prioritizing the NVIDIA GPU over the integrated one. When the integrated GPU is set as default, the NVIDIA Control Panel may not display all settings. Adjusting this setting enables the system to recognize the NVIDIA GPU, restoring full access to control panel options.
- Reboot your PC and press the designated BIOS key during startup (e.g., F1, F2, Del) to enter BIOS settings.
- In BIOS, go to the Advanced tab or a similar section to find the graphics card setting.
- Locate Video Configuration or similar and choose the correct graphics adapter setting, such as PEG or PCI.
- Navigate to Exit, select Exit Saving Changes, and let the system restart. Check if the issue is resolved.
2. Update Your Graphics Card Drivers
Graphics card drivers connect your operating system to the GPU. Updating them provides the latest optimizations and fixes, resolving issues like missing options in the NVIDIA Control Panel and improving performance.
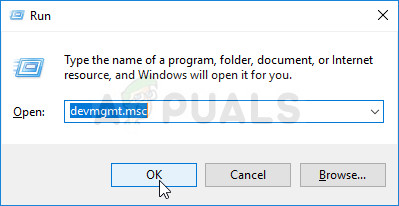
- Open the Start menu and type Device Manager, then click on it. Alternatively, use Windows Key + R, type devmgmt.msc in the Run dialog, and click OK.
- In Device Manager, expand Display adapters, right-click your NVIDIA graphics card, and select Uninstall Device.
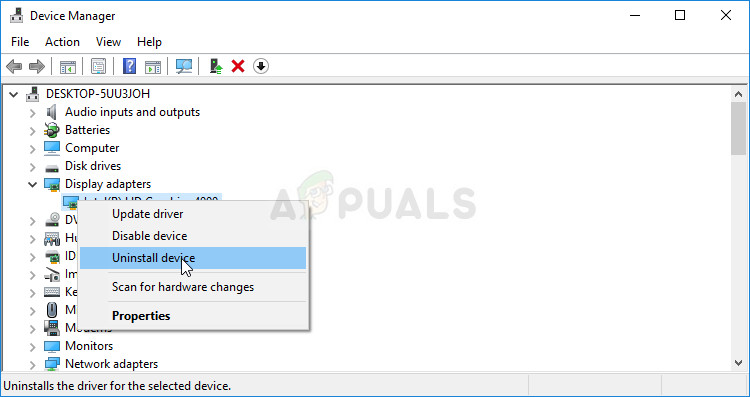
- Confirm any prompts to uninstall the driver and wait for the process to complete.
- Visit NVIDIA’s website, search for your graphics card driver, and click Search.
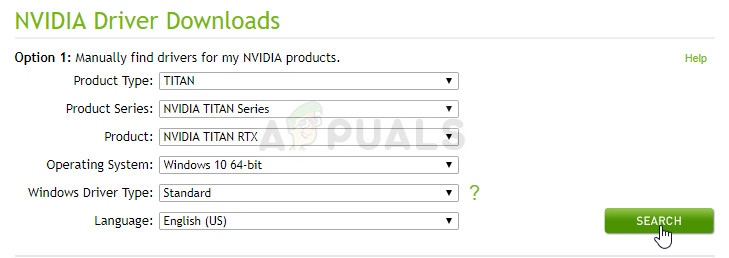
- Download the most recent driver, open the file, and follow on-screen instructions to install it. Check if the issue persists afterward.
3. Disable the Onboard Graphics Card in Device Manager
Disabling the integrated graphics card in Device Manager forces the system to use the NVIDIA card for all graphics tasks. This often resolves conflicts and reveals hidden options in the NVIDIA Control Panel, enhancing your graphics experience.
- Open the Start menu and search for Device Manager, or press Windows Key + R, type devmgmt.msc in the Run dialog, and click OK.
- In Device Manager, expand the Display adapters section, right-click your integrated graphics card, and select Disable Device.
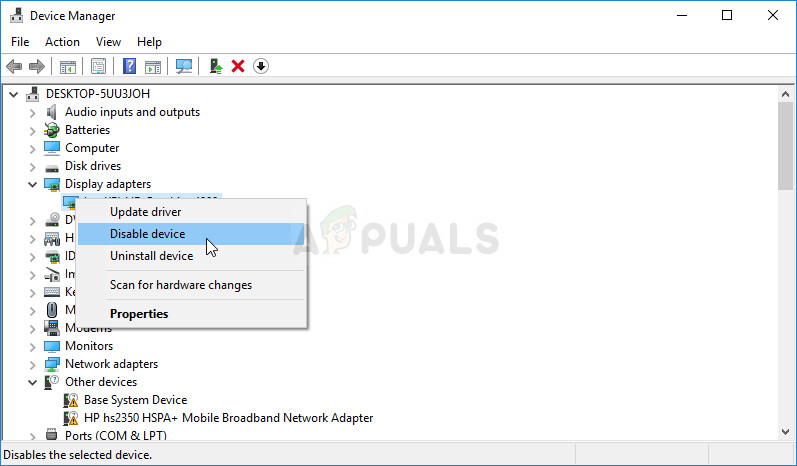
- Restart your computer to see if the NVIDIA Control Panel now shows additional settings.
4. Reinstall the NVIDIA Driver
Outdated or corrupted drivers often cause software miscommunication. Installing the latest driver version ensures that the system and graphics card communicate effectively, potentially restoring full functionality to the NVIDIA Control Panel and allowing access to all settings.
You can check our article on how to reinstall the NVIDIA Drivers here.
5. Use an External Monitor
Sometimes, the laptop’s primary display might be limited to the integrated graphics, especially if it lacks the necessary hardware multiplexer. Connecting an external monitor allows you to directly use the dedicated NVIDIA graphics card. This can force the NVIDIA Control Panel to recognize the discrete GPU, granting full access to all graphics settings. It also helps determine whether the issue is specific to the laptop’s built-in display or a broader software/hardware concern.


Do not uninstall your display adapter, I did that and it fucked my pc up 🙂