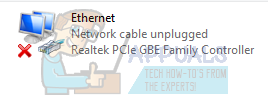
Fix: Network Cable Unplugged
The error ‘Network Cable Unplugged’ means that your computer isn’t detecting the Ethernet connection correctly hence producing the error. This error usually happens when you upgrade your Windows or install a potential upgrade. This error is very and the reasons may vary from computer to computer as each has its own unique configuration.
This error can occur due to outdated drivers, the computer conflicting on the speed of the connection, other applications conflicting etc. We have listed down a number of different workarounds available to solve this issue. Start with the first one and work your way down.
Solution 1: Checking Hardware
Before we proceed with the troubleshooting, you should make sure that your computer hardware isn’t at fault. Try plugging the Ethernet cable into another computer and check if the signal is being transmitted correctly. Also, check if the ends of the cable are not broken and you hear a ‘click’ sound when you insert the cable into your computer. After diagnosing the cable at your computer, diagnose the cable at the router’s side. Make sure that you have plugged it into the right slot and the ends present at the router are properly plugged in. Try plugging the computer’s end of the cable into the router and vice versa. Once you are absolutely sure that this isn’t a hardware problem, proceed.
Solution 2: Changing Duplex Settings
Duplex is a complex system implemented on all computers for managing the directions of your network communication. The value of this setting is automatic by default; Windows determines the best settings and applies it. After troubleshooting on various computers, we deduced that it was this setting that caused this error message in the majority of the computers. We can try changing this setting and check if this brings any difference in our case. Feel free to revert the changes if this doesn’t work.
- Press Windows + R, type “devmgmt.msc” and press Enter.
- Expand ‘Network adapters’, locate your Ethernet adapter, right-click it and select Properties.

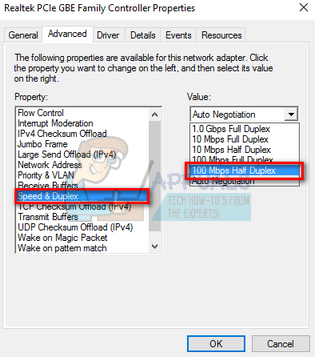
- Navigate to ‘Advanced’ tab. Navigate through all the entries until you find “Speed and Duplex”. Click it and change its setting from “Auto negotiation” to “100 Mbps Half Duplex”. Press Apply to save changes and exit.
- Restart your computer, plug your Ethernet connection back in and check if the problem at hand got solved.
Note: If “100 Mbps Half Duplex” doesn’t work, try using other options available. The Duplex settings might vary computer to computer as each of them have different specifications.
Solution 3: Performing Hard Reboot
If the above solutions don’t work for you, we can try rebooting your computer properly. If it is a PC, you will have to disconnect the master power cable in order for the computer to completely shut down. If you own a laptop, you might need to take out the battery so all the capacitors are discharged. This will ensure that all improper configurations (if any) are gone and there is a fresh start when we turn the computer back in.
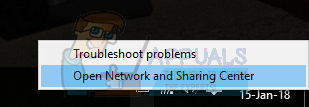
- Right-click on the network adapter present on your taskbar and select “Open Network and Sharing Center”.
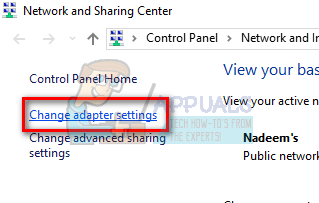
- Click on “Change adapter settings” present at the top-left side of the window.
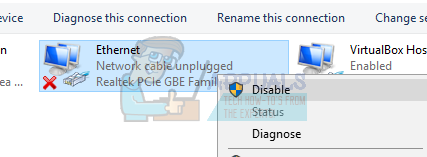
- Right-click on your Ethernet connection and select “Disable” from the list of options.
- Unplug the wired connection and shut down your computer. Take out the master cable (if it is a PC) or take out the battery (in case of a laptop).
- Wait for around 10 minutes. Now plug-in and power up your computer. Don’t plug-in the Ethernet connection yet.
- Now enable the adapter the same way we disabled it. Now plug-in the Ethernet connection and check if the problem got solved.
Solution 4: Rolling back to Default Drivers
The possibility that you have incorrect drivers installed are almost ignored when this error occurs. Windows automatically update all the driver updates using Windows Update. It is possible that the current driver installed on your computer isn’t compatible or fit for your Ethernet hardware. We can try rolling back drivers and check if this solves the problem.
- Press Windows + R, type “devmgmt.msc” and press Enter.
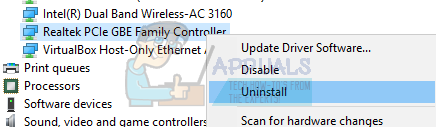
- Once in the device manager, expand network adapters and locate your Ethernet hardware. Right-click on it and select “Uninstall”.
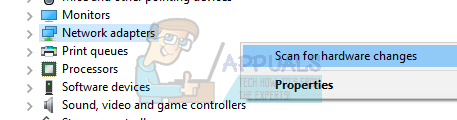
- Windows might pop up a UAC confirming your actions. Press Yes and proceed. After uninstalling the driver, right-click on any empty space and select “Scan for hardware changes”. Windows will now automatically detect your hardware and install the default drivers. Reboot your computer and check if the problem got solved.
If rolling back drivers don’t do the trick, we can try installing latest drivers. You should head over to your manufacturer’s website and download the latest drivers to an accessible location. Make sure you download the drivers according to your system specifications.
- Open device manager, right-click on your Ethernet hardware and select “Update driver software”.
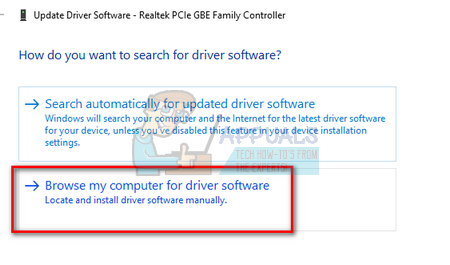
- Select the second options “Browse my computer for driver software”. Browse to the driver you downloaded and install it accordingly. Reboot your computer and check if the Ethernet cable gets detected.


how the hell do i fix my PC not even supplying no power freakin power to the bloody network cable….???
knock knock this one’s meant to be answered!!