Fix: Netgear Wireless Adapter won’t Work
It’s a real issue when the wireless adapter simply won’t work on your computer as Wi-Fi is sometimes the only possible way you can connect to your computer at all. Wireless adapters differ from manufacturer to manufacturer and this article focuses solely on issues with the Netgear Wireless Adapters when connected to a Windows PC.
Sometimes the freshly connected Netgear Wireless Adapter won’t cooperate with your PC and you won’t be able to establish proper connection to the Internet until the problem is resolved. There are quite a few things which can go wrong in these scenarios so make sure you follow through the entire article in order to solve the problem.
Preparation
In order for most of these methods to succeed, you should make sure you have disabled all antivirus and security tools you have on your computer, including Windows Defender and Windows Firewall. Disabling third-party security tools differs from one to another but the option is always there in the Settings.
Disabling Windows Firewall:
- Open Control Panel by searching for it after pressing the Start button located at the bottom left part of your desktop.
- Change the View by option to Large icons and locate the Windows Firewall option.
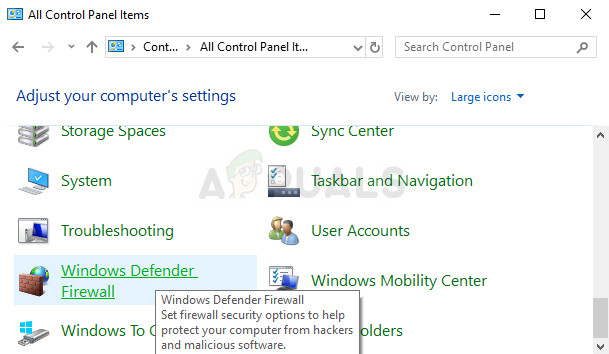
- Click on it and select the Turn Windows Firewall on or off option located at the menu on the left side of the window.
- Click the radio button next to the “Turn off Windows Firewall (not recommended)” option next to both the Private and Public network settings.
Disabling Windows Defender:
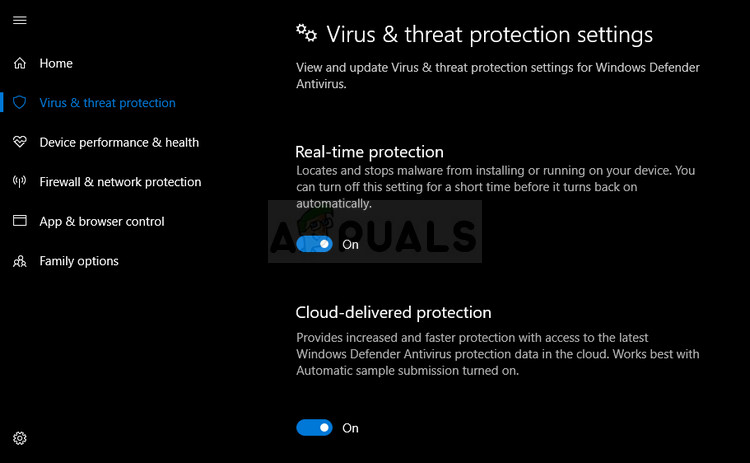
- Right-click on the shield icon on your taskbar and click on Open.
- When Windows Defender Security Center opens, click on the shield icon below the home button, open Virus & threat protection settings and turn off Real-time protection and Cloud-based protection.
- Navigate to the browser icon (second from the end) and turn off the Check apps and files option.
Note: Don’t forget to turn these on after you have finished with the troubleshooting process. You shouldn’t stress too much about disabling these security tools as you probably don’t have an active Internet connection on your computer at this point.
Solution 1: Reinstall the Adapter with Proper Drivers and Instructions
The method of plugging in and installing a wireless adapter is quite simple but there is one simple mistake people usually make: they start the installation of the driver with the CD the adapter came with WITH the adapter plugged into their computer. It’s very important to not plug in the adapter before the installation wizard tells you so.
Also, the problem may be the Windows drivers which sometimes install automatically in the place of Netgear’s official drivers. The instructions below are sure to fix both of these problems easily.
- First of all, you will need to uninstall the driver you currently have installed.
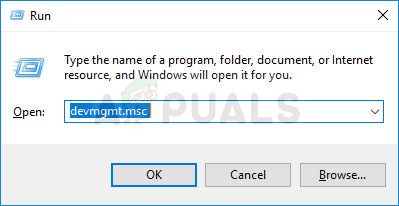
- Type “Device Manager” into the search field to open the device manager console. You can also use the Windows Key + R key combination in order to bring up the Run dialog box. Type in devmgmt.msc in the box and click OK or Enter key.
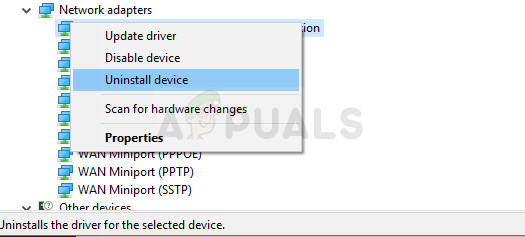
- Expand the “Network Adapters” field. This will list all network adapters that the machine has installed. Right click on the Netgear adapter you want to uninstall and select “Uninstall”. This will remove the adapter from the list and uninstall the device.
- Click “OK” when prompted to uninstall the device. This will remove the adapter from the list and uninstall the driver.
- Remove the adapter from your computer and restart your PC immediately. After the PC boots, navigate to the following page in order to see the list of available Netgear drivers for your operating system. Choose the latest one, download it, and run it from the Downloads folder.
- Follow the instructions on-screen in order to proceed with the driver installation and make sure the adapter stays disconnected until the installation prompts you to connect which it may or may not do. Restart your PC after the install is over and connect the adapter to your computer
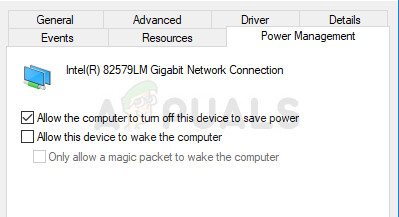
- Go back to the Device Manager window and locate the Netgear adapter under the “Network Adapters” section. Right click on the adapter’s icon and click Properties. From here navigate to the “Power Management” tab. Uncheck the box that says “Allow the computer to turn off this device to save power”.
- Connect the adapter, and check to see if everything is OK now.
Solution 2: Use the Tweaking.com Windows Repair
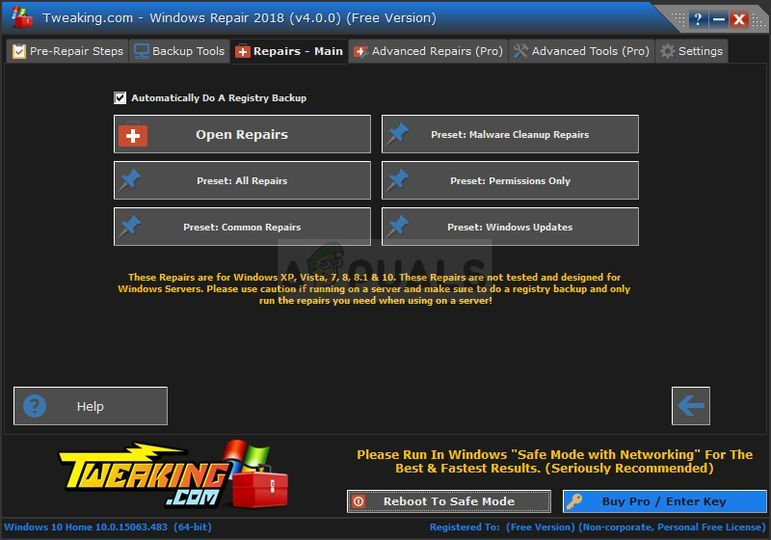
This amazing tool contains various tweaks which are quite helpful when it comes to connectivity issues but it will also perform some other amazing things such as scanning your computer for malware, repairing corrupt registry entries, deleting junk files from your computer, and so on. The utility is free but you can also opt for a pro version. You can download the tool from this link.
- Download the tool from the link provided above, locate the file in your Downloads folder, and run it in order to install it to your PC. If you have chosen the portable version, you will simply need to extract the files to the folder where you want to keep it.
- Open the tool and follow through all steps provided. All of them will do no harm to your computer but the whole process may take a while considering the fact that the processes are quite intensive.
- Check to see if you are able to connect to the Internet now.
Solution 3: Enable the WLAN AutoConfig Service
If the WLAN AutoConfig Service is disabled on your computer when you try to use your wireless connection, you might not have a good time and there is a variety of different errors which can appear to you on a regular basis. Fortunately, there were people who already had this problem and who posted their solutions which have since helped plenty of people solve the problem so make sure you follow the instructions below:
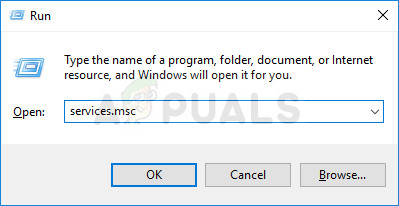
- If you are using a version of Windows older than Windows 10, the easiest way for you to access the services running on your PC is clicking on the Start button and navigating to the Run dialog box.
- Type “services.msc” in the dialog box and wait for the list of services to open.
- If you are using Windows 10, you can also access Services by using the Ctrl + Shift + Esc key combination in order to bring up Task Manager.
- Navigate to the Services tab in Task Manager and click on Open Services at the bottom of its windows, next to the gears icon.
After you have successfully open Services, follow the instructions below.
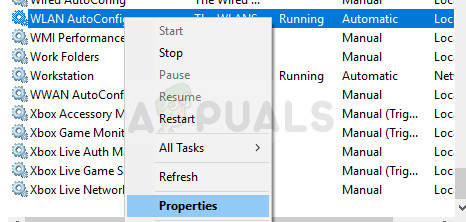
- Locate the WLAN AutoConfig service by clicking on the Name column in order to sort the services in an alphabetical order.
- Right-click on the service and click on Properties.
- Navigate to the Startup type and set it to Automatic but make sure it’s service status is Running or Started.
- If the status says Stopped you will have to click on the Start button located in the Properties window before proceeding.
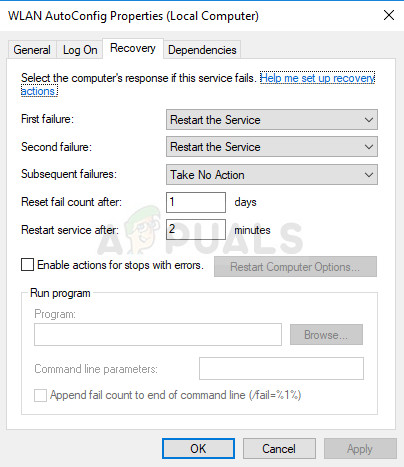
- Next, click on the recovery tab, locate the First failure option and choose Restart the Service. This option makes sure that the service will restart automatically if it fails. Do the same for Second Failure and Subsequent failures.
The service should start now and you won’t have any problems dealing with it in the future. However, you may receive the following error message when you click on Start:
“Windows could not start the WLAN AutoConfig service on Local Computer. Error 1079: The account specified for this service differs from the account specified for other services running in the same process.”
If this occurs, follow the instructions below to fix it.
- Follow the steps 1-4 from the instructions below in order to open service’s properties.
- Navigate to the Log On tab and click on the Browser… button.
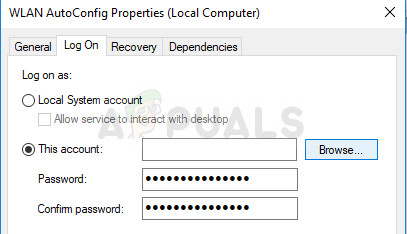
- Under the “Enter the object name to select” box, type in your computer’s name and click on Check Names and wait for the name to become authenticated.
- Click OK when you are done and type in the administrator password in the Password box when you are prompted with it.
- Click OK and close this window.
- Navigate back to WLAN AutoConfig properties and click Start.
- Close everything and check to see if you are able to establish proper connection to the Internet.
Note: If this process does not work for you immediately, you should repeat the same process for several other important services which are not so closely related to this issue but users have reported that they enabled them as well just in case. These are presented below:
WWan AutoConfig
Function Discovery Resource Publication
Network Store Interface Service
Solution 4: When the PC Won’t Detect the Adapter
The method below is aimed towards users who struggle with the problem where the Adapter is simply not recognized by the computer. It usually appears when you run the driver installation downloaded from the Internet or ran from the DVD which came along the adapter.
- When the “Adapter not detected” message appears during the installation, click Cancel but leave the Adapter connected to your computer.
- Type “Device Manager” into the search field to open the device manager console. You can also use the Windows Key + R key combination in order to bring up the Run dialog box. Type in devmgmt.msc in the box and click OK or Enter key.
- Under the Network Adapters section, locate the 802.11ac Wireless LAN Card device. Double-click on this entry and navigate to the Driver tab. Click on Update Driver.
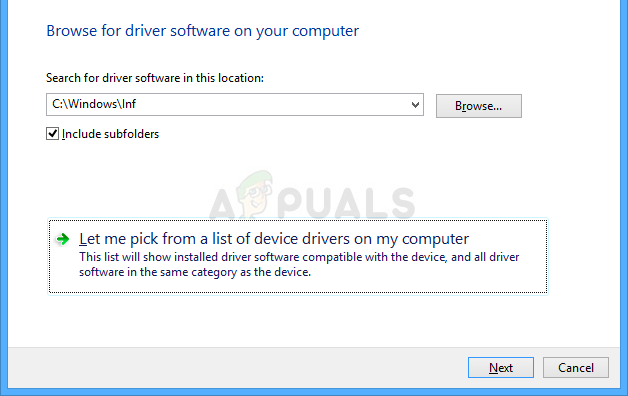
- Choose the “Browse my computer for driver software option” and click the “Let me choose from a list of device drivers on my computer”.
- Choose the adapter you wanted to install from the list and click Next. The installation should proceed immediately. Switch your connection to Wireless and try connecting. It should work now.


