Fix: MMC Could not Create the Snap-in Error
This error usually appears on Windows OS-running PCs, most notably Windows 7 and Windows Server 2008 but it has the tendency to appear on any operating system. The error usually appears when you are about to open the Even Viewer, Task Scheduler, or Group Policy Editor.
There are no universal fixes to the problem and you will unfortunately have to really follow through all of the methods which were reported to be working by the users. Note that not all solutions are related to the same operating system and good luck!
Solution 1: Visual C++ Issue
Some folks were on the phone with Microsoft regarding the problem and it appears that a series of steps is needed to fix the problem. The problem, however, may disappear even after a couple of steps so make sure you check regularly on whether the error still appears.
First of all, you will need to reinstall the Visual C++ Redistributable Package since it’s one of the main causes for this exact problem. Microsoft explained that the problem was caused by Visual C++ returning a bad pointer which triggers this issue.
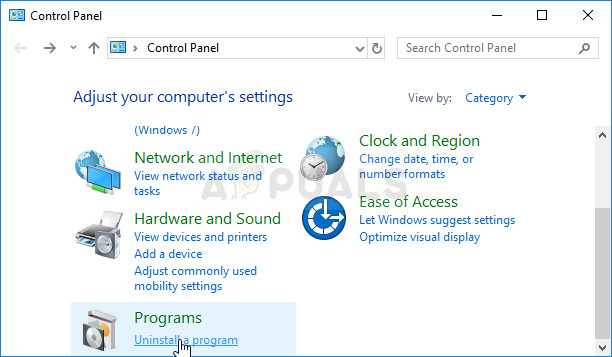
- Click on the Start menu and open Control Panel by searching for it in the Start menu. Also, you can click on the gear icon in order to open the Settings app if you are using Windows 10.
- In Control Panel, select the View as: Category option at the top right corner and click on Uninstall a Program under the Programs section at the bottom of the Control panel window.
- If you are using the Settings app on Windows 10, clicking on Apps should immediately open a list of all installed programs on your PC.
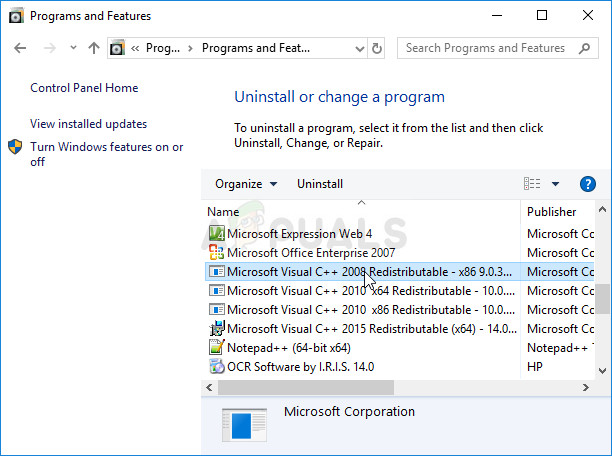
- Locate Microsoft Visual C++ Redistributable Package in Control Panel or Settings and click on Uninstall. You might notice that there are several different versions. You will need to make note of them and repeat the uninstalling process for each one. You may need to confirm some dialog boxes and follow the instructions which will appear along with the uninstallation wizard.
- Click Finish when the uninstaller completes the process and repeat the uninstalling process for all versions of the Visual C++ Package. Now, you will need to reinstall them by locating them here. Select the version you want to download and choose the download according to the architecture of your processor (32-bit or 64-bit).
- Locate the file you just downloaded in the Windows folder, run it, and follow the instructions on-screen in order to install the Microsoft Visual C++ Redistributable Package. Repeat the same process for all versions you previously uninstalled and check to see if the same error still appears.
If you notice that the problem still won’t go away even after you apply these fixes, you might need to update your computer to the latest version if you still haven’t done so. Windows 10 will automatically download and install updates for you unless you refuse to install them. However, older versions of Windows won’t so follow the steps below in order to know for sure whether you computer is fully updated.
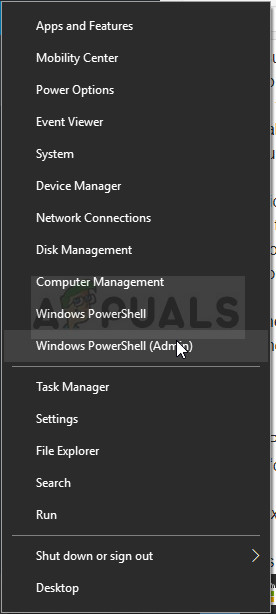
- Hold the Windows Key and press X in order to open this special context menu. You can also right-click on the Start menu. Choose Windows Powershell (Admin).
- In the Powershell console, type cmd and wait for Powershell to switch to the cmd-like environment.
- In the “cmd” console, type in the following command and make sure you click Enter afterwards:
wuauclt.exe /updatenow
- Let this command run for at least an hour and check back to see if any updates were found and/or installed successfully.
Solution 2: Install the Latest Version of .NET Framework
If you have an old version of .NET Framework and you try to run an application which requires a newer version, this error is bound to appear and you won’t be able to use the app until you have updated .NET Framework completely. The newest version of .NET Framework differs from one operating system to another so make sure you choose the adequate one.
Navigate to this link and click the red download button in order to download the latest version of Microsoft .NET Framework. After the download has finished, locate the file you downloaded and run it. Note that you will need to have constant access to the Internet. Follow the instructions on-screen to proceed with the installation.
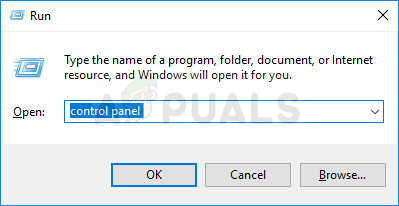
- After installing the latest version, it’s time to check its integrity. On your keyboard, use the Windows Key + R key combination to open the Run dialog box.
- Type in Control Panel and click OK in order to open it.
- Click the Uninstall a Program option and click Turn Windows features on or off. Make sure you locate the .NET Framework 4.6.1 entry and make sure it’s enabled.
- If the check box next to .NET Framework 4.6.1 is not enabled, enable it by clicking the box. Click OK to close the Windows Feature window and reboot the computer.
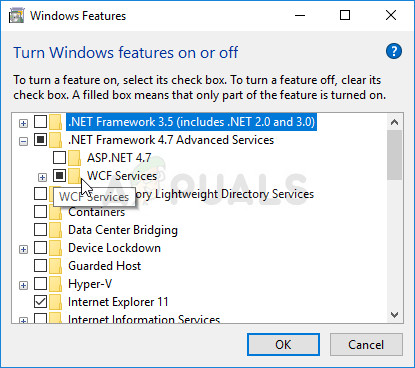
- If .Net Framework 4.6.1 is already enabled, you can repair .Net Framework by clearing the box and rebooting the computer. After the computer has restarted, re-enable .Net Framework and restart the computer again.
Solution 3: Replace a Folder from a Working System
If the problem is really related to an error regarding a certain folder on your computer, you can fix it by replacing the folder from a different system where the problem is not active. Note that you will need to find a system identical to the one you have installed on your PC. You can also try a Google search.
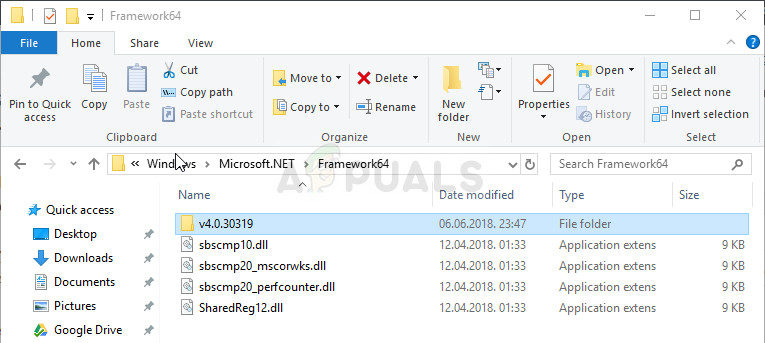
- Locate this folder on a working system and copy it entirely to a removable USB drive. Make sure you take note of the version name which is represented by ‘x’s in the folder location below:
C:\Windows\Microsoft.NET\Framework64\vxxxxx
- Start your computer and make sure you replace the folder on your system. However, you will need to take ownership of it in order to proceed with this process.
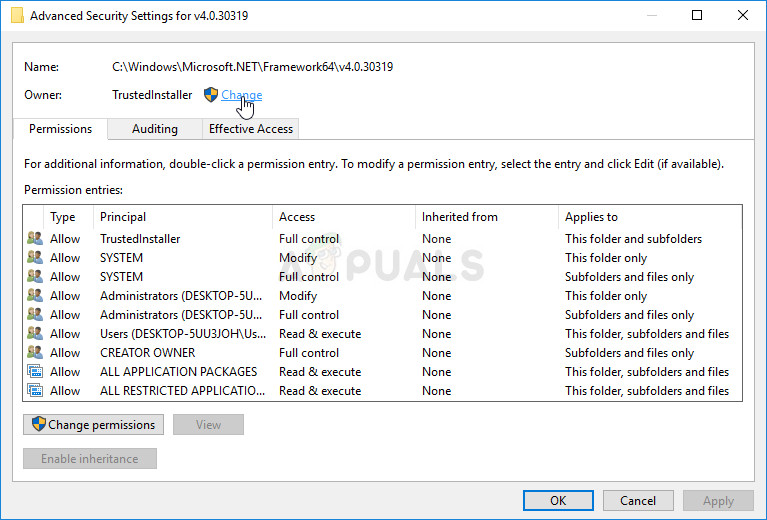
- Right-click the file, click Properties, and then click the Security tab. Click the Advanced button. The “Advanced Security Settings” window will appear. Here you need to change the Owner of the key.
- Click the Change link next to the “Owner:” label The Select User or Group window will appear.
- Select the user account via the Advanced button or just type your user account in the area which says ‘Enter the object name to select’ and click OK. Add the Administrator account.
- Optionally, to change the owner of all subfolders and files inside the folder, select the check box “Replace owner on subcontainers and objects” in the “Advanced Security Settings” window. Click OK to change the ownership.
- Replace the folder and check to see if the error still appears.
Solution 4: Remove a Certain Registry Key
This registry key is directly related to the core of the issue and if it goes corrupt, the error at hand will definitely show up more often that it’s supposed to. The problem can eb solved easily by simply deleting this key.
Before proceeding with this solution, it’s recommended that you close all of your running programs and it’s advisable to create a backup of your registry just in case something goes terribly wrong when you delete the key. Backup your registry by following the instructions in our article.
- Open the Registry Editor by typing “regedit” in either the search bar or the Run dialog box. Navigate to the following key in Registry Editor:
HKEY_LOCAL_MACHINE >> Software >> Microsoft >> MMC >> SnapIns >> Fx >> {b05566ad-fe9c-4363-BE05-7a4cbb7cb510}
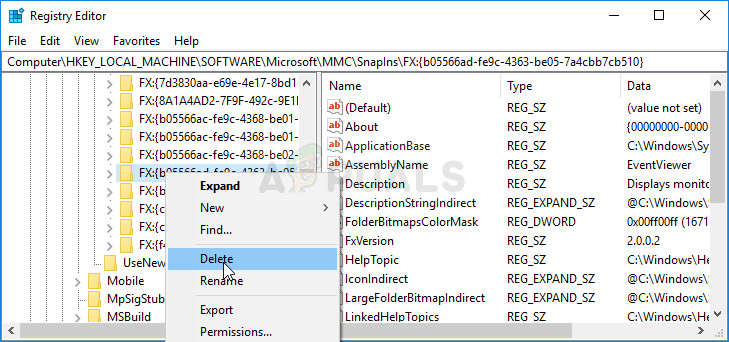
- Delete this key by right-clicking on it and the right-side of the screen where its path tree is located and confirm the warning dialog. Check to see if the problem still appears when you restart your computer.
Solution 5: Rename the mmc.exe File in System32
Simply renaming a file in System32 can take care of the problem for you but note that this method does not work all the time and you should consider yourself extremely lucky if this one works for you. On the other hand, the method is simple to try out and it can be reverted easily if something goes wrong.
- Navigate to the following location in your File Explorer which can be accessed from the toolbar at the bottom part of your screen.C >> Windows >> System32
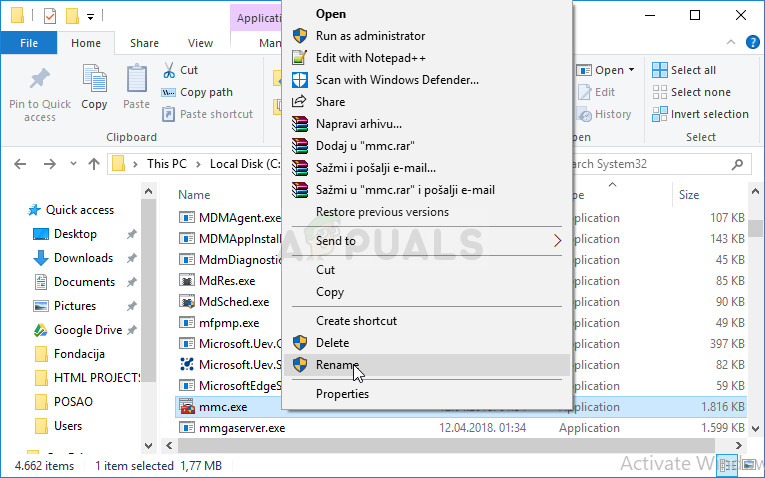
- Locate and right-click on a file called mmc.exe and choose the Rename option. Try to rename it to ‘mmc.exe.old’. If a dialogue box appears prompting for administrator permissions, confirm it and try again.
- Check to see if the problem is solved.


Nope. Tried ’em all, and Win 11 STILL can’t open Event Viewer. Other snapins work.