Fix: Microsoft Solitaire Collection Not Working
Microsoft Solitaire Collection is a cards video game that comes pre-installed on all iterations of Windows 10 and is also available for Windows 8 and 8.1 as well as a number of mobile platforms. Microsoft Solitaire Collection is designed to replace the Solitaire, FreeCell and Spider Solitaire games that are included on older versions of the Windows Operating System. Microsoft Solitaire Collection is pretty fun and a good pastime for when you’re on your computer and you have nothing to do. However, unfortunately, a significant amount of users have been experiencing a problem where Microsoft Solitaire Collection simply doesn’t work.
In some cases, the game doesn’t even open whereas in others it simply crashes after the splash screen. Other variations of this problem also exist. While users who don’t play Microsoft Solitaire Collection would simply not be affected by this issue, it proves to be quite the menace for users who do play the game. Regardless of what the root of this problem is in any given affected user’s case, this issue is almost always fixable. The following are some of the most effective solutions that you can use to try and resolve this problem and get Microsoft Solitaire Collection back in working order:
Solution 1: Make sure that your Operating System is up to date
One of the very first things you need to do if you’re affected by this problem and are trying to get Microsoft Solitaire Collection to work is making sure that Windows is up to date and that any and all available updates for your computer have been installed. In order to do so, you need to:
- Open the Start Menu.
- Click on Settings.
- Click on Update & security.
- In the right pane of the window, click on Check for updates under Windows Update.
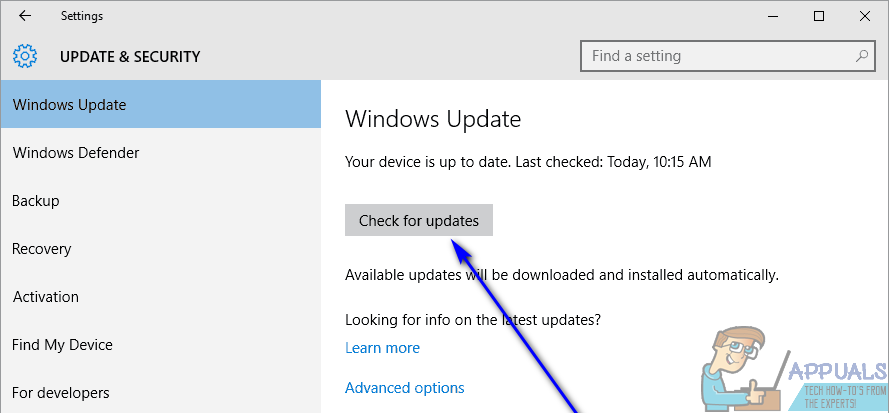
- Wait for Windows to check for updates available for your computer. This might take some time, so be patient.
- If Windows does not find any updates for your computer, simply try out a different solution. If Windows finds updates available for your computer, download and install every single one, restart your computer once done and check to see if the issue has been resolved when it boots up.
Solution 2: Update all of your apps from the Windows Store
Apart from making sure that your Operating System is up to date, you also need to make sure that you have all of the latest updates for all of the apps you have on your computer. In order to do so, you need to:
- Open the Windows Store.
- Click on your account in the top right corner of the window.
- Click on Downloads.
- Click on Check for updates.
- Wait for the Windows Store to check for any available updates for all of your applications and programs. This might take a while, so be patient.
- If the Windows Store doesn’t find any available updates, simply move on to a different solution. If the Windows Store does find updates available for your apps, follow the onscreen instructions to download and install each of them and check to see if that fixes the problem.
Solution 3: Reset the Windows Store cache
Sometimes the Windows Store Cache can get damaged which may prevent it from being able to run certain apps effectively. Therefore, resetting the Windows Store cache is another solution that many users affected by this problem have found to be pretty effective. To reset the Windows Store cache, you need to:
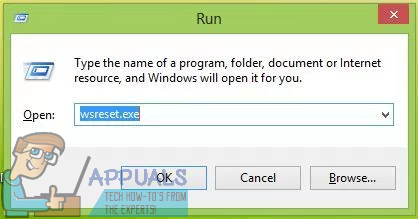
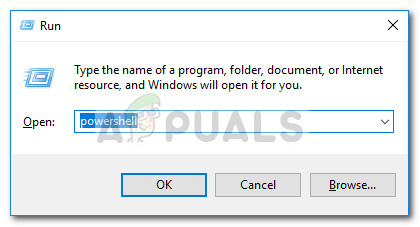
- Press the Windows Logo key + R to open a Run dialog.
- Type wsreset.exe into the Run dialog and press Enter.
- Wait for Windows to reset the Windows Store app.
- Restart your computer.
- Wait for your computer to boot up, and then check to see whether or not the issue still persists.
Solution 4: Reset Microsoft Solitaire Collection
If any of Microsoft Solitaire Collection’s files or preferences are getting in the way of your computer successfully launching it and you being able to play it, resetting the entire application should be able to resolve the problem. In order to reset Microsoft Solitaire Collection, you need to:
- Open the Start Menu.
- Click on Settings and select “Apps”
- In the left pane of the window, click on Apps & features.
- Search for or scroll down for and locate the listing for Microsoft Solitaire Collection and click on it.
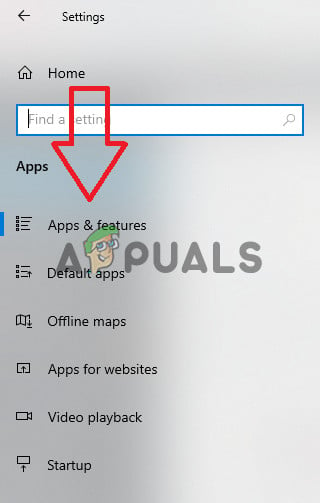
Selecting “Apps & Features” option. - Click on Advanced.
- Click on the Reset button.
- In the resulting popup, click on Reset once again to confirm the action and initiate the reset.
- Once Microsoft Solitaire Collection has been reset, restart your computer.
Wait for your computer to boot up and, once it does, check to see whether resetting Microsoft Solitaire Collection got the job done.
Solution 5: Uninstall and then reinstall Microsoft Solitaire Collection
When facing any kind of problem with a specific application or program on the Windows Operating System, uninstalling and then reinstalling the specific application or program is always recommended, and Microsoft Solitaire Collection is no different. To uninstall and then reinstall Microsoft Solitaire Collection, you need to:
- Open the Start Menu.
- Search for powershell.
- Right-click on the search result titled Windows PowerShell and click on Run as administrator.
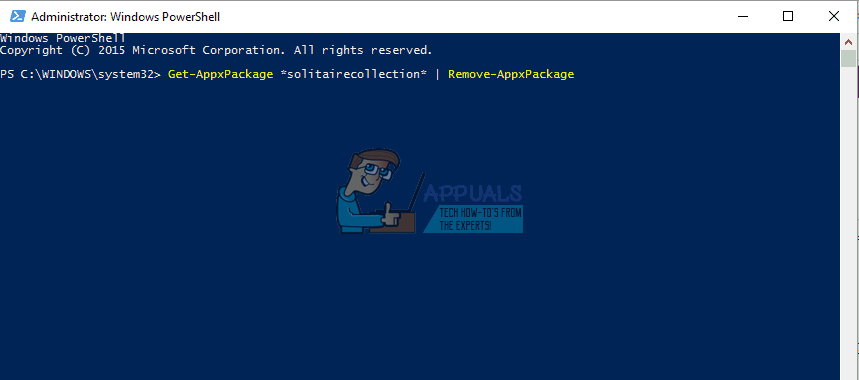
- Type the following into the elevated instance of Windows PowerShell and press Enter:
Get-AppxPackage *solitairecollection* | Remove-AppxPackage
- Wait for the command to be successfully executed, at which point Microsoft Solitaire Collection will have been uninstalled from your computer.
- Close the elevated instance of Windows PowerShell and restart your computer.
- When your computer boots up, open the Windows Store and search for, download and install Microsoft Solitaire Collection.
- Check to see whether the issue still persists when the app has been installed.
Solution 6: Run the Windows troubleshooter for Store apps
Microsoft has developed and made available a Windows troubleshooter designed specifically for the purpose of detecting and resolving problems with applications that have been downloaded from the Store. If all else fails, you should try running the Windows troubleshooter for Store apps and see if that manages to get rid of this problem for you. To run the Windows troubleshooter for Store apps, you need to:
- Press “Windows” + “I” to open settings.
- Go into “Update & Security” and select “Troubleshoot” from the left pane.
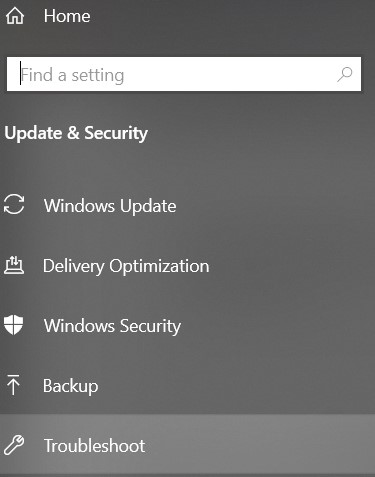
Troubleshoot - Scroll down and click on the “Windows Store Apps” option.
- Wait for the troubleshooter to proceed and check to see if the issue persists.
Note: If you are unable to solve the issue with these methods, try to reinstall the Xbox App on your computer and check if it fixes the issue. According to user reports, there seems to be a correlation between these and reinstalling one app fixes the other.
Solution 7: Turn OFF Antivirus Protection
In some situations, it is possible that the game is being blocked by the default Windows Defender Antivirus due to a false flag restriction. Therefore, in this step, we will be turning off both the Firewall and the default Windows Defender software and then we will check to see if the game is able to run properly on the computer. In order to do that:
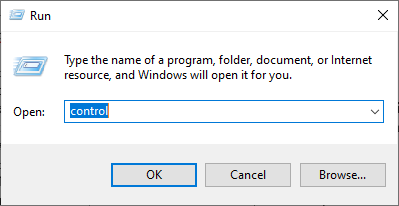
- Press “Windows” + “R” to open the Run prompt.
- Type in “Control Panel” and press “Enter” to launch the classical Control Panel interface.
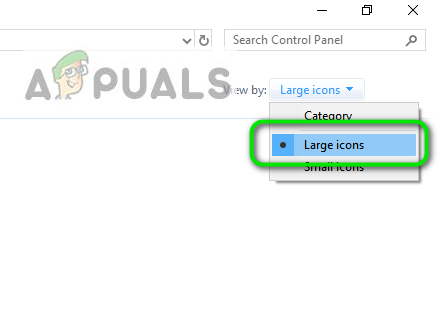
Accessing the Classic Control Panel interface - In the Control Panel, click on the “View By:” option and select the “Large Icons” button.
Viewing Control Panel using Large Icons - After making this selection, click on the “Windows Defender Firewall” option to launch the Firewall and then select the “Turn Windows Defender Firewall On or Off”.

Opening Windows Defender Firewall from Control Panel - Make sure to uncheck the “Turn On Windows Defender Firewall” for both the available options to turn the Firewall Off.
- After making this selection, save your changes and close out of the Window.
- Press “Windows” + “I” to open the windows Settings.
- Inside the settings, click on the “Update and Security” option and select the “Windows Security” button from the left side.

Open Windows Settings and Click Update & Security To Check For Updates - On the next screen, click on the “Virus and Threat Protection” option and click on the “Manage Settings” option below the “Virus and Threat protection settings” heading.
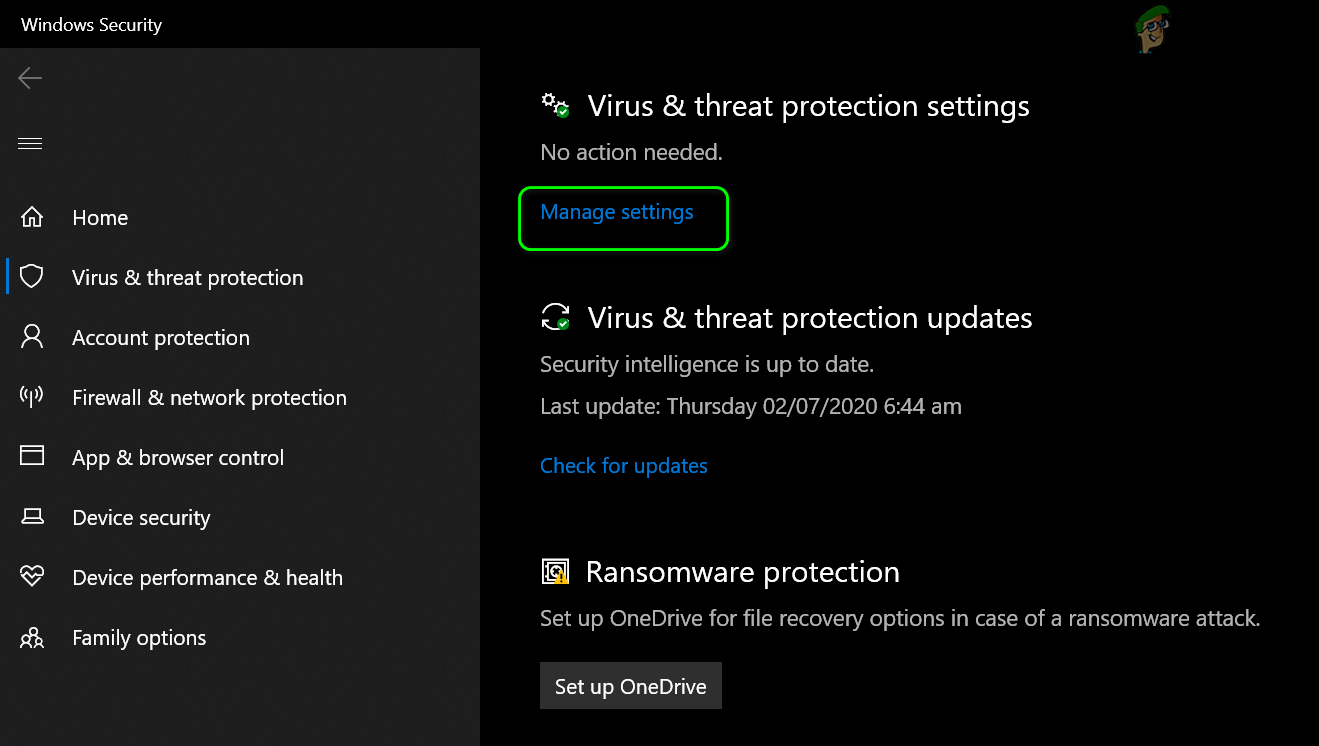
Click on Manage Settings Under Virus & Protection Settings of Windows Defender - After clicking on this option, turn the toggle off for “Realtime Protection”, “Cloud-Delivered Protection”, “Automatic Sample Submission” and “Tamper Protection”.
- After successfully disabling the Firewall and the Defender, try to run the game and check to see if it operates normally.
Solution 8: Install a stable graphics card driver (if applicable)
It is possible in some cases that the Microsoft Solitaire Collection game isn’t working because you have installed an unstable build of GPU drivers on your computer. Even some beta mode drivers might cause this issue with some games although they promise better optimization and improved performance, this is not always beneficial, as beta drivers are often not WHQL (Windows Hardware Quality Labs) certified. Now, because of this, you might find that certain Windows functions (including built-in games) will not function properly and display the error as a result while using beta drivers.
If you’re currently using a beta graphics driver, follow the steps below to uninstall it and install a WHQL certified driver for your GPU:
- Press “Windows’ + “R” to open the Run prompt.
- Type in “Devmgmt.msc” and press “Enter”.
Run dialog: devmgmt.msc - In the device manager, expand the “Display Adapters” option and right-click on the “GPU Driver” that you are currently using.
- Select the “Uninstall Device” option and follow the on-screen prompts to uninstall this driver from your computer.
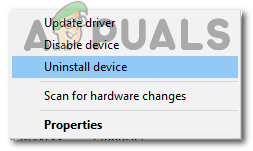
Clicking on the “Uninstall Device” option - Wait for the driver to be completely removed from your system by the setup.
- Windows should now be switch to a basic display adapter from Microsoft that should keep your display up and running.
- Navigate to the Nvidia or the AMD website depending upon which GPU you have on your computer and download the latest driver for your graphics card from their download directories.
- Run the downloaded executables to install these drivers on your computer and check to see if doing so fixes this issue on your computer.
Solution 9: Moving games files to a new directory
In some cases, Windows might have corrupted the file paths due to which this particular issue is being triggered on your computer. What this basically means is that Windows has set a particular path that triggers the launch of the game but since the path has been corrupted, Windows is unable to properly launch the game.
Therefore, in this step, we will be moving the game directories to another location which should refresh the game path and get the game back to a working state. Make sure to follow the steps carefully in order not to lose your game files.
- Create a new folder outside the protected paths and name it whatever you want for example its name could be Games. The folder’s location doesn’t matter, as long as it’s different from the default path of the built-in games.
- Navigate to the following path and copy the game folders present inside that folder by selecting all of them, right-clicking and then selecting the “Copy” option.
C:/Program Files/Microsoft Games
Note: Be careful not to confuse the paths. The Microsoft Games folder is located in Program Files (not Program Files (x86)).

Copying the Steam Folder - Paste the folders copied from the Microsoft Games folder into the newly created Games folder.
Note: If you only play a few of the games listed here, you can only copy the folders of those games that you actually play including Microsoft Solitaire Collection. - Once the built-in game folders have been copied, you can open them without issues by double-clicking the executable.
Note: You can make things even easier for you by creating a desktop shortcut of the game executable. To do this, right-click on the game executable and select Send to > Desktop (create shortcut).
Solution 10: Re-enable Game from Windows features
It is possible in some cases that the Windows Operating system that you are currently running has been glitched due to which it is unable to distinguish between the features that are enabled on your computer and the ones that are disabled. Due to this, most Windows Games might not be running properly including Microsoft Solitaire Collection. Therefore, in this step, we will be disabling this game first from the Windows Features and then we will be re-enabling it which should get it back to the working state again.
Follow the steps below to re-enable the built-in games from Windows Features:
- Press Windows key + R to open a Run prompt, type “appwiz.cpl” and hit Enter to open the application management screen.
- In the application management window, on the left side, click on the “Turn Windows Features on or Off” button.
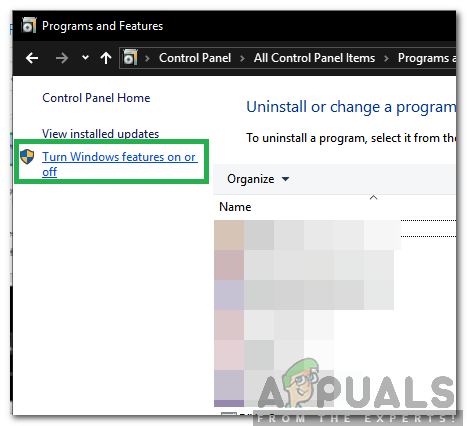
Clicking on the “Turn Windows Features ON or OFF” option - Now look for a folder named Games and deactivate the checkbox next to it. This should automatically disable all the built-in games and press OK to confirm.
- Wait until Windows makes the necessary changes, then reboot your computer.
- Once your computer boots back up, use steps 1 and 2 again to return to Windows Features. Once there, re-enable the checkbox next to Games and hit OK to confirm.
- Windows will take a while to re-enable the gaming components. If not prompted to restart, do so on your own and see if the issue has been resolved at the next startup.
Solution 11: Rollback Display Adapter
In some cases, it is possible that the display adapter that you are using might not be properly configured with all the important Windows Features and that it might be preventing the Windows Games from functioning properly. Therefore, in this step, we will be rolling back the display adapter from the device manager to return it to the previous version of the driver. For that:
- Press “Windows” + “R” to open the Run prompt.
- Type in “Devmgmt.msc” and press “Enter” to launch the device management window.
Type devmgmt.msc and Press Enter to Open Device Manager - In the Device Manager, double click on the “Display Adapters’ Dropdown to expand it.
- Right-click on the Driver that you are using and select the “Properties” option.
- Click on the “Driver” tab from the top and select the “Rollback Driver” to initiate the rolling back process.

Selecting “Rollback Driver” option - Follow the on-screen instructions to fully process the command and wait for the drivers’ version to be rolled back.
- Check to see if doing so fixes this issue.
Solution 12: Restore Your System Using Restore Points
System Restore reverts everything to a saved restore point that must have been recorded previously. If a restore point does not exist on your computer, System Restore has nothing to revert to. With a created restore point, this feature will bring your system back to the previous working state, without affecting your files and data. If you have any system restore points that were created prior to the problem with the Microsoft Solitaire Collection app, you might be able to fix the issue by performing a System Restore.
- Press “Windows” + “R” to open the Run prompt.
- Type in “rstrui” and press “Enter” to open the restore management window.
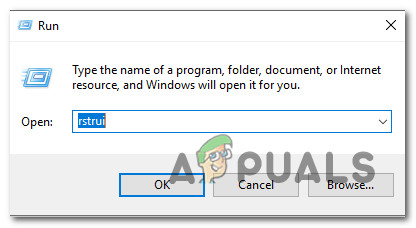
Opening the System Restore wizard via Run box - Click on “Next” and check the “Show more Restore Points” option.
- Select a restore point in the list that is older than the date on which this issue started occurring on your computer.
- Click on “Next” again and follow the on-screen instructions to restore everything back to the date which you selected from the restore window.
- Wait for the computer to complete the restoring process on your computer.
- Check to see if restoring the computer to an earlier date has fixed the issue with the Microsoft Solitaire Collection.
Solution 13: Create A New Account
For every user account that is created on a Windows computer, the operating system stores a user profile related to that user which contains all the user settings and some other configuration and saves data. However, this profile can sometimes be corrupted which can stop certain Windows features from working correctly on that profile. Since this is only limited to the profile that has actually be affected, we can easily go ahead and create a new profile to get rid of this issue. In order to do this, you have two options, create a Microsoft account, or just create a local account. We have listed the methods to create both the accounts below, follow the one which you think seems more suitable in your case.
Creating A Microsoft Account:
- Press the “Windows” + “I” keys on your keyboard to open up the settings.
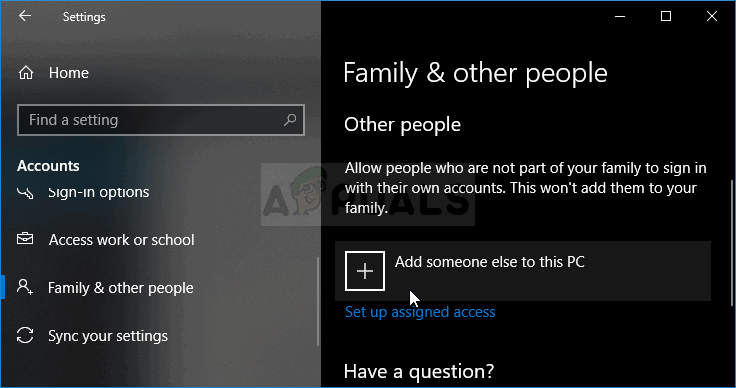
- Inside the settings, click on the “Accounts” option and from there, select the “Family and Other Users” button.
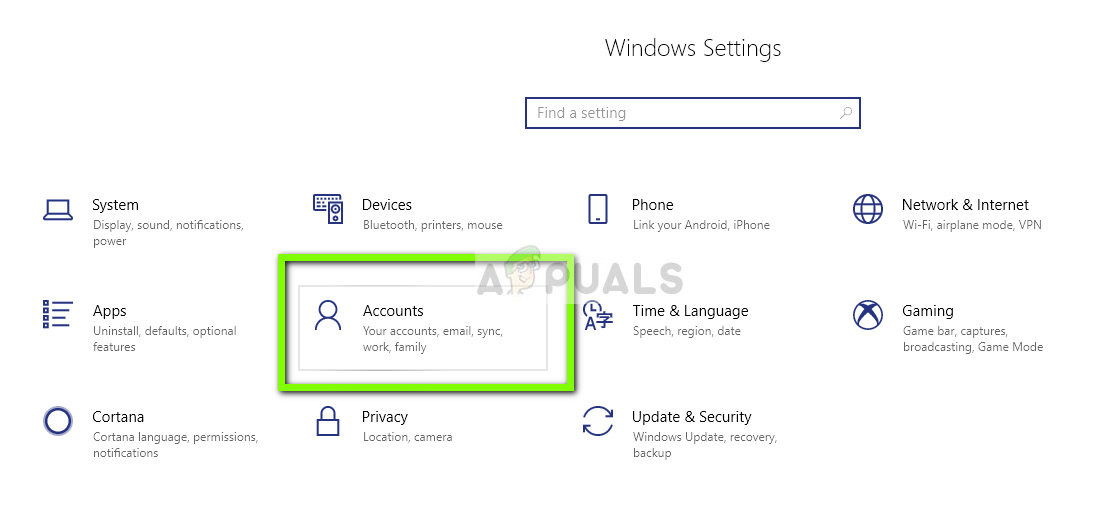
Accounts – Windows Settings - Click on the “Add someone else to this PC” option and you should see the “Enter the account info for this person” option.
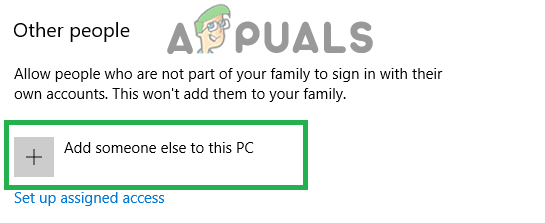
Clicking on “Family & Other people” and selecting “Add someone Else to this PC” - You can either enter their Microsoft account information if it already exists to sign them in on your computer or you can create a new Microsoft account for them using their email address.
If they don’t have an email address or if you don’t have access to it, you can create a new email address and sign up with the Microsoft account with that. - Finish setting up the account on your device and check to see if the issue still persists in this new account of yours
Create a local account:
- Press the “Windows” + “I” keys on your keyboard to open up the settings.
- Inside the settings, click on the “Accounts” option and from there, select the “Family and Other Users” button.
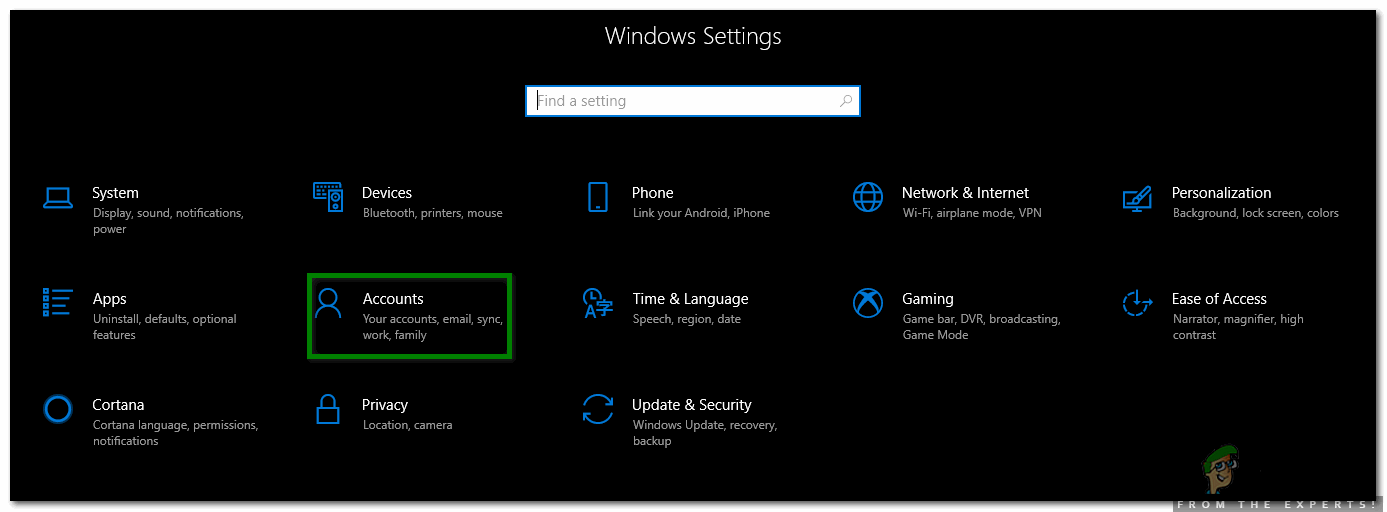
Click on the Accounts tab from the Settings Window - Click on the “Add Someone else to this PC” option and you should see the “Enter the account info for this person” option.
Add someone else to this PC on Windows 10 - From this screen, select the “I don’t have this person’s sign-in information” option and then select the “Add a user without a Microsoft Account” button.
- Enter the login information of the new account and assign it a username and a password.
- Add the password hint for the user and also make sure to assign it some security questions just in case you need to reset it later on.
- Tap or click “Finish”.
- Now, check to see if creating a new account fixes the Microsoft Solitaire issue on your computer.
Note: This new account that you just created should contain a fresh user profile and you will need to reconfigure its settings to match the settings of your previous account. But first, make sure to check if the game is working fine in this account because only then you will be able to keep it as your primary account. If it does work, make sure to import your data from the previous account onto this one.
Solution 14: Re-register Solitaire
It is possible in some cases that the Microsoft Solitaire Collection game hasn’t been properly registered on your computer and that its registry entires have been messed up. Therefore, in this step, we will attempt to register it again on our computer and then we will check to see if doing so fixes this issue. In order to do so, follow the guide below.
- Press “Windows” + “R’ to open the Run prompt.
- Type in “Powershell” and press “Shift” + “Ctrl” + “Enter” to provide admin permissions.
Typing in “PowerShell” and then pressing “Shift’ + “Ctrl” + “Enter” - After providing admin permissions, the power shell should launch in the administrative mode.
- Type in the following command inside the PowerShell window and press “Enter” to execute it on your computer.
Get-AppxPackage -allusers *MicrosoftSolitaireCollection* | Foreach {Add-AppxPackage -DisableDevelopmentMode -Register “$($_.InstallLocation)\AppXManifest.xml”} - Wait for the command to be fully executed on your computer and check to see if the issue still persists.
Solution 15: Checking if the Taskbar is Set to Auto-Hide
Windows is known to be weird with some things and one of those things is that sometimes if one Windows feature has been enabled, another seems to glitch out. One of these scenarios entails that if the Autohide feature of the taskbar has been enabled on the computer, you won’t be able to play the Microsoft solitaire collection game on some computers.
- Closeout of all unnecessary applications and navigate to your desktop.
- Right-click on the taskbar and select the “Taskbar Settings” option.
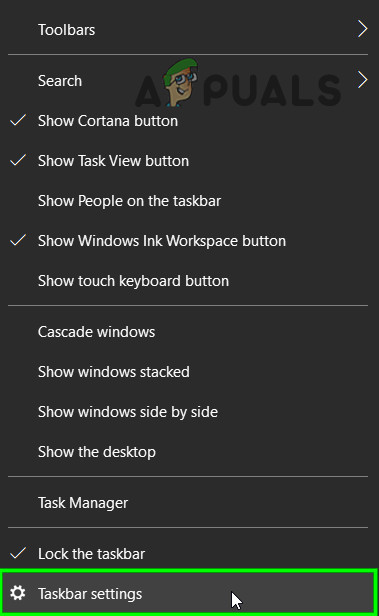
Open Taskbar Settings - Inside the next window, click on the “Automatically hide the taskbar in desktop mode” toggle to turn it off.
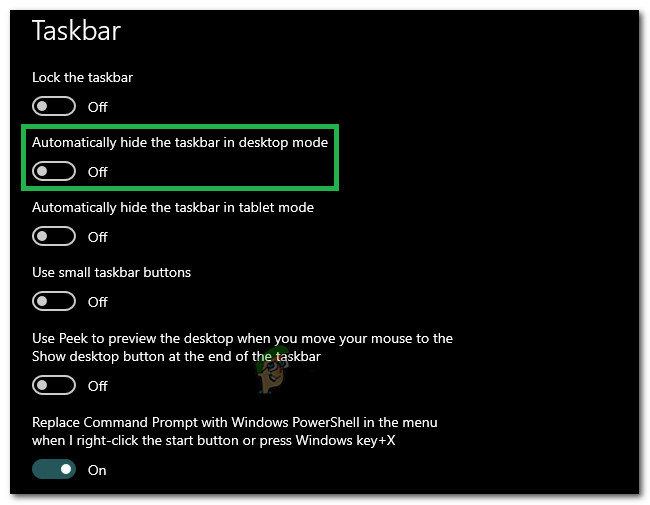
Clicking on the “Automatically Hide the Taskbar in Desktop Mode” button - Navigate back to the desktop and verify that the taskbar automatically hides.
- Check to see if making this change fixes the issue on your computer.
This may seem like an odd solution. However, some users reported that they had been able to fix the issue with this method.
Solution 16: Reboot to install pending Windows updates
You should start your troubleshooting quest by making sure you have no pending Windows updates. As some users have pointed out, the issue can arise right after WU (Windows Update) finishes downloading an update. If that’s the case, a simple reboot will remove the error message indefinitely. If you have the habit of using the sleep function instead of shutting down your computer when you’re not using it, there’s a strong chance that you’ve just identified the culprit.
Depending on the pending update, it might only install partially after WU finishes downloading it. This can cause unexpected errors until the user reboots the system and allows it to install the update fully. Whether you think you have a pending update or not, reboot your system and see if the issue gets automatically resolved.
Solution 17: Restart Your Graphics Driver
The ability to automatically restart a driver is very useful and has proved to be very beneficial for some users. Therefore restarting the graphics driver is recommended for all of those who are undergoing this issue:
To restart your graphics driver at any time, just press Win + Ctrl + Shift + B keys simultaneously. You will observe that the screen flickers, there’s a beep, and your graphics driver is restarted.
Solution 18: Display Scaling
It is possible in some cases that you have set the Windows display scaling feature to such a value that the Microsoft Solitaire collection game is unable to properly fit inside the display. Therefore, in this step, we will be increasing this value beyond the default value and then we will check to see if doing so fixes the issue.
- Press “Windows’ + “I” buttons on your keyboard to open the Windows settings.
- In the Windows settings, click on the “System” option and then select the “Display” button from the left side.
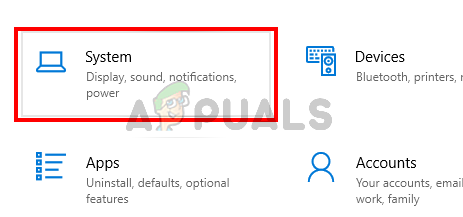
Selecting System From Windows Settings - In the display settings, under the “Scaling” heading, click on the dropdown.
- Select “125% or 150%” from the list and close out of the window.
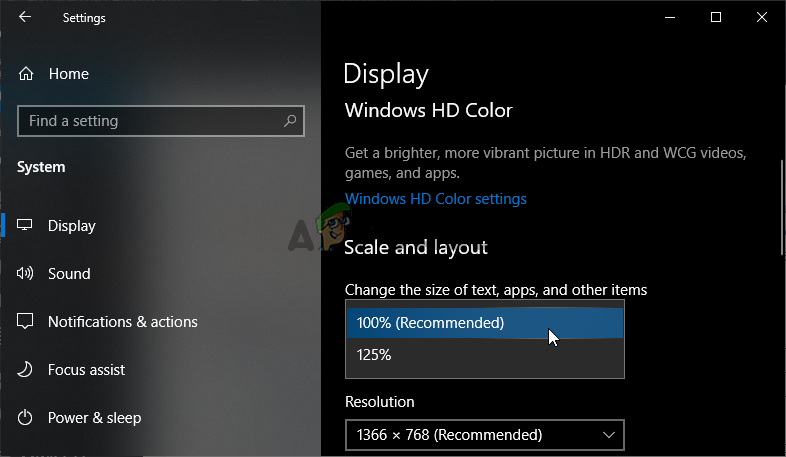
UI Scaling on Windows 10 - Check to see if the game gets working again after changing these settings on your computer
Workaround:
This is more of a suggestion than a solution and it could be really helpful. We suggest you try other solitaire collections that could be a real replacement for Microsoft’s Solitaire. Here are few that you can install on your Windows 10 PC and play them:
- Solitaire HD
- Spider Solitaire
- Simple Solitaire
These games have a different design but still the same rules. However, if you are a very principaled person, you can wait until Microsoft will come out with an official fix for this problem.
The Vungle program running the ads on the windows solitaire is locking my tablet