Fix: Microsoft Office Encountered an Error during Setup
Microsoft Office 2016 actually became sort of infamous with the “Microsoft Office Professional Plus 2016 encountered an error during setup” error message which occurs during the installation without providing any further info.
Since this is a paid-for program, people were furious with Microsoft when it comes to resolving the problem but they failed to respond. However, other users who have encountered the same problem managed to resolve it easily by several different methods and they shared it for everyone to see. We have gathered these methods and presented them step-by-step so make sure you follow the solutions below in order to successfully resolve the problem.
What Causes the “Microsoft Office Professional Plus 2016 Encountered an Error during Setup” Message?
The list of all possible causes is not so long but it definitely contains everything that might have gone wrong on your computer which causes the installation to fail each time. Make sure you check out the list below as it will help you identify the suitable method more quickly:
- Task Scheduler error regarding Microsoft Office is quite infamous and it’s the number one cause of this problem. Simply deleting all Microsoft Office data from Task Scheduler is the best way to resolve the problem. It can be done manually or by deleting a registry entry.
- A Microsoft-related folder may be containing broken files. Rename the folder in order to recreate it easily.
- Other services or programs may interfere with the Microsoft Office installation and it’s for the best to simply disable everything by booting into Clean Boot.
Solution 1: Uninstall all Office-related Programs and Delete its Data in Task Scheduler
This is the first method you should try out as it’s probably the one most users found successful as it has worked in their scenario and it should also work out for you. Also, uninstalling all Office-related programs is a good way to start resolving the problem even without the second part.
Still, follow the instructions in this article closely and check to see if the “Microsoft Office Professional Plus 2016 encountered an error during setup” error message still appears.
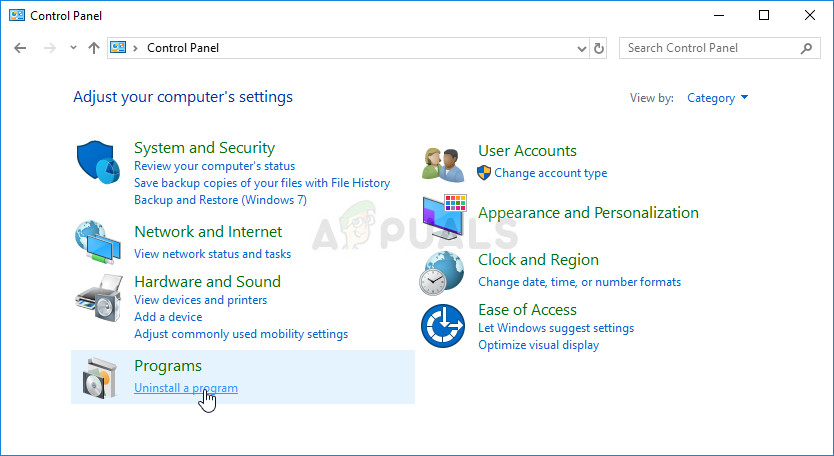
- Click the Start menu button and open Control Panel by searching for right there. Also, you can click on the gear-shaped icon in order to open the Settings app if your OS is Windows 10
- In Control Panel, switch the View as option to Category at the top right corner and click on Uninstall a Program under the Programs section at the bottom of the Control panel window.
- If you are using the Settings app on Windows 10, just clicking on Apps should immediately open a list of all installed programs on your PC.
- Locate all Microsoft Office entries in Control Panel or Settings and click on Uninstall after clicking it once. You might notice that there are several different versions of the program. You will need to make note of them and repeat the uninstalling process for each one of them.
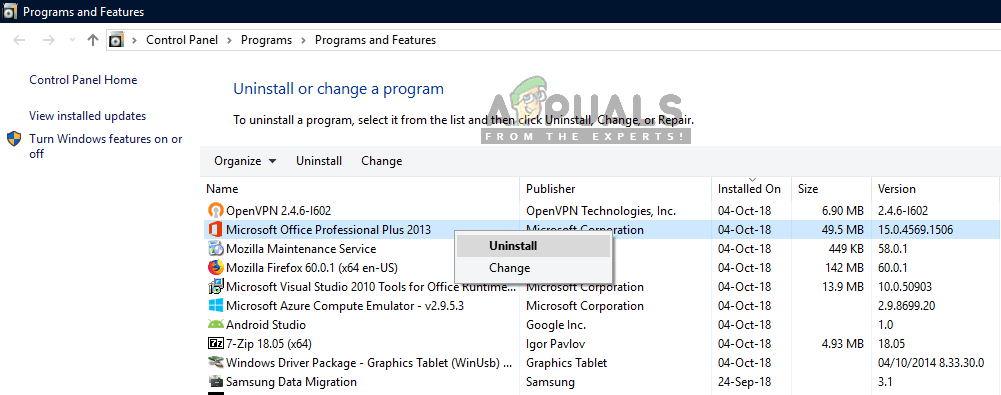
Uninstalling Microsoft Office entries in Control Panel
- You may need to confirm some dialog boxes and follow the instructions which will appear along with the uninstallation wizard.
- Click Finish when the uninstaller finishes with the process and repeat the uninstalling process for all entries.
The second part of the solution is related to Task Scheduler.
- Open Control Panel by locating it in the Start menu. You can also search for it using the Start menu’s search button.
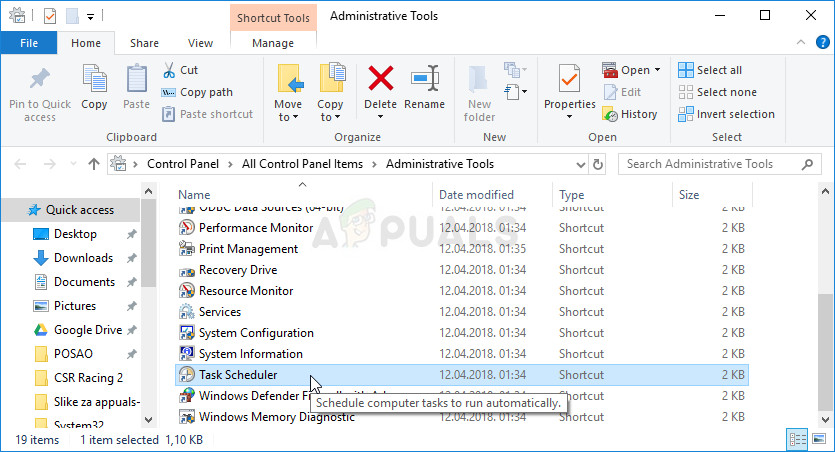
- After the Control Panel window opens, change the “View by” option at the top right part of the window to “Large Icons” and scroll down until you locate the Administrative Tools entry. Click on it and locate the Task Scheduler. Click on it to open it as well.
- The folder is located under Task Scheduler Library >> Microsoft >> Office. Left-click the Office folder and check the Actions window at the right side of the screen. Locate the Delete Folder option, click on it, and choose yes when being prompted to confirm your choice. Restart your computer and check to see if the error message still appears.
Solution 2: Delete a Registry Entry
This method should be tried out only after you have tried to resolve the problem using Solution 1 and it has failed to work. Some users complained that the method above didn’t help and they only managed to resolve the problem by deleting a certain registry entry related to Task Scheduler and Microsoft Office. Also, sometimes there is no Office folder in Task Scheduler but the folder is available in registry. Check it out below!
- Since you are going to delete a registry key, we recommend you check out this article we have published for you to safely backup your registry to prevent other problems. Still, nothing wrong will occur if you follow the steps carefully and correctly.
- Open the Registry Editor window by typing “regedit” in either the search bar, the Start menu, or the Run dialog box which can be accessed with the Windows Key + R key combination.

- Navigate to the following key in your registry by navigating at the left pane:
HKEY_LOCAL_MACHINE\SOFTWARE\Microsoft\WindowsNT\CurrentVersion\Schedule\TaskCache\Tree\Microsoft
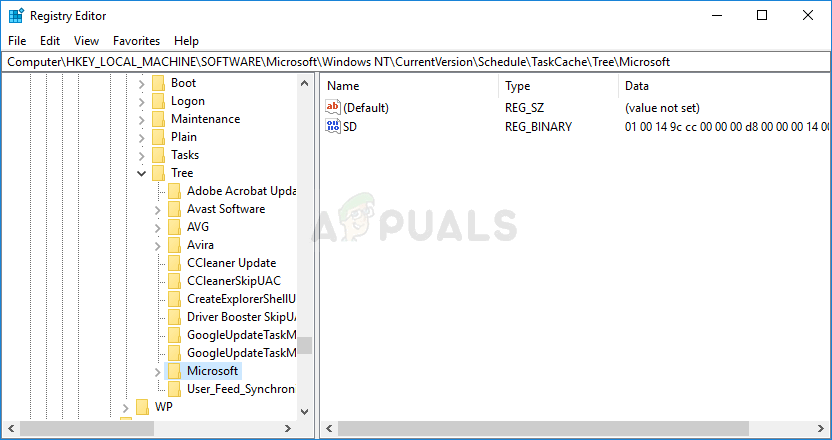
- Click on this key and try to locate a key named Office inside the Microsoft key. Right-click on it, and choose the Delete option from the context menu. Confirm any dialog boxed which may show up.
- Check to see if the error message still appears after restarting your computer.
Solution 3: Rename the Microsoft Help Folder
Renaming the Microsoft Help folder inside the ProgramData folder will effectively cause Microsoft Office installation to recreate it and possibly remove all faulty or broken files. This method is simple and it has helped users who tried out other methods and failed. If it doesn’t work, try recreating the Solutions 1 and 2 after performing the steps below:
- Navigate to the following location on your computer by opening the Windows Explorer and clicking on This PC:
C:\ProgramData
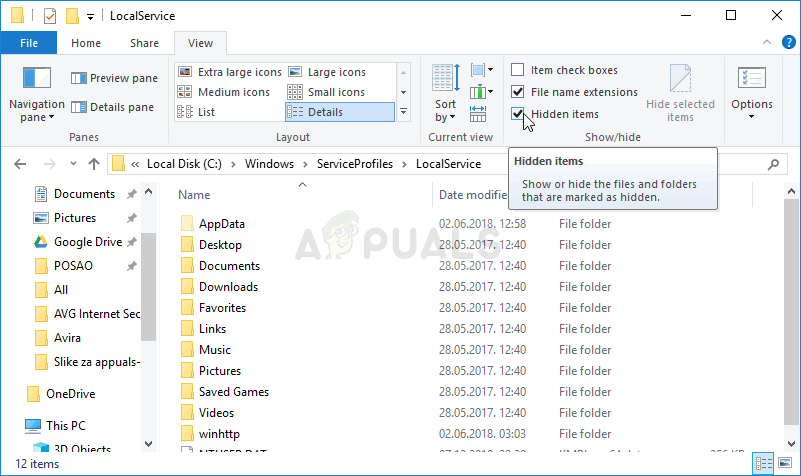
- If you are unable to see the ProgramData folder, you may need to turn on the option which enables you to view hidden files and folders. Click on the “View” tab on File Explorer’s menu and click on the “Hidden items” checkbox in the Show/hide section.
- Locate the Microsoft Help folder inside, right-click on it, and choose the Rename option from the context menu. Change its name to ‘Microsoft Help.old’ or something similar and apply the changes. Check to see if the same issue appears after re-running the Microsoft Office Professional Plus 2016 installation!
Solution 4: Install Microsoft Office in Clean Boot Mode
There are various other programs and services which can affect the installation of the Microsoft Office suite. In most cases, the cause is the antivirus you have installed and you can try disabling it while the installation runs. However, to make sure nothing can interfere with the installation, we recommend you clean boot which will disable all non-Microsoft programs and services from starting up. After you finish successfully, you can return back to normal mode.
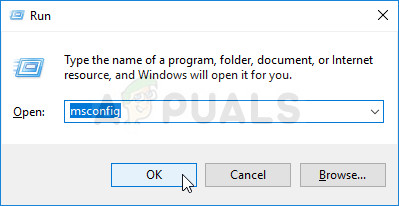
- Use the Windows + R key combination on your keyboard. In the Run dialog box type MSCONFIG and click OK.
- Click on the Boot tab and uncheck the Safe Boot option (if checked).
- Under the General tab in the same window, click to select the Selective startup option, and then click to clear the Load startup items check box to make sure it’s not checked.
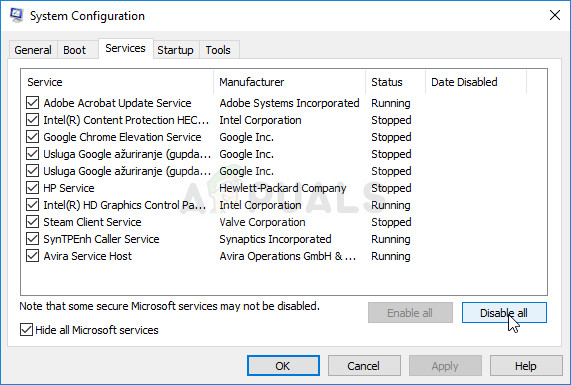
- Under the Services tab, click to select the Hide all Microsoft services check box, and then click Disable all.
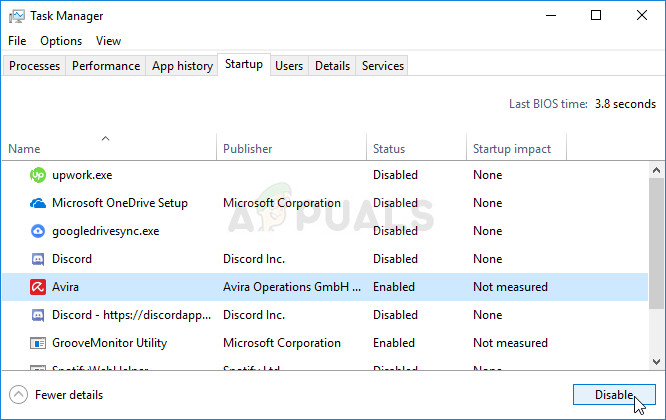
- On the Startup tab, click Open Task Manager. In the Task Manager window under the Startup tab, right click on each startup item which are enabled and select Disable.
- After this, restart your computer in order to enter Clean Boot mode and try running the installation process now. After it finishes, revert the changes you have made in steps 3-5 and restart your computer again.


After spending hours try to get Office to install, solution 1 worked! NB I had to turn my AV off as well. Many thanks for this advice 😉