Fix: Media State ‘Media Disconnected Error’

The error may be followed by real connection problems but sometimes it pops up without there being any evident problems with your Internet connection. Either way, it’s annoying so follow the methods below in order to prevent them from occurring ever again.
Solution 1: Uninstall the Driver and Restart Your Computer
If something has gone wrong with the driver related to the network device which is giving you the error in “ipconfig /all” (it can be the wireless or the Ethernet driver), you can almost always solve the problem by uninstalling its driver and restarting your computer.Restarting the computer will initiate the search for drivers as the system boots and it will be installed again using the latest release. Good luck.
- First of all, you will need to uninstall the driver you currently have installed on your machine.
- Type “Device Manager” into the search field next to the Start menu button to open the device manager window. You can also use the Windows Key + R key combination in order to open the Run dialog box. Type “devmgmt.msc” in the box and click OK or Enter key.
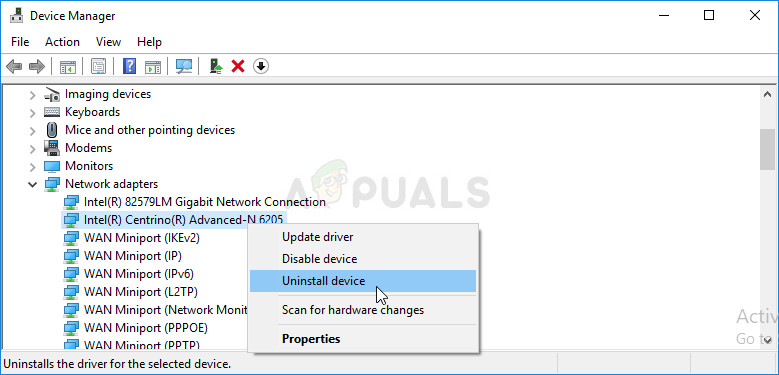
- Expand the “Network Adapters” section. This will display all network adapters that the machine has installed at the moment. Right-click on the network adapter you want to uninstall and select “Uninstall device”. This will remove the adapter from the list and uninstall the networking device. Make sure you choose the right one depending on which type of connection is giving you these issues.
- Click “OK” when prompted to uninstall the device.
- Remove the adapter you are using from your computer and restart your PC immediately. After the PC boots, the new driver should be installed automatically without the need of your intervention. However, if you notice that your Internet connection is not working, you will need to install the driver manually.
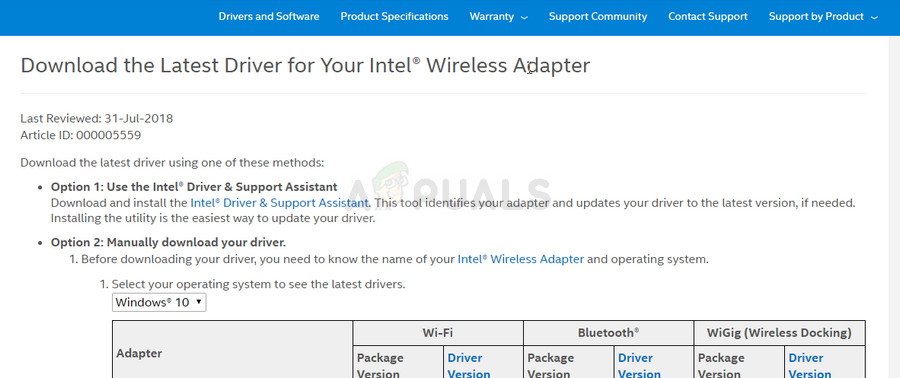
- Navigate to your manufacturer’s page in order to see the list of available drivers for your operating system. Choose the latest one, download it, and run it from the Downloads folder.
- Follow the instructions on-screen in order to install the driver and make sure the adapter stays disconnected until the installation prompts you to connect which it may or may not do. Restart your PC after the install is over and connect the adapter to your computer. Check to see if the annoying error message still appears.
Solution 2: Disable Network Sharing
It’s quite possible that you have accidentally enabled this option while trying to perform some troubleshooting or to actually share your Internet connection with other devices. Simply disabling this option may help you solve the problem quite easily as it also helped plenty of other users who struggled with the same issue. Follow the instructions below!- Use the Windows Key + R key combination in order to open the Run dialog box and type in “ncpa.cpl”, before clicking OK. It can also be achieved by opening the Control Panel. Change the view to Category and click on Network and Internet. Click on the Network and Sharing center section in order to open it and locate the Change adapter settings option at the left side of the window and click on it.
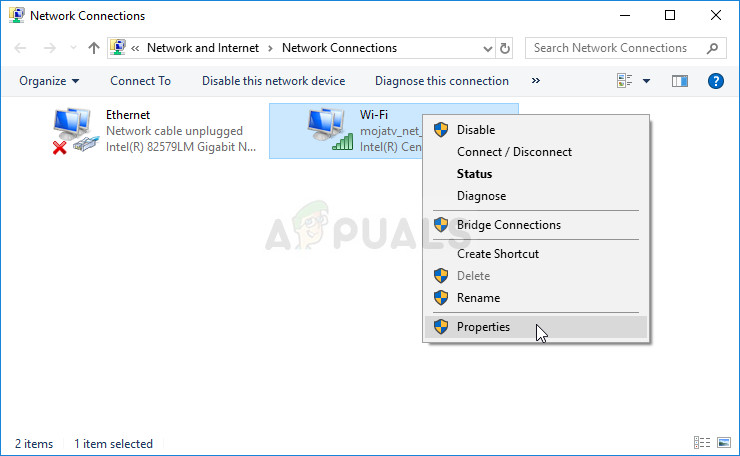
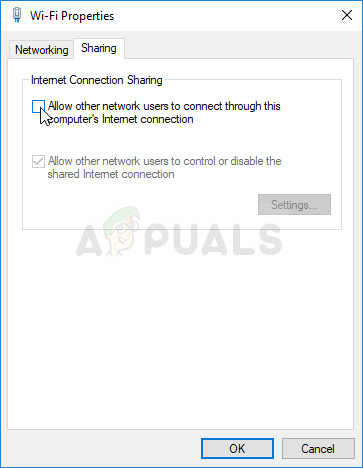
- Right-click on the connection you are currently using and click on the Properties option. Make sure you switch over to the Sharing tab and uncheck the check-box next to the option called “Allow other network users to connect through this computer”.
- Click on OK or Apply in order to apply the changes, restart your computer, and check to see if the problem still appears either in Command Prompt or otherwise.
Solution 3: Reset TCP/IP
Resetting TCP/IP fix the Media Disconnected for plenty of users who were struggling with this exact issue. They also released a hotfix file that can fix the issue for you right away. However, if the file does not work for you for some reason or if Microsoft removes the link below, you can also perform these steps manually.- To reset TCP/IP automatically, click the Download button on Microsoft’s page. In the File Download dialog box, click Run or Open.
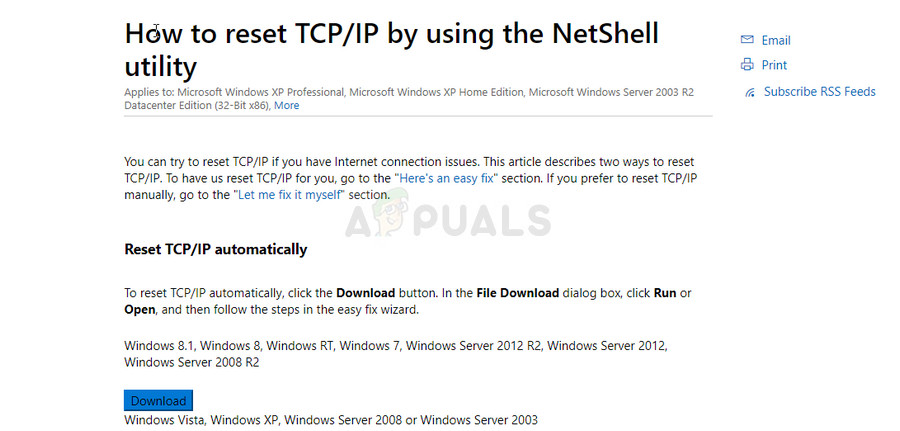
- Follow the steps in the easy fix wizard and the problem should go away.
- Restart your computer to save changes.
Fix the Problem Manually
In order to fix the problem manually you will need to use Command Prompt. The solution will be provided for various Windows OS versions.Windows 8, Windows 8.1, Windows 10
- On the Start screen or the search menu button next to it, type CMD. In the search results, right-click Command Prompt, and then select Run as administrator.

- At the command prompt, enter the following command, and then press Enter:
netsh int ip reset c:\resetlog.txt
- Note If you don’t want to specify a directory path for the log file, run the following command instead:
netsh int ip reset
- Restart the computer.
Windows 7 and Windows Vista
- To open a command prompt, select Start and then type cmd in the Search programs and files box.
- Under Programs, right-click the Command Prompt icon, and then select Run as administrator.
- When the User Account Control box appears, select Yes.
- At the command prompt, enter the following command, and then press Enter:
netsh int ip reset c:\resetlog.txt
- Note If you don’t want to specify a directory path for the log file, run the following command instead:
netsh int ip reset resetlog.txt
- Restart the computer.
Windows XP
- To open a command prompt, select Start > Run >> Type “cmd” in the Run dialog box.
- In the Open box, enter the following command, and then press Enter:
netsh int ip reset c:\resetlog.txt
- Note If you don’t want to specify a directory path for the log file, run the following command instead:
netsh int ip reset resetlog.txt
- Restart the computer.
When you run the reset command, it overwrites the following registry keys, both of which are used by TCP/IP:
SYSTEM\CurrentControlSet\Services\Tcpip\Parameters

SYSTEM\CurrentControlSet\Services\DHCP\Parameters
This has the same effect as removing and reinstalling TCP/IP. To run the manual command successfully, you must specify a name for the log file in which the netsh actions will be recorded. (This log file is referred to as “resetlog.txt” in the manual procedures earlier in this section.)
Note: You must be logged on to the computer as an administrator to perform the steps.
Solution 4: Factory Reset Your Router
If there is indeed something wrong with your router, you can fix these problems by factory resetting your it and checking to see if the problem is gone. It’s not a difficult process and it has helped plenty of people but the new problem is that most router manufacturers have their own unique ways of resetting their routers. Still, there are some similarities…- With your home router powered on, turn it to the side that has the Reset button on it. It might be on the back or the bottom. If there is no such, button consider the manual to see if the Power button can be used for the same purpose.
- With something small and pointy, like a paperclip, hold down the Reset button for at least30 seconds.
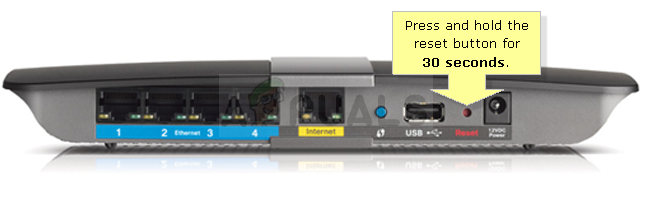
- After releasing the Reset button, wait another 30 seconds for the router to fully reset and power back on.
An alternative method called the 30-30-30 hard reset rule involves holding down the reset button for 90 seconds instead of 30 and can be tried if the basic 30-second version doesn’t work.
If there is no such button on your router of if you have performed the process but the problem isn’t solved, you can always use your browser to perform another type of reset which will mostly reset your settings.
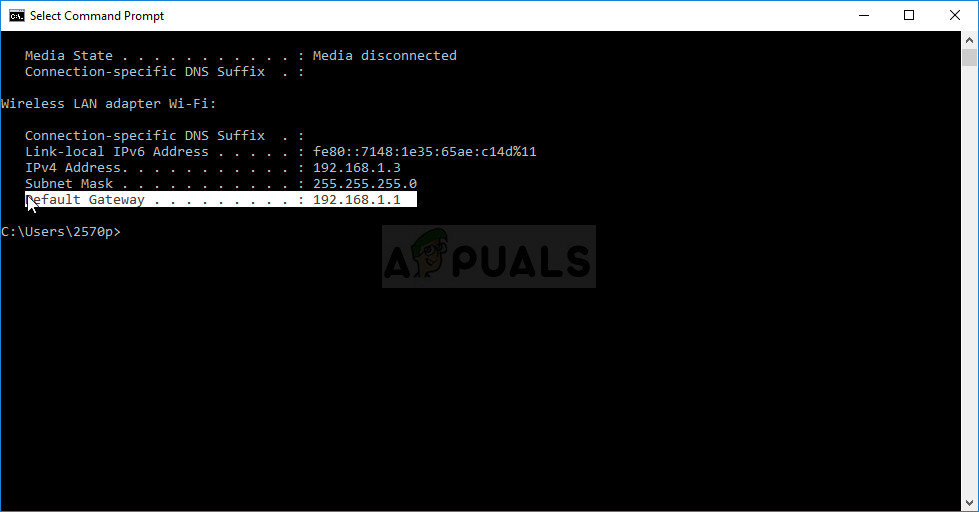
- Open your web browser, type your Default Gateway number (IP address and it’s usually 192.168.1.1) into the address bar, and press Enter. In order to find out this number for sure, use the Windows Key + R key combination and type “cmd” before clicking OK. Type “ipconfig” in the Command Prompt window and copy the number next to Default Gateway.
- Enter your username and password to access your router’s interface. The default username and password should be listed in your router’s documentation or you can find it on the Port Forward site. If you have changed the username and the password, enter those instead.
- The settings we are looking for have a different spot for different router manufacturers but it can mostly be found easily either in the general navigation tab or in Wireless Settings. Click on the Reset Settings button and confirm any dialog boxes. Restart your computer after the process is over and check to see if the problem is gone.
Solution 5: Change a Link Speed Setting
Some older routers happen to experience similar problems when this suspicious option is set to “auto-negotiation” so make sure you set this option to something else. The option can be easily located in Device manager by looking under the device which is causing these issues.- First of all, you will need to uninstall the driver you currently have installed on your machine.
- Type “Device Manager” into the search field next to the Start menu button to open the device manager window. You can also use the Windows Key + R key combination in order to open the Run dialog box. Type “devmgmt.msc” in the box and click OK or Enter key.
- Expand the “Network Adapters” section. This will display all network adapters that the machine has installed at the moment. Right-click on the network adapter you want to choose and select Properties.
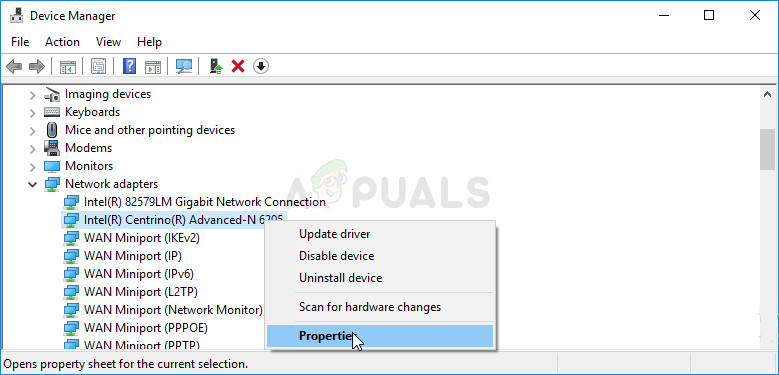
- Navigate to the Advanced tab and try to locate the two options called Link Speed and Duplex Mode. If you do locate them, change the Value setting at the right-side to your actual connection speed or Full Duplex respectively and apply the changes.
Solution 6: System Restore
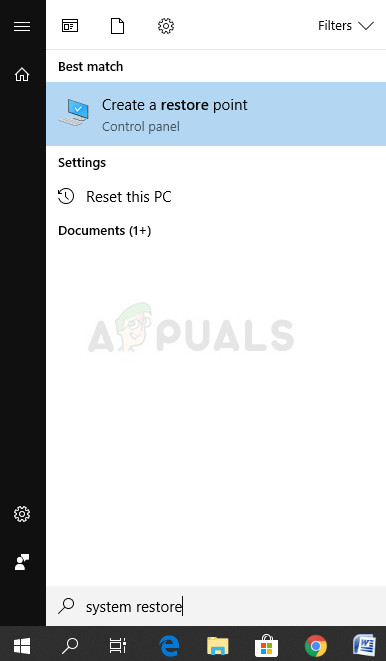
Performing a System Restore can be viewed as a last resort but the process is not at all heavy or desperate as it may sound. You can return your laptop to a state just days before the error started to occur and it will solve the problem without making any significant changes to your computer. It’s one of the most useful methods so make sure you try it out before giving up.- First of all, we shall turn on the System Restore utility on your computer. Search for System Restore using the Search button in your Windows 10 or the Start menu and simply start typing. From there, click on Create a restore point.
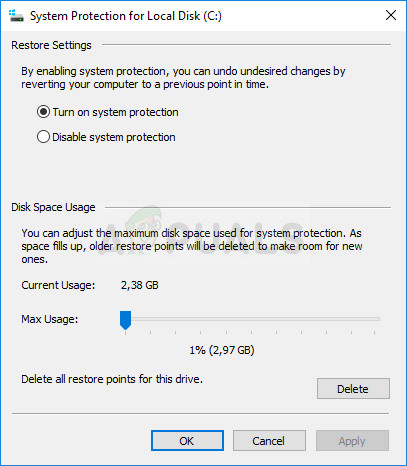
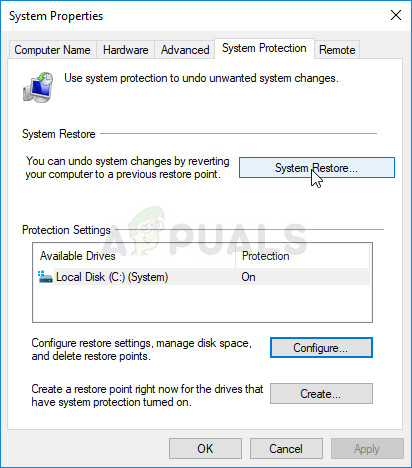
- A System Properties window will appear and it will display the current settings. Inside this window, open the Protection Settings and make it sure that protection is enabled on the system drive.
- If it is disabled by any chance, select that disk and click on the Configure button to enable protection. You should also allocate a sufficient amount of disk space for system protection. You can set it to any value you want as long as it’s at least a couple of gigabytes if you want to keep more restore points. Click on Apply and OK afterward to apply the settings.
- Now, the system will create a restore point automatically whenever a new program is installed or an important change has occurred on your computer.
After you have enabled it successfully, let’s revert your PC back to the state where the debugger error didn’t occur. Make sure you backup some important documents and apps you have created or installed in the meantime just to be safe if you created them recently.
- Search for System Restore using the Search button next to the Start menu and click on Create a restore point. Inside the System Properties window, click on System Restore.
- Inside the System Restore window, select the option called Choose a different restore point and click the Next button.
- Select a particular restore point you saved before manually. You can also select any restore point available in the list and hit the Next button to proceed with the restoration process. After the process is over, you will be reverted to the state your computer was in at that period in time.
Solution 7: Resetting Winsock and IP Stack
In some cases, in spite of performing all the steps listed above, the error might still be triggered. Therefore, in this step, we will be resetting Winsock and IP stack completely. In order to do that:
- Press “Windows” + “R” to open the Run prompt.
- Type in “cmd” and press “Shift” + “Ctrl” + “Enter” to provide administrative privileges.

Running the Command Prompt - Type in the following commands one by one and press “Enter” after each to execute them.
netsh winsock reset catalog
netsh int ipv4 reset reset.log
netsh int ipv6 reset reset.log
- Check to see if the issue persists after doing so.
Solution 8: Restarting Ethernet
In some cases, users were able to move past the error by disabling it and then re-enabling it after some time. In order to do that:
- Press “Windows” + “R” to open the Run prompt.
- Type in “ncpa.cpl” and press “Enter”.
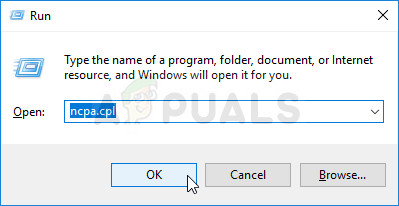
Run this in the Run dialog box - Right-click on your Ethernet connection and select “Disable”.
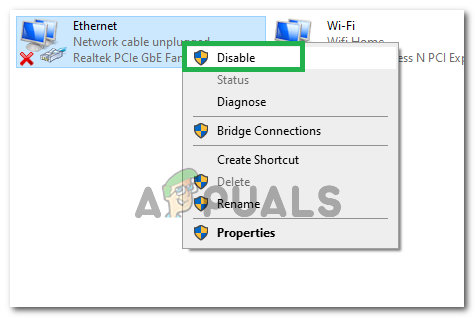
Disabling Ethernet - After some time, right-click on it again and select “Enable”.
- Check to see if the issue persists.
Note: Also, try to disable any network monitoring tool that you might have installed such as Spydoctor or any other application. In certain cases, on some older computers/routers, there was a wireless switch that needed to be turned on either on the computer or on the router so be on the lookout for that.


Wow solution number 5 actually resolved my issue!!! I have seriously been troubleshooting for hours, tried everything possible. The speed link setting actually frekkin solved it. Thank you!