Fix: iTunes has stopped working
Are you one of the users who is using devices manufactured by Apple? If yes, congratulations on your choice. Apple is one of the most powerful leaders on IT market. Instead devices, Apple developed their own operating system and application. One of the applications which is the topic of this article is application named iTunes. iTunes is an application which will help you to organize and enjoy the music, movies and TV shows on your MAC or Windows machine. If you are Windows user, you can download and install iTunes on your Windows machine. Installation and running iTunes is a really easy process.

Sometimes, the most easier actions can be stopped because of different issues. One of the issues is an impossibility to run iTunes because it has stopped working. You will see the error as following: iTunes has stopped working. A problem caused the program to stop working correctly. Windows will close the program and notify you if a solution is available.
So, what is the reason of this problem? There are many reasons including system or application issues, corrupted user profile, malware infection and others. This issue occurs on operating systems from Windows Vista to Windows 10.
We created twelve methods which will help you to solve this problem. So, let’s start.
Method 1: Disconnect your Windows machine from the Internet
If communication between your Windows machine and iTunes Store is not working properly, iTunes startup problem can occur. Based on that, you will need to restart your Internet connection by disconnecting your Windows machine from the Internet. The procedure is described in steps below:
- Close iTunes windows
- Disconnect your Windows machine from the Internet. You can do it by turning off Wi-Fi or you can unplug Ethernet cable. It depends on the technology you are using.
- Wait few seconds
- Connect your Windows machine on the Internet. You can do it by turning on Wi-Fi or you can plug Ethernet cable back.
- Open and test iTunes
If the issue is still there, please read next method.
Method 2: Start iTunes in Safe Mode
There are two ways how you can run iTunes, one is traditional run by double click on the application, and another is running iTunes in Safe Mode. In this method, we will show you how to run iTunes in Safe Mode on Windows 10. Why should we run iTunes in Safe Mode? When you run iTunes in Safe Mode, you will isolate the iTunes software from any interferences caused by plugins or third-party scripts. To start iTunes in Safe Mode you will need to hold down the Shift and Control keys and double click on iTunes. After that, you will see message iTunes is running in Safe Mode.
- Hold down the Shift and Control keys on your keyboard
- Double click on iTunes and you will see message iTunes is running in Safe Mode
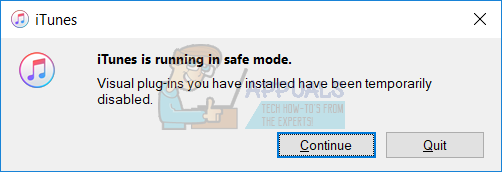
- Click Continue to start iTunes in Safe Mode
- Test iTunes
If the issue is still there, please read method 4. But, if the issue does not happen in Safe Mode, you will need to remove third-party plugins, by reading method 3.
Method 3: Remove third-party plugins
Third party add-ons and scripts which are not developed by Apple can interfere with how you use iTunes. Based on that you will need to remove third party plugins or scripts from iTunes. We will show you how to do it on Windows 8. The same procedure is compatible with another operating system.
- Hold Windows logo and press E to open File Explorer or Windows Explorer
- On the right side of the windows click on This PC or My Computer
- Navigate to following locations: C:\Users\username\App Data\Roaming\Apple Computer\iTunes\iTunes Plug-ins and C:\Program Files\iTunes\Plug-ins. If you installed iTunes 32bit on Windows x64, then you will need to navigate to location C:\Program Files(86)\iTunes\Plug-ins
- Move plugins to another location, for example on the Desktop
- Open and test iTunes
If the issue is still there, please read next method.
Method 4: Perform a Clean Boot in Windows
This is one of the best methods how to check is there a conflict between two applications or is there an issue with some application. Clean boot provides booting your Windows without application services or driver services, so it will eliminate suspiciously is there a conflict between iTunes and another application. After you do clean boot, and issue is still there, we are recommending you to check another method, because there is not any conflict between iTunes and another application. If the issue is not there, it means some applications are conflicting with iTunes. How will you know which application is conflicting with iTunes? We recommend you to test one by one application and restart your Windows. You can find more information in links which are included in the text below.
Clean Boot Windows 8 or 10 -> https://appuals.com/how-to-clean-boot-windows-88-110/
Method 5: Remove and reinstall iTunes and related software components
In this method, you will need to reinstall iTunes and related software components. At first, you will need to remove iTunes and related software components, and after that, you will need to download and install the latest version of iTunes. We will show you how to do it on Windows 10. The same procedure is compatible with previous operating systems.
- Hold Windows logo and press R
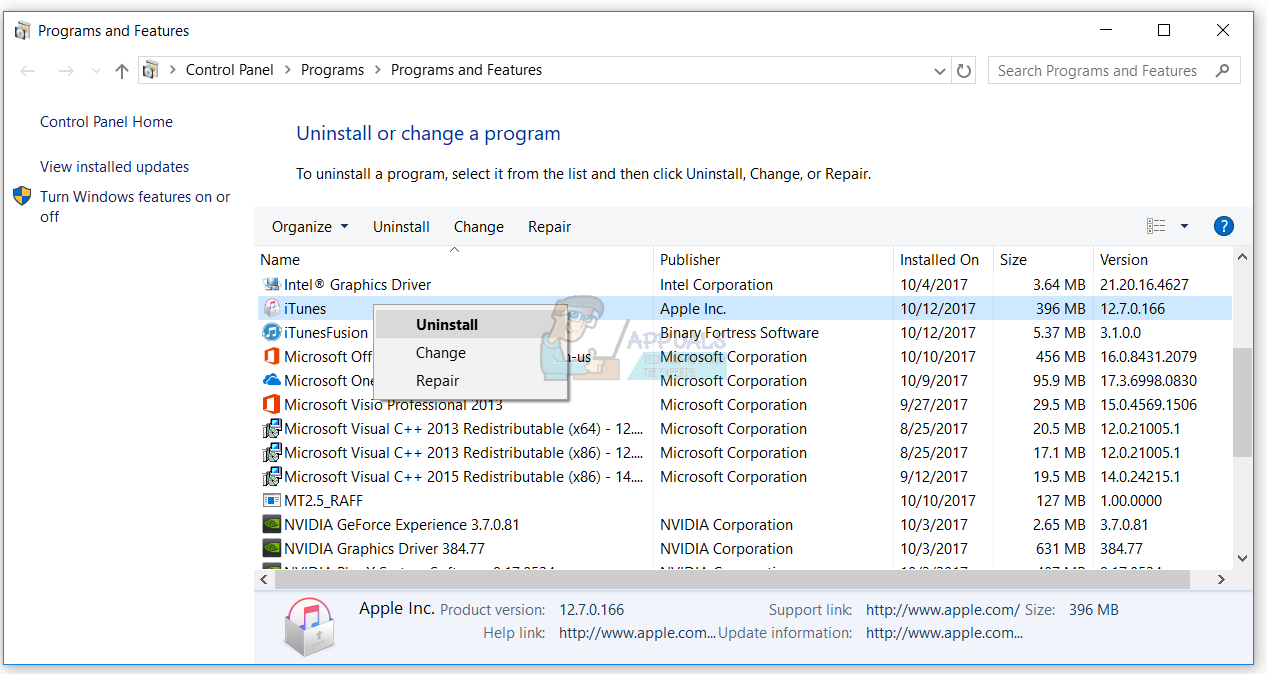
- Type appwiz.cpl and press Enter to open Program and Features
- Navigate on iTunes
- Right click on iTunes and choose Uninstall
- Wait until Windows is finished procedure
- Uninstall related software components including:
- iTunes
- Apple Software Update
- Apple Mobile Device Support
- Bonjour
- Apple Application Support 32-bit
- Apple Application Support 64-bit
- Wait until Windows is finished procedure
- Restart your Windows machine
- Open Internet browser (Google Chrome, Mozilla Firefox, Edge or other)
- Download the latest version of iTunes from Apple website
- Install iTunes
- Open and test iTunes
Method 6: Check for issues with content files
Audio files can sometimes cause iTunes to quit unexpectedly or stop responding when the program is analyzing playback information. We will show you how to check library content on Windows 10. The same procedure is compatible with previous operating systems.
- Close iTunes
- Navigate on following location C:\Users\Username\Music\iTunes
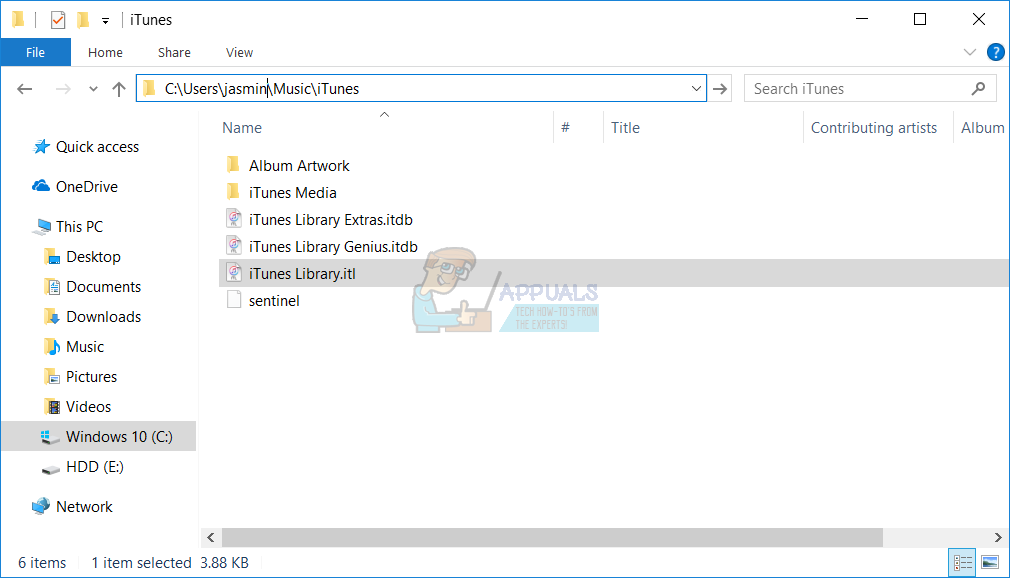
- Move the iTunes Library.itl file to your Desktop
- Open iTunes. Your library will be empty.
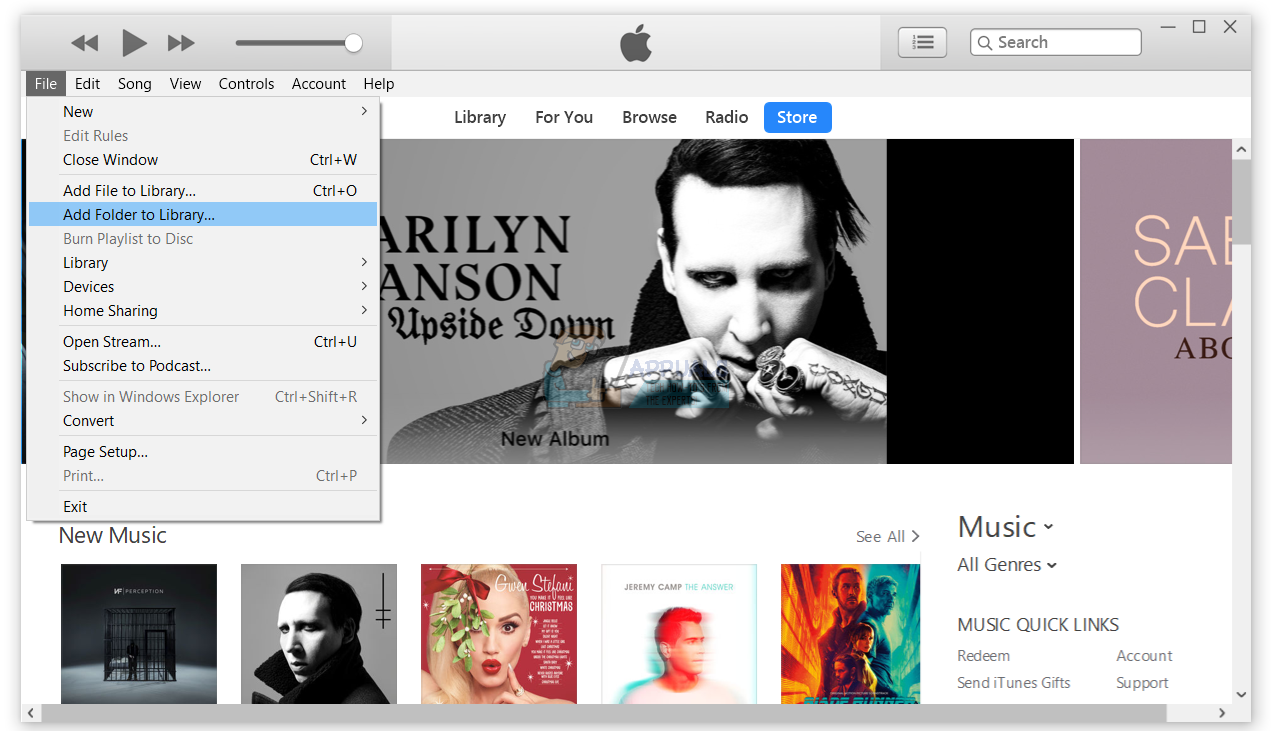
- Press the CTRL and B keys on your keyboard to open the iTunes menu bar.
- Choose File and then Add Folder to Library
- Open the folder where your music is located: C:\Users\Username\My Music\iTunes\iTunes Media
- Choose an artist, album, or song to add to the library and drag it into the iTunes window.
- Wait for iTunes to successfully add the item to your library and perform the gapless playback scan.
- If the scan is successful, continue adding songs to your library.
If there’s an issue with one of your files, your issue will reappear after you add it to the library. If it reappears, start over with these steps, being careful not to add the files that caused the issue.
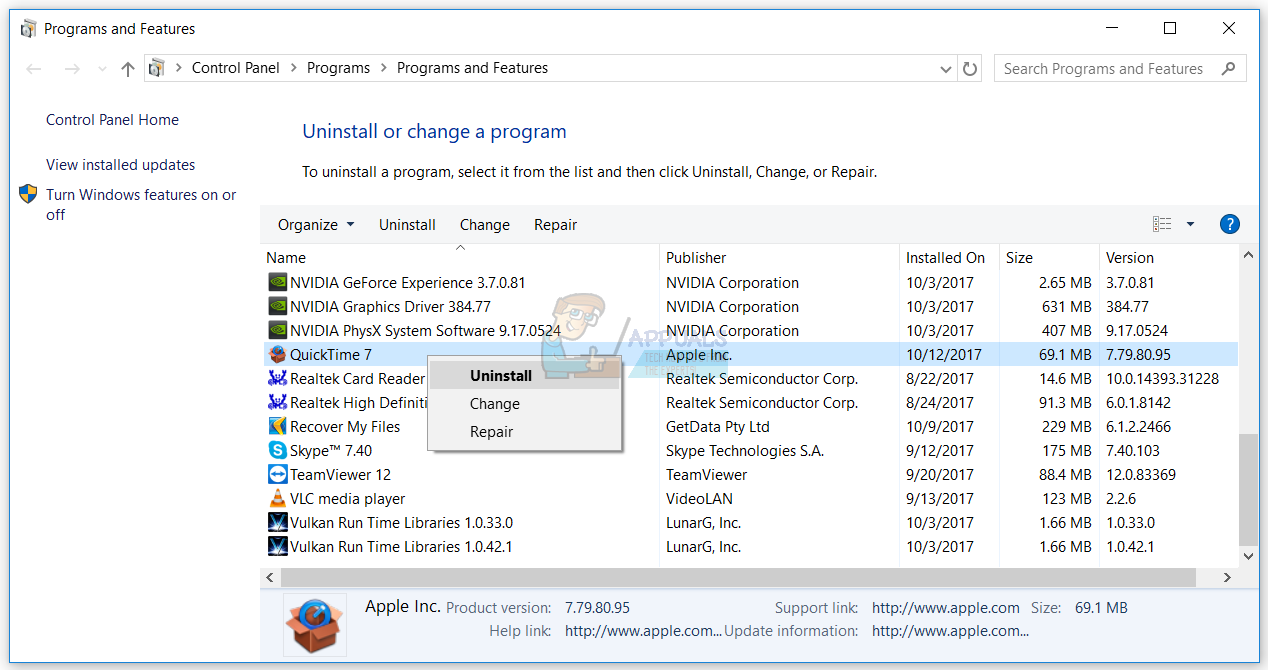
Method 7: Uninstall QuickTime
Few users solved the issue with iTunes by removing Quick Time. Based on that, we are recommending you to uninstall Quick Time from your Windows machine. We will show you how to do it on Windows 10. The same procedure is compatible with previous operating systems.
- Hold Windows logo and press R
- Type appwiz.cpl and press Enter to open Program and Features
- Navigate on QuickTime 7
- Right click on QuickTime 7 and choose Uninstall
- Wait until Windows is finished uninstallation procedure
- Restart your Windows machine
- Open and test iTunes
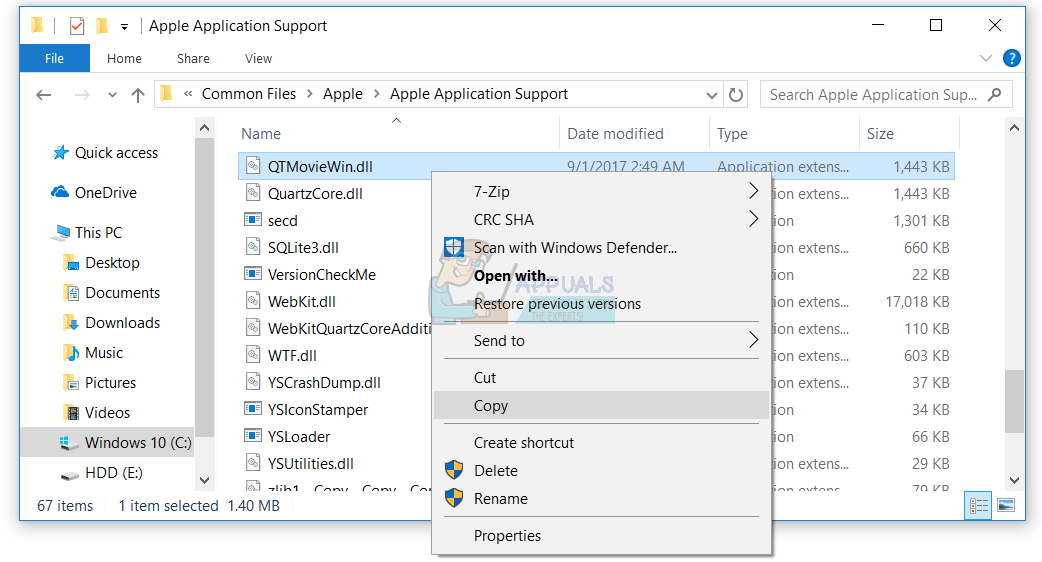
Method 8: Copy QTMovieWin.dll
In this method you will need to copy a QTMovieWin.dll file from C:\Program Files (x86)\Common Files\Apple\Apple Application Support into C:\Program Files (x86)\iTunes. You will do it through Windows Explorer or File Explorer. We will show you how to do it on Windows 10. The same procedure is compatible with previous operating systems.
- Hold Windows logo and press E to open File Explorer or Windows Explorer
- On the right side of the windows click on This PC or My Computer
- Navigate on following location C:\Program Files\Common Files\Apple\Apple Application Support. If you installed iTunes 32-bit on Windows 64-bit, then you will need to navigate to location C:\Program Files (86)\Common Files\Apple\Apple Application Support
- Copy file QTMovieWin.dll
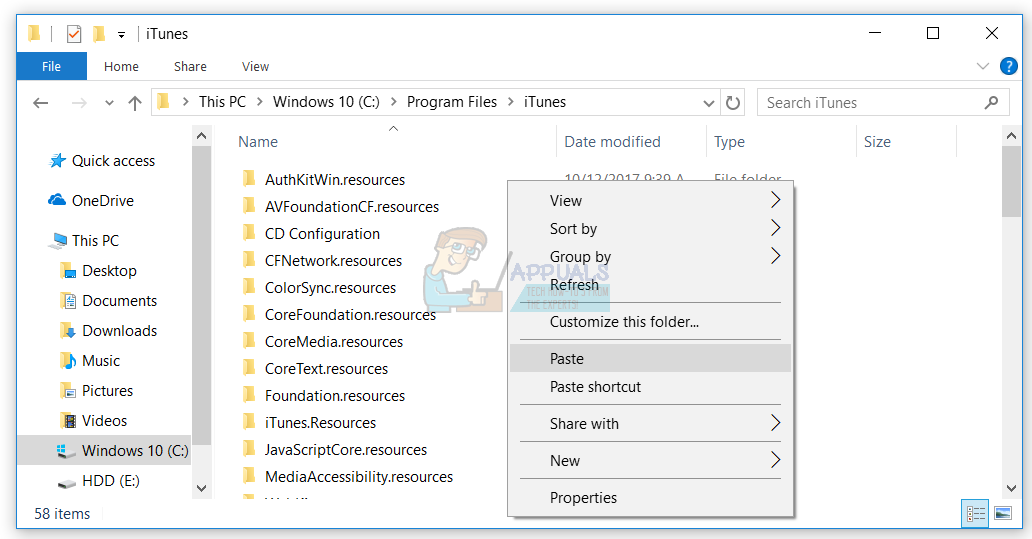
- Navigate on following location C:\Program Files\iTunes. If you installed iTunes 32-bit on Windows 64-bit, then you will need to navigate on location C:\Program Files(86)\iTunes
- Paste copied file
- Close File Explorer or Windows Explorer
- Open and test iTunes
Method 9: Change iTunes version
Few users solved their problem by downgrading iTunes version from 12.7 to 12.6.2. Regarding that, we are recommending you to download an older version of iTunes and install on your Windows machine. Before installing an older version of iTunes, you will need to remove current version. You will need to follow procedure on method 5. After you finish that, you will need to download and install an older version from Apple website.
Method 10: Scan your Windows machine for malware
No one likes malware because it is destructive and can be really powerful in destroying operating system, applications, drivers or data. In this method, you will need to scan your hard disk for malware using Malwarebytes. If you do not use Malwarebytes, you will need to download and install it on your Windows machine. Use this link to view Malware Removal Instructions at https://appuals.com/remove-malwares-using-malwarebyte/. Also, we recommend you to scan your hard disk for malware using Avira Antivir or Microsoft Defender.
Method 11: Perform a System Restore
We talked about System Restore so many times in previous articles. System restore can help you to solve the issue with reverting your system to the previous state when everything worked properly. Please note that you can not restore your Windows machine to the previous state if System Restore is turned off. Please read how to perform a System Restore, by following method 17.
Method 12: Create a new user account
Your user account can be corrupted and one of the problems which can occur is a problem with iTunes startup. You can solve this issue by creating a new account. You do not need to reinstall the operating system to create another user account, you can do it using your current user account. Please note, you will need Administrator privilege because Standard user account is not allowed to create user accounts. Also, you will need to move your data to a new user account. You can read instructions how to ‘create a user account’ at https://appuals.com/fix-remote-procedure-call-failed-error-opening-photos-pictures/ by following method 14. The procedure is the same or similar on another operating system from Windows Vista to Windows 10.